DiskDigger is one of the numerous data recovery tools available in the market. While it can definitely recover your lost data, does it hold up to other offerings in the market? In our review of DiskDigger, we’ll delve deep into the feature set as well as the efficacy of the program.
This review will take into account a real-life data loss scenario and how well the DiskDigger software performs in it. It’ll help you make a much more informed decision and decide whether DiskDigger is the correct data recovery program for you.
TL:DR; DiskDigger is a capable data recovery program that works really well, considering it’s essentially free to operate for personal use. Whether you want to recover videos from an SD card or retrieve important documents from an HDD, DiskDigger is worth a try. The only things that may deter you from using it, are a confusing recovered files selection screen and fewer nice-to-have features than its competitors.
Want to help make our content better? Please vote for the best alternative to DiskDigger:

Main Features
DiskDigger file recovery doesn’t have a lot of additional goodies that many of the best data recovery apps in the market offer. But, it does have a rich, basic feature set that is enough to fulfill the program’s primary purpose: to find and restore missing data.
Let’s take a look at the main features of DiskDigger:
Types of Data Recovery Scans
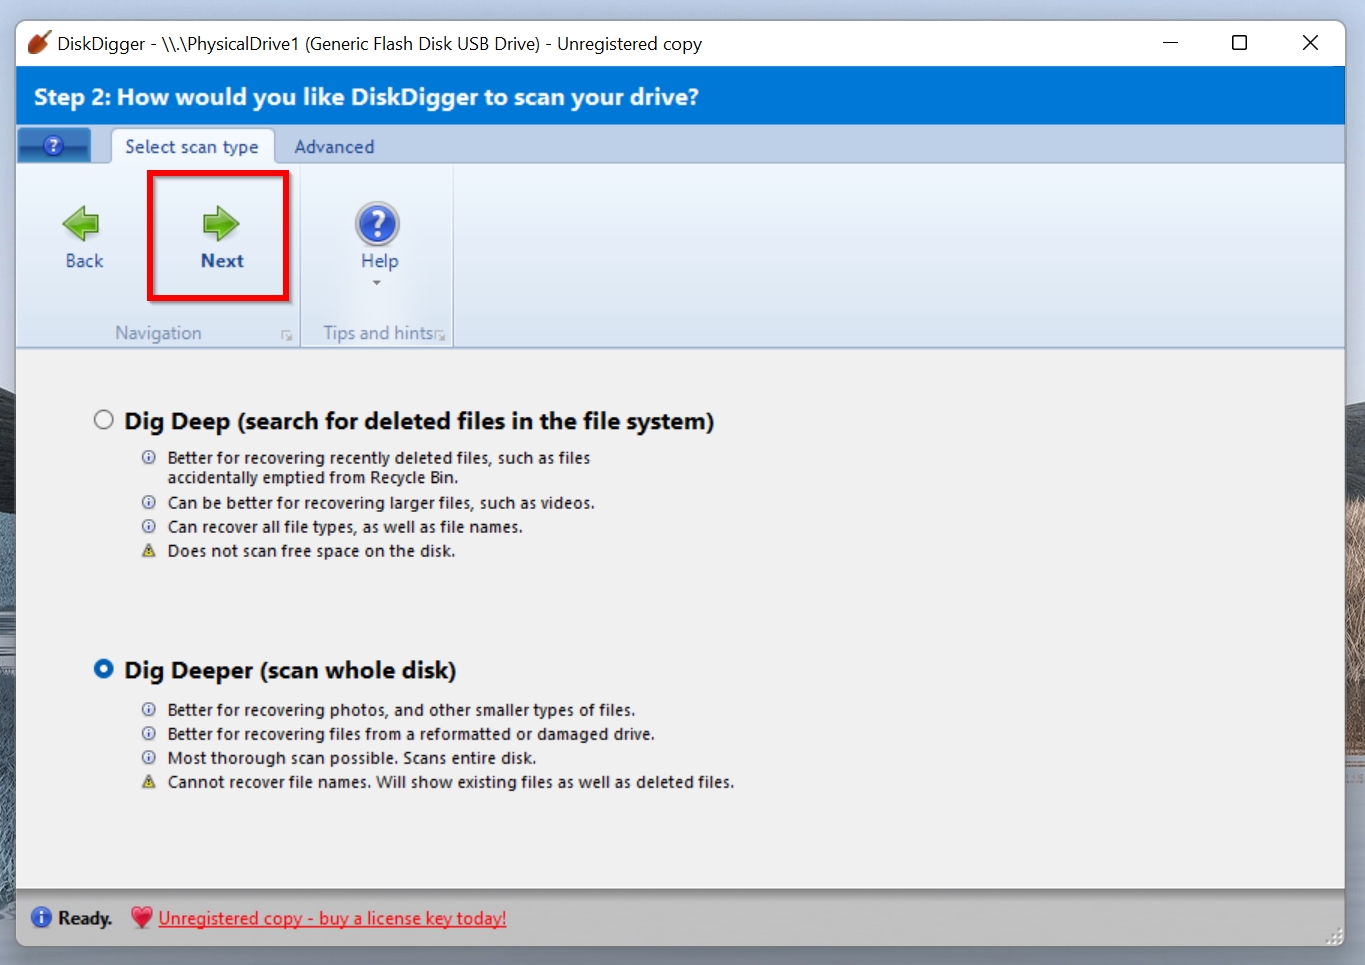
Like most other data recovery programs, DiskDigger has two primary scan modes, called–Dig Deep and Dig Deeper. The features of both scan types are given below:
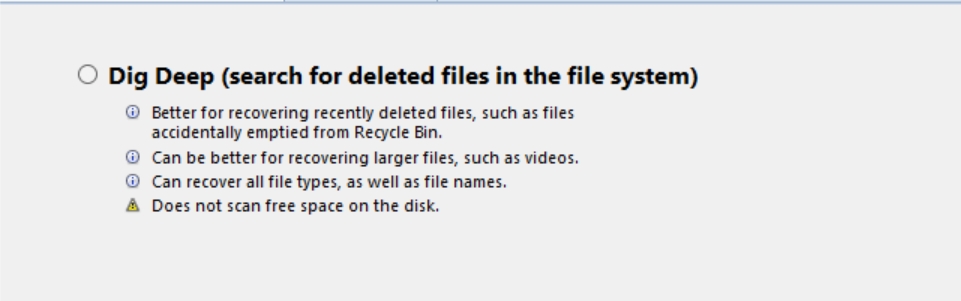
- Dig Deep: A less intensive and thorough scan that is fast but doesn’t recover as much data as the Dig Deeper mode. The supported file systems are FAT12, FAT16, FAT32, exFAT, and NTFS. The list of recoverable files after a Dig Deep scan can be sorted by size, date, name, and parent folder. While it’s recommended you always use the Dig Deeper mode for higher recovery chances and amount of data, you can use the Dig Deep scan mode to retrieve accidentally deleted files. Importantly, Dig Deep does not scan the free space on your disk, and you should not attempt data recovery from a formatted disk using the mode. It also supports all file types, successfully retrieves the file names of all recoverable files, and is recommended if you want to recover larger files, such as videos.
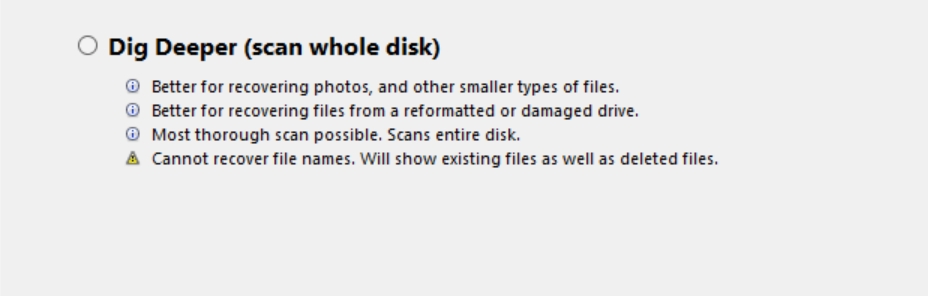
- Dig Deeper: As its name suggests, the Dig Deeper scan mode carefully scans each sector of your disk for recoverable data. Naturally, it’s much slower than the Dig Deep mode, but you will be able to view and retrieve significantly more data using this mode. It supports a variety of file types and offers all the same features as the Dig Deep scan mode. The Dig Deeper mode is better suited to recover data from formatted HDDs and for users looking to retrieve a bunch of smaller files, such as photos and documents. A major shortcoming of the Dig Deeper mode is, that it doesn’t recover filenames, and displays existing files on the disk as well. This can make finding the files you want to recover, more complicated.
DiskDigger Compatibility
DiskDigger is compatible with all popular operating systems. This includes Windows, Linux, macOS, and Android. On all platforms, you can either use DiskDigger free or upgrade to DiskDigger Pro.
The program also supports data recovery from SD cards, USB drives, internal and external HDDs as well as SSDs, and more.
While Disk Digger is available for all major platforms, running it on operating systems, other than Windows, is not as simple an affair as just downloading and extracting the program. Let’s see how DiskDigger runs on different platforms:
- Windows: To recover deleted files on Windows, using DiskDigger for Windows, users simply need to download a zip file and extract the DiskDigger.exe file to a place of their choosing. There’s no need for a wizard-based installation process.
- Macintosh: Unfortunately, new versions of macOS (Catalina and above), cannot run DiskDigger, because it requires the Mono package to be installed on your laptop or desktop. DiskDigger requires a 32-bit version of the Carbon Driver (tied in with Mono) to be set up on the device, which is not possible, because Apple no longer allows any kind of 32-bit applications to run on macOS Catalina and above. Essentially, older versions of macOS will be able to run DiskDigger, albeit with some extra steps.
- Linux: Similar to Mac, you first need to set up Mono on your Linux setup. Then you can download, unzip, and launch DiskDigger. Keep in mind to run DiskDigger using the superuser privileges, otherwise, it will not be able to detect and read the disks on your system.
- Android: DiskDigger has an official Android app that can be installed from the Play Store. On non-rooted devices, DiskDigger can scan and find all types of files, but you can only recover photos, that too, in a lower resolution. On rooted devices, DiskDigger can–recover all file types (DiskDigger Pro), and DiskDigger basic can retrieve videos, along with photos.
Important: DiskDigger’s website recommends disconnecting micro SD cards from your Android devices, directly connecting them to your PC, and then scanning them using DiskDigger for Windows.
As of writing this article, DiskDigger doesn’t have iPhone or iOS recovery compatibility.
Save and Restore Scan Sessions
Another great feature of DiskDigger is its ability to scan and restore scan sessions. This means you can scan a disk for recoverable data and save the scan, and retrieve the files later on, without having to perform another scan.
However, the scan sessions are not saved automatically. Here is how you can save and restore scan sessions in DiskDigger for PC:
- Launch DiskDigger, select the drive you want to scan, and start the scan.
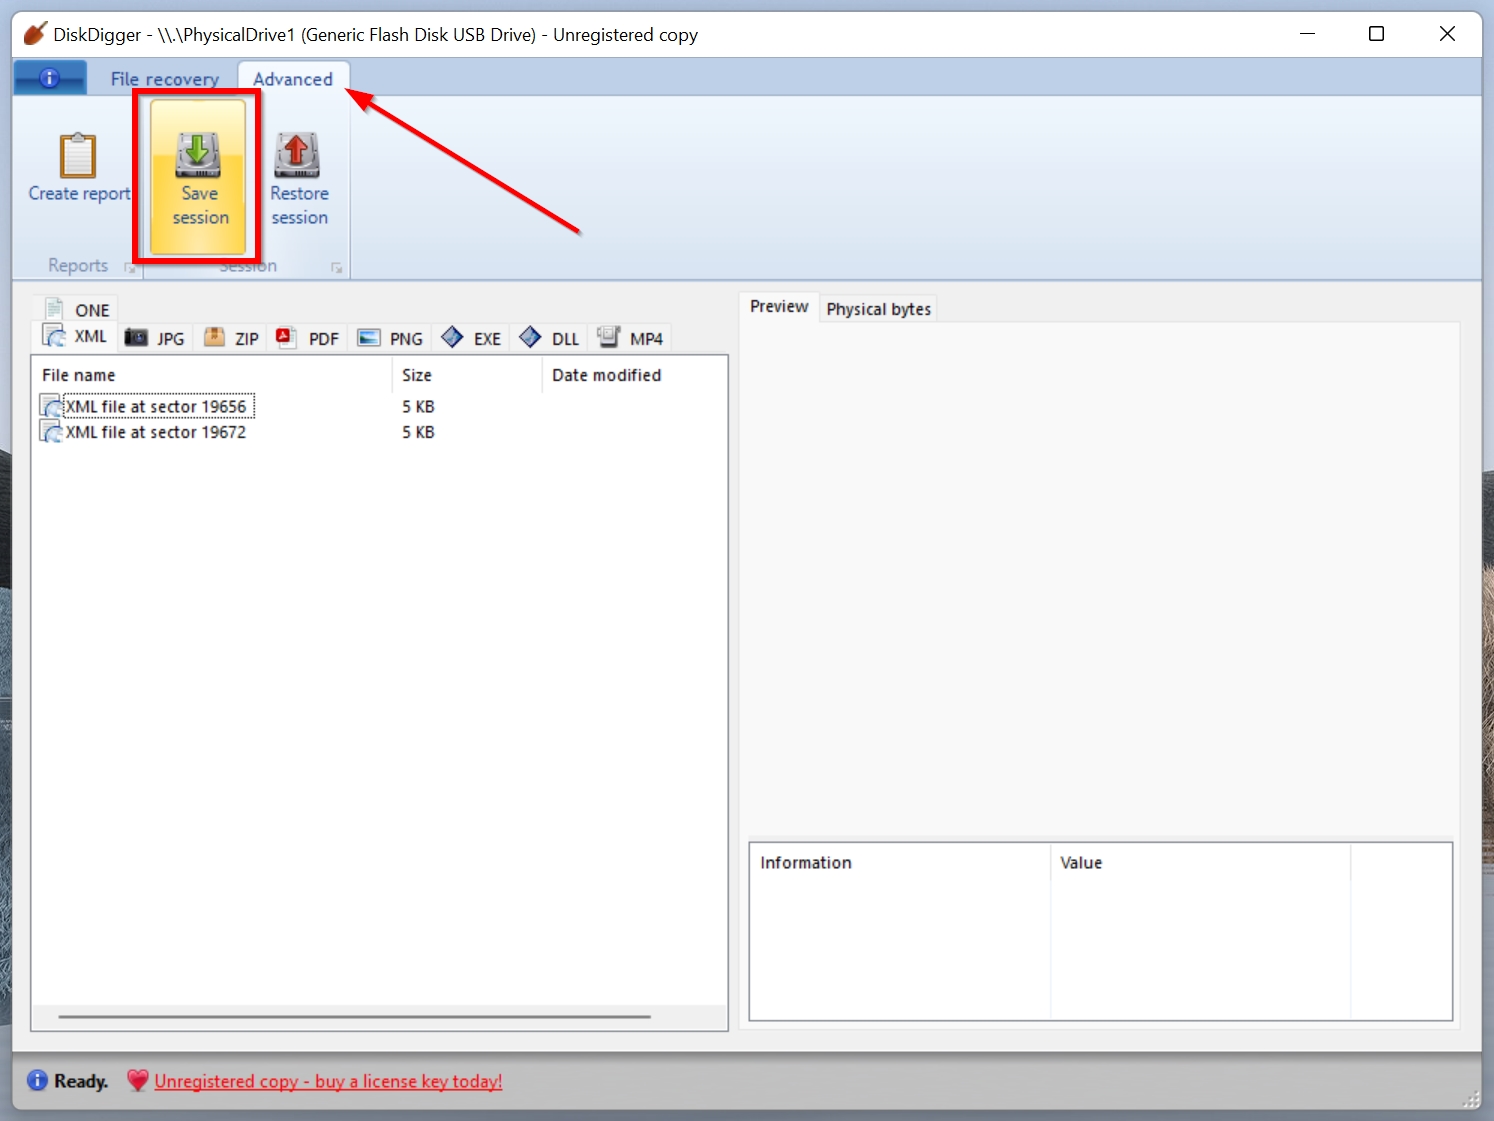
- On the scan results page, click on the Advanced tab.
- Now, click on the Save Session option and choose a destination to save the session file.
Additional Features of DiskDigger
In addition to the main features, DiskDigger has several other features that make the user’s life easier.
Some of these features are:
- You can preview files before recovering them. This includes thumbnails of image files, album art of MP3 and WMA files, executable file icons, a list of files in ZIP archives, and text previews of documents.
- You can scan virtual disk images in DiskDigger. But, the program doesn’t allow you to create disk images of your own.
- In the Dig Deeper mode, you can begin scans from specific locations on the disk.
- DiskDigger allows you to create reports of scans.
Data Recovery Process in DiskDigger
The data recovery process in DiskDigger is fairly straightforward, except for selecting and searching for the files you actually want to recover. The inability to recover filenames when using the Dig Deeper scan mode presents itself as a major hurdle when it comes to usability.
As a test, we’ll scan a USB drive that suffered from data loss recently, and see how DiskDigger fares. Here’s an overview of the DiskDigger file recovery process:
- Download DiskDigger and extract the EXE file in the ZIP archive to a suitable place on your PC. It’s recommended you don’t download and extract the file to the disk, that suffered data loss.
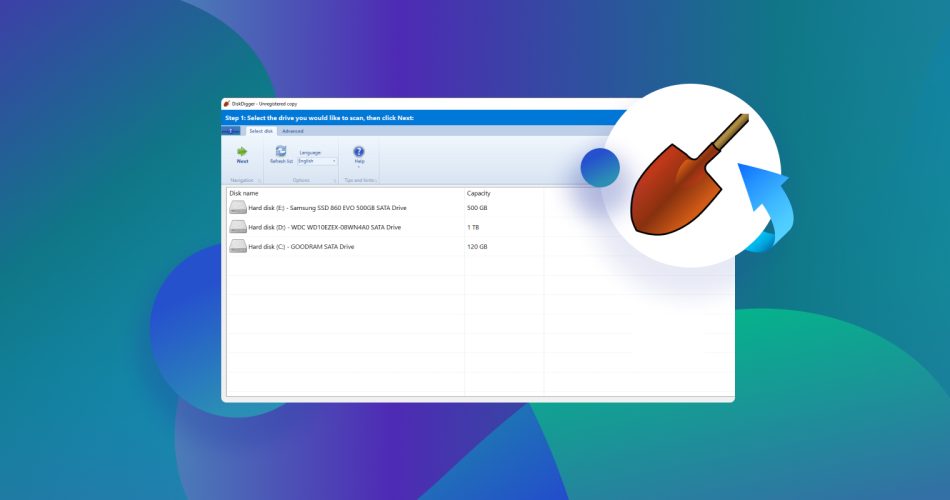
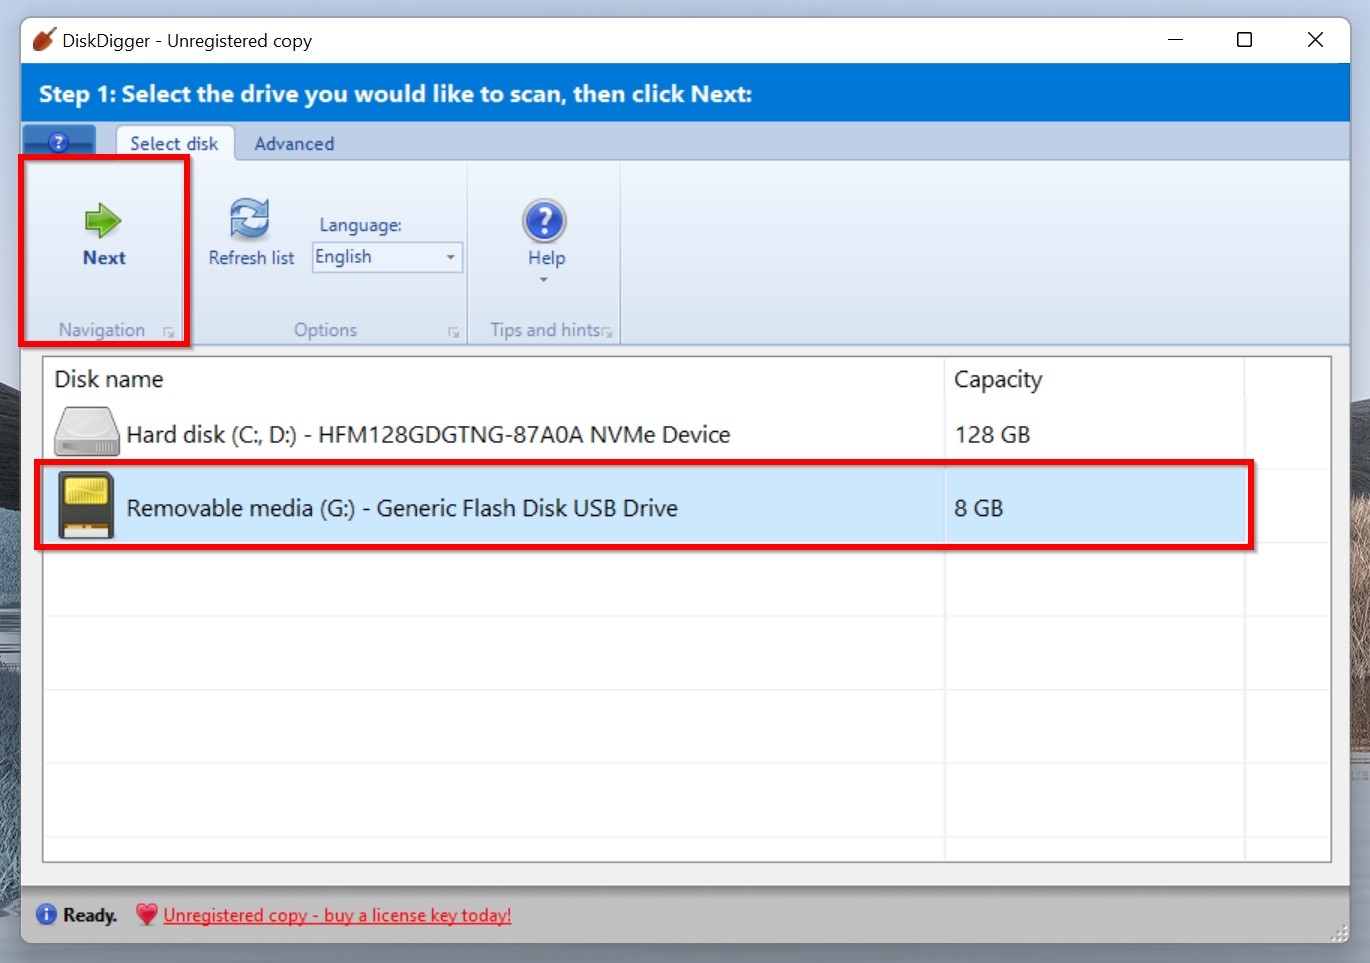
- Open DiskDigger and select the drive you want to scan. In our case, it’s a USB drive. Click on Next.
- Now, choose the scan type–Dig Deep or Dig Deeper, then click on Next.
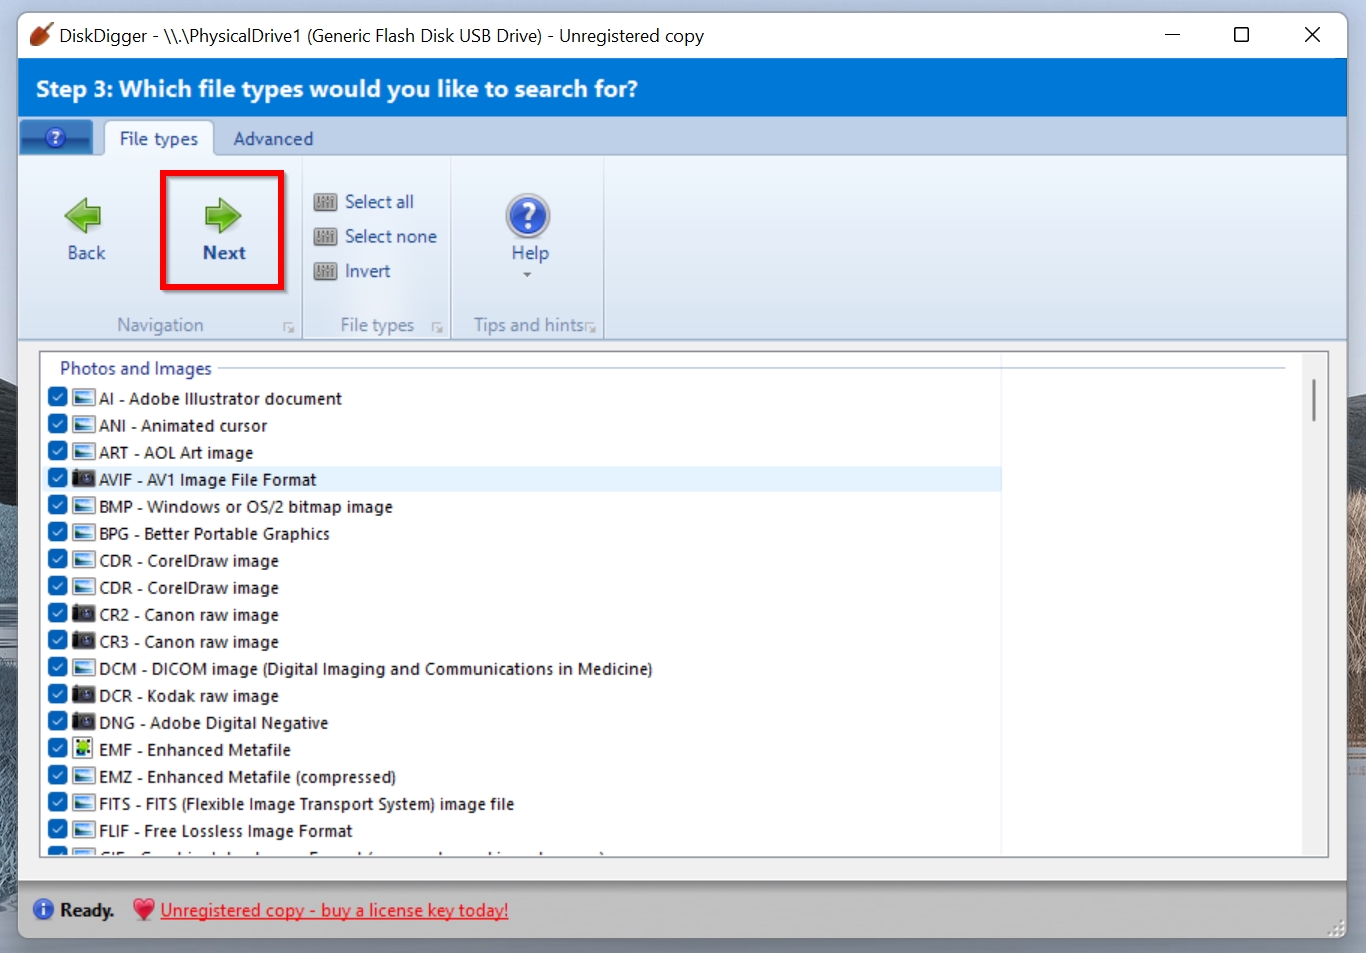
- On the next screen, choose the type of files you want to recover. If unsure, just leave the screen as it is and click on Next.
- Wait for DiskDigger to scan the drive.
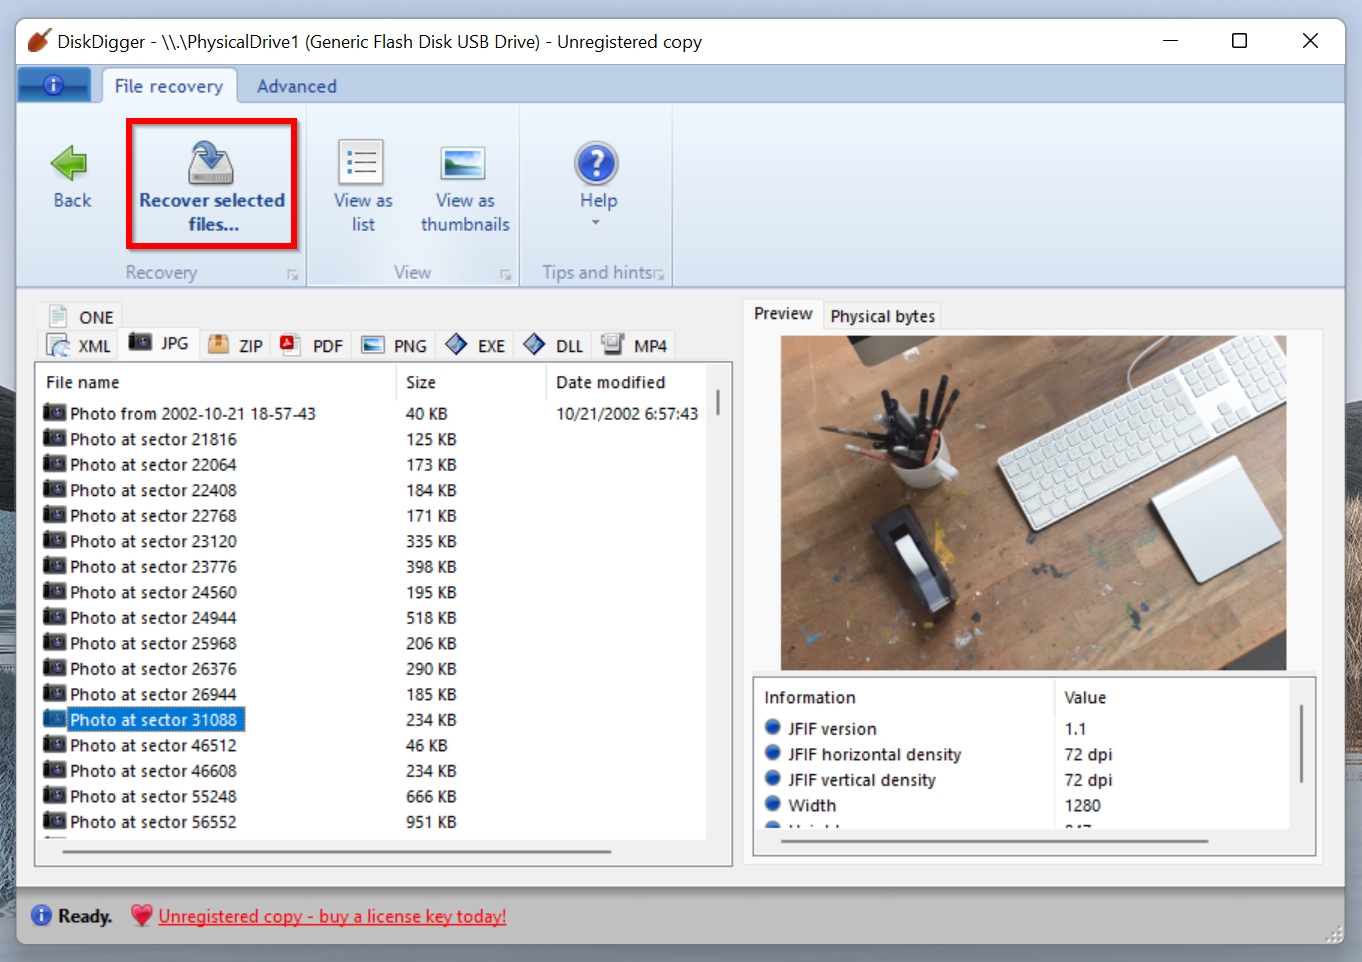
- On the file recovery screen, use the various file type tabs to filter by file type. Remember, DiskDigger will not retrieve the filenames, so you will have to preview files to confirm. Additionally, there’s no checkbox to select the files you want to recover, so click on the files while pushing down the CTRL key to make multiple selections. After selection, click the Recover selected files option.
- Choose a recovery destination for the files and click OK.
- You may have to wait for a few seconds on the next window and click on Continue unregistered if you haven’t purchased a license key for the program.
- DiskDigger will recover the selected files.
In our USB data recovery test, DiskDigger took about 15 minutes to scan the 8GB drive, which is a bit on the higher side, considering the size of the USB. However, it did find a lot of recoverable data and the preview feature is one of the more capable and detailed ones in the market.
Pricing
DiskDigger is quite modestly priced and users can acquire a license for $14.99 after a discount. Without the discount, the program costs $19.99. The complete feature set of the program is unlocked upon purchase, especially on Android, where you can recover all file types if you have DiskDigger Pro.
DiskDigger’s license is valid until the next major release of the program. In case of minor updates and tweaks, users won’t have to renew a purchased license.
User Feedback
The user reviews of DiskDigger are mixed. While some people were able to recover all their data, there were several instances of users feeling frustrated at the UI and functionality of the program.
There was a user, who was very happy with the DiskDigger and claimed: “it does exactly what it said.”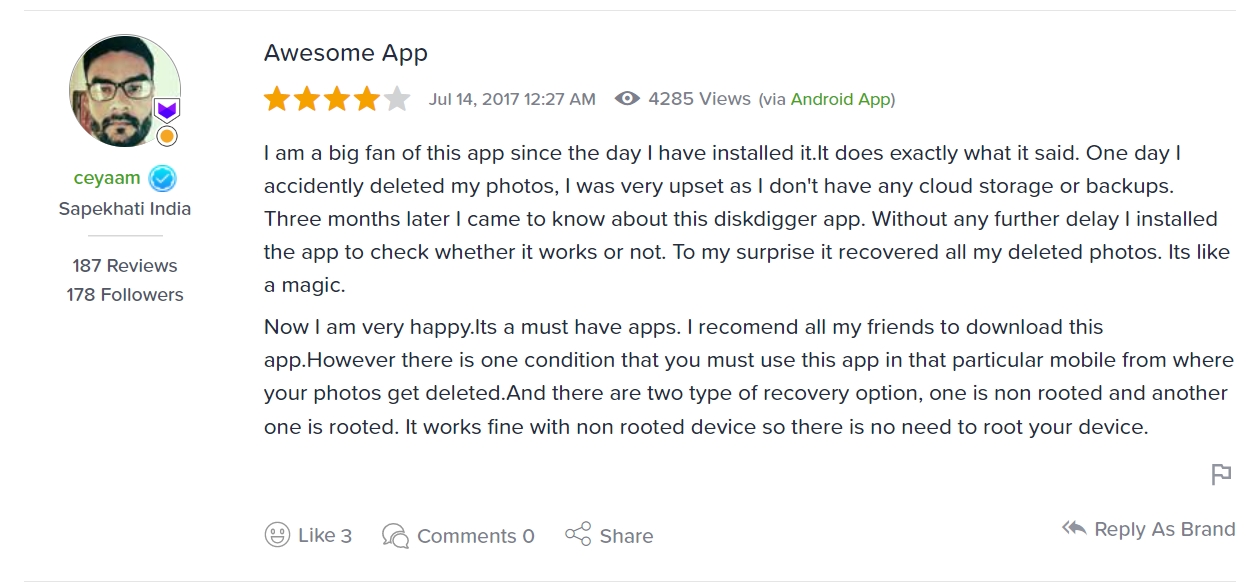
Meanwhile, one user from Trustpilot stated that the DiskDigger experience was “confusing”, and “user-unfriendly.”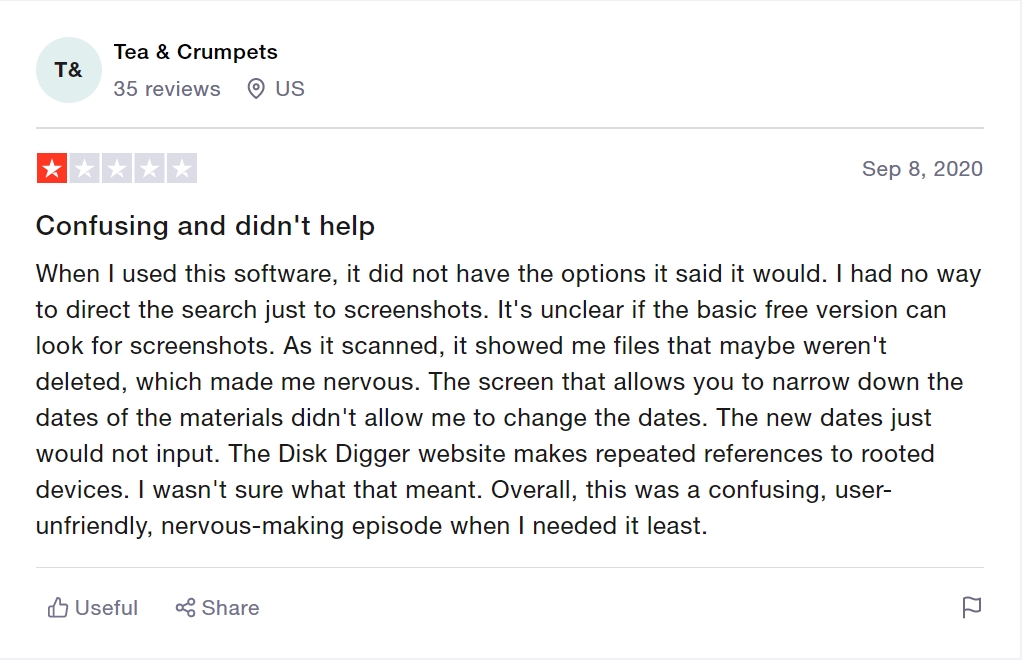
FAQ
How to use DiskDigger?
Here is a step-by-step tutorial on how to use DiskDigger:
- Download and install DiskDigger.
- Select the drive.
- Select the scan type and file type.
- Click on Next and select the files you want to recover, once the scan is over.
- Pick a recovery folder and click OK.
Is it safe to use DiskDigger?
Yes, DiskDigger is completely safe to use. The program doesn’t ask for any personal info and has been in the market for a long time, with verified reviews.
Can DiskDigger Recover Deleted Photos?
Yes, you can perform photo recovery using DiskDigger. Use the filter feature in the program to easily view recoverable photos.
Is DiskDigger really free?
DiskDigger is free to download and use on Windows. But, there is a pop-up message that is displayed every time you want to recover your files, which asks you to purchase a license. It can be skipped simply by waiting and clicking the Continue button. On Android, you will need to purchase DiskDigger Pro, if you want to recover anything apart from photos and videos.
Is there anything better than DiskDigger?
While DiskDigger is a decent data recovery app, there are plenty of programs that offer better features and ease of use.
Verdict
DiskDigger is a capable data recovery program that can detect and recover your deleted data. It’s also simple to install and quite easy to use until it comes to the file recovery selection screen. It is practically free on Windows and Linux and there’s no real need to purchase a license unless you want to use the program commercially. This is a major advantage, keeping in mind the cost of data recovery today.
The inability to see filenames can make the task of file selection significantly more difficult than it has to be. Additionally, scan times take longer than other offerings. While DiskDigger is cheap, the license subscription plan is confusing, since users have no way of knowing how soon the latest major update will arrive.
This article was written by Manuviraj Godara, a Staff Writer at Handy Recovery Advisor. It was also verified for technical accuracy by Andrey Vasilyev, our editorial advisor.
Curious about our content creation process? Take a look at our Editor Guidelines.