Although XQD cards are known to be durable and reliable, they still aren’t immune to data loss. In this article, we’ll delve into XQD card recovery and how, with the help of XQD card recovery software, you can retrieve all your missing data.
Want to skip the introduction? You can jump to the recovery guide right away.
What Is an XQD Card and Where It Is Used
An XQD card is essentially a type of flash memory card, that has substantially faster read and write speeds. Mainly used in high-end cameras, it uses PCI-e (Peripheral Component Interconnect Express) for data transfer. PCI-e is the same data transfer interface most commonly used by HDDs and GPUs in computers.
XQD cards offer various advantages over standard SD cards:
- ⚡ Read and write speeds of up to 500 MB/s and, in some cases, even beyond. The high read and write speeds perfectly complement faster, high-end cameras.
- 💽 Large storage capacities of over 2 TB. This makes XQD cards ideal for storing large amounts of RAW images and high-resolution video files.
- 💻 The data transfer from the XQD card to your computer also takes significantly lesser time compared to standard SD cards.
- 🛠️ XQD cards are widely considered more durable and physically robust.
Due to the aforementioned features of XQD cards, their primary use is in sports photography, action photography, and full HD video recording. Major manufacturers of XQD cards are Sony and Nikon.
Is it Possible to Recover an XQD Card?
Like most other forms of data storage, it is possible to recover data from an XQD card. However, the extent of data recovery will depend on the type of damage to the XQD card, how much time has elapsed since data deletion, and whether new data has been written to the XQD card.
In cases of accidental deletion or quick formatting, data can be recovered quite easily. In fact, there’s no need to even contact a professional data recovery service in these cases. All your data can be recovered right at home, with the help of XQD card recovery software.
Some common data loss scenarios and solutions are covered below:
😑 Accidental deletion |
Deletion of photos due to user error. This can directly be from the camera or when the XQD card is connected to the computer. |
If files were deleted when the XQD card was connected to the computer, look for them in the Recycle Bin or Trash. If you deleted the files from the camera, or if the files are not found in the Recycle Bin or Trash, use data recovery software. |
⚠️ XQD card corruption |
An XQD card can become corrupted due to several reasons: virus attacks, logical errors, and read-write interruptions. |
To recover files from a corrupted memory card, the best course of action is to immediately stop using the XQD card and use a data recovery program. Alternatively, contact a professional data recovery service. |
🔄 Formatting |
Cameras can prompt you to format an XQD card if it was incorrectly formatted. If you choose yes, all the data is wiped out. |
Don’t write new data to the XQD card. Instead, use a data recovery program to recover a formatted memory card. |
🔨 Physical damage |
The XQD card could break due to improper handling. |
Contact a data recovery service as soon as possible. Don’t try DIY recovery in this case. |
How to Recover Data Using an XQD Card Recovery Software
As mentioned earlier, XQD cards are generally durable, and it’s unlikely that you’ve physically damaged your XQD card. Data loss, due to corruption or accidental deletion and formatting, can be recovered with the help of third-party data recovery programs. However, it’s important to choose an application that is trustworthy and secure.
Disk Drill should check all the boxes when it comes to data recovery, whether it is Sony XQD recovery or generic SD card data recovery. The program is easy to use and comes with advanced functionality that helps users retrieve their missing data in no time. It is available for both Windows and Mac computers.
To know more about the program and its features, take a look at our in-depth review of Disk Drill.
Here is how you can recover data from an XQD card using Disk Drill:
- Download Disk Drill.
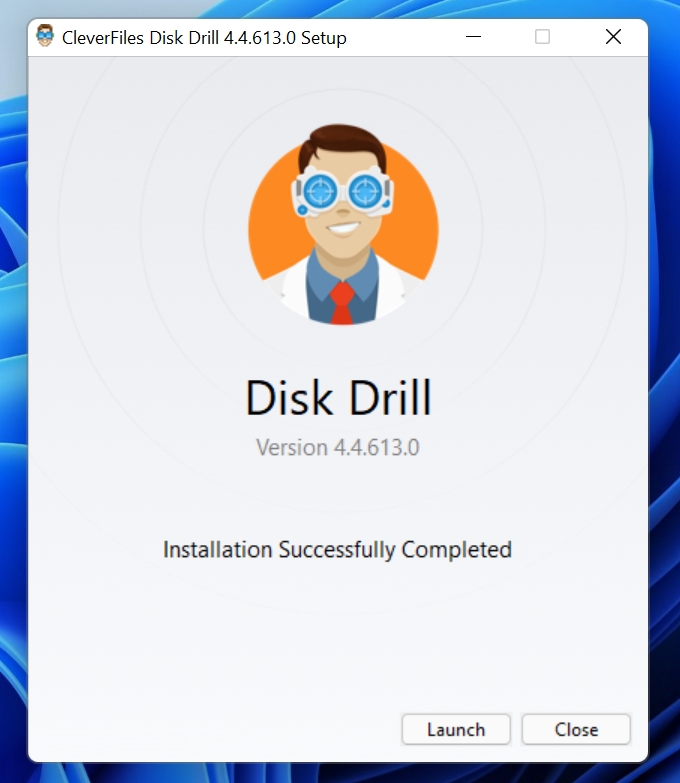
- Run the downloaded setup file. Follow the steps in the installation wizard to install Disk Drill. Remember, you’ll need administrator privileges.
- Connect the data loss affected XQD card to your computer.
- Run Disk Drill using the desktop shortcut, or you can directly click Launch on the installation complete screen.
- On the Disk Drill home screen, select your XQD card. As an example, we’re using a USB drive, but the instructions are exactly the same for any kind of storage device.
- Ensure that the scan option is set to All recovery methods for the best results.
- Click on the Search for lost data button.

- Wait for Disk Drill to finish scanning.
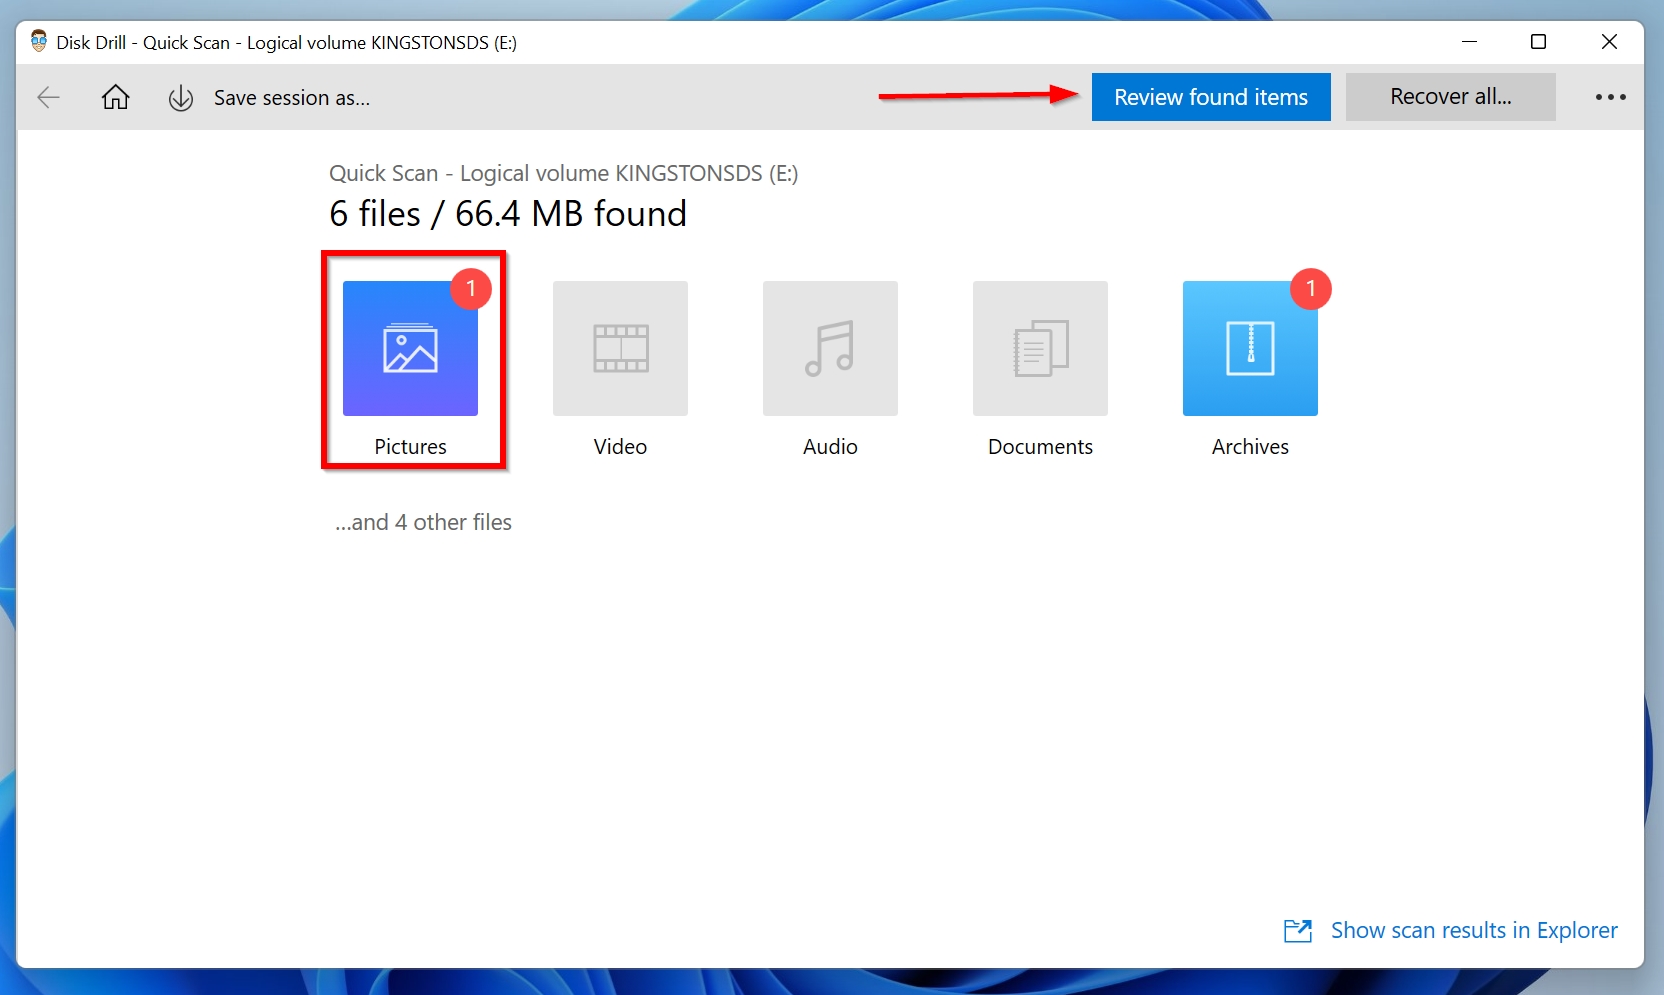
- Now, you can use Disk Drill’s filter feature, and click on the Pictures option to only display the recoverable photos that Disk Drill found during the scan. If you want to see all file types, click on Review found items instead.
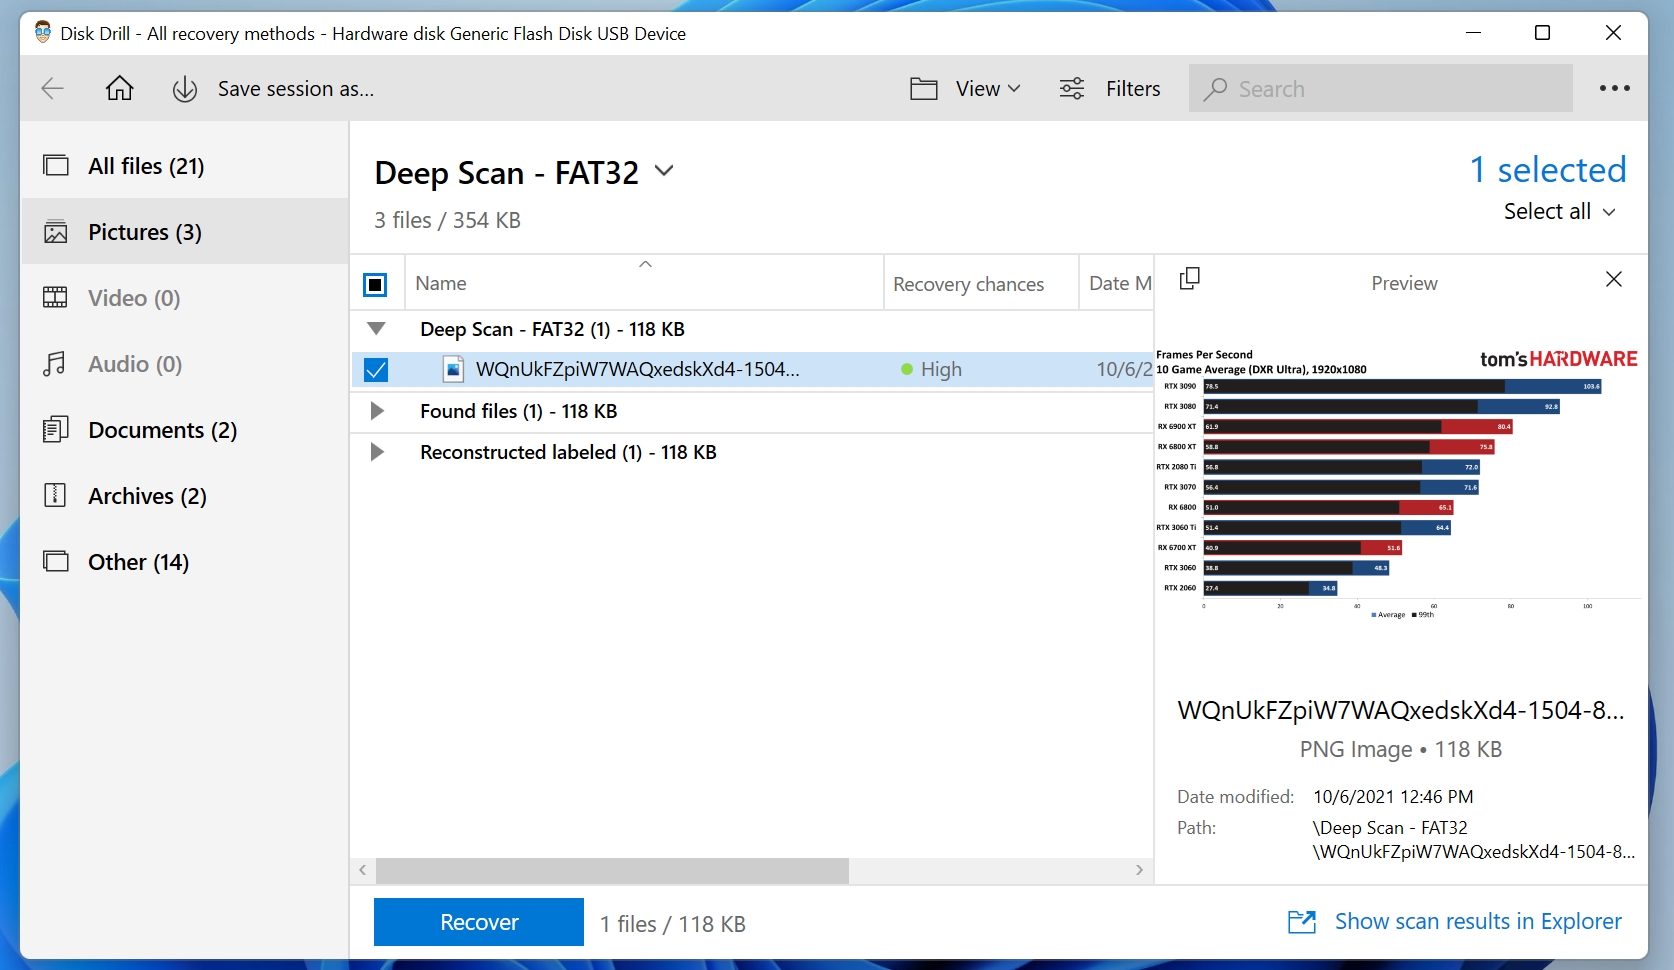
- To recover a file, click on the checkbox next to it to select it. Then click the Recover button. You can also see the recovery chance for each particular file in the corresponding column and double-click on a file to see a preview of it. It is not only a useful feature to determine if you are trying to recover the correct file, but also an important indicator of the recoverability of the file. If you can preview the file, it is 100% recoverable.
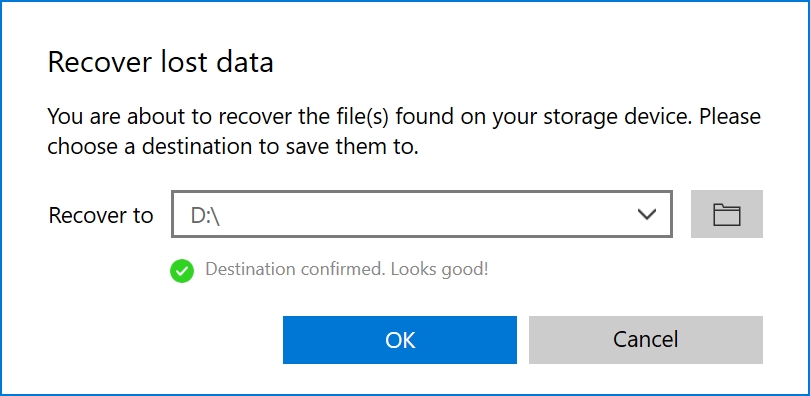
- Choose a recovery location for the files. DON’T choose the same XQD card as a recovery directory to avoid overwritting. Click on OK.
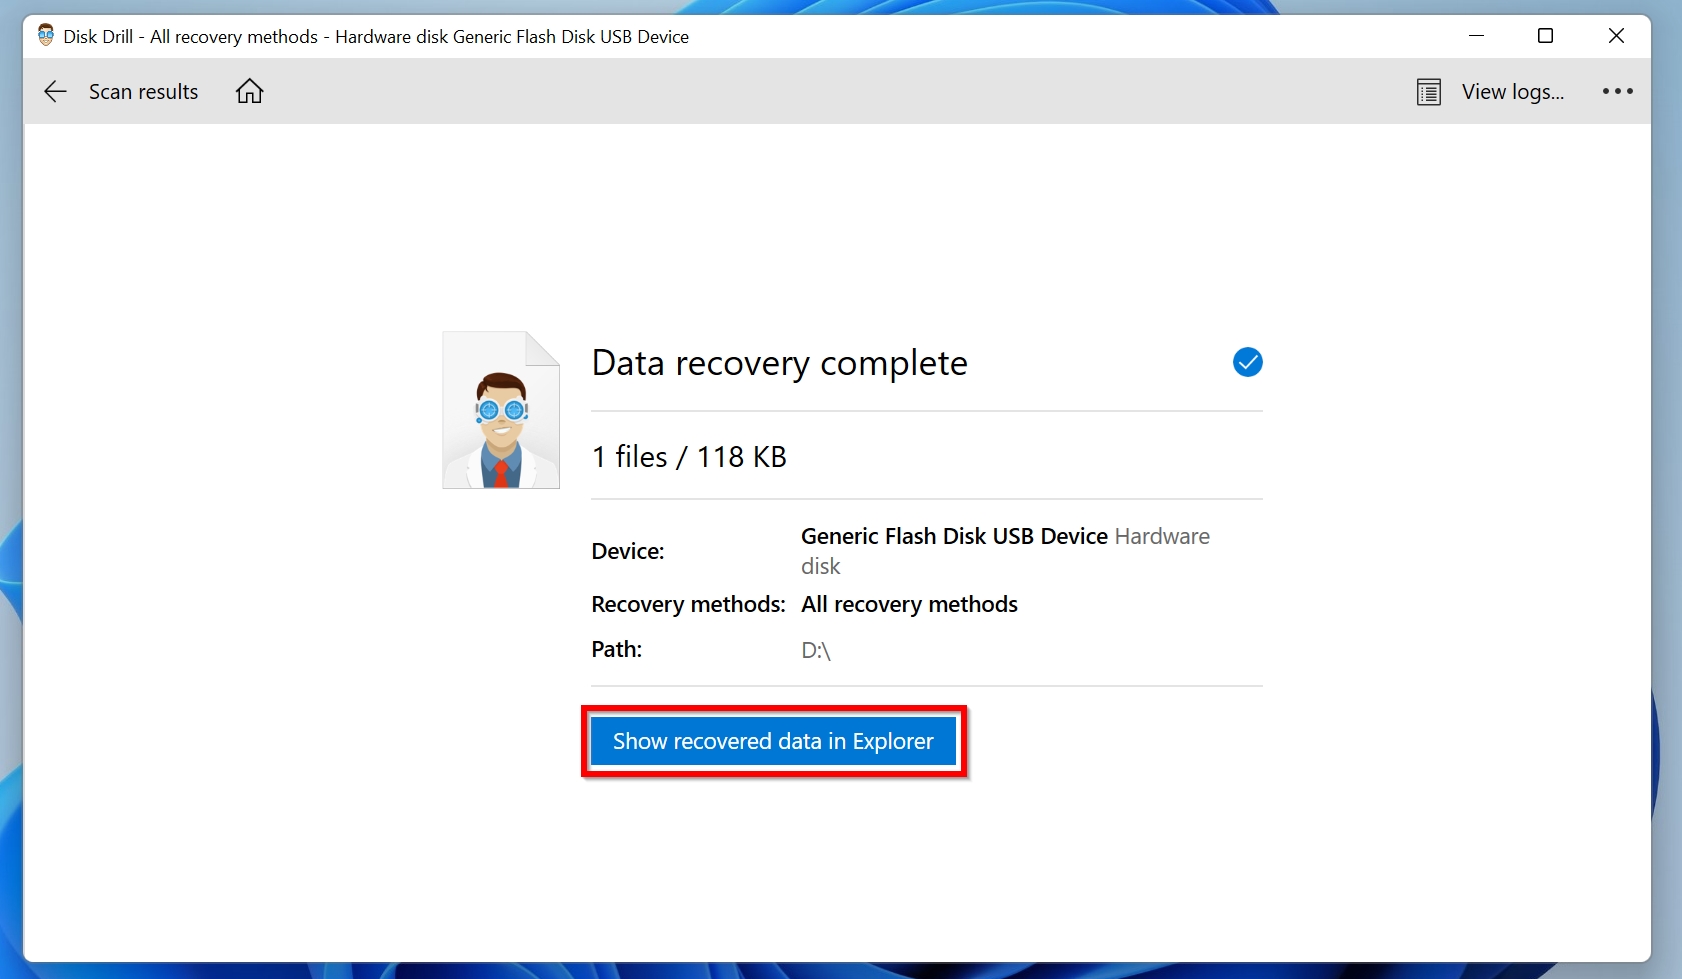
- After recovery is over, you can use the Show recovered files in Explorer button to see the files in Windows Explorer.
Users with other portable storage devices can also use Disk Drill, since it fully supports external hard drives, USB drives, various types of memory cards (CompactFlash, CFexpress, CFast, MicroSD, xD, etc.) and other storage device types.
Should I Contact a Professional Data Recovery Service?
While data recovery programs can help you save money and provide the convenience of recovering data at home, there are some cases in which you should contact a professional data recovery service for XQD card recovery:
- The XQD card is physically damaged.
- There is severe corruption in the XQD card, so much so that your computer is unable to detect it. This could also be due to a faulty XQD card reader, so ensure you use a different one for confirmation.
- The XQD card has critical data that needs to be recovered at any cost.
Again, just like data recovery software, always choose the best memory card recovery services if you want to recover maximum data.
Here is an overview of the process involved in contacting and recovering your data using a professional data recovery service:
- Contact the data recovery service and fill them in about your data loss scenario.
- You will then have to courier your XQD card or drop it off at the local drop-off center of the company.
- The company will evaluate your memory card, then provide you with an exact quote. The evaluation is usually free.
- If you choose to proceed further, the company will recover your data and ship it back to you.
FAQ
How to recover data from an XQD card?
Disk Drill makes data recovery from an XQD card really simple:
- Download and install Disk Drill.
- Connect the XQD card to your computer.
- Run Disk Drill and scan your XQD card.
- Select the files you want to recover from the scan results and click Recover.
- Choose a recovery destination for the files.
Do XQD cards fail?
It’s extremely rare for XQD cards to fail. Even if they do, it’s usually due to improper handling by the user. If you have an XQD card, you can rest assured that physical failure isn’t likely to happen.
How to recover footage from a formatted XQD card?
If the card was formatted using Quick Format, you can use data recovery programs like Disk Drill to get back your data:
- Download and install Disk Drill.
- Connect the XQD card to your PC.
- Open Disk Drill and scan the formatted XQD card.
- Select Video on the scan complete screen to filter the files.
- Select the footage you want to recover and click Recover.
- Choose a recovery destination for the videos.
Is it possible to perform XQD card recovery on macOS?
Yes, programs like Disk Drill can be downloaded and installed on macOS. Subsequently, you can use them to perform XQD card recovery or recover data from any other memory card on a Mac. However, it’s essential to have a compatible XQD card reader.
Conclusion
XQD card recovery can seem daunting, due to the format being relatively new compared to SD cards and USB drives. But, if you follow the steps correctly, you’ll be able to recover all of your missing data.
This article was written by Manuviraj Godara, a Staff Writer at Handy Recovery Advisor. It was also verified for technical accuracy by Andrey Vasilyev, our editorial advisor.
Curious about our content creation process? Take a look at our Editor Guidelines.