Accidentally formatted the wrong hard drive, or formatted it only to realize you needed some files? As long as the Quick Format option was checked, you can technically unformat the disk and recover your deleted files. How? Well, the sections below will take you through methods we’ve personally tested to successfully undo a hard drive format on our own drive. To maximize your chances of data recovery, act quickly and avoid writing new files to the drive.
You’re most likely facing this issue with an external hard drive, since those are easier to format by mistake. That’s why the solutions below focus on how to unformat an external hard drive. If instead you’ve formatted an internal hard drive, you can skip ahead to the last section where we cover that.
For Mac users, we’ve covered the process of unformatting a hard drive on macOS in our detailed guide.
Is it Possible to Unformat a Hard Drive?
In this article, we use the term ‘unformat’ to refer to data recovery after formatting a hard drive. Therefore, yes, it is completely possible to unformat an HDD. But, the success and chances of recovering files from a formatted hard drive will depend on three primary factors:
- 🧹 How the drive was formatted: If you formatted the hard drive using Windows Explorer and the Quick Format option was checked, data recovery from the hard disk drive is possible and fairly easy too. On the other hand, a full format (formatting with the Quick Format option unchecked) is impossible to undo because it writes 1s and 0s to each sector of your drive, overwriting any existing and deleted files in the process. In case the full format was interrupted or canceled, you can recover the files that weren’t overwritten. Thus, it’s important to know whether you performed a Quick Format or Full Format of your drive so that you don’t waste precious time and money unnecessarily.
- ⌛ Time elapsed since formatting: If you formatted the hard drive and installed a new OS or copied a lot of files since formatting, the amount of data recovered will be minuscule. This is because new data overwrites previous data on the drive, making data recovery impossible. It’s best to stop using the device as soon as you realize you accidentally formatted your drive, and attempt data recovery as soon as possible. Do not write any new files to the drive.
- 💽 Type of storage drive: No matter the drive type (HDD, or SSD), formatting erases all your data. But data recovery from SSDs is more complex, and often impossible. That’s because, unlike HDDs—which keep deleted files until new ones overwrite them—SSDs use TRIM, a feature that clears out unused data blocks that are ready to store new information. If you’re using an SSD, we suggest checking our guide on formatted SSD recovery.
How to Unformat a Hard Drive Using Data Recovery Software
Windows has limited options for backing up external hard drives, but it’s still worth looking for previous backups of your drive. Maybe you copied some files to your PC’s internal drive, or uploaded them to cloud storage?
Restoring a backup is the only guaranteed way of recovering all your files. If that’s not an option, then third-party data recovery apps are your only other DIY option.
In our recent data loss survey, nearly 80% users reported success when recovering their data using third-party DIY data recovery apps.
Files removed during a quick format technically remain on your drive until they’re overwritten, so these programs scan the file system’s metadata to find references to the removed files and then recover them. In case nothing turns up in the file system metadata, most apps also support RAW recovery, which scans your drive bit by bit to identify file signatures unique to each file format. Some programs can rebuild complete files from fragments scattered across the drive.
However, not all data recovery software is created equal, and it’s important to choose the best data recovery apps from the horde of options available today.
Let’s see how to unformat a partition, or a drive, using two leading data recovery programs:
Method 1: Use Disk Drill
Disk Drill is the go-to data recovery tool for people across the globe, and for good reason. It’s easy to use, feature-packed, and has a market-leading success rate. Support for all major storage drive types and file systems ensures you’re not left double-checking for compatibility. The developers regularly update the app with new features and better recovery rates—as of now, the latest version is Disk Drill 6.
![]()
Here is how you can recover data from an accidentally formatted hard drive using Disk Drill:
- Download Disk Drill and install it.
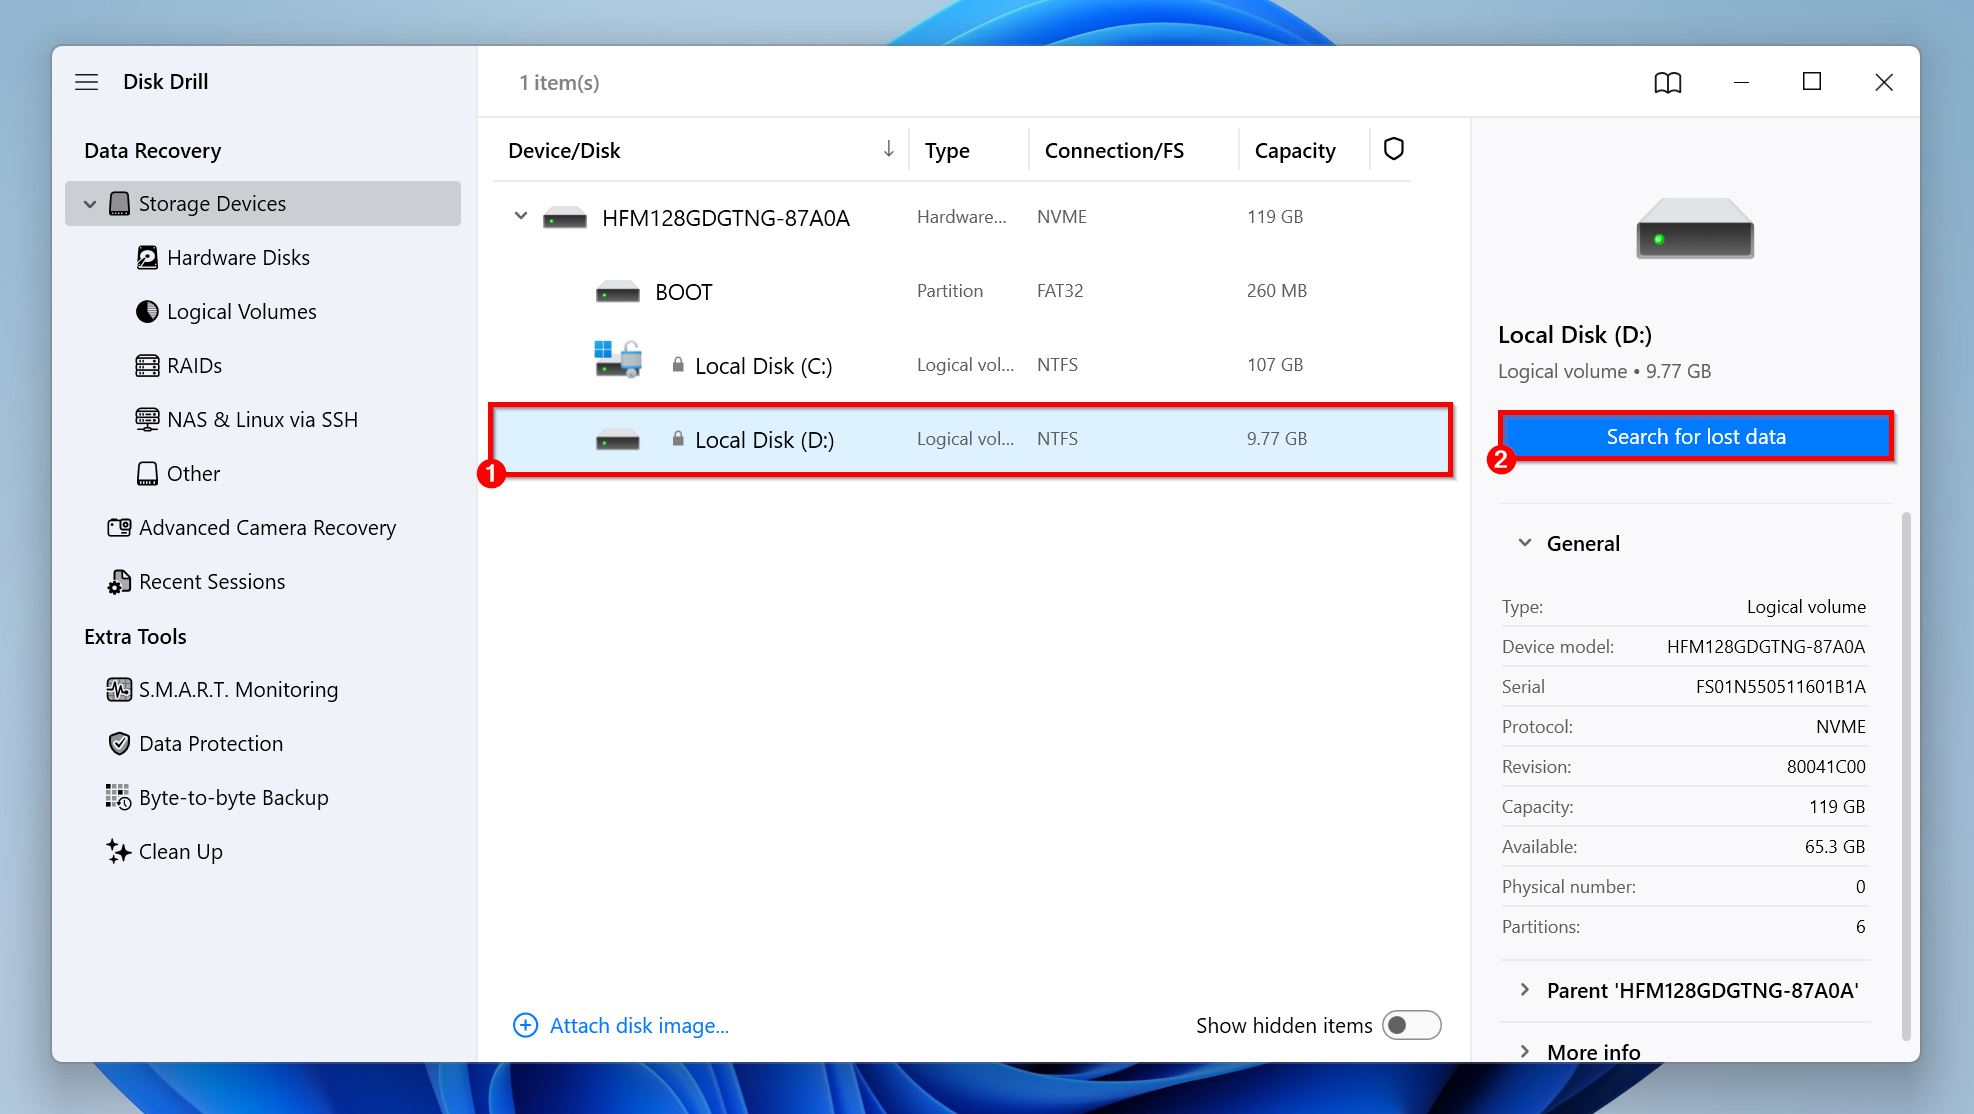
- Open Disk Drill, select the formatted drive from the list, and click on Search for lost data. If prompted to choose a scan type, click on Universal Scan.
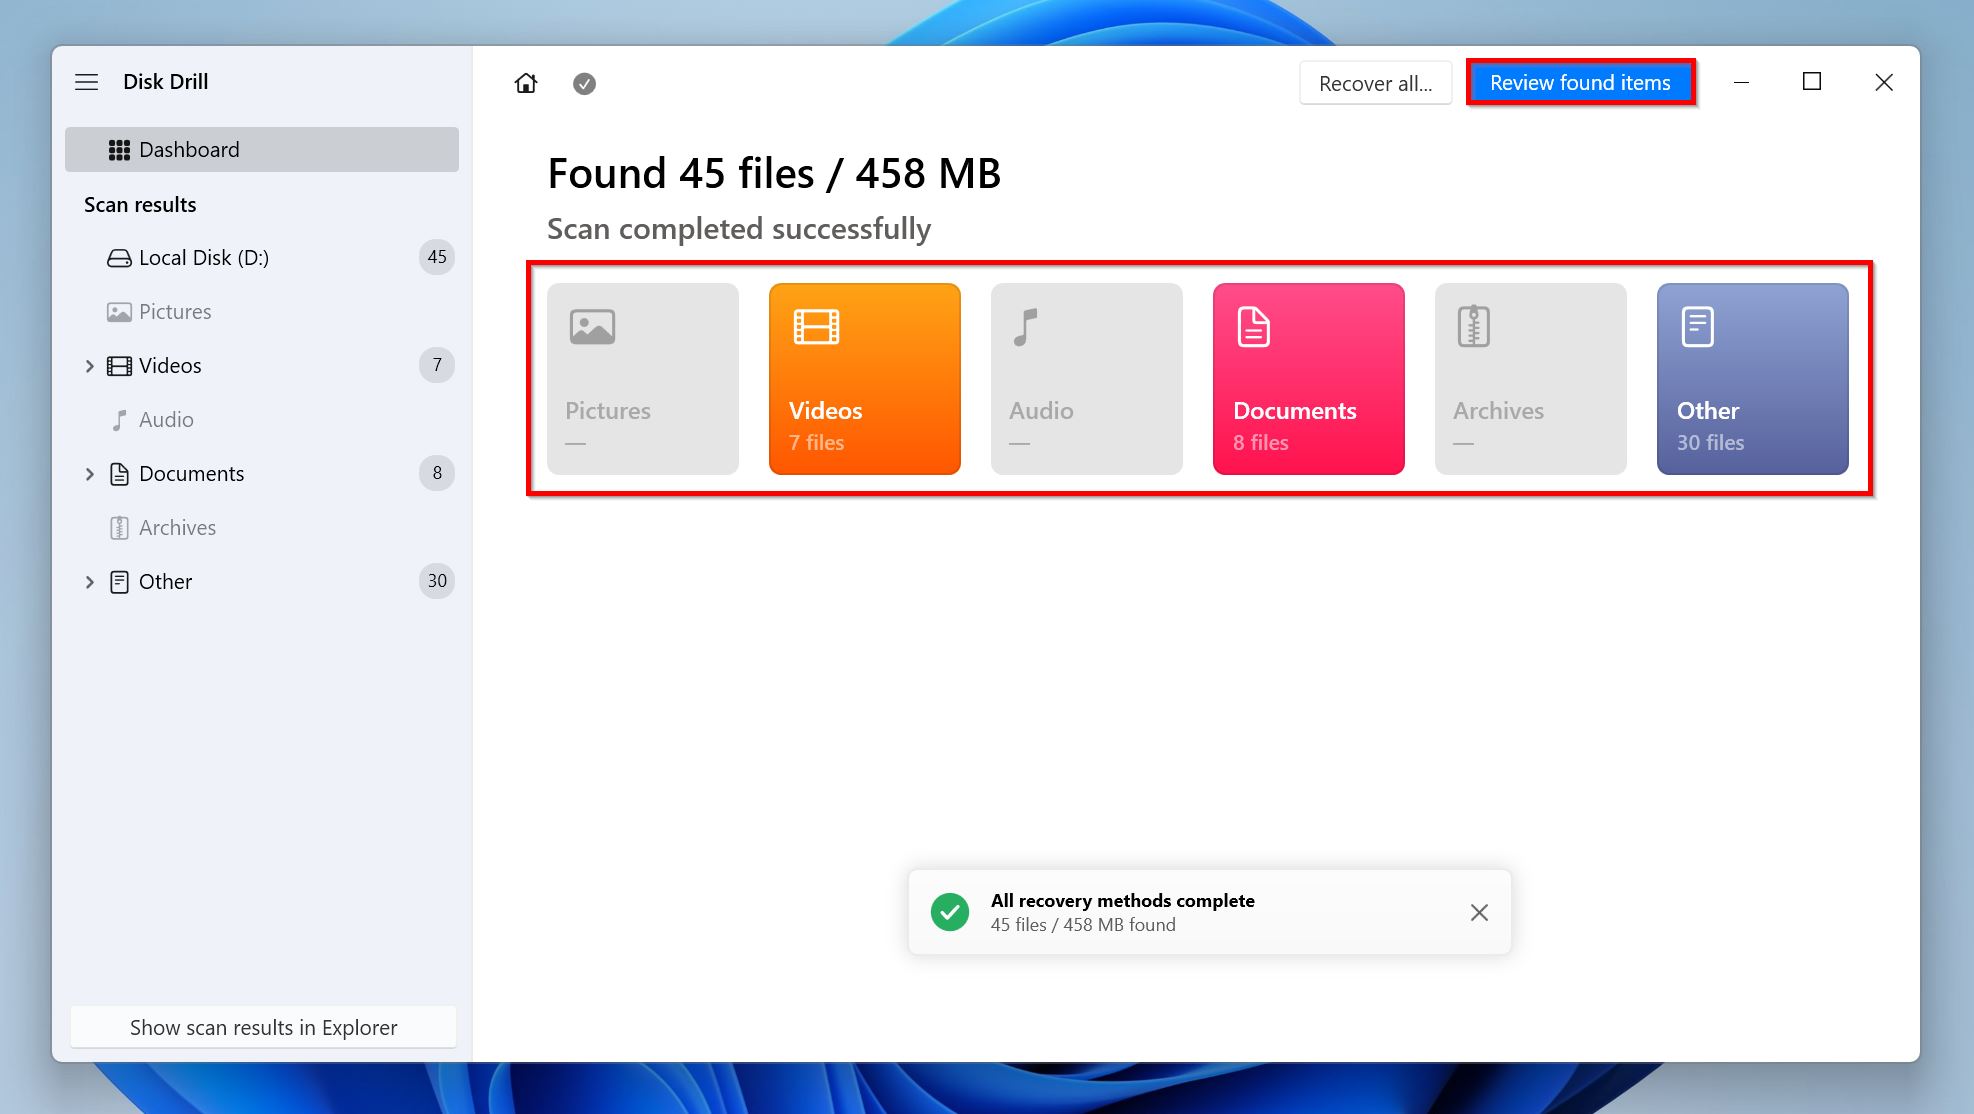
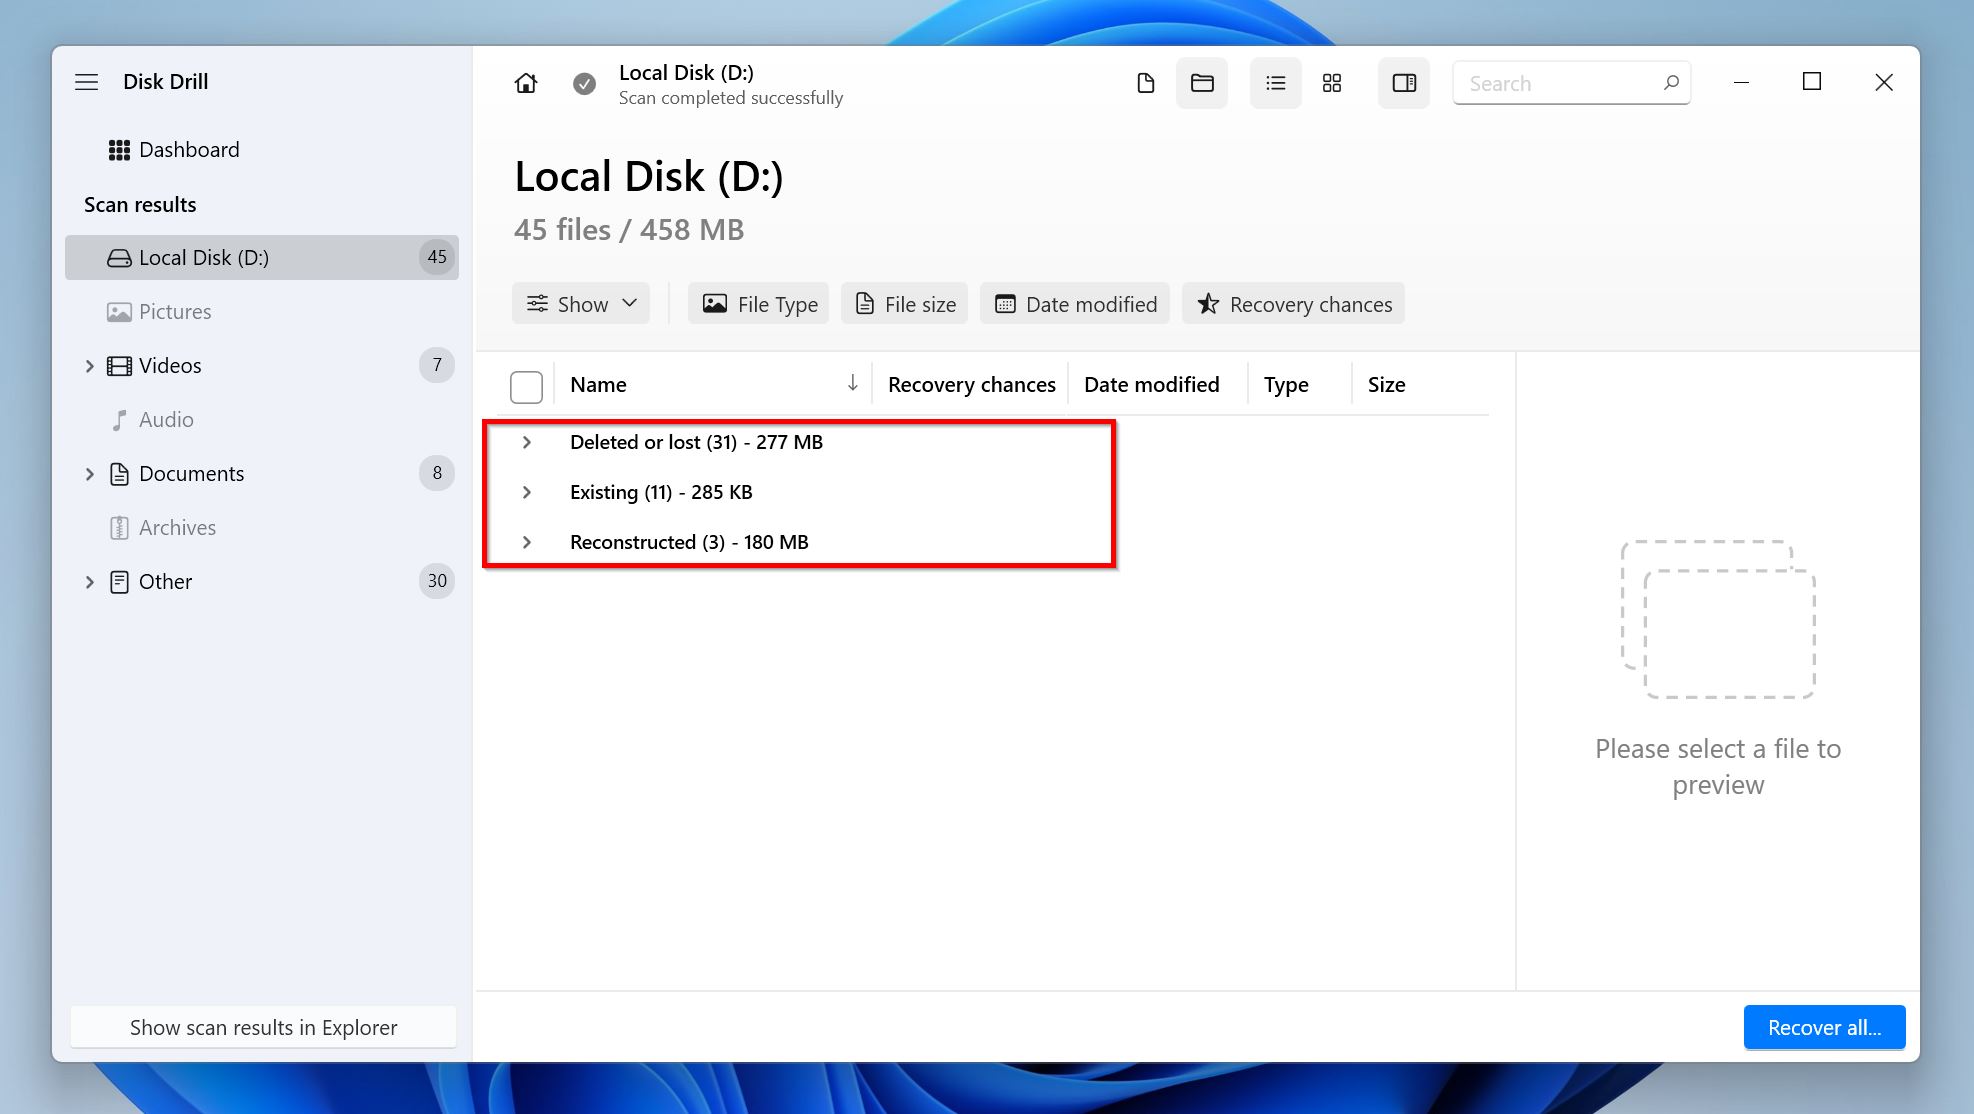
- Click Review found items to view recoverable files. If you click on this while the scan is underway, Disk Drill will list the files as and when it discovers them. You can also click on the relevant file type tiles—Pictures, Videos, Audio, Documents, Archives, and Other—to filter the results right away.
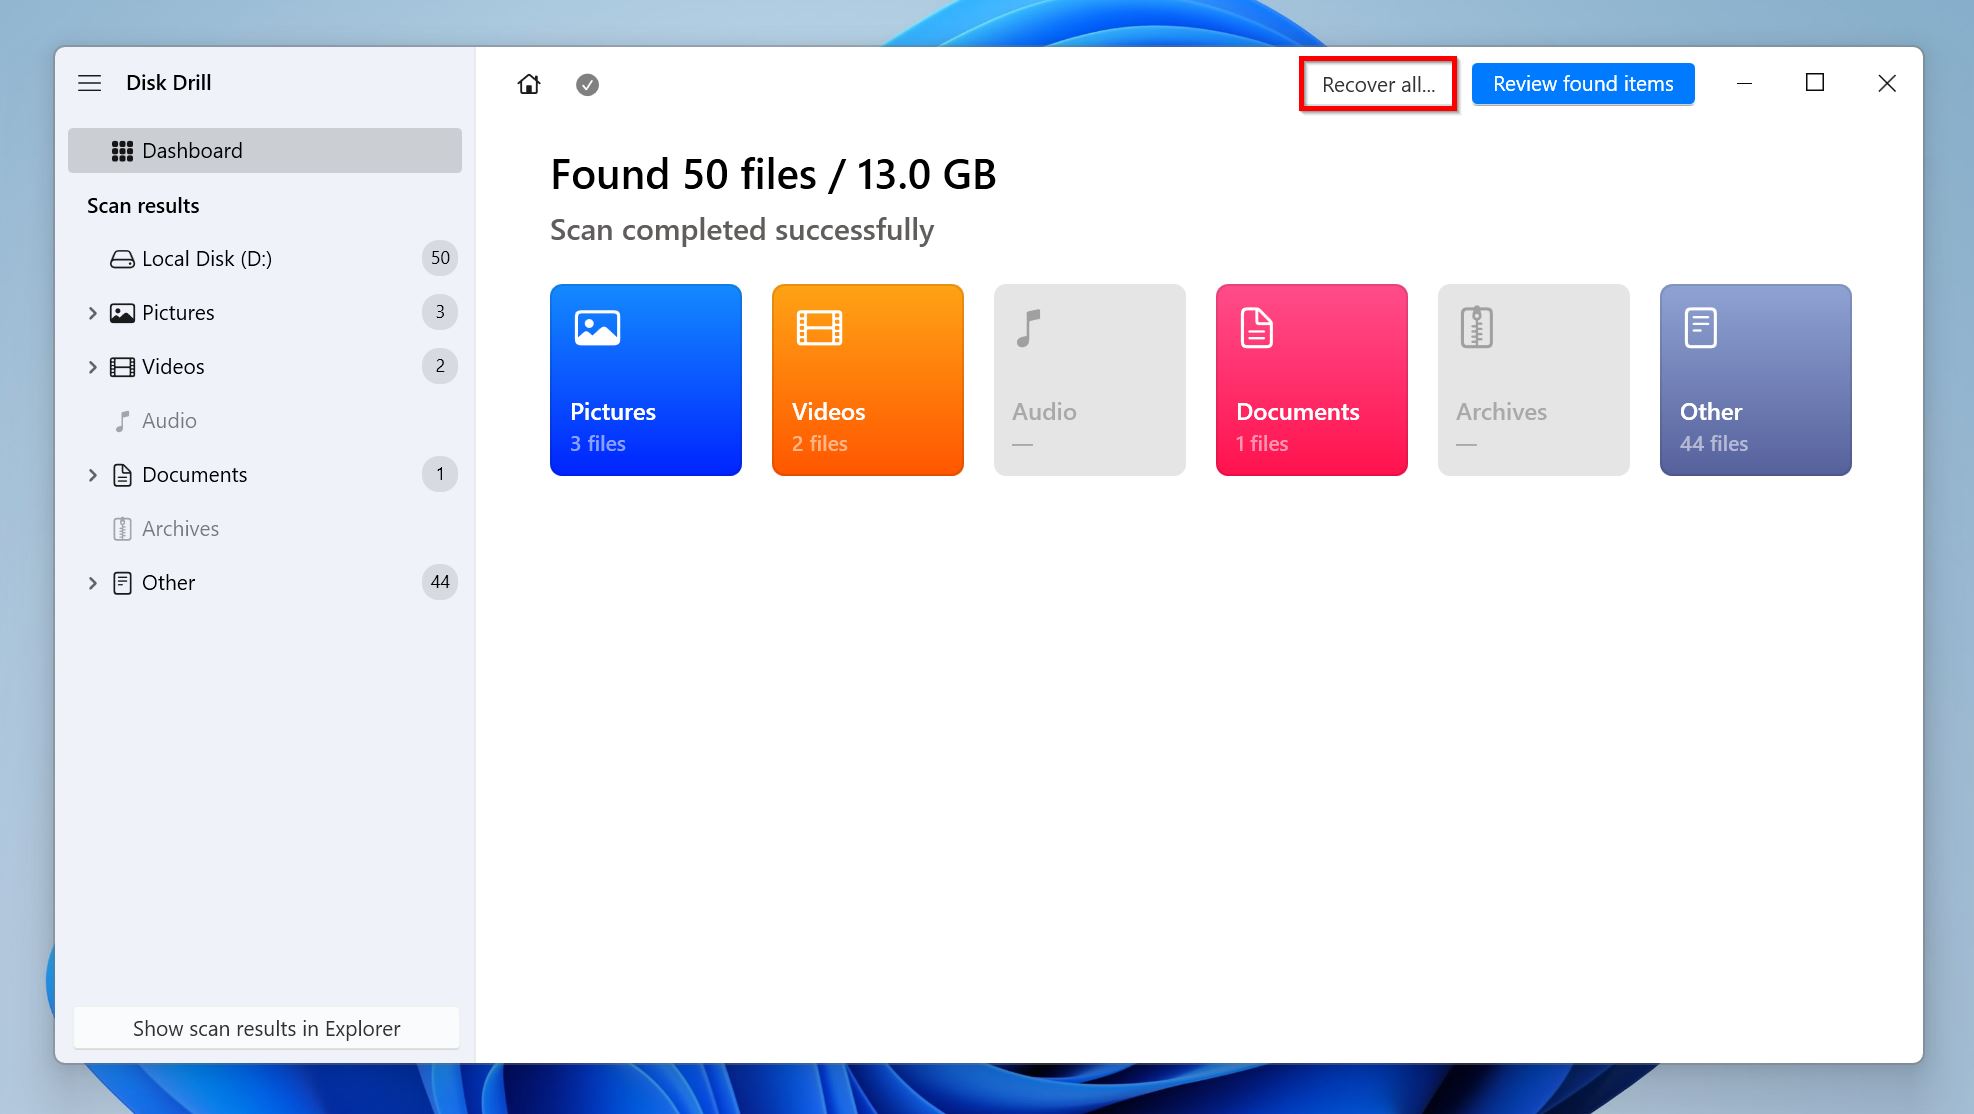
- (OPTIONAL) If you’d rather just recover all the files Disk Drill finds, without going through them first, click Recover all, pick a recovery destination, and click Next.
- Expand the Deleted or lost, and Reconstructed sections to view recoverable files. The former contains files with their names and folder structure intact, while the latter lists files whose folder structure and filenames couldn’t be recovered—the files themselves are intact. Disk Drill will recover the original folder structure of your files only if the drive wasn’t reformatted to the same file system it had before.
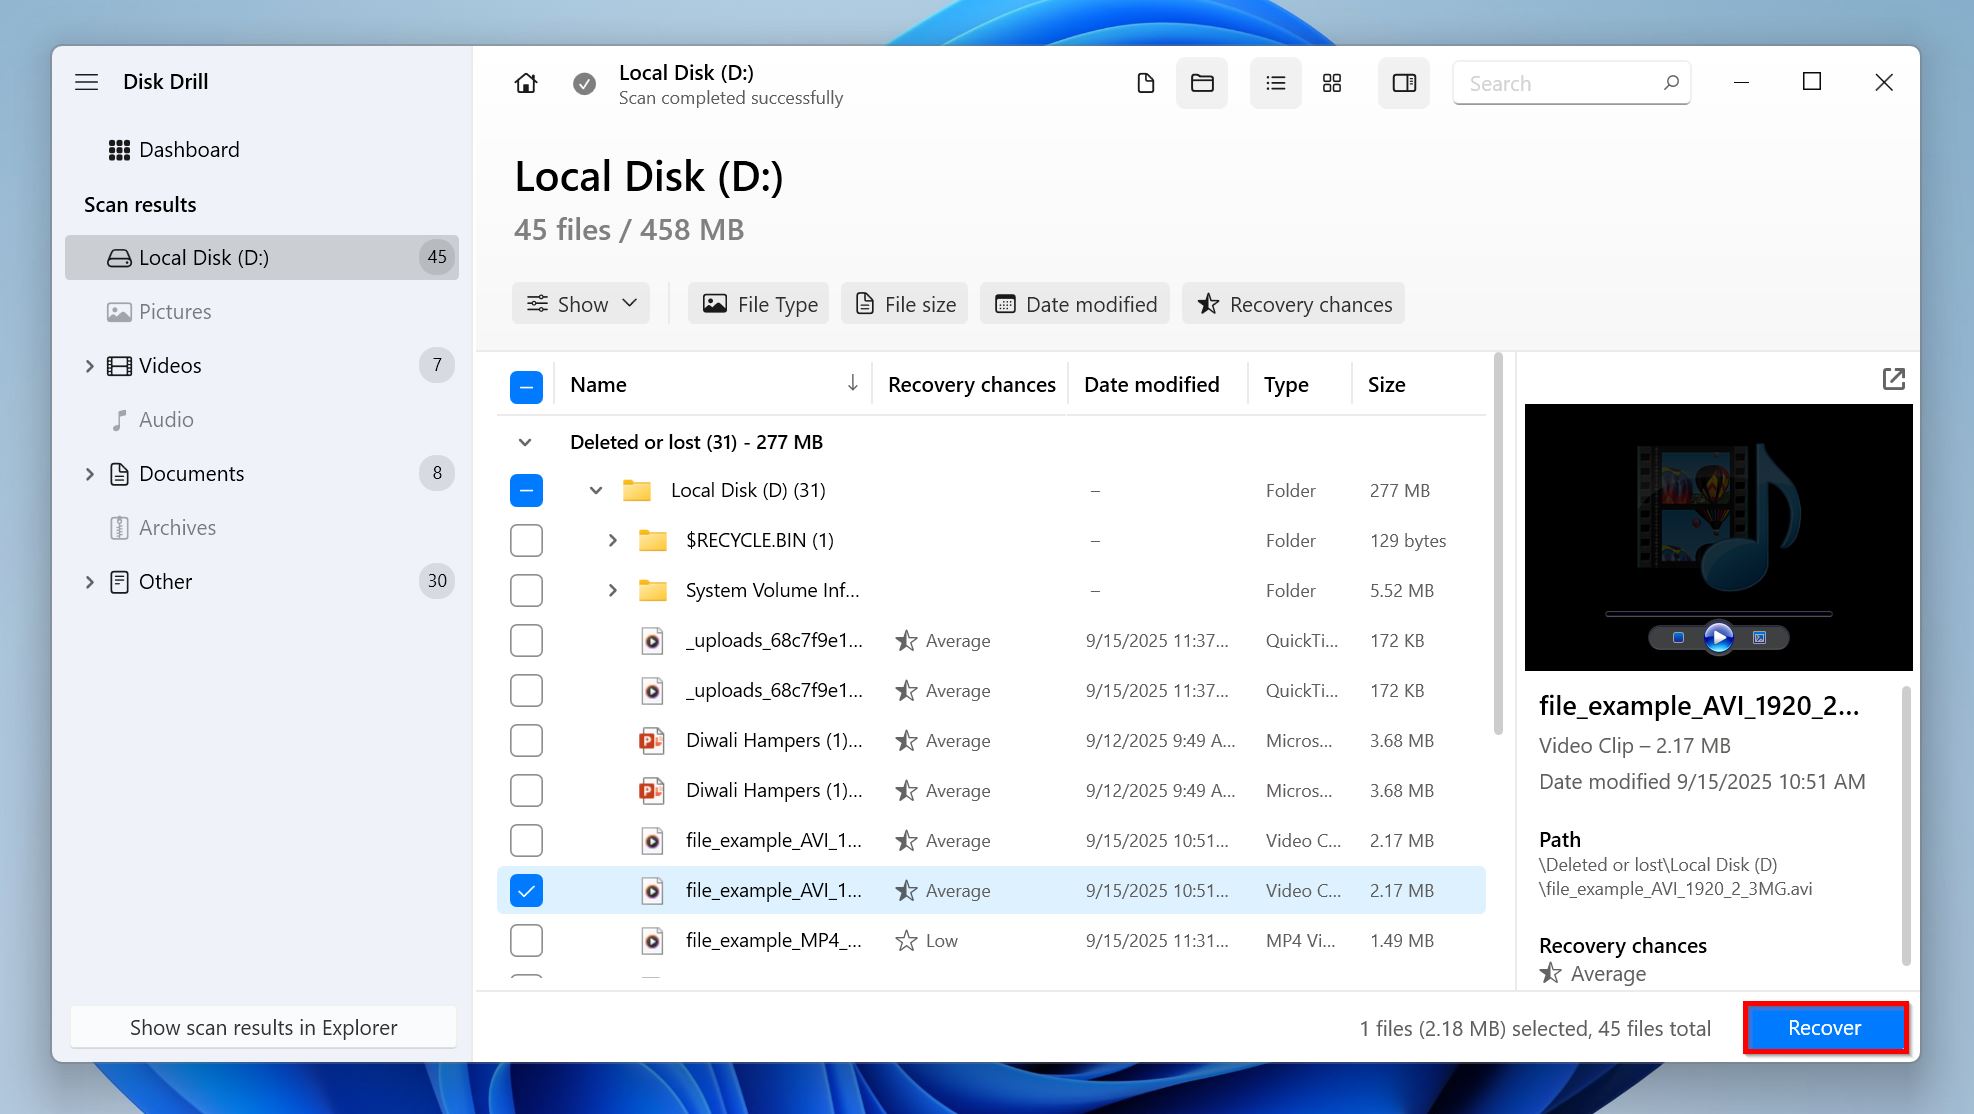
- Select the files you wish to recover. Disk Drill automatically displays a preview of the currently selected files—a flawless preview indicates higher chances of recovery. You can manually preview files by clicking the eye icon that appears when you hover your cursor next to the filename. You can also alternate between Tree View and Thumbnail View, or search for specific files/filetypes using the Search bar. Click Recover once you’re done selecting the files.
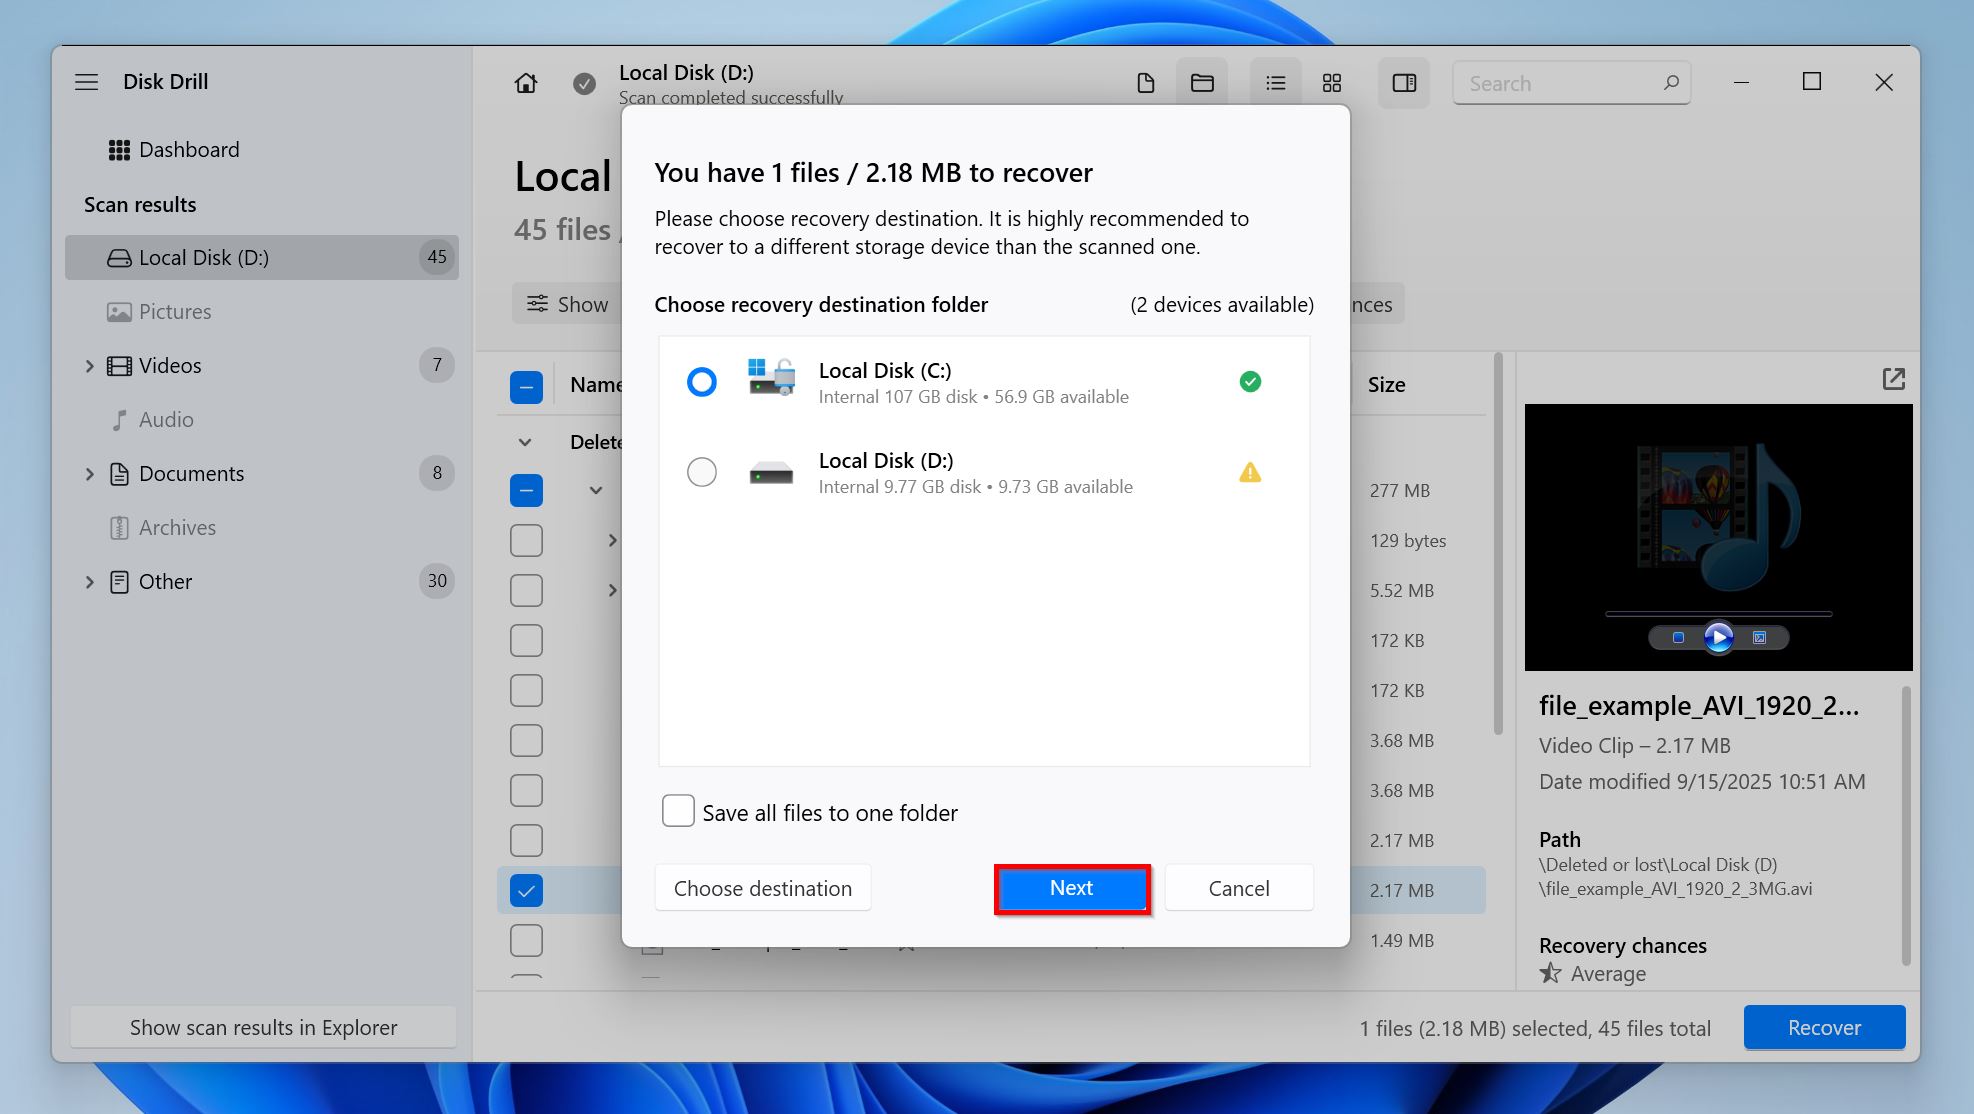
- Choose a recovery destination for the files, and click Next. It’s best to recover these files to a drive other than the one you formatted, unless you’re sure you won’t need to recover any more data from it.
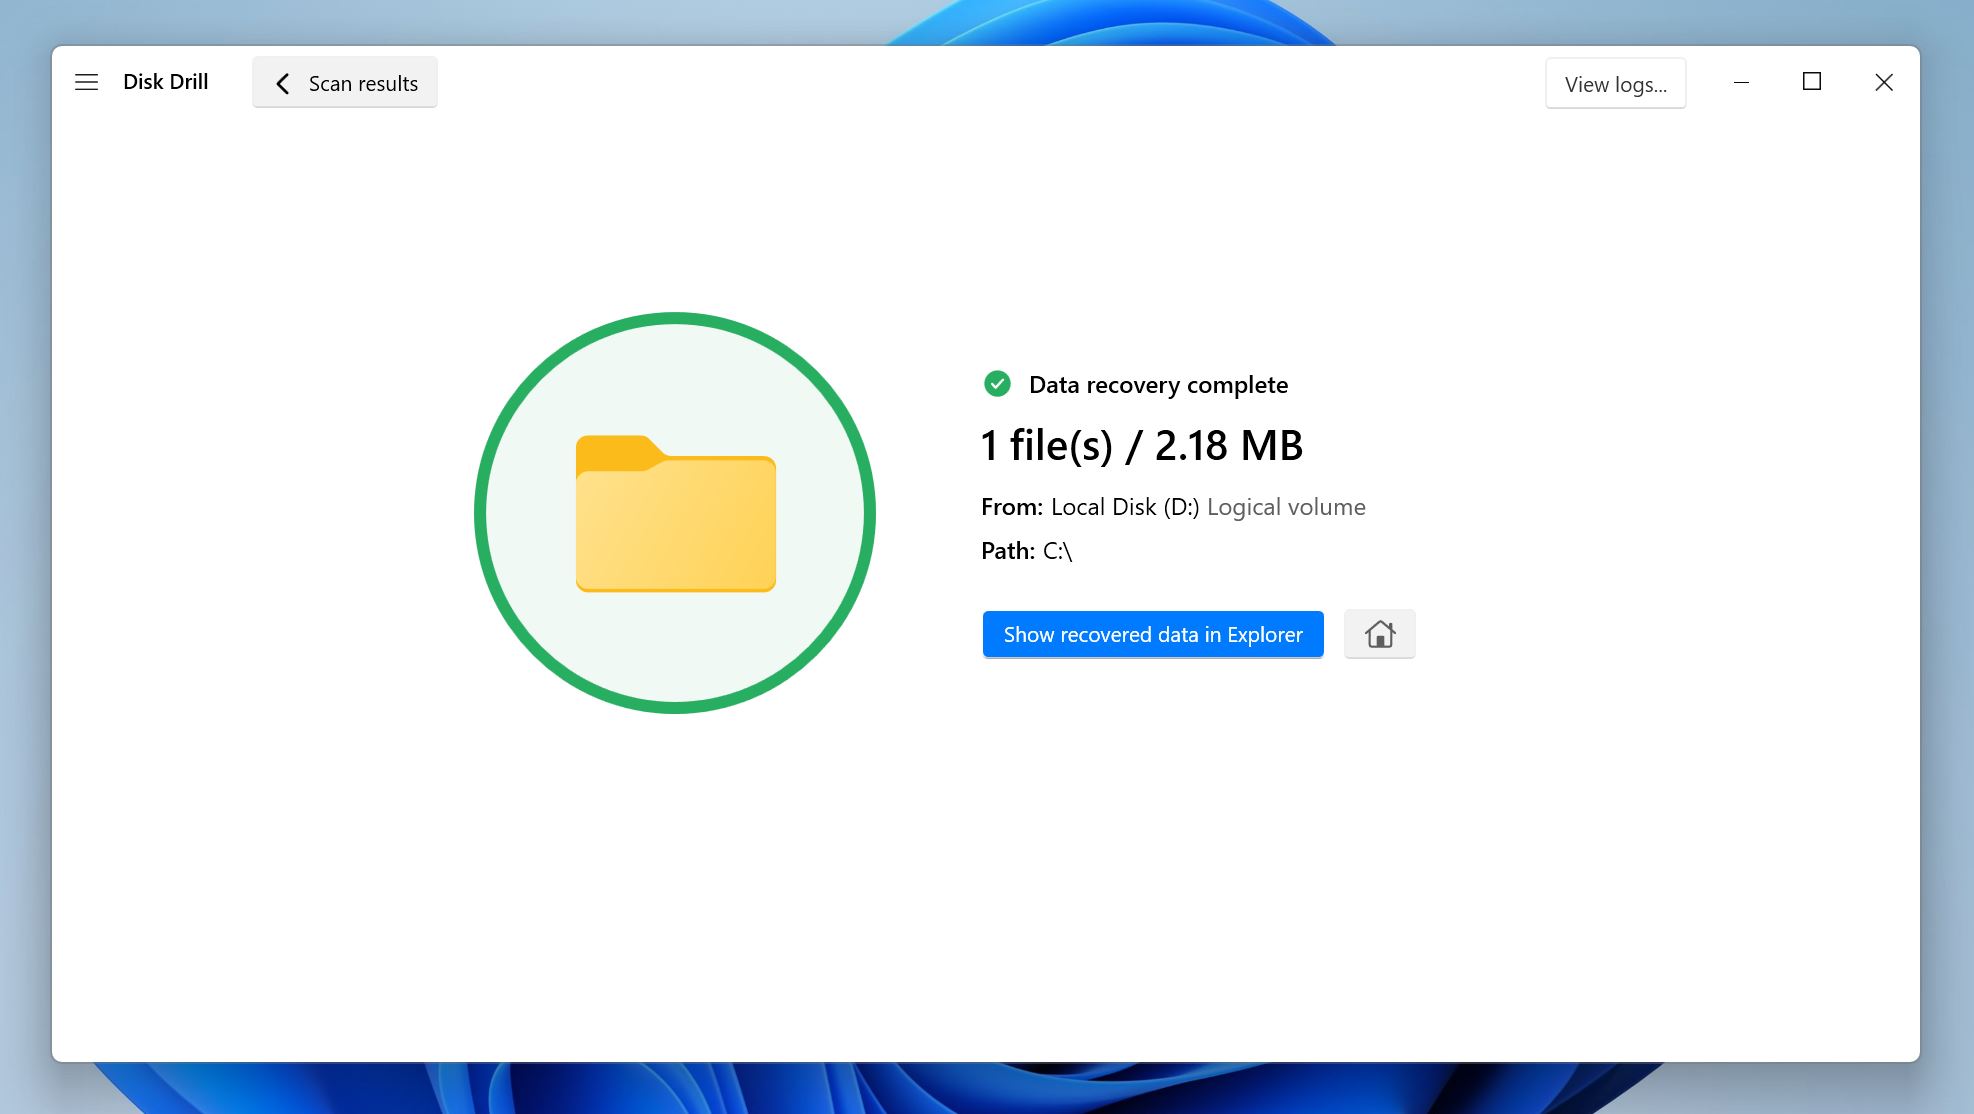
- Disk Drill will recover the selected files.
With Disk Drill for Windows, you can recover up to 100MB of data for free. That’s usually enough if you just need a few key documents or smaller files back. The software also shows the recovery chances for each file, and you can preview the file before restoring it to confirm it’s still usable. Once you’ve tested the free recovery, you can decide whether upgrading to the paid version makes sense for recovering larger amounts of data.
Note: Photos and videos recorded on a drone or action cam may appear damaged after recovery from the external HDD. This happens due to initial fragmentation on your recording device’s storage. If your recovered videos won’t play, try scanning the drive again – this time using Disk Drill’s Advanced Camera Recovery (ACR) mode instead of Universal Scan. In our tests, ACR worked surprisingly well with fragmented footage. Few recovery apps handle these camera-specific formats properly, but this module often cracks the case.
Method 2: Use Recuva
Recuva is essentially a free alternative to Disk Drill, but with limited features and less versatility. The wizard-based data recovery process in Recuva is quite intuitive, and lets you choose the file types you wish to recover, the drive you want to scan, and whether you want to perform a deep scan or not. However, it needs a working file system to work, which means that it won’t work on drives that are RAW because of an interrupted formatting process or file system corruption. Additionally, the deep scan feature only works on FAT32 drives.
We only suggest Recuva for users only looking to unformat a hard drive for free.
Steps to unformat a hard drive using Recuva:
- Download Recuva and extract it.
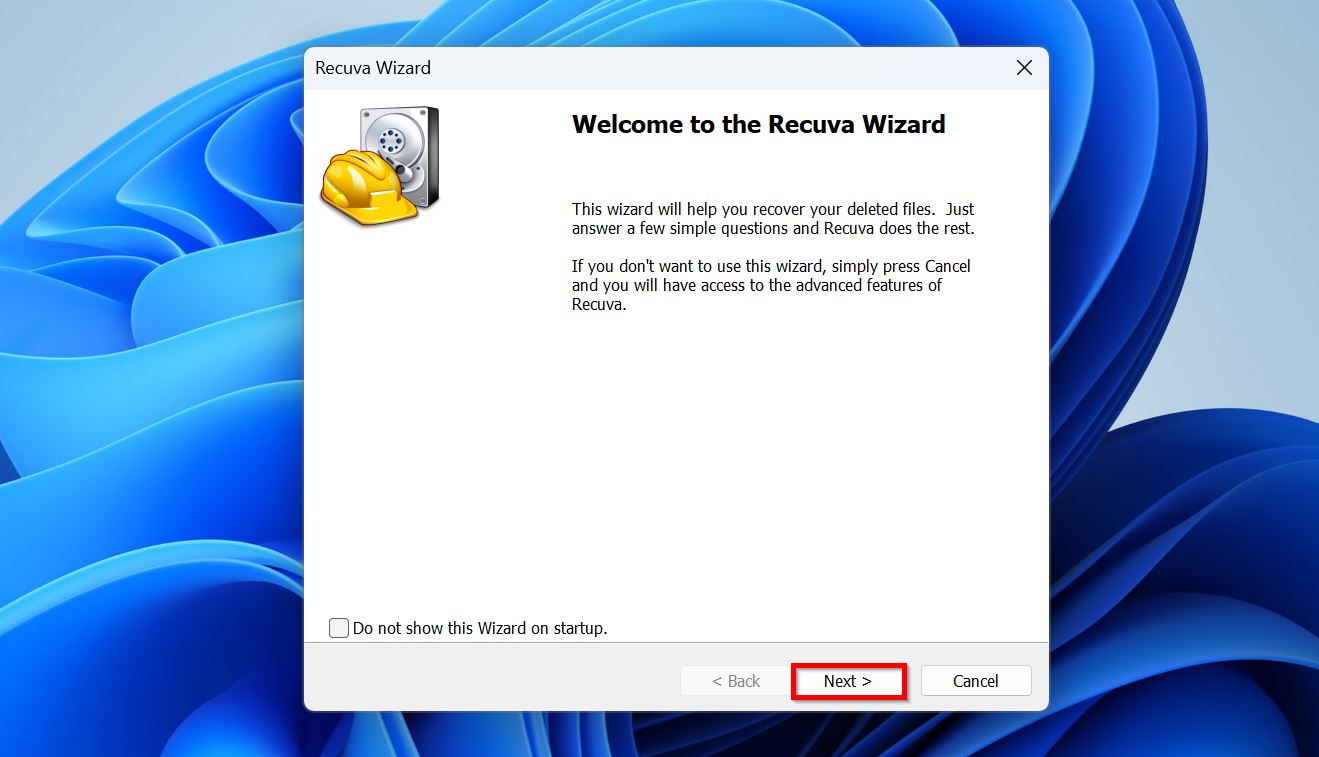
- Open Recuva and click Next on the welcome screen.
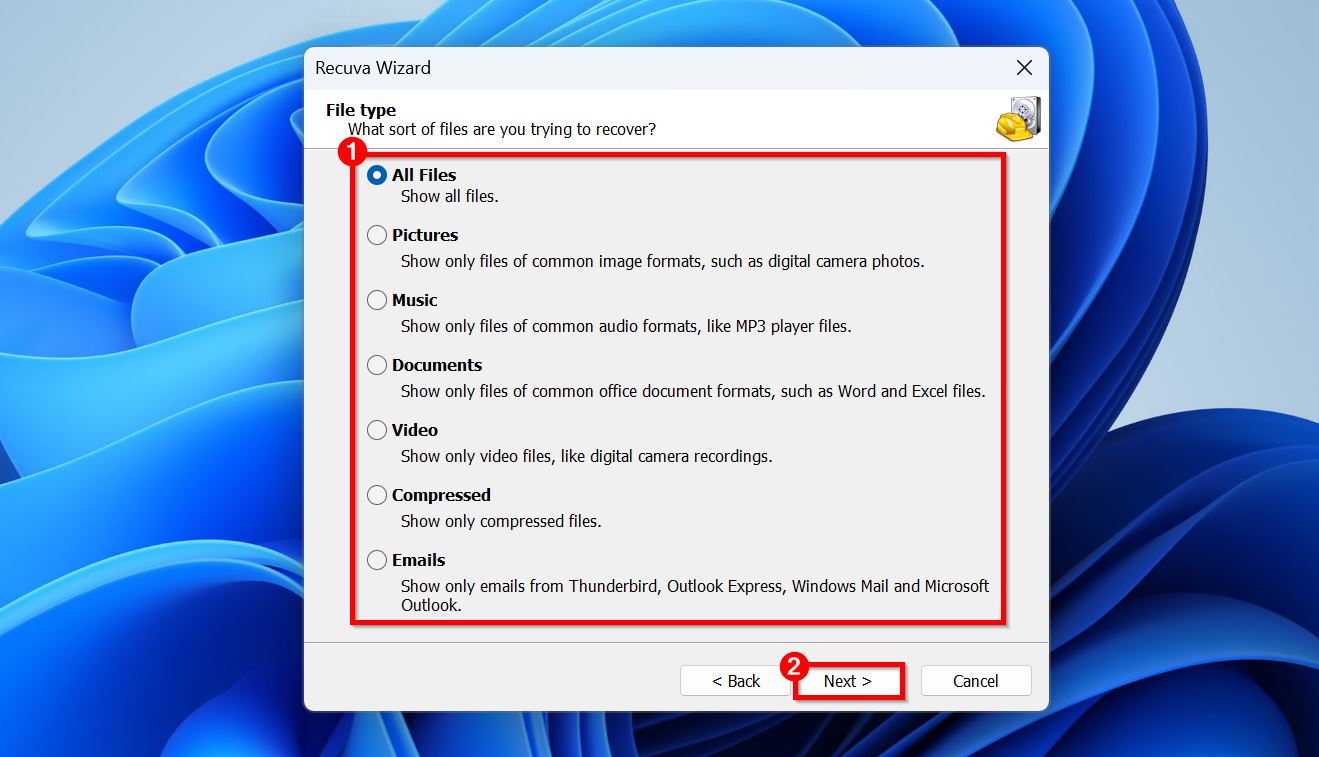
- Select the file types you want to recover. If you want to recover multiple file types, leave All files selected. Click on Next.
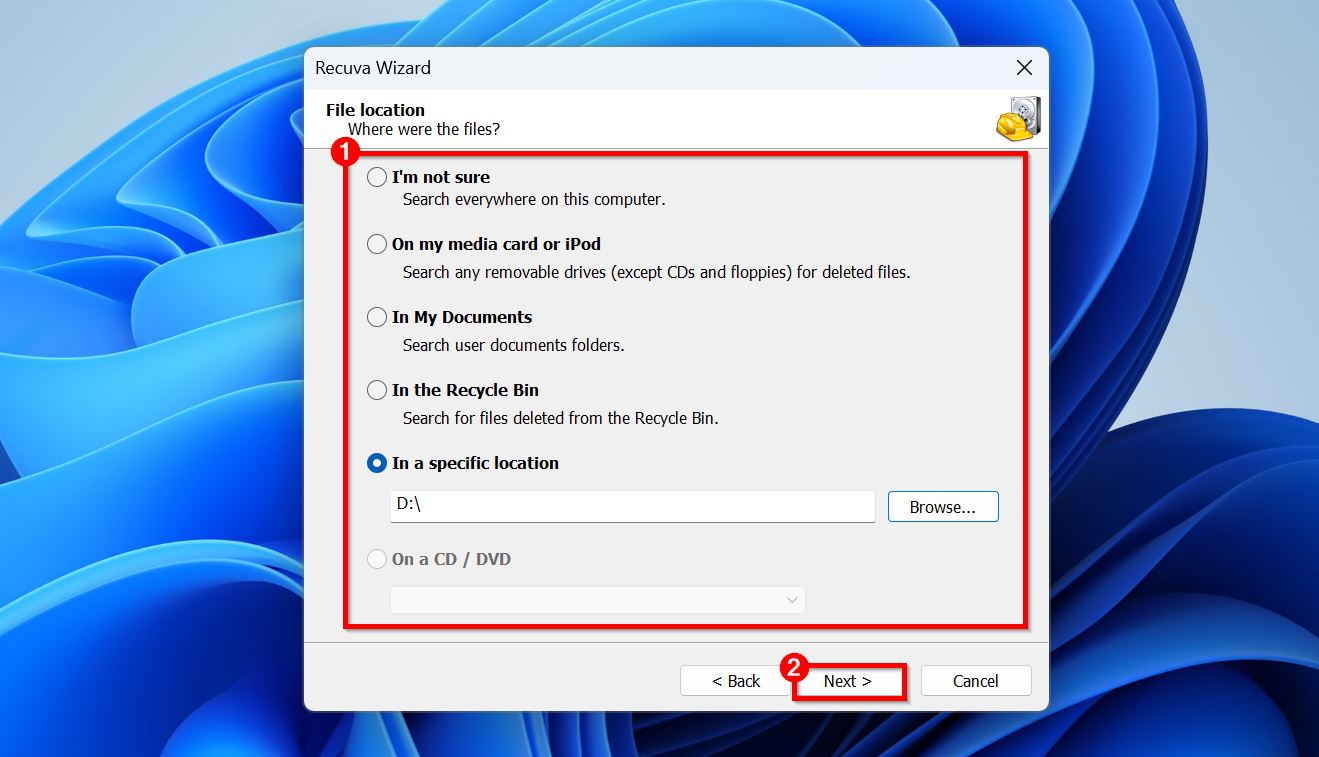
- Select the In a specific location option, click browse, and select the new partition created after formatting your drive. Click Next.
- On the next screen, check the Enable Deep Scan option and click on Start.

- Wait for Recuva to scan the formatted drive.
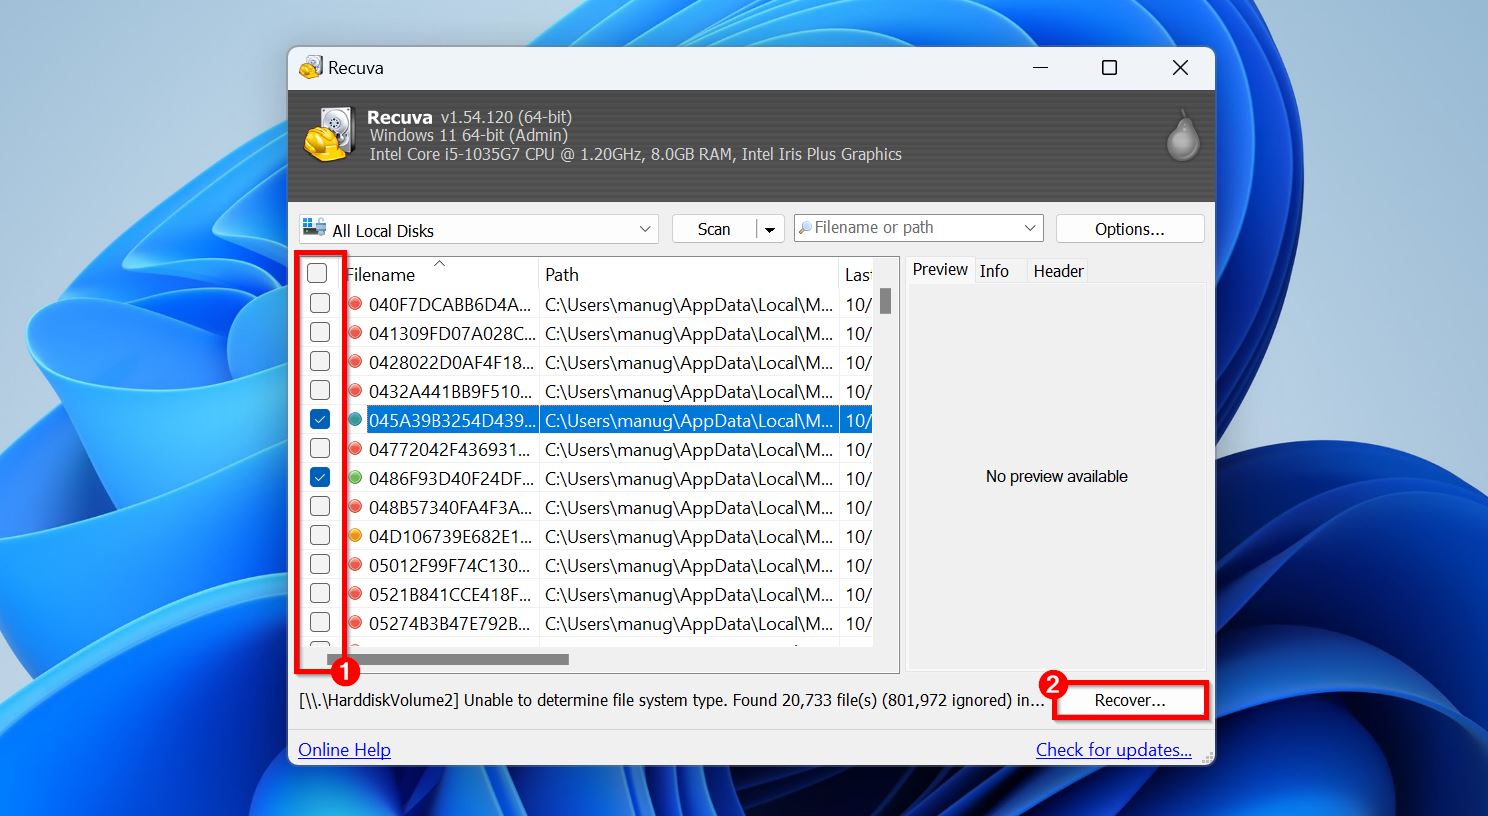
- Select the files you want to recover, then click the Recover button.
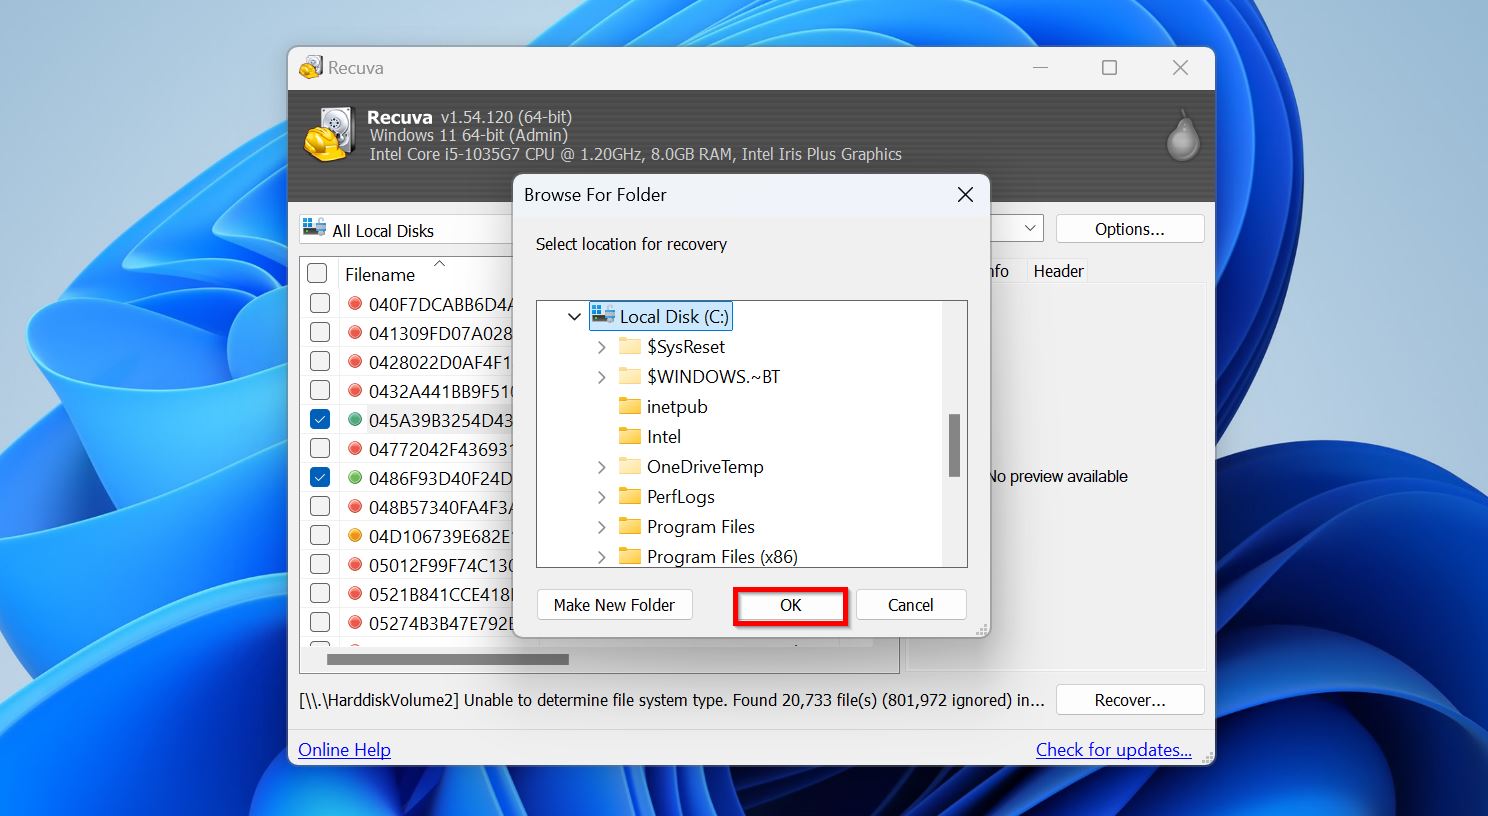
- Choose a recovery destination and click OK. Recuva will restore the files to the selected location.
Our review of Recuva delves deep into other features of the program.
What to Do When You Need to Unformat an Internal Hard Disk?
As for internal drives, what you do depends on whether the drive was a system drive (the drive on which Windows is installed), or a non-system internal drive.
If you formatted an internal system drive:
Internal system drives can really only be formatted during a Windows reinstall, or when booting from an external drive like a USB.
Regardless, here are your options to unformat a drive on which Windows was installed
- If you have a Windows backup on another drive: Finish installing Windows if you haven’t yet, then restore the backed up files using Windows File History, or Backup & Restore.
- If you don’t have a backup and haven’t reinstalled Windows: Connect the drive to another PC as an external drive or boot from a bootable USB drive, and recover your data using a professional data recovery program. Most good data recovery programs have bootable versions.
Note: If you’d set up Windows 11 using your Microsoft Account, the system drive is encrypted, and you won’t be able to recover any data from it using data recovery apps. That’s why we always suggest you comprehensively and regularly back up your files—Windows has in-built backup and restore features that can help you do this.
If you formatted an internal non-system drive:
Data recovery after formatting is usually less cumbersome for non-system drives:
- If you have a backup: Restore your files using Windows File History (only works if you’d selected folders from this drive while setting it up), or use Backup & Restore.
- If you don’t have backups: Use data recovery software to scan the drive. The steps will remain the same as they are for external drives.
FAQ
Is there any free unformat software?
Most good data recovery programs like Disk Drill come with a free trial, and users have to pay if they want to retrieve data larger than the specified size (100 MB in Disk Drill’s case). But, there are few completely free unformat programs, listed below:
- Recuva for personal use (Windows)
- PhotoRec (Windows, Linux, and macOS)
- Puran File Recovery for personal use (Windows)
- TestDisk (Windows, Linux, and macOS)
How do I undo formatting my hard drive?
To undo formatting your hard drive, follow these steps:
- Download, install, and open the data recovery software of your choice.
- Select the drive you wish to unformat and initiate a scan.
- Wait for the scan to complete, then review the items found.
- Select the files you wish to restore.
- Choose a safe location for recovery and complete the process.
Can you unformat a hard drive with CMD?
Not really. Back in the MS-DOS days, there was a command called UNFORMAT, but that’s long gone. Today, Command Prompt doesn’t offer any built-in way to undo a format. If you want to recover files from a formatted drive using CMD, you’ll first need to install recovery software that works in a command-line environment, like PhotoRec or Microsoft’s Windows File Recovery tool.
So, CMD can help run the recovery, but it can’t do it on its own.
What is the best unformat software that you recommend?
Disk Drill and Recuva are some of the best unformat tools out there – Disk Drill if you want something powerful and easy to use, and Recuva if you’re looking for a simple free option. But they’re not the only ones worth trying. If you’re more tech-savvy or dealing with tricky formats, tools like R‑Studio or PhotoRec can also be great picks. You’ll find more options like those in our Disk Drill alternatives list.
Is it possible to unformat an external hard drive if it was formatted more than once?
Sometimes. If the drive was quick formatted multiple times, and not much new data was written after each format, recovery might still be possible, especially with capable tools like Disk Drill or R-Studio.
The file system you formatted into also matters. Reformatting into the same file system (like NTFS to NTFS) tends to overwrite metadata more aggressively. But if it was changed (say from FAT32 to NTFS), your chances improve slightly since remnants of the older structure may survive.
Bottom line: it’s hard to predict what’s left until you scan the drive. So it’s always worth a try.
Can I unformat my hard drive for free?
Yes, you can unformat your HDD for free by using any of the programs in our list of free unformat software mentioned in the first answer.
How to undo format on a hard drive without any software?
Realistically, you can’t undo a format without using some kind of recovery tool. Windows and macOS don’t include a built-in “unformat” button or command. Once a drive is formatted, you need specialized software to scan for lost data.
That said, you can always check for backups – if File History, OneDrive, or another backup was enabled, you might recover data from there.
Can I unformat SSD?
It’s possible, but definitely more complicated than with an HDD. SSDs use a feature called TRIM, which actively clears deleted data in the background, which makes recovery tricky (or even impossible). That said, TRIM isn’t guaranteed to run in some setups or scenarios (especially with external SSDs or certain enclosures), it may not trigger at all. So yes, you might still be able to recover some data.
We’d recommend checking out this community thread where users break down real examples on how TRIM affected recovery – useful if you want to understand your chances better.
Conclusion
It’s good practice to frequently back up your data, because it’s the only way to be 100% sure that you’ll get back deleted files after formatting. Choose a backup method that works best for you—it could be a third-party backup tool, built-in Windows utilities, or manually copying important data at regular intervals.
Each data loss scenario is unique, and there are various factors that influence the success rate of recovering data after formatting a drive. If you feel stuck at any point, don’t hesitate to ask for help in online communities like the r/DataRecoveryHelp subreddit. You can also post details of your problem in our own online community, where readers and experts can offer you tips and point you in the right direction.
This article was written by Manuviraj Godara, a Staff Writer at Handy Recovery Advisor. It was also verified for technical accuracy by Andrey Vasilyev, our editorial advisor.
Curious about our content creation process? Take a look at our Editor Guidelines.