A RAID 1 setup is primarily used for data protection and faster read speeds. But, even a RAID 1 array isn’t immune to data loss–you could accidentally delete files from the array, or all the drives in the array could fail. Our guide explores how to undo data loss and perform complete RAID 1 data recovery, at home.
What is RAID 1 Used For?
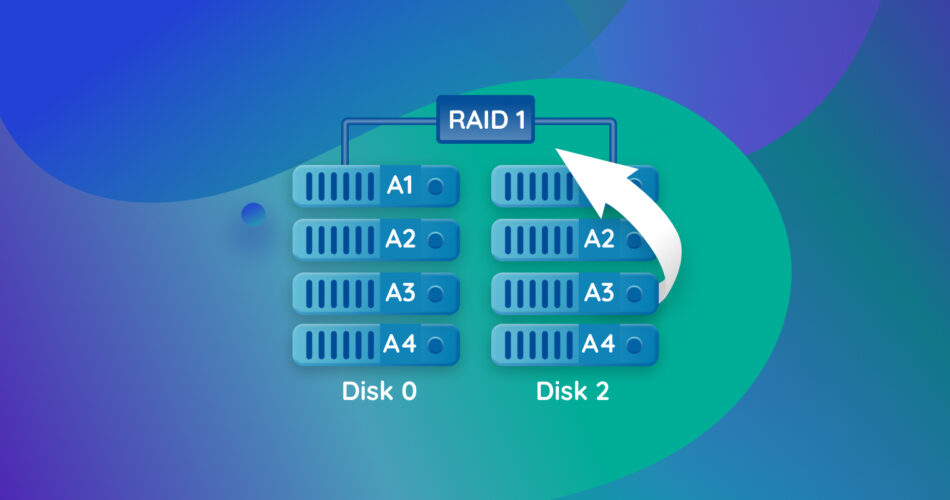
RAID (Redundant Array of Independent Disks) 1 is a standard RAID type that provides data redundancy. In it, data is mirrored across the drives that constitute the RAID array–any files written to one drive will also be written to other drives in the array. For this reason, RAID 1 arrays are typically used in environments that cannot afford any downtime, such as email servers.
To use RAID 1, you need a minimum of two disks, and there’s no upper limit on the number of disks.
RAID 1 offers exceptional data protection–if one disk fails, the RAID system can use the other ones seamlessly, without interruption. Users have ample time to replace the failed drive. Additionally, if the software/hardware controller supports it, the system can access multiple RAID 1 drives simultaneously, thus improving the read speeds.
But, RAID 1 has some significant disadvantages as well. For one, the storage size of the array is equal to the storage capacity of the smallest hard drive in the array. This racks up the costs of implementing a RAID array since you lose out on a lot of storage capacity, prompting many users and organizations to opt for nested RAIDs instead.
Can You Recover Data from a Broken RAID 1?
Since RAID 1 works on the principle of mirroring, your data will remain safe if one drive from the array fails. As long as one drive in the RAID 1 array is working, data recovery is possible, and you can do it yourself in most cases. It’s best to connect the drive separately and scan it as a regular drive.
If all the RAID 1 member drives are healthy, you can perform RAID 1 recovery without independently scanning a member drive. But, you’ll need trusted RAID 1 recovery software.
It is substantially more complex to recover data from dead hard drives. So, if all the member drives have failed, or there’s an issue with the RAID controller itself. We recommend you tread cautiously and, maybe, look for expert assistance.
How to Recover Data from a RAID 1 Array
The only way to perform DIY RAID 1 data recovery, is to use third-party RAID data recovery software. You can use two approaches here–scan the entire RAID 1 array (only if all member drives are working), or restore your files from a single RAID 1 member hard drive (if there’s at least one drive that’s working).
Method 1: Restore Files From the Entire RAID 1 Array
While all data recovery programs can scan individual hard drives, there are far fewer programs that can accurately detect and recover data from an entire RAID 1 array. If all the member drives are functioning properly, you can proceed with the RAID 1 recovery process as described in this section.
After weighing numerous options, we opted to use Disk Drill for this tutorial. It’s easy to work with and supports data recovery from file systems across local RAID 1 setups (Microsoft Storage Spaces, and Apple RAID) and popular NAS RAID 1 setups (ext2, ext3, ext4) by manufacturers like QNAP, Synology, and more. Essentially, as long as Disk Drill detects your RAID 1 setup–even if it’s corrupt or has no file system at all (RAW)–the app will be able to scan the RAID array for deleted data.
Here’s what the RAID 1 data recovery process looks like in Disk Drill:
- Download Disk Drill and install the program.
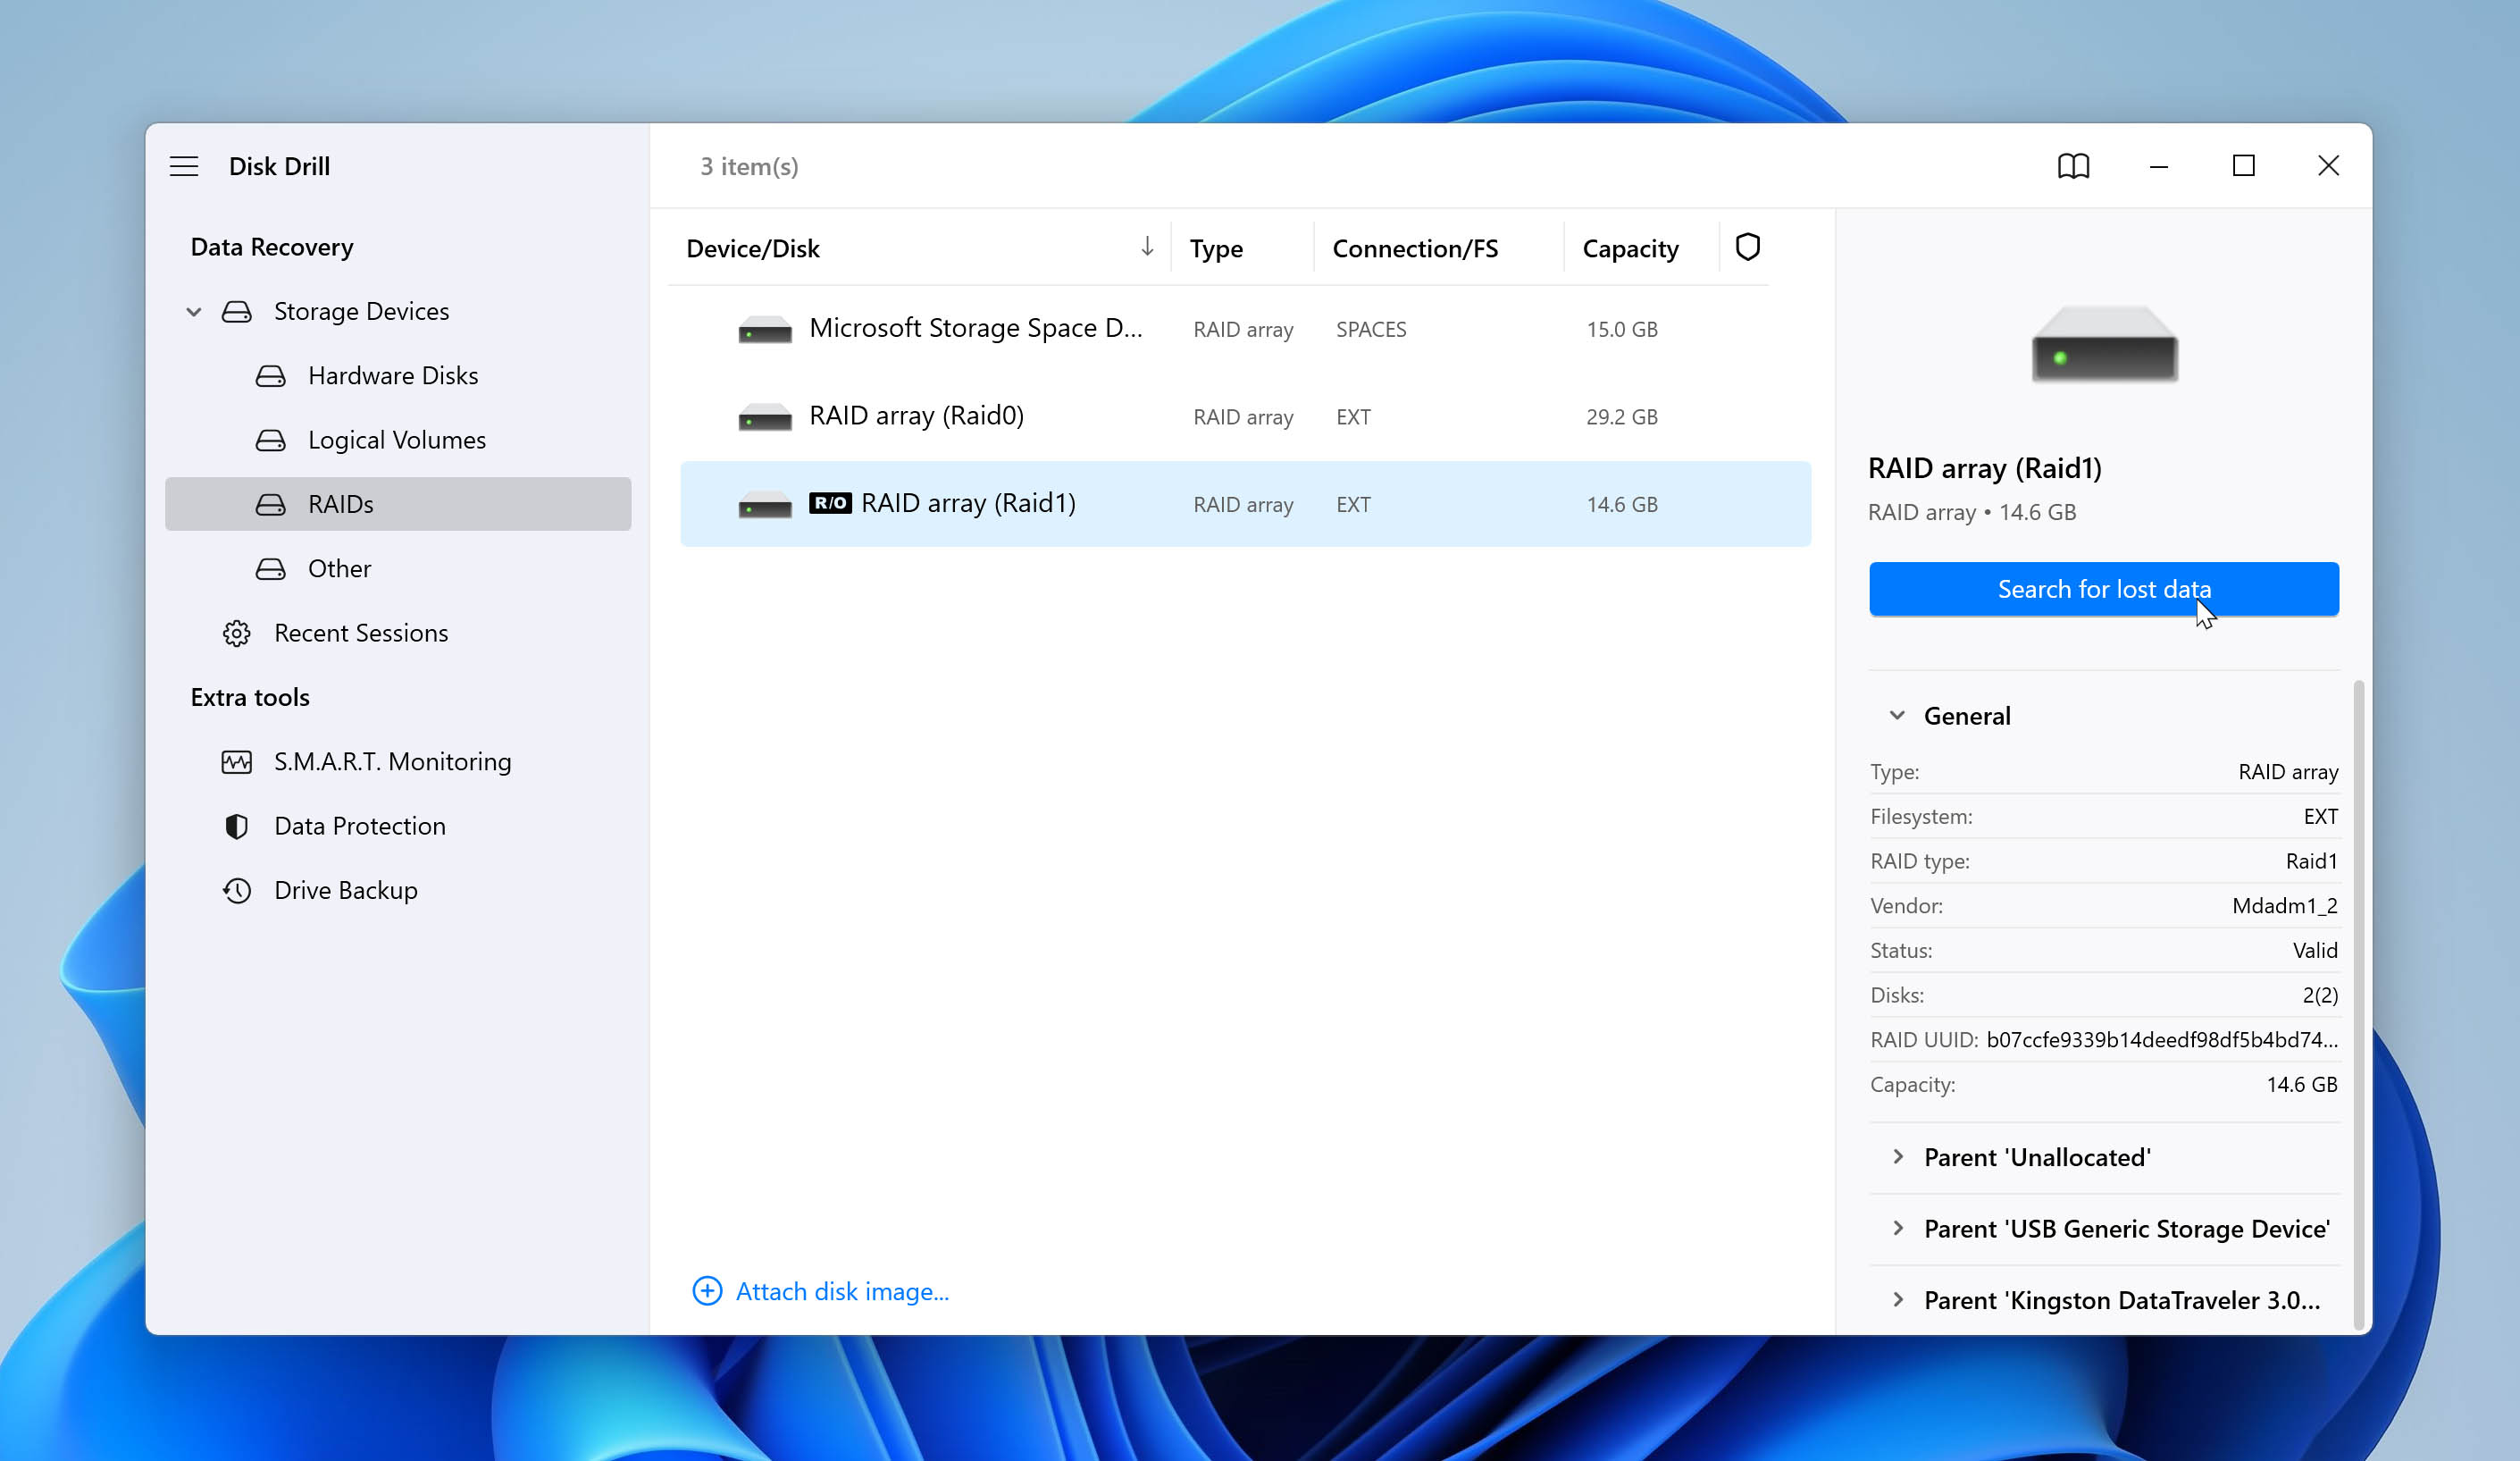
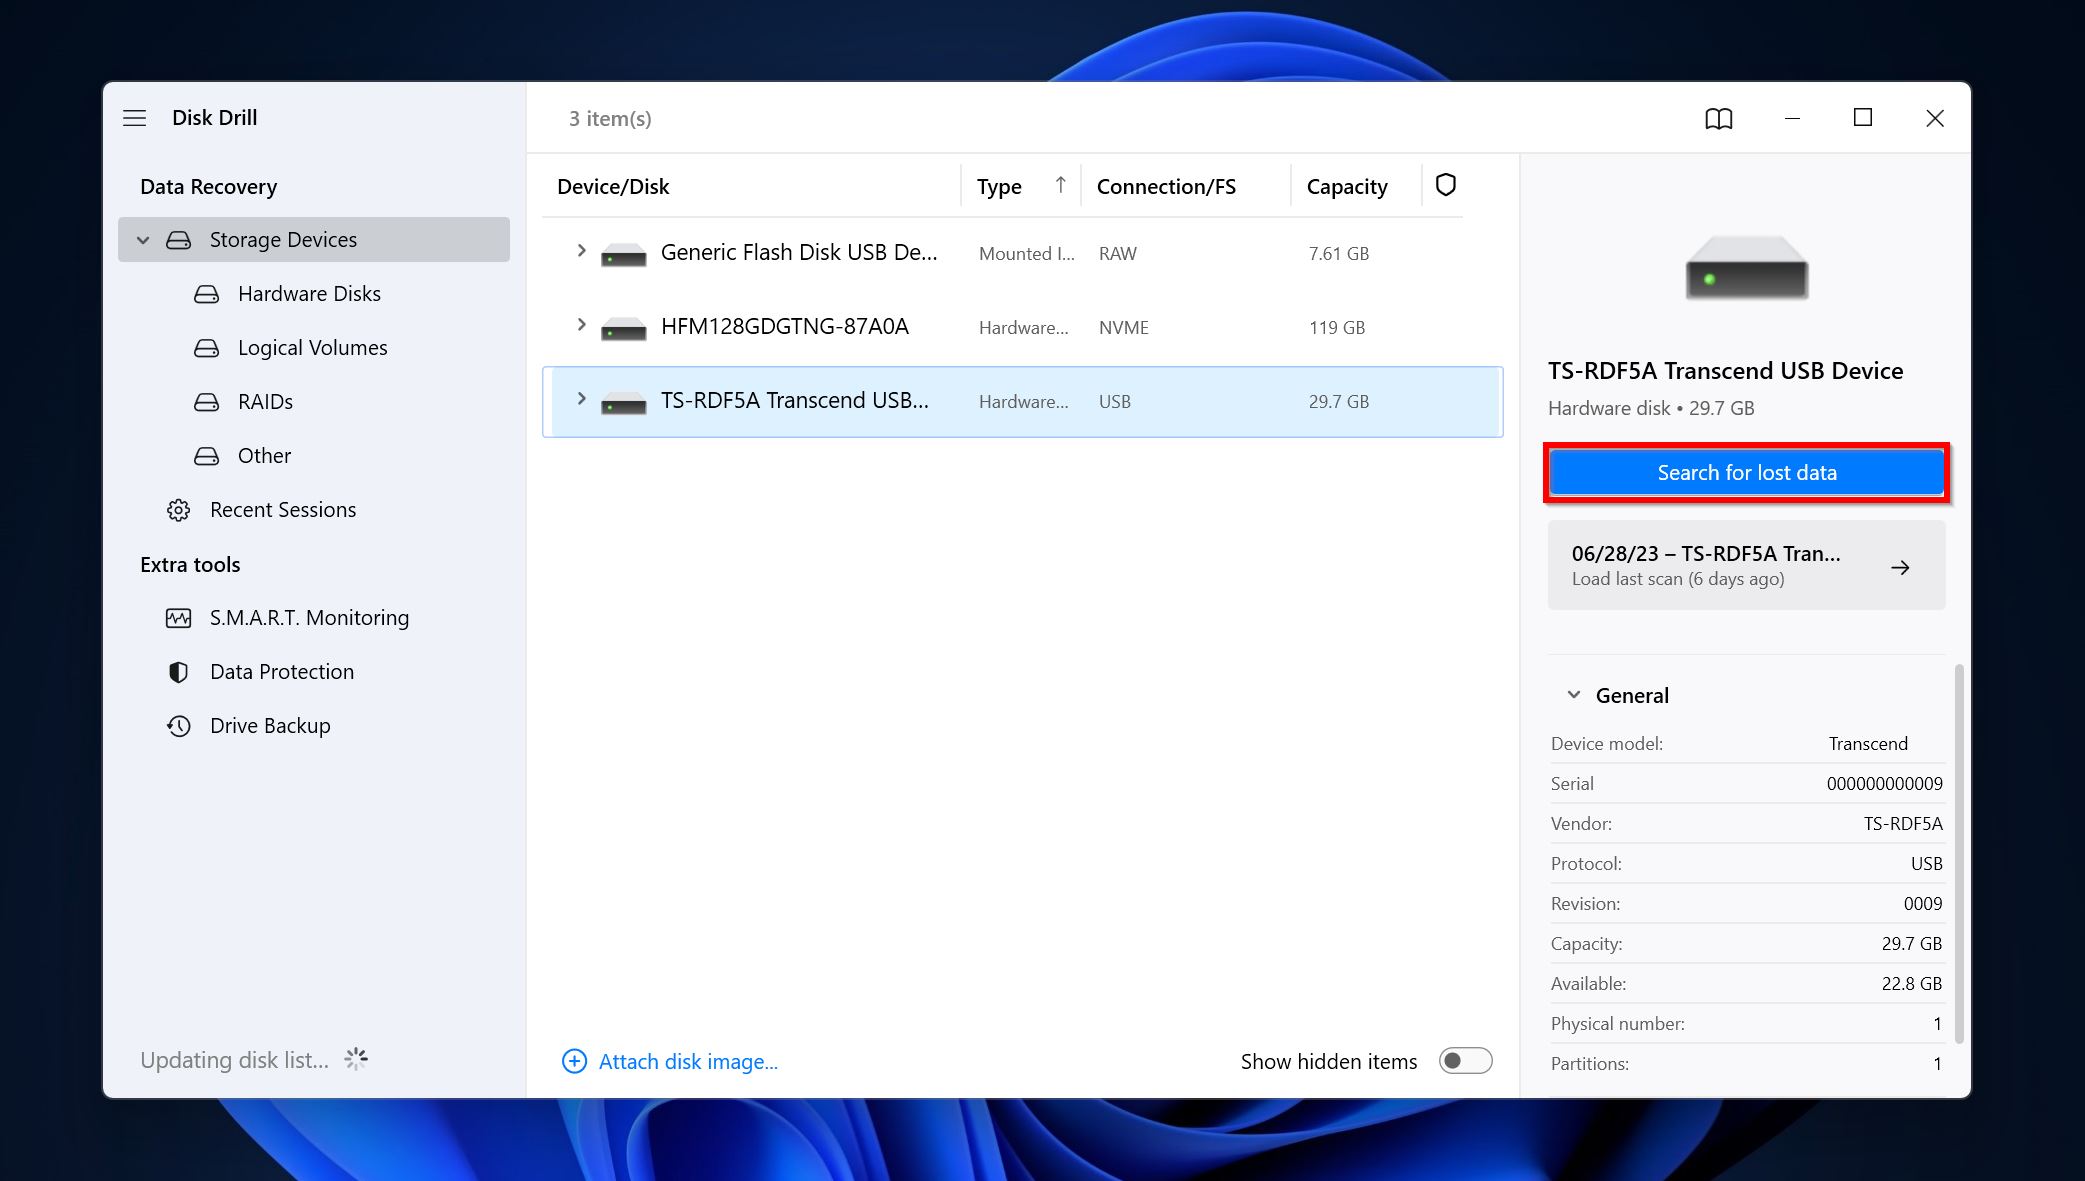
- Open Disk Drill, and click on RAIDs under Storage devices. Select the RAID 1 array and click on Search for lost data.
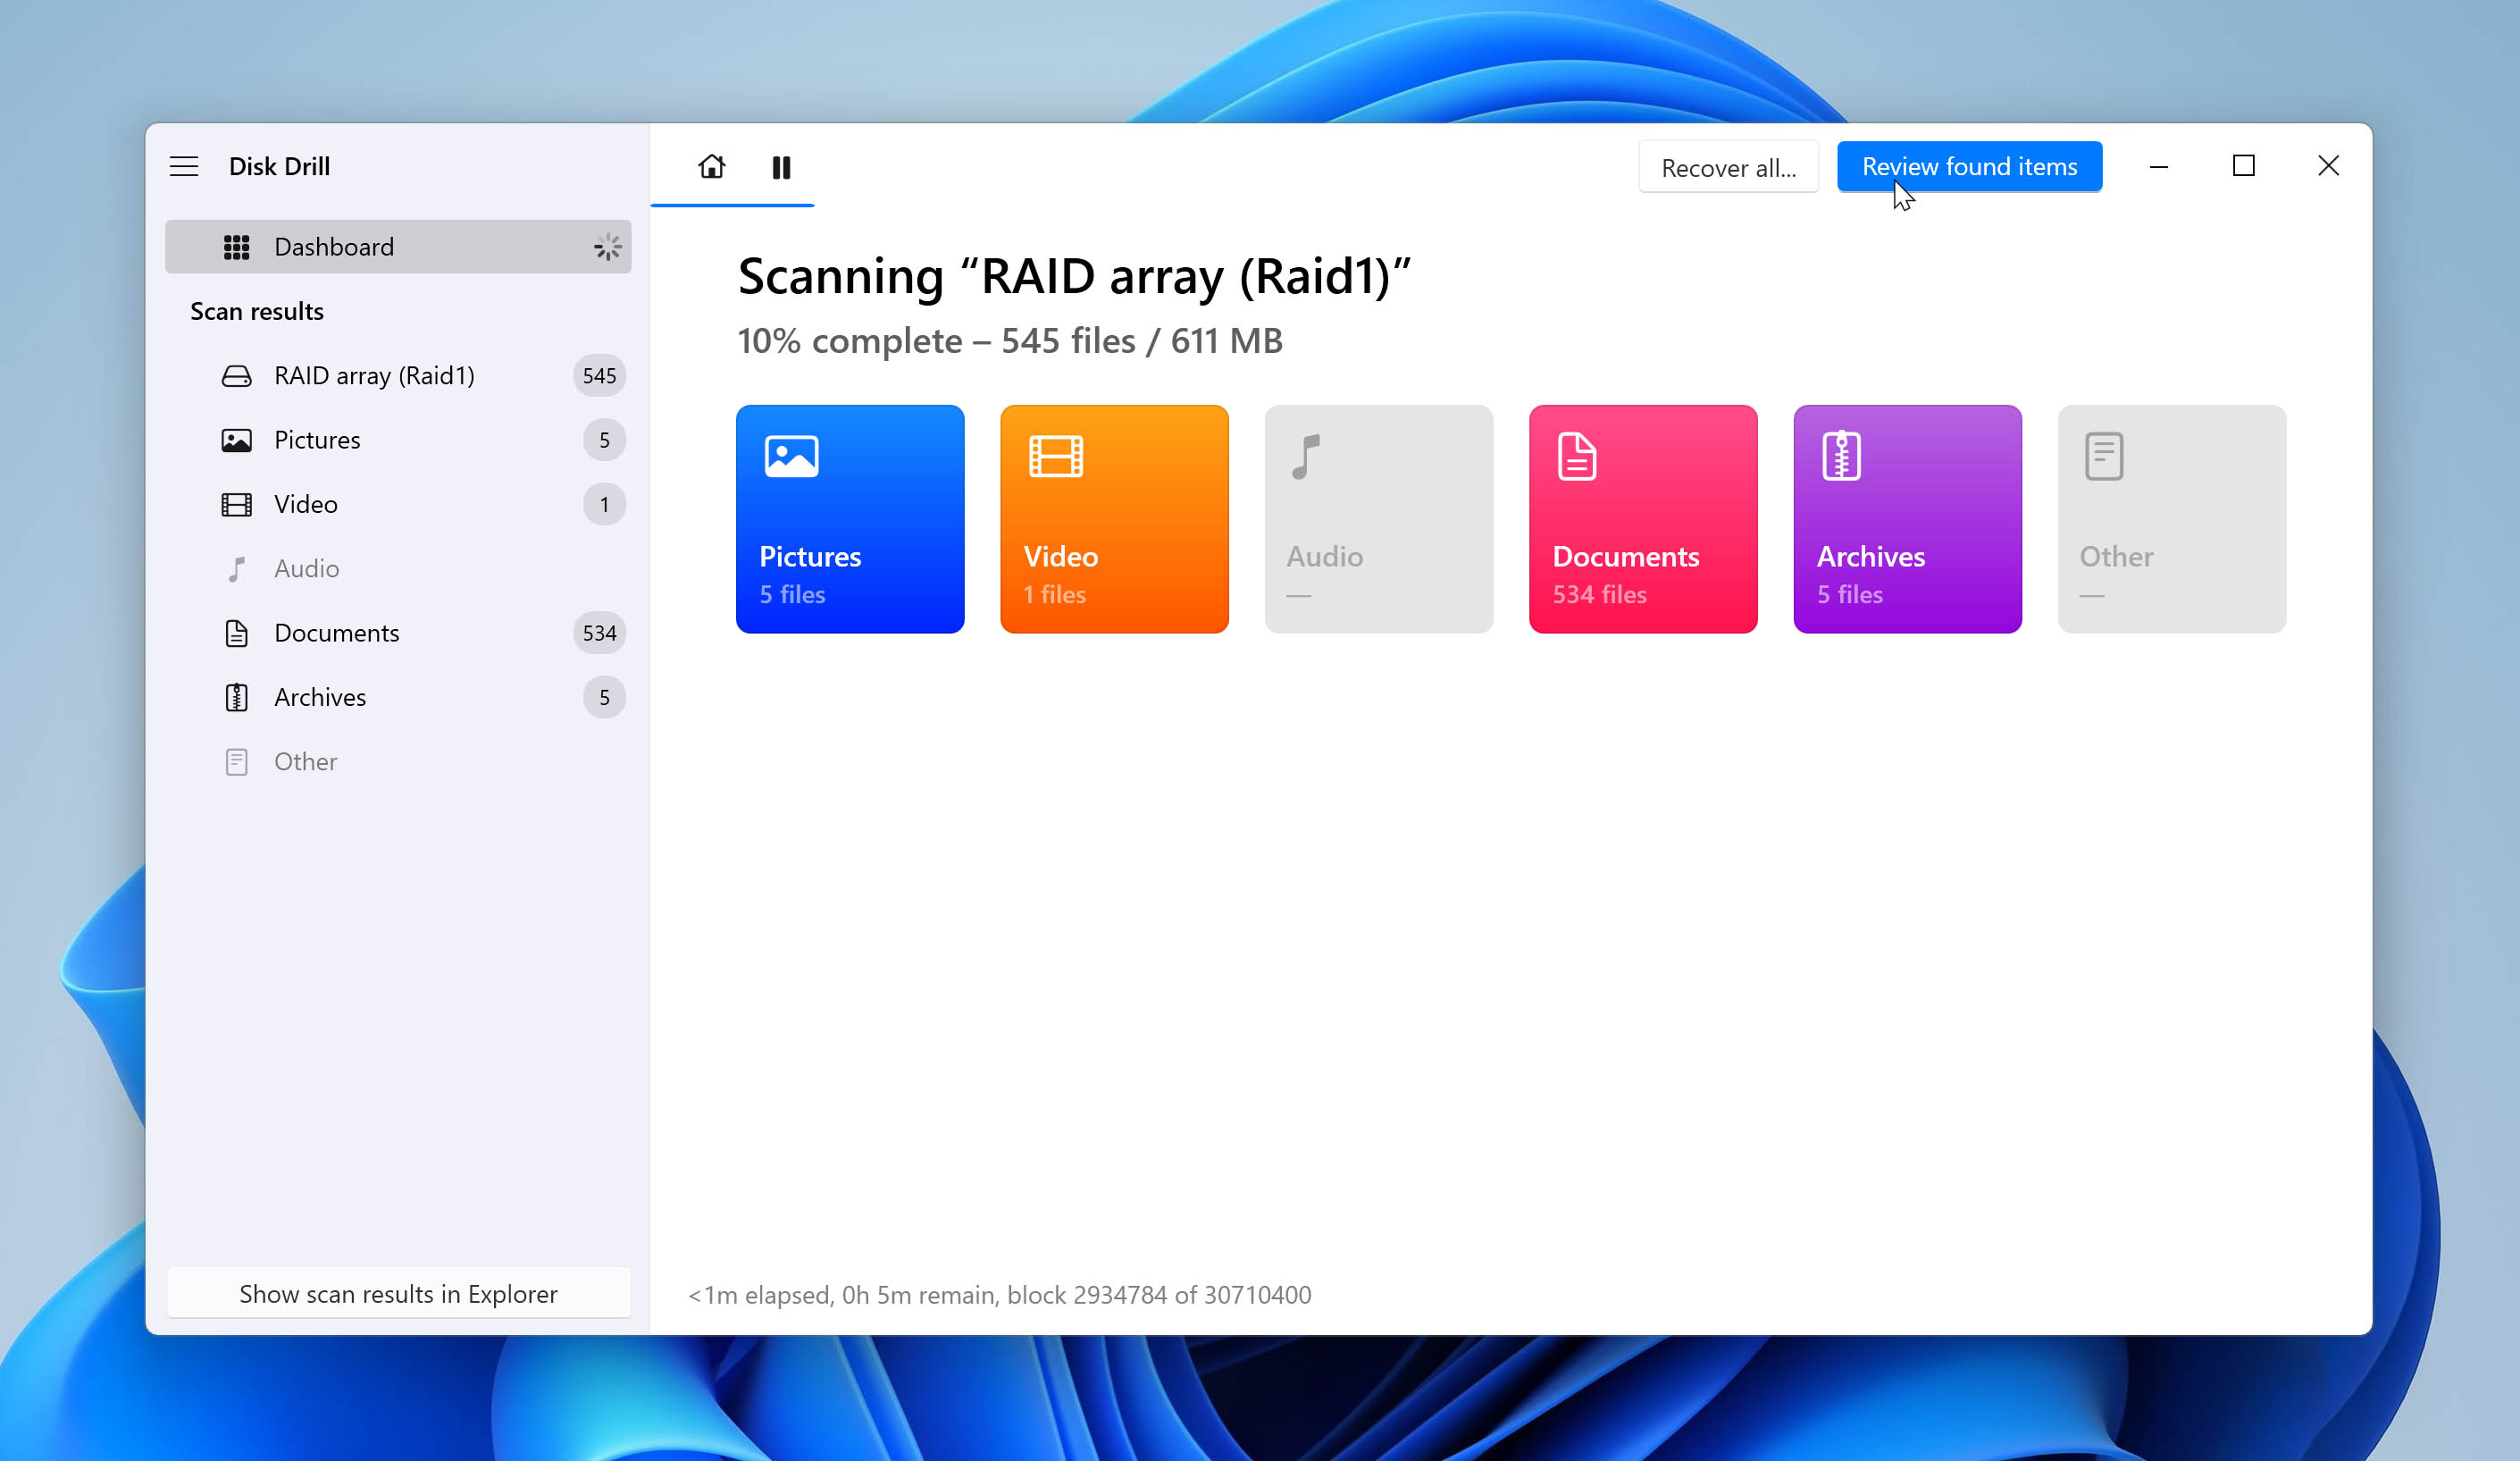
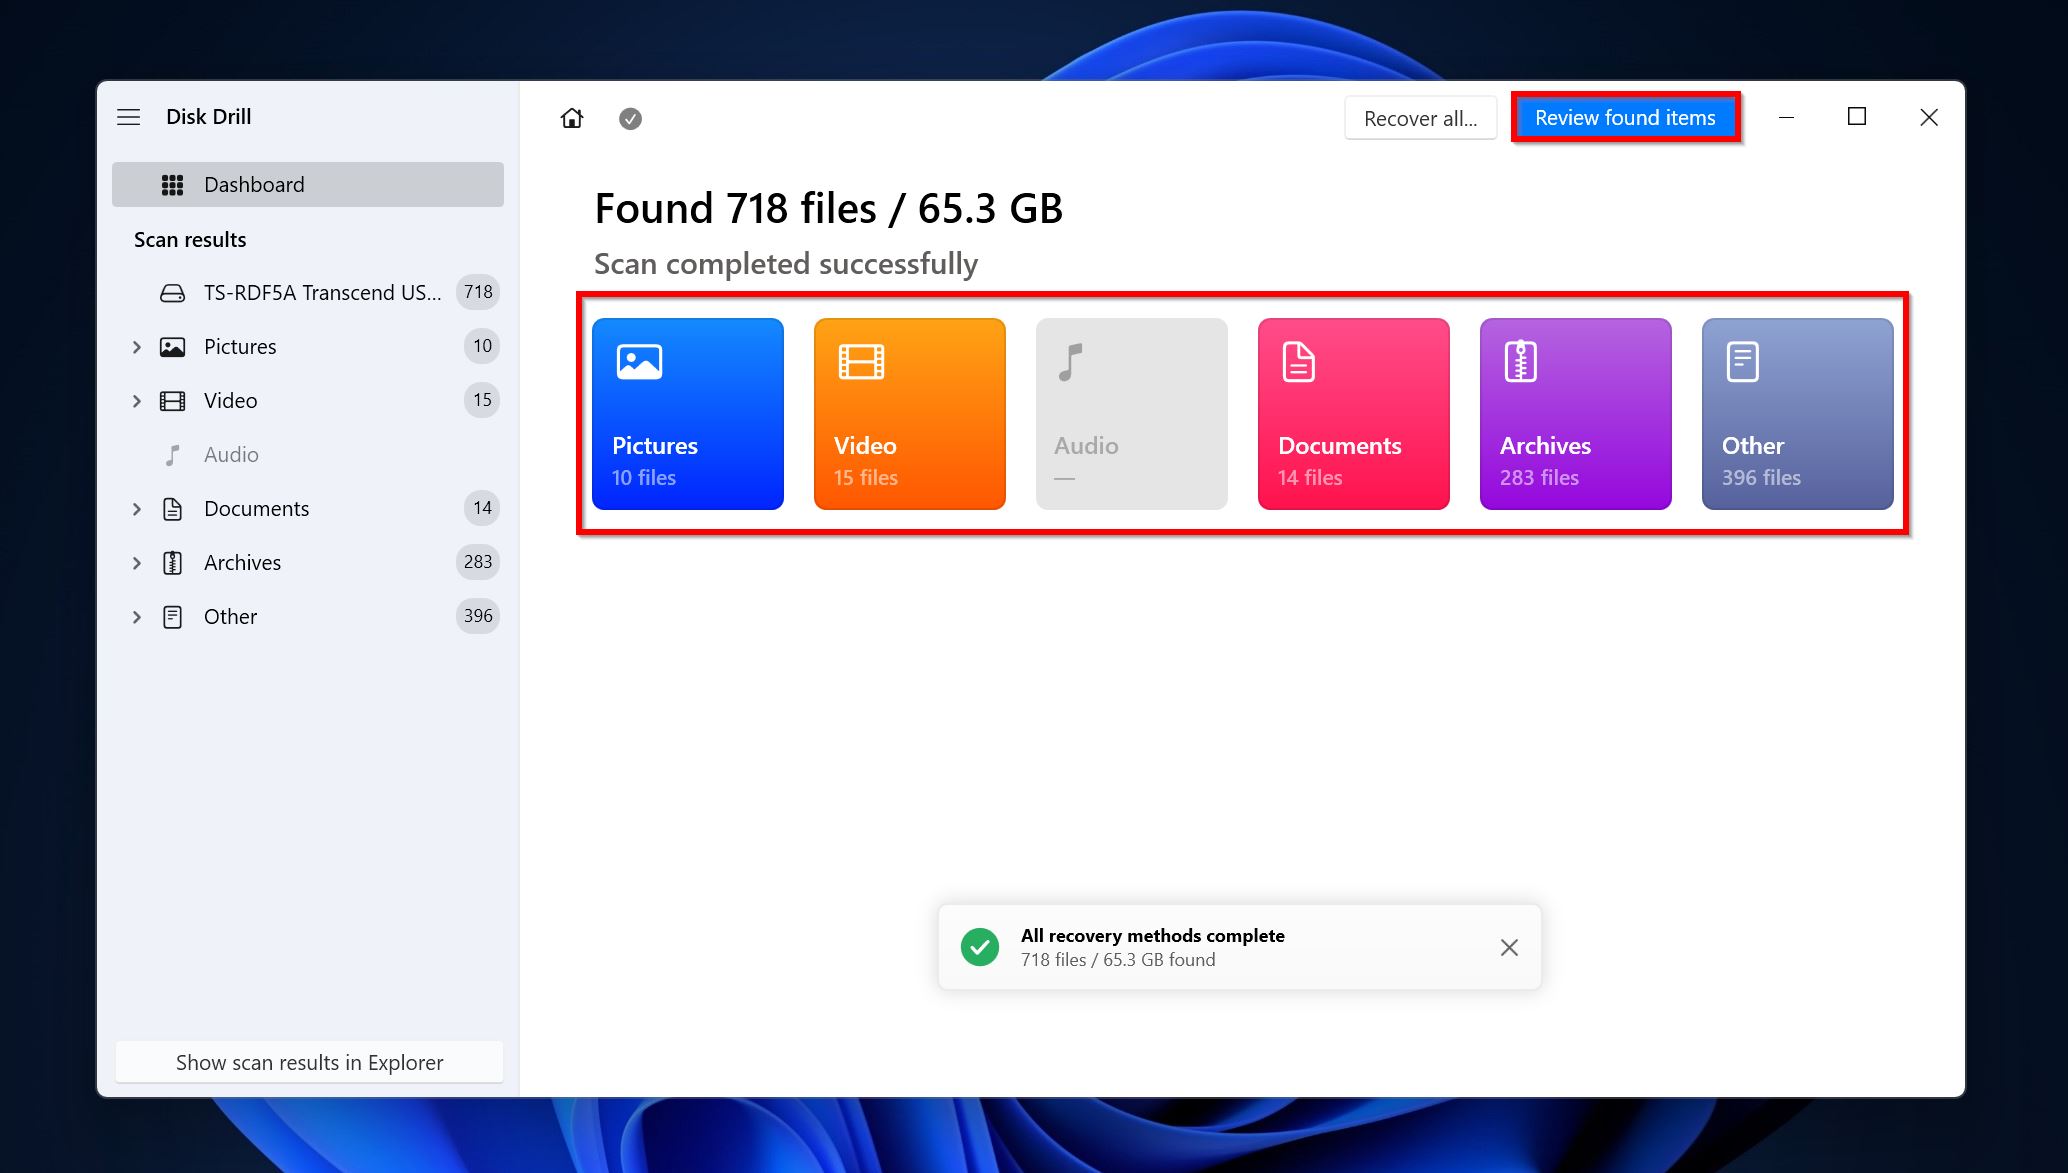
- Click on Review found items to see all recoverable data. If you’re looking to recover specific filetypes, you can directly click on the relevant option (Pictures, Video, Audio, Documents, Archives, and Other).
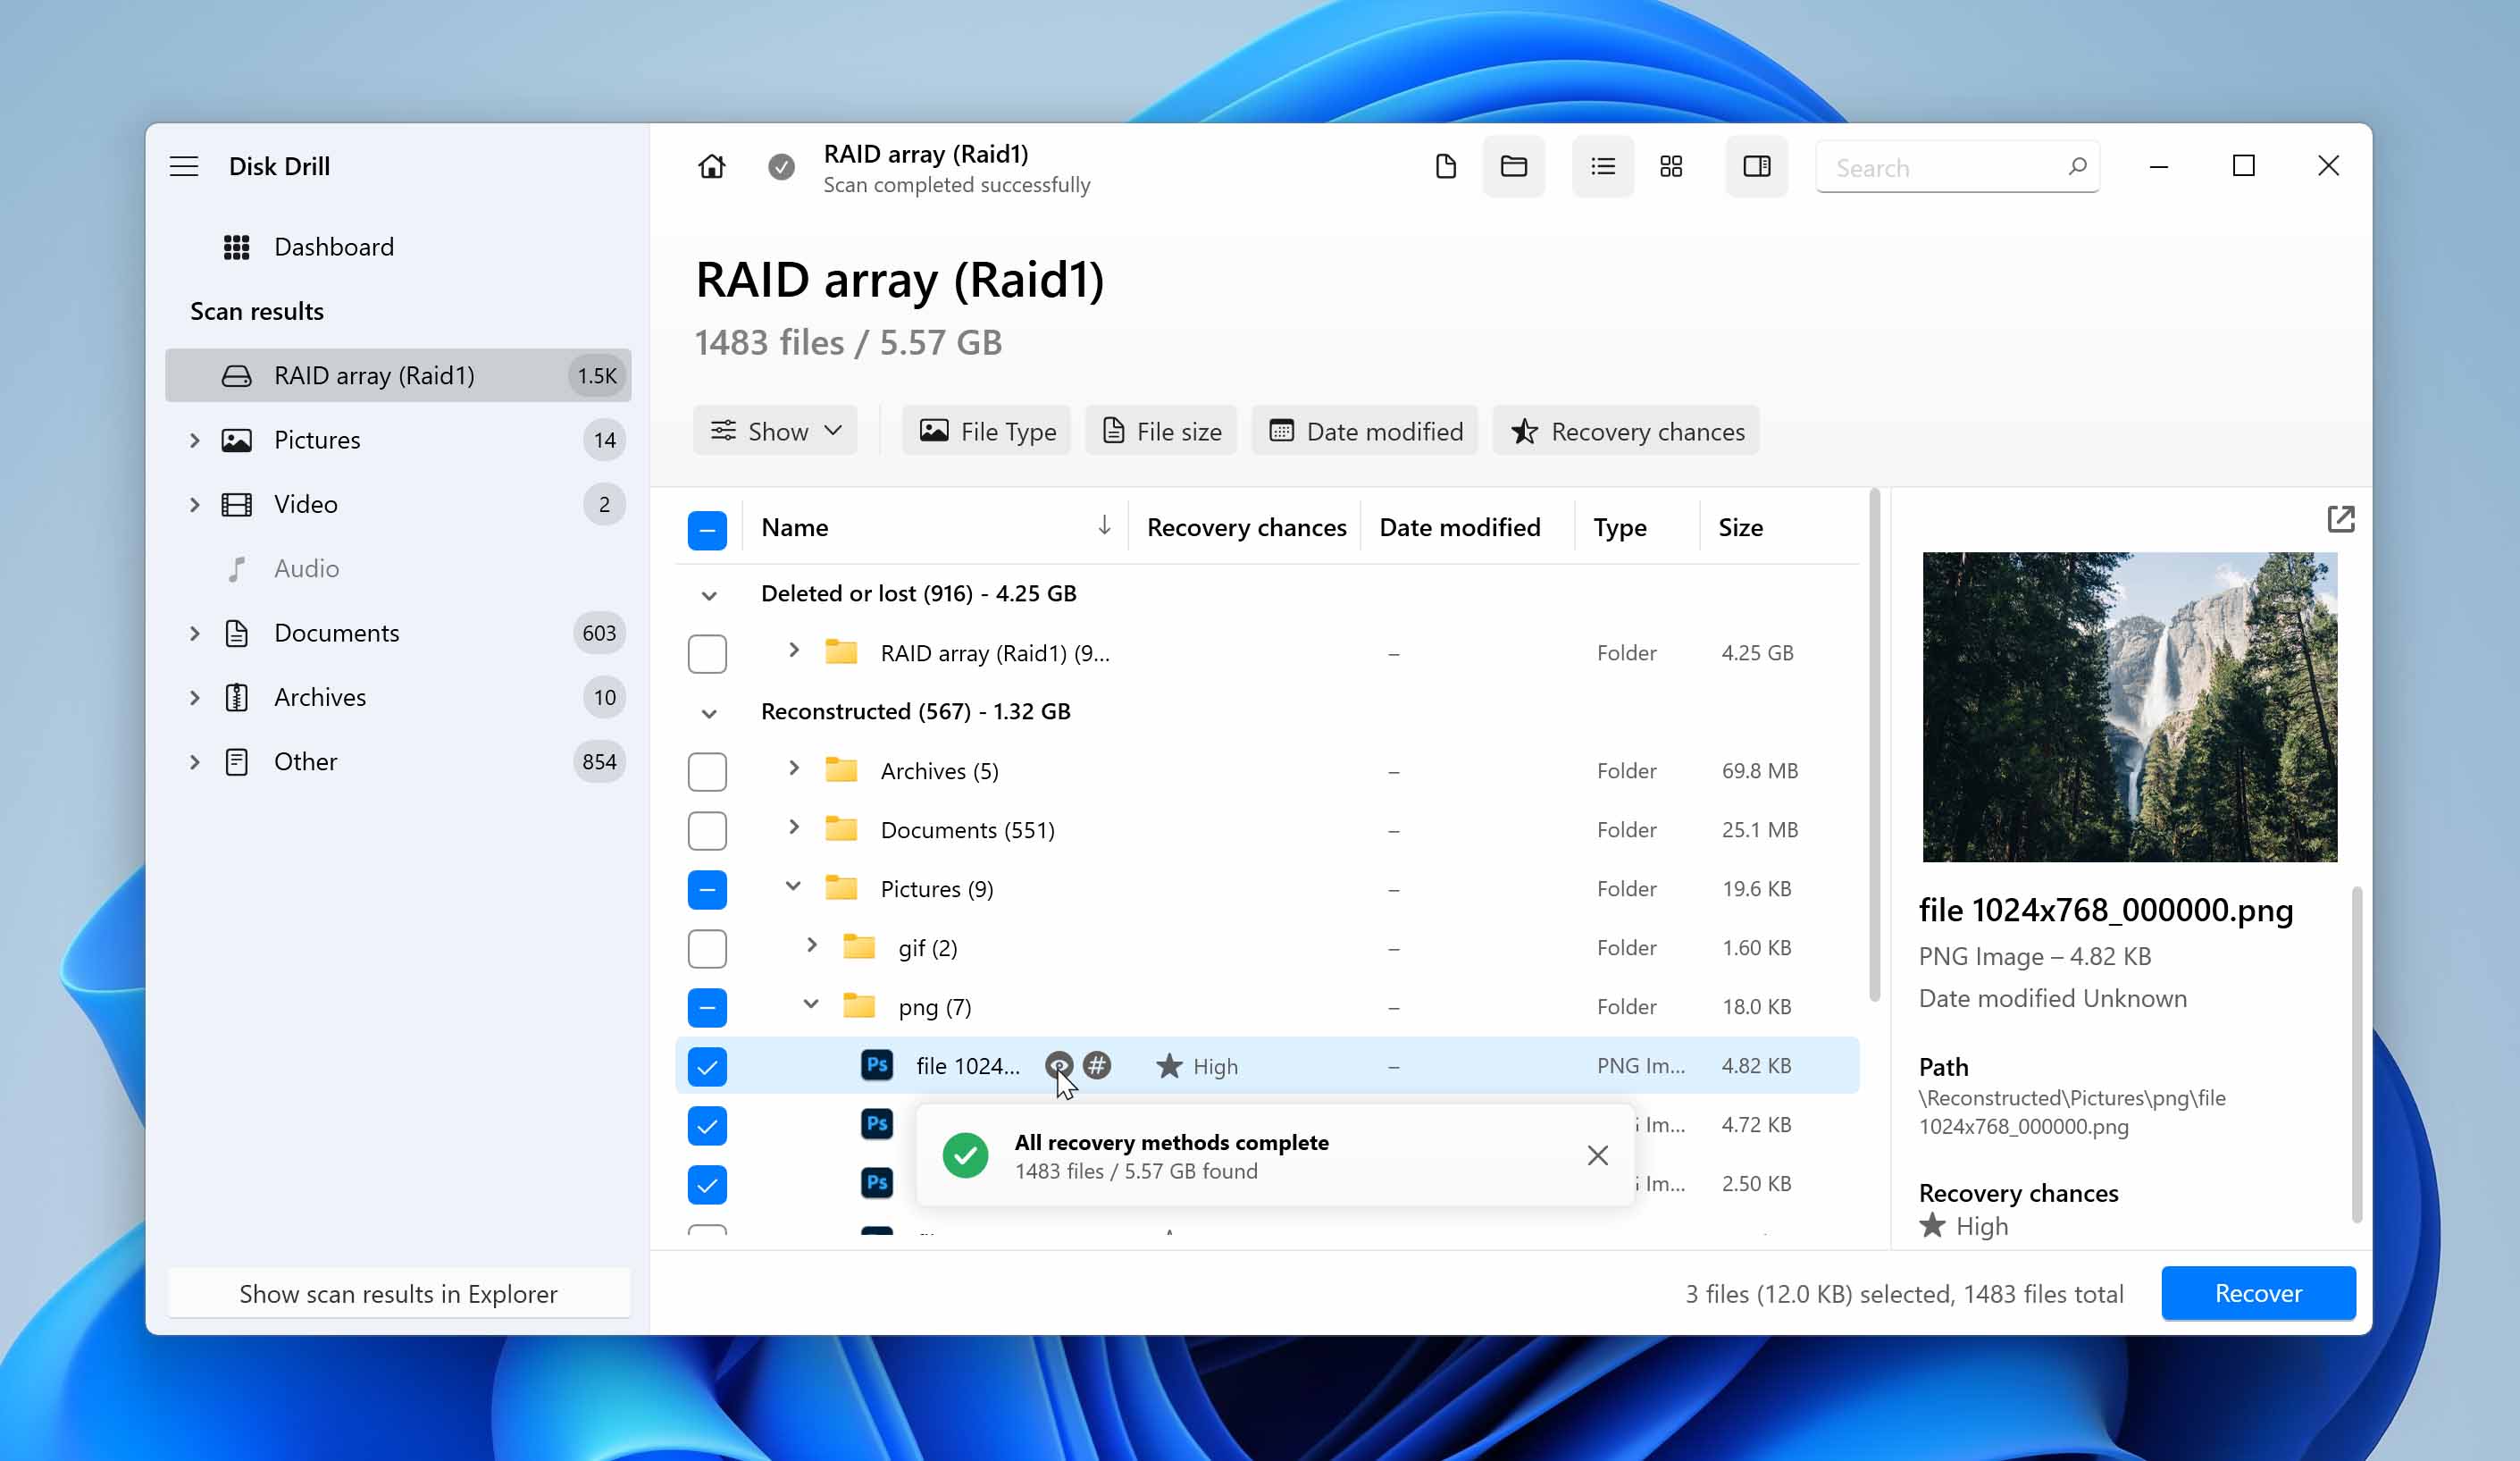
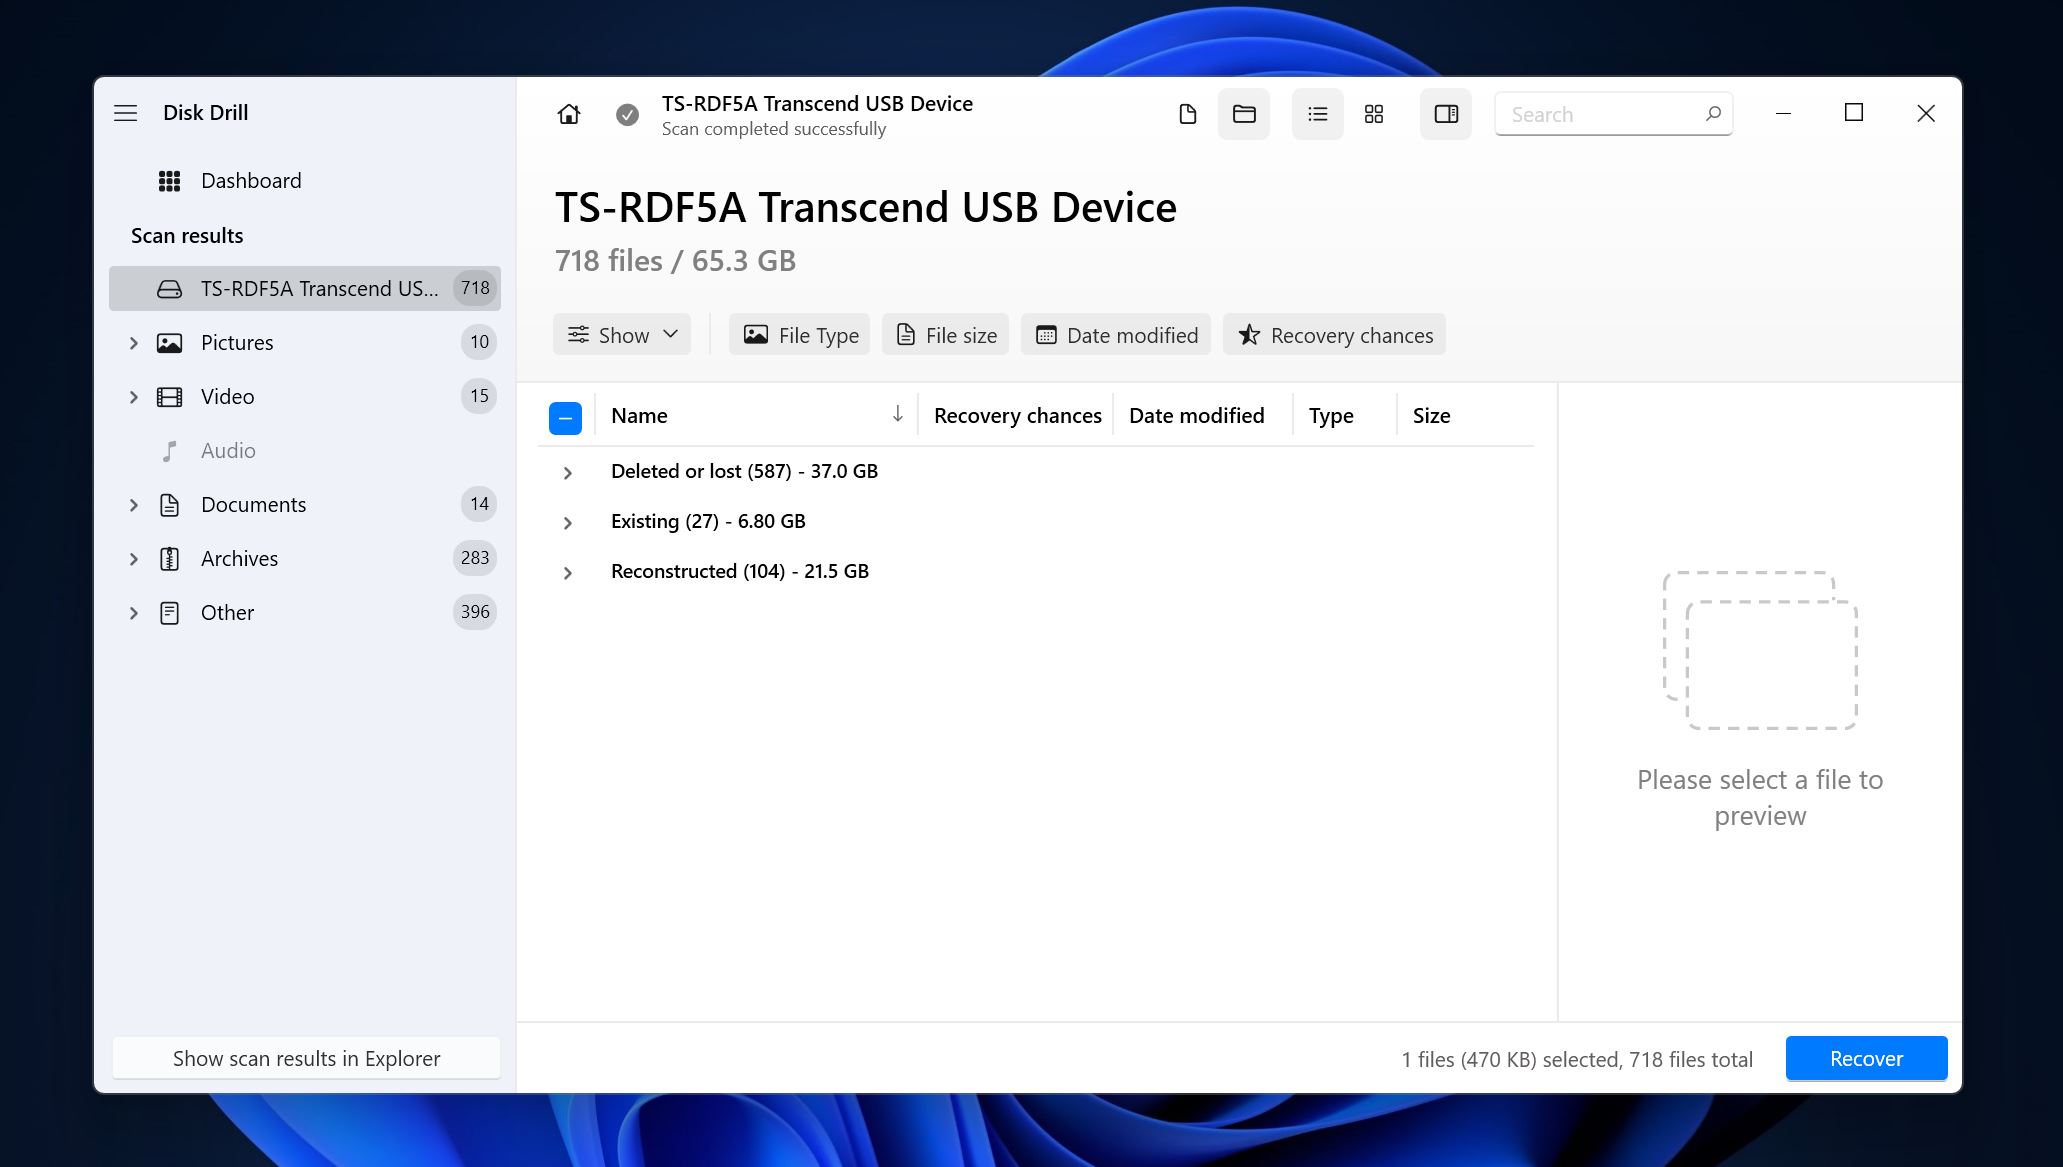
- Expand the Deleted or lost and Reconstructed sections to view files that were deleted from the RAID array. To view existing files on the array, expand the Existing section.
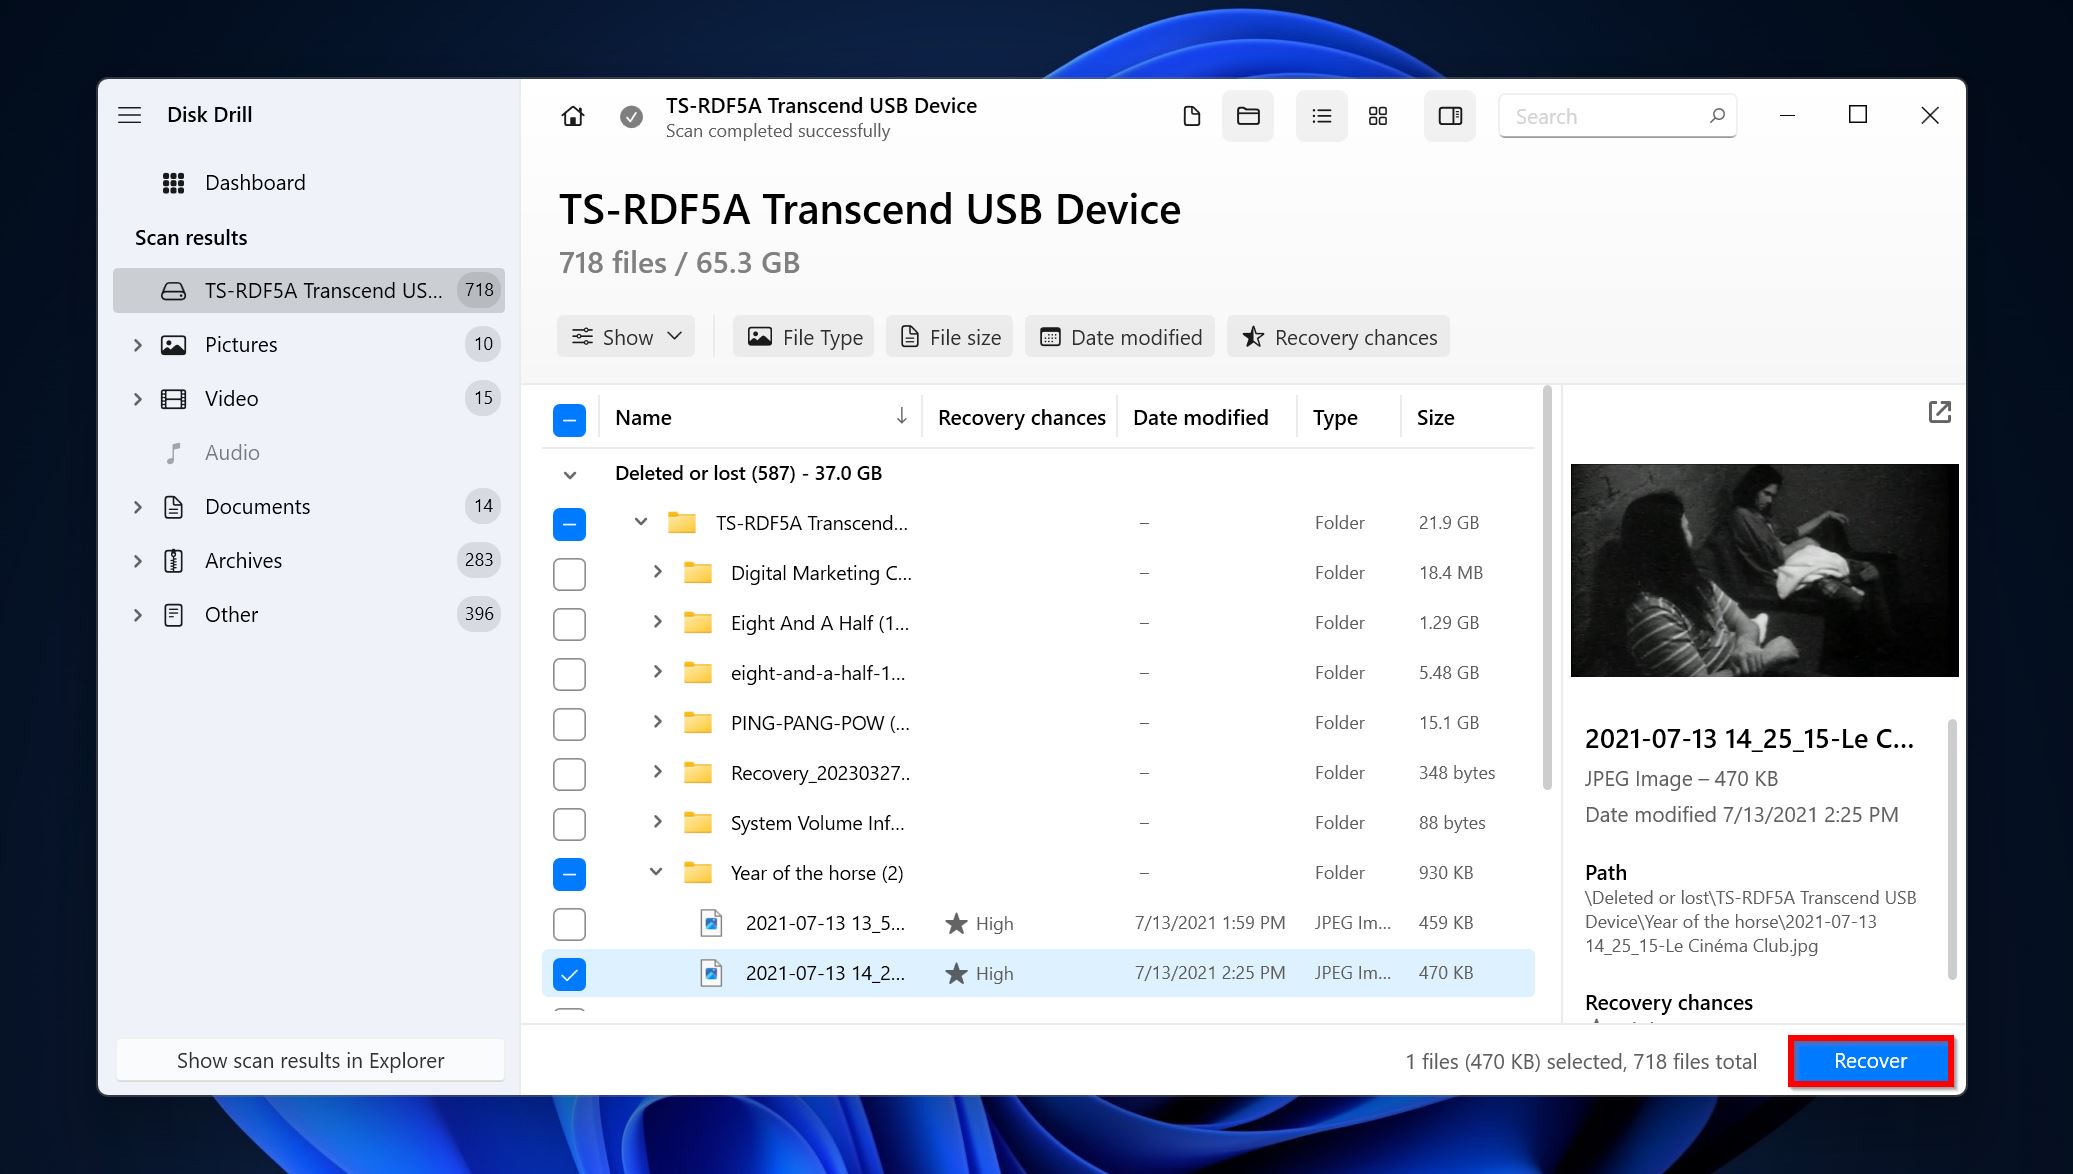
- Use the checkboxes to select the files you wish to recover. Disk Drill displays a preview of the currently selected file, but you can manually preview any file by clicking the eye icon next to its filename. Click on Recover once you’ve confirmed your selection.
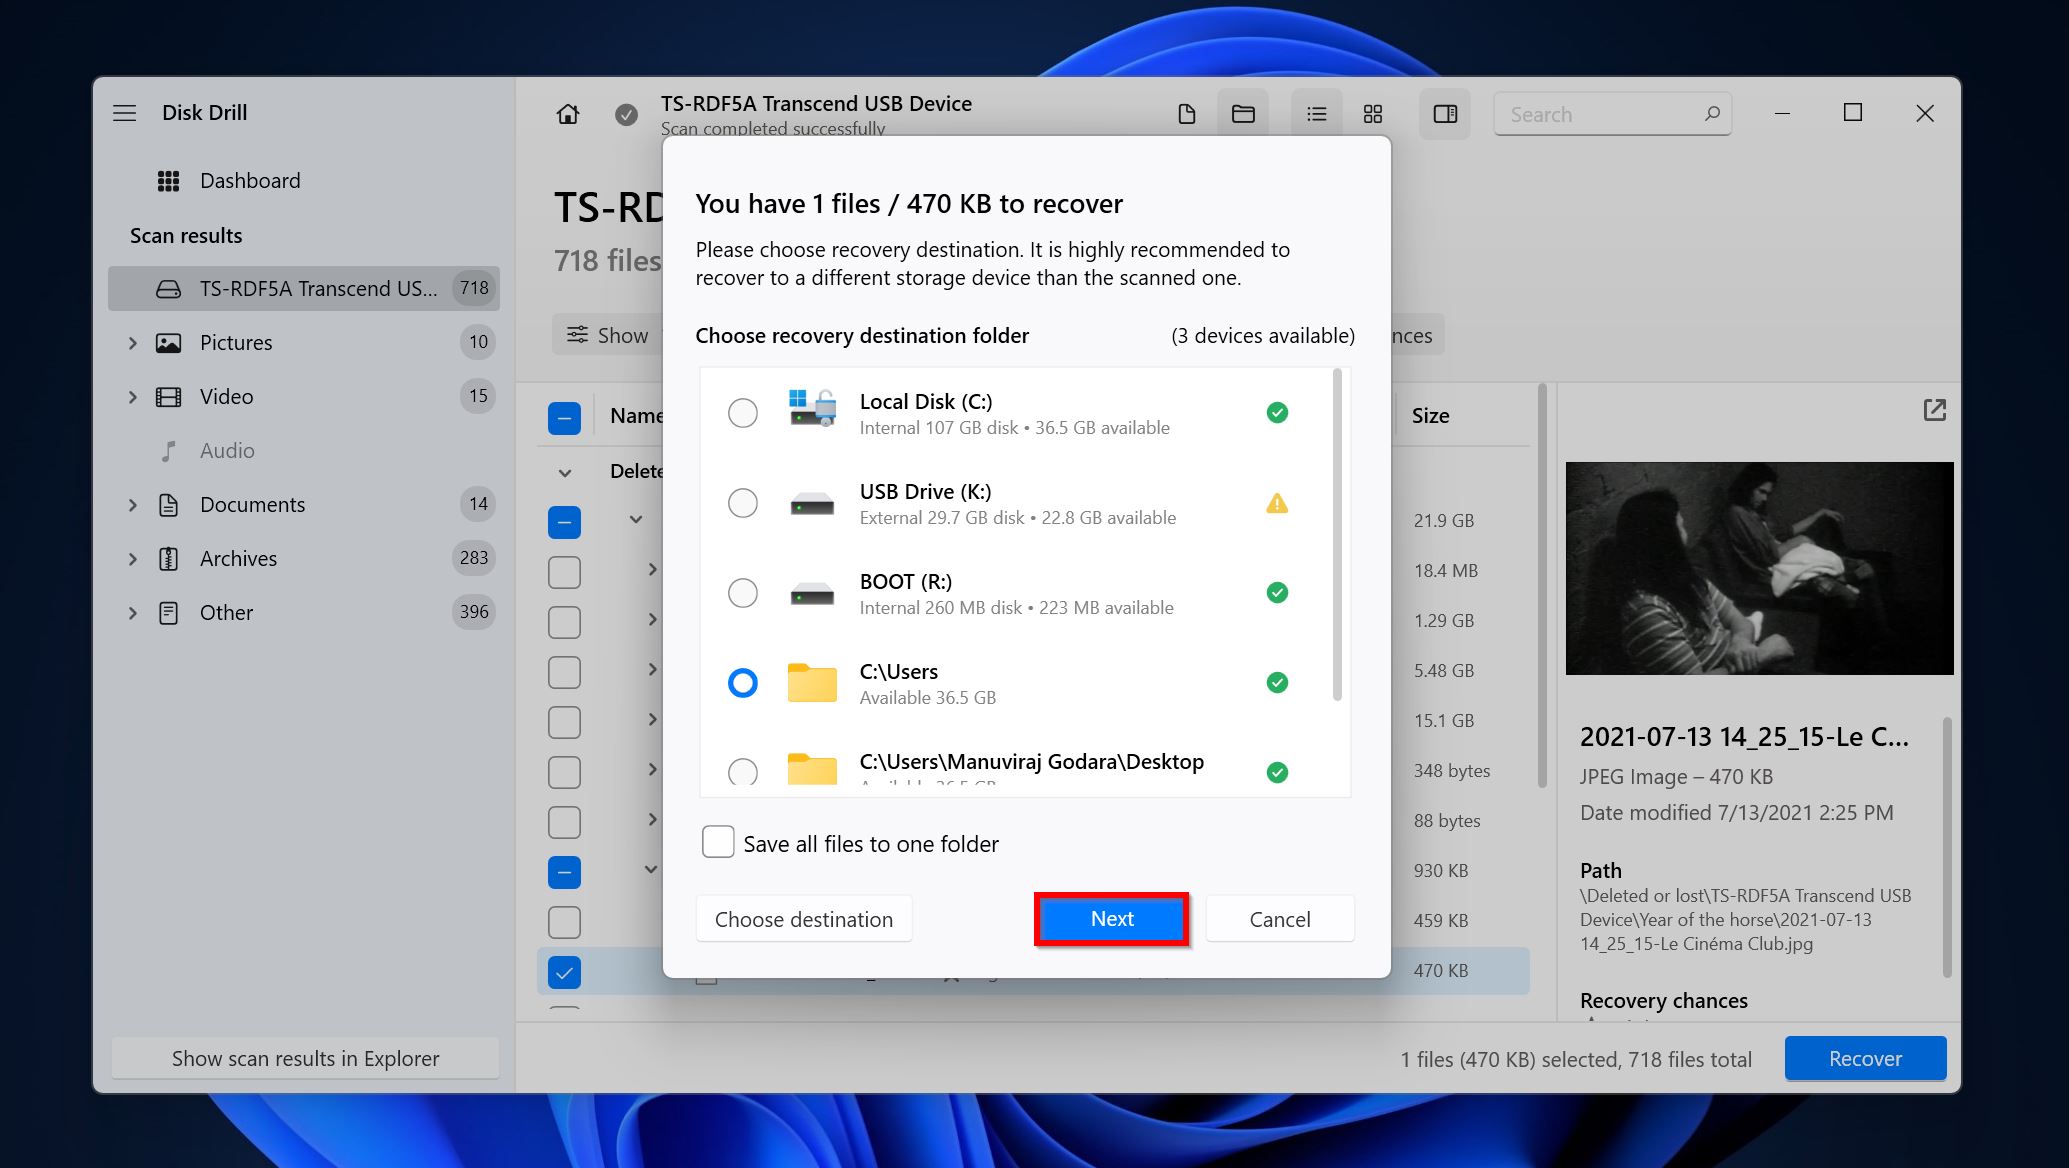
- Choose a recovery destination for the files and click Next.

- Disk Drill will restore the selected files from the RAID 1 array. You can recover up to 500 MB of data for free as part of Disk Drill’s free trial (Windows only).
For a complete look at Disk Drill, its features, safety, and other info, take a look through our in-depth review of the tool.
Method 2: Retrieve Data from the RAID 1 Member Drive
In case a RAID 1 member drive fails, you can recover data from one of the healthy drives, using Disk Drill. The disk needs to be separated from the array and scanned as an independent, regular hard drive. You can either connect the drive internally to the PC or use a disk enclosure to connect it as an external drive.
You can recover data from a single RAID 1 drive using Disk Drill:
- Connect the drive to your PC.
- Open Disk Drill, select the drive from the Storage devices screen, and click on Search for lost data.
- Click on Review found items to view the recoverable files. To filter out the results from this screen itself, you can simply click on the relevant file types (Pictures, Video, Audio, Documents, Archives, and Other).
- Expand the Deleted or lost and Reconstructed sections. To view the files that are presently stored on the drive, expand the Existing section.
- Select the files you wish to recover. As soon as you select a file, Disk Drill will display a preview of it. You can manually preview a file by clicking on the eye icon next to its filename. Click on Recover after confirming your selection.
- Pick a recovery destination for your files and click Next.
- Disk Drill will recover the selected files.
FAQ
Can I remove a drive from RAID 1 without losing data?
Yes, the data is mirrored across member drives in a RAID 1 setup, so you can safely remove a RAID 1 drive without losing data.
How to recover data from a broken RAID 1 array?
Here’s a quick guide on how to recover data from a broken RAID 1 array:
- Download Disk Drill and install it.
- Open Disk Drill, select the RAID 1 array, and click Search for lost data.
- Click on Review found items.
- Select the files you wish to recover.
- Click on Recover and choose a recovery destination.
Can a RAID 1 disk be read on its own?
This will depend on the controller used to set up the RAID array. However, in most cases, a RAID 1 disk can be read on its own.
What happens if one drive fails in RAID 1?
If one drive fails in a RAID 1 array, your data will still be secure because it is mirrored across all drives in the array. You can simply access the data using the other drives in the array. Regardless, you should still replace the failed drive as soon as possible, especially if all the disks were manufactured at the same time.
Conclusion
Albeit expensive, a RAID 1 array setup is a good way to secure your data, but it isn’t completely foolproof. The only way to ensure all your important files stay safe is to back them up regularly. It’s best to have multiple local copies and at least one cloud copy of your important data for complete peace of mind. Additionally, if you feel your data is too important to attempt DIY recovery, you shouldn’t hesitate to contact professional data recovery services.
This article was written by Manuviraj Godara, a Staff Writer at Handy Recovery Advisor. It was also verified for technical accuracy by Andrey Vasilyev, our editorial advisor.
Curious about our content creation process? Take a look at our Editor Guidelines.