
Need to recover deleted or missing files from your Mac’s solid-state drive? Depending on the reason for the data loss and a few other factors (we’ll give you more info about them in this article), there might be a chance for a successful Mac SSD data recovery.
Basically, there are five effective methods that can help you restore the data from your Mac’s SSD. Read on to learn what you should do to bring your files back.
Is It Possible to Recover Data From a Mac SSD?
In short — yes, there are ways to recover data from a Mac SSD. But each data loss situation is different, and the chances of a successful recovery will vary depending on a few factors. By thinking over the questions below, you’ll be able to understand whether Mac SSD file recovery is possible in your scenario.
🔌 Does your Mac boot?
There are different reasons for why your Mac doesn’t want to turn on all the way: failed macOS update, malfunctioning battery, software-related issues, or physical damage. Luckily, you have a high chance of recovering the missing files with most of the issues. But if your Mac is physically damaged, the recovery success rate will depend on the severity of the damage.
Here are the signs that you should look for in your Mac that may indicate that its SSD is physically damaged:
- Poor performance
- Overheating or water damage
- Frequent crashes
- Bad sectors
- Unusual noise
⚙️ Is the TRIM function enabled?
TRIM is a feature that comes with most Macs equipped with a solid-state drive. It is responsible for managing storage space on your computer by marking deleted files as invalid and, after that, immediately removing them from the SSD. Usually, this tool is enabled by default, which is a good thing for your Mac’s SSD since it improves its performance and prolongs its lifespan. However, it does complicate data recovery on such computers.
Even if TRIM is enabled on your Mac, you might still have a chance of restoring the needed files from the SSD (especially if you act as quickly as possible).
To increase your chances of recovering the missing files from your solid-state drive, it’s essential to disable TRIM once you’ve noticed that the data is gone. However, it might work only if you do this right away after deleting the files. To turn off this feature, launch Terminal and use the sudo trimforce disable command.
💾 Is your Time Machine enabled?
When you have a Time Machine backup of your Mac SSD available, you can use it for your file recovery. In such a case, the chances of your data recovery process ending positively are sky-high. But if you don’t have Time Machine enabled on your Mac, there are a few other solutions for you to try.
Solution type |
Solution |
Solutions for the working Mac |
Use a data recovery tool like Disk Drill (Method #1) Restore from Time Machine (Method #2) Contact data recovery service (Method #5) |
Solutions for the unbootable Mac |
Retrieve data using Target Disk Mode (Method #3) Mount your SSD to another device (Method #4) Contact data recovery service (Method #5) |
How to Recover Data From a Mac SSD
Here are the best solutions that you can try to recover missing or deleted data from a Mac SSD.
Method#1: Recover Data From a Mac SSD With Data Recovery Tool
One of the quickest and most effective solutions would be to restore the lost files from your Mac’s solid-state drive with the help of a data recovery tool. But the tricky part is finding the right tool since not many of them are capable of recovering files from SSDs. Therefore, in such a data loss scenario, we recommend giving Disk Drill a try.
Disk Drill is a reliable and powerful data recovery tool that can easily discover and restore a large amount of data at the same time and files, no matter their size or type. Moreover, this application is compatible with all file system formats (exFAT, HFS+, APFS, etc.) and, thanks to its advanced scanning algorithms, can provide impossible results in complex data loss situations.
Note: For more information about this data recovery tool, check out our Disk Drill review.
Follow these steps for Apple SSD data recovery on your Mac with Disk Drill:
- Download Disk Drill from the official site and follow onscreen instructions to install it on your Mac.
- Launch the application and select your SSD from the list of available devices.
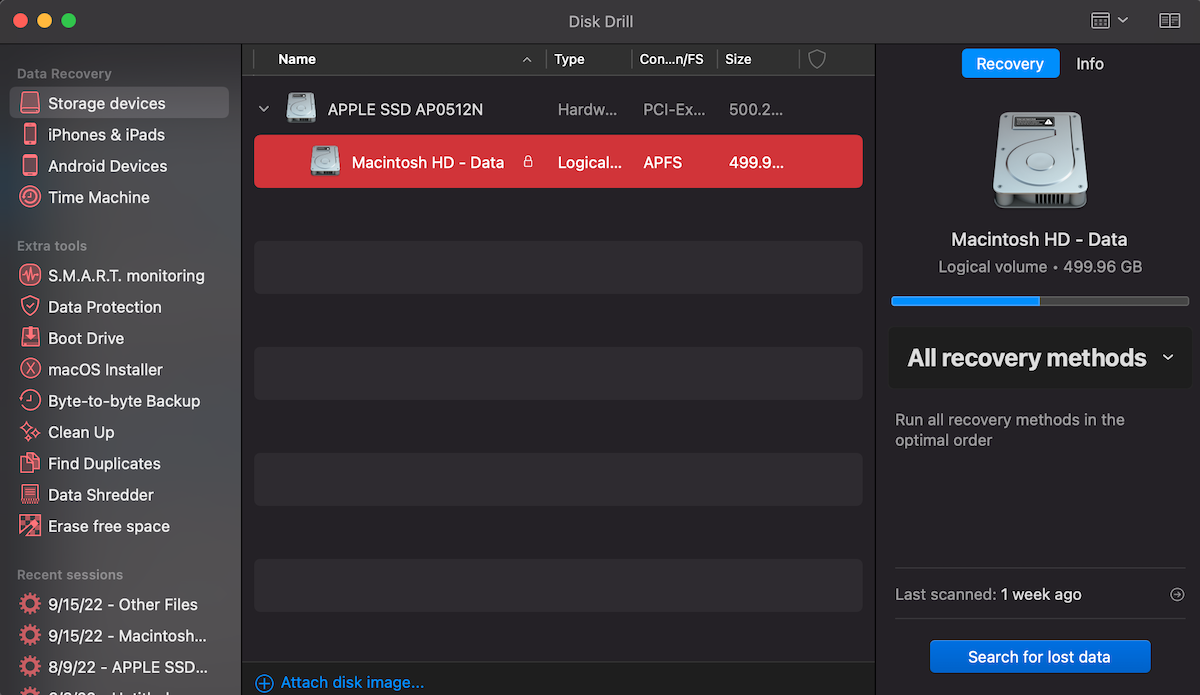
- Check if the All recovery methods option is selected (if not, change it). Then click Search for lost data to initiate the scan.
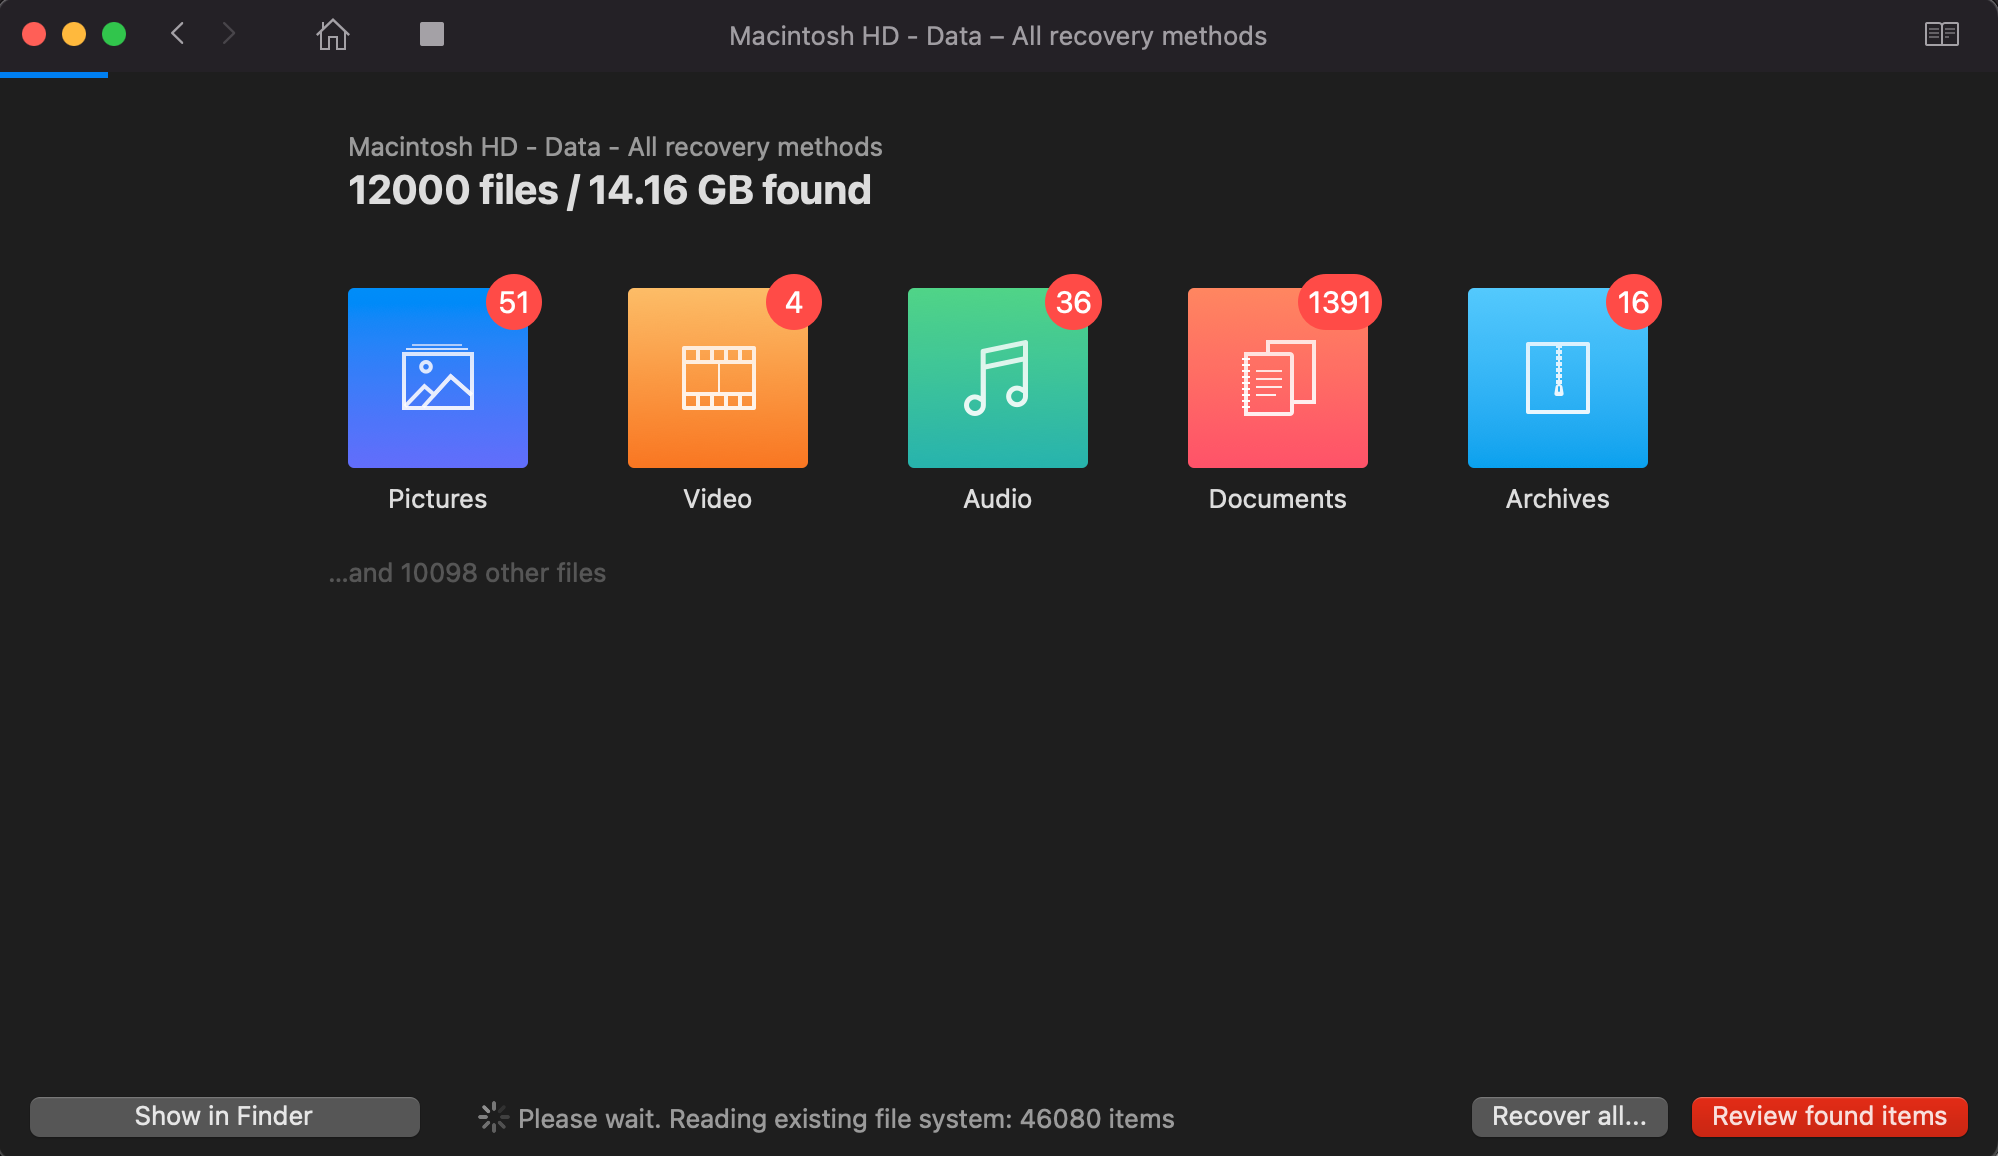
- Wait for the scan to finish and click Review found items to see the scan results.
- If you’re looking for specific files, you can use either the search field at the top-right of the screen to narrow down your results or the sidebar on the left to filter the results according to file types.
- Click the eye icon near a file to preview it.
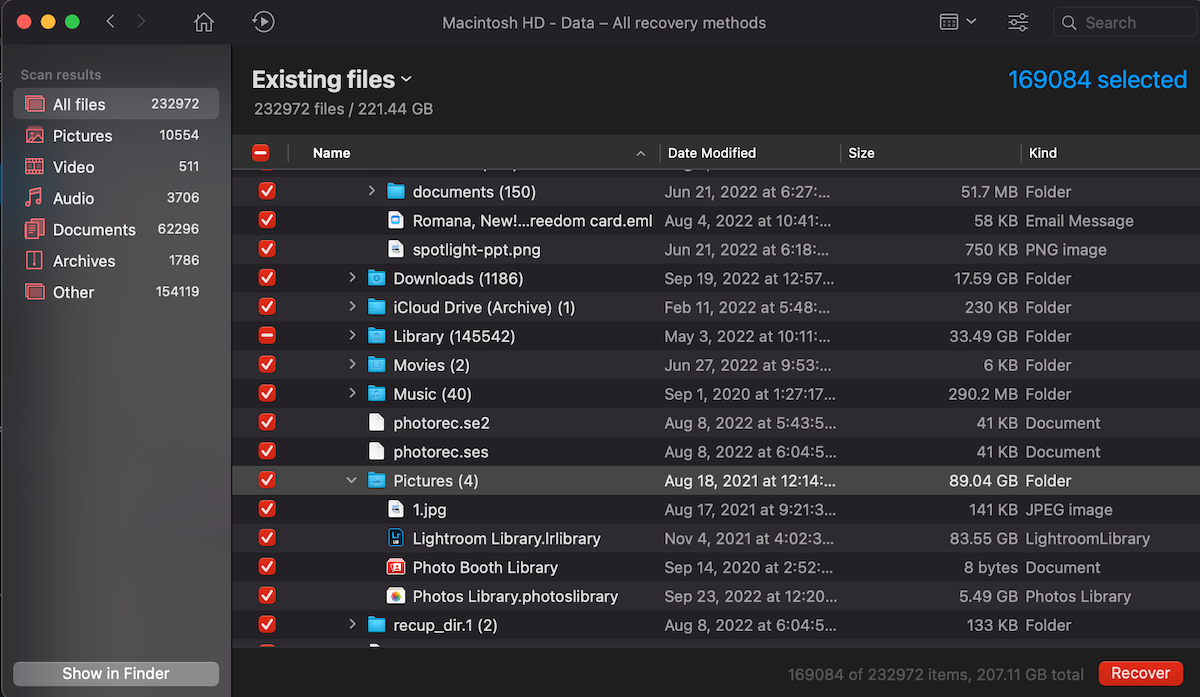
- Choose the files you wish to recover and click the Recover button.
- Select a preferred location for the chosen files and click OK.
To be on the safe side, it’s a good idea to create a byte-to-byte backup of the SSD first and then use it to recover the files. You can do this also with the help of Disk Drill (simply click Byte-to-byte Backup on the sidebar to make the DMG file of your SSD and then attach the disk image to the app to restore your data from it).
Note: Another option that you can try is to launch Disk Drill in Recovery Mode on your Mac. This will decrease the possibility of your computer overwriting the deleted files from your SSD.
Method #2: Restore From Time Machine Backup
You might be wondering, how can Time Machine help with MacBook SSD recovery?
If you’ve been regularly backing up your Mac with Time Machine, you can use one of those backups to recover the missing files from your Mac’s SSD. The process is pretty straightforward and doesn’t take up much time. All that you need is your Mac and the drive containing your Time Machine backups (if you were using an external drive to back up your computer).
Follow these steps to restore lost or deleted data from the SSD on your Mac using Time Machine:
- Connect the drive containing your Time Machine backups to your Mac (skip this step if you used an internal drive for the backups).
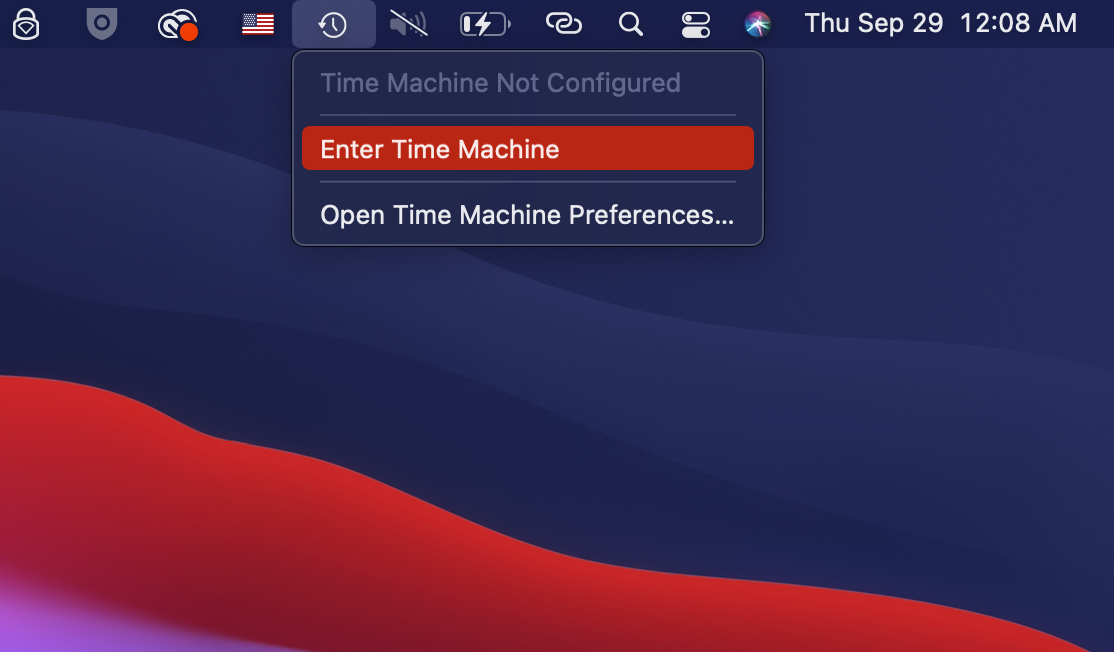
- Launch Time Machine (click the Time Machine icon from the menu at the top of your screen and choose Enter Time Machine).
- Use the timeline and arrows on the right to select the needed backup version. If you remember the name of the file you’re searching for, use the search field to locate it. Otherwise, go to the folder where the file used to be stored before deletion

- Choose the files you wish to recover and click the Restore button.
In case you wish to restore all of the files from your Time Machine backup, you should launch Migration Assistant on your Mac, choose the needed backup version, and select whether you wish to transfer all of the file or a certain type of data (for example, only the files and system settings).
Method #3: Retrieve the Data Using Target Disk Mode
This method is great for Mac SSD recovery on computers that won’t boot properly and might help even if you had TRIM enabled on your Mac. To retrieve the data from your Mac’s SSD using Target Disk Mode, you’ll need another working Mac, a cable (USB, USB-C, or Thunderbolt), and a reliable data recovery tool like Disk Drill.
Follow these steps for an easy MacBook SSD data recovery using the Target Disk Mode feature:
- Shut down the Mac you’re trying to recover files from.
- Download Disk Drill and follow the onscreen instructions to install the tool.
- Connect the Macs with a cable.
- Turn the target Mac back on, and immediately after pressing the power button, press and hold the T key until you see a Thunderbolt or FireWire icon on your screen.

- On the working Mac, launch Disk Drill and select the target Mac from the list of available devices. Then click the Search for lost data button.
- Follow steps 4-8 described in method #1.
Method #4: Mount Your SSD to Another Device
Mac SSDs are quite tricky to remove, but luckily, they are not completely soldered down. Therefore, it makes it possible to mount the SSD to either another Mac or a Windows-based computer (and this gives you the possibility to recover files even from a dead Mac). But while the process is fairly straightforward when installing the SSD on a Mac, with PCs, it’s a bit more complicated.
Note: If your goal is to transfer the data from a Mac SSD to a PC, there are other easier ways to do it compared to removing and mounting the drive.
There are a lot of things that might get in your way if you try to mount your Mac’s SSD to a non-Apple PC: different boot firmware, connectors, file systems, etc. To have a chance to succeed in this, you should carefully choose a suitable adapter, and you might also need specialized third-party software for the task.
Method #5: Contact Data Recovery Service
If nothing worked, a data recovery service like Cleverfiles Data Recovery Center might be your last opportunity to bring back lost or deleted files from your Mac’s SSD.
All you need to do is contact the data recovery lab of your choice and book a consultation to describe your problem. After that, you’ll get a data recovery cost quote, and if you choose to move forward with the recovery process, you’ll need to pack and ship your Mac or the solid-state drive to their lab. Once the data recovery is successful, you’ll get back the retrieved data on a separate device and your Mac.
FAQ
Can you recover data from a Mac SSD?
Yes, but there are a few solutions to choose from. Your best option is to restore the files from your Mac SSD using a data recovery tool like Disk Drill:
- Install and launch Disk Drill.
- Scan your Mac’s SSD.
- Preview the files and choose the needed ones.
- Recover the data
- Select the preferred destination folder.
What is the best Mac SSD data recovery software?
While there are a few worthy data recovery tools, the most suitable one is Disk Drill since it supports most major file systems (APFS, HFS+, exFAT, etc.) and is capable of discovering and recovering files of various sizes and types.
Can I put a Mac SSD in a PC?
Yes, you can mount a Mac SSD to a Windows-based computer. But to do that, you’ll need to use the correct adapter.
Can you transfer data from a broken Mac to a new one?
In short — yes. However, the results will depend on your broken Mac’s type of damage and severity level.
How do I restore my Mac to a new SSD?
Your best option would be to back up your old Mac using Time Machine and then transfer the data from that backup to the new SSD.
How do I fix a corrupted SSD Mac?
Before trying to fix the corrupted SSD on your Mac, it’s a good idea to first back up your data (if you haven’t done that before). After that, boot your Mac in Recovery Mode and follow these steps:
- Select Disk Utility from the Utilities window and click Continue.
- Choose your Mac’s SSD from the available devices on the left.
- Click the First Aid button.
- Click Run to confirm and wait for the process to finish.
- Restart your Mac.
How to recover data from a dead MacBook Pro?
If your dead MacBook Air or MacBook Pro can boot into Recovery Mode, then you can create a byte-to-byte backup using a tool like Disk Drill and then, using a working Mac, scan that backup to retrieve all of your data. But if your Mac won’t turn on, your best option would be to get help from a professional data recovery service.
Is your Mac SSD internal or external?
The main difference between internal and external solid-state drives is in the way they connect to your Mac. External SSDs connect to the computer with the help of a USB cable or over the network, while internal ones via SATA or m.2.
How to recover files from an external SSD on a Mac?
If you need to recover data from an external drive on a Mac, your options are quite similar to the ones when restoring data from an internal one. Here’s what you can try:
Conclusion
Solid-state drives have a smaller chance of getting damaged than hard drives since they have no moving parts. But that doesn’t mean that your Mac is completely safe from an unexpected data loss issue. Therefore, to protect your data and to be ready for the worst-case scenario, it’s essential to regularly back up your computer either with the help of Time Machine or any other tool you prefer to have an easy solution to such a complex problem.
This article was written by Romana Levko, a Staff Writer at Handy Recovery Advisor. It was also verified for technical accuracy by Andrey Vasilyev, our editorial advisor.
Curious about our content creation process? Take a look at our Editor Guidelines.