IObit Undelete is one of the many data recovery apps available in the market, but it also happens to be among the few completely free options. So the question is, is it really capable of helping you get back important lost files? Or is it another failed attempt at breaking through the already saturated data recovery niche?
In this Obit Undelete review, we’ll be exploring all the features that the program has to offer. We’ll also be testing the software ourselves to find out if it can truly deliver on its promise of returning missing files.
TLDR; The thought of an entirely free data recovery program certainly is alluring, and the fact that it’s incredibly lightweight, fast, and requires no installation makes IObit Undelete even more intriguing. Unfortunately, while we can forgive the program’s lack of features, it wasn’t able to successfully retrieve our deleted files, making this recovery software difficult to recommend.
Want to help make our content better? Please vote for the best alternative to IObit Undelete:

Main Features
IObit has been developing computer software since 2004, offering an impressive repertoire of programs ranging from PC optimization tools to malware protection and, of course, data recovery.
However, the company’s reputation remains rather divisive among users, with some people swearing at its products. In contrast, others complain about how the majority of the software doesn’t achieve its intended purpose. Here are some of IObit Undelete’s most prominent features:
- 🔎 Deep Scans. IObit Undelete is capable of performing comprehensive scans of any storage device connected to your computer, allowing you to recover deleted files or ones lost through other data loss scenarios, even if they’ve been missing for a long time.
- 📊 File Evaluation Before Recovery. The program assesses the retrieval chances of found lost files before you attempt the recovery process. There are three categories – excellent, good, and poor, taking into consideration whether the files can be rescued through normal means or if they’ve been overwritten.
- 📍 Targetted Scans. With IObit Undelete, you’ll be able to scan specific storage devices, or you can administer a full scan of all the drives connected to your computer in case you’re not quite sure where the lost files may be located.
- 💾 No Installation Required. The app comes in a portable executable form, meaning there’s no need for you to go through the trouble of installing it every time you’re in need of data recovery. It also allows you to store the executable in portable drives in case you need to use IObit Undelete with other computers.
- 💸 Completely Free. IObit Undelete is completely free and offers no paid versions, meaning you can use it as much as you want without pesky recovery limits or paywalls.
Data Recovery Process
Data recovery for IObit Undelete is exceedingly simple, requiring only a couple of clicks to kick off the scanning process. I used the program to scan a 100GB partition of my SSD to see the missing files it’ll be able to uncover. I also deleted a video file from the drive, which I’ll attempt to retrieve.
Below is a step-by-step walkthrough of my recovery experience:
- To get started, I downloaded IObit Undelete from the official IObit website. No sign-ups were required. Just click a button, and the file will start downloading. Unfortunately, the app is only available on Windows operating systems, and the software is stuck at version 1.0.0, meaning it’s likely not receiving any updates.
- Since the program doesn’t require any installation, I just needed to launch the downloaded executable, and the IObit Undelete booted up. This portable design comes in quite handy, as it eliminates the need for uninstalling the program once I’m done with it, and I can just store it in my flash drive in case I ever need it while I’m on the go.
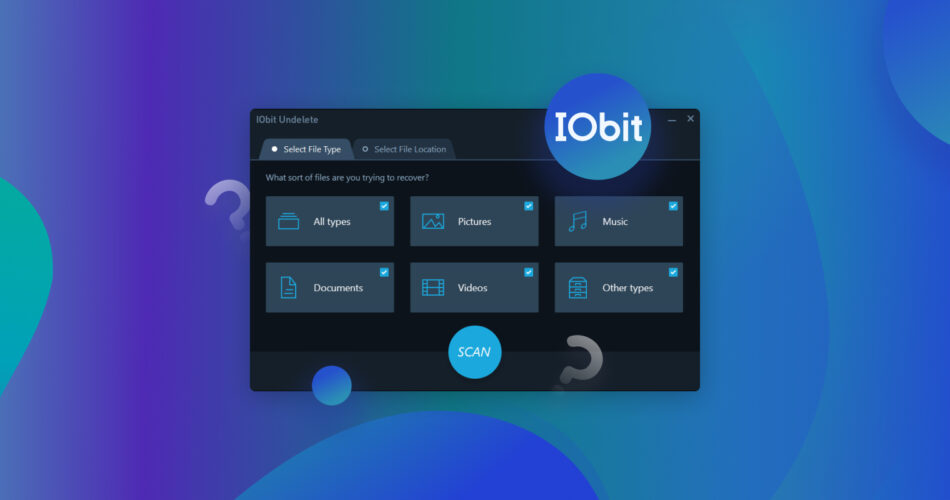
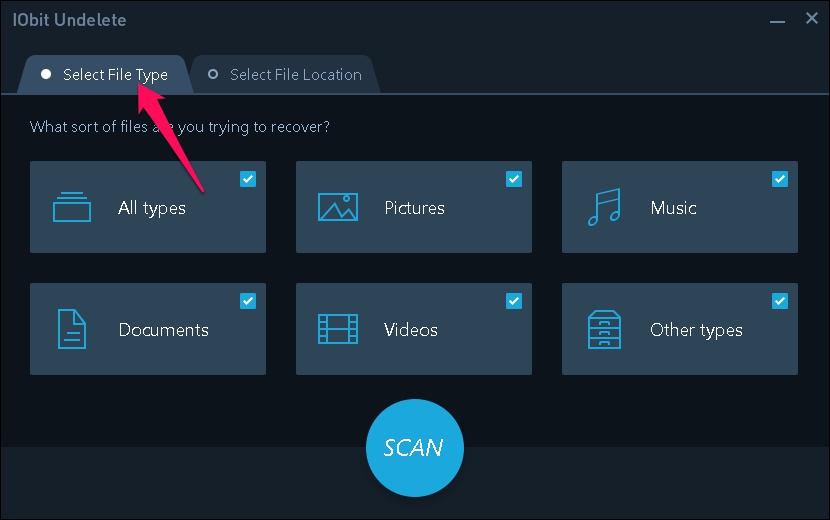
- The program’s interface is rather basic, offering minimal scanning options and no extra features apart from recovery. However, the UI design is pleasant enough, sporting various hues of blue, accessible buttons, and an easy-to-understand flow. The font for the SCAN button feels a bit off, but nothing too annoying. There are two types of scanning options to control – file type selection and file location. Alternating between the two requires clicking a tab near the top of the window. For file type, the categories I could toggle included pictures, music, documents, videos, other types, and all types. All the categories are selected by default, and I left it that way for the purposes of this demo.
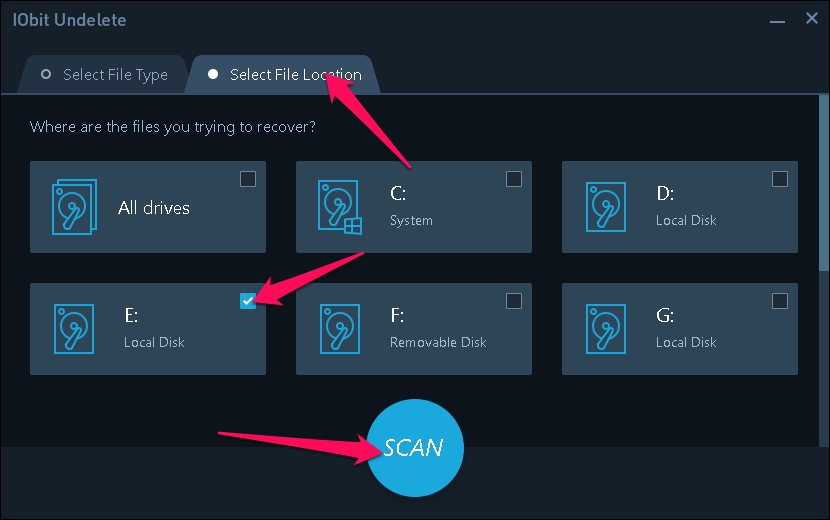
- Switching to the file location tab, all the storage devices connected to my machine were listed as drive letters in alphabetical order. Unfortunately, the drive names were not shown, which was a bit inconvenient. There was also the option to select all drives in case I wanted to scan everything, but I wasn’t able to choose a specific folder or location within a device. So instead, I selected the drive letter that belonged to my 100 GB SSD partition and hit the SCAN button to start the search for recoverable files.
- The scan was completed surprisingly quickly, taking less than half a minute to scan over 23000 files and uncover 4399 results. It’s worth noting, however, that the partition isn’t one of the main ones on my PC, so there isn’t as much clutter to sift through during the scan.
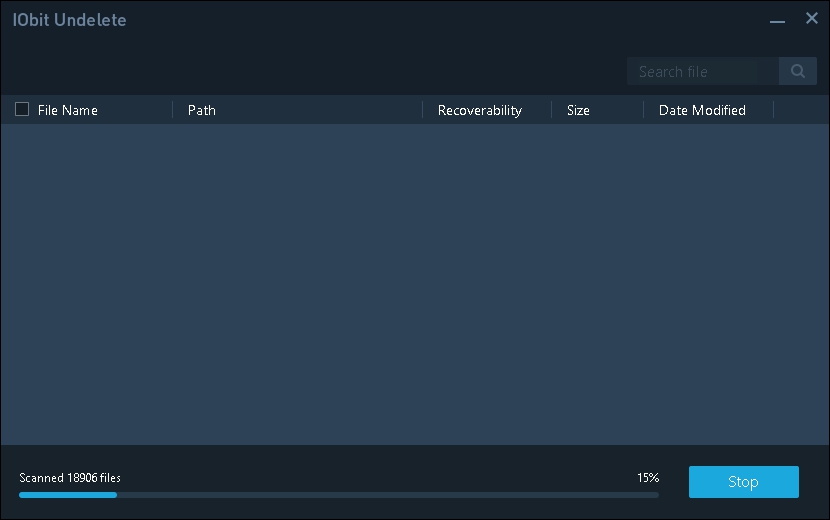
- The recovery results were displayed immediately after the scan in the form of five columns – File name, Path, Recoverability, Size, and Date Modified. Recoverability refers to how likely it is that the file would be recovered, while the other columns are pretty self-explanatory. Since it can be a pain to scroll through all 4399 results, I searched for the file name for the video I deleted prior to the scan using the search bar in the top-right corner of the window. IObit Undelete was able to successfully locate my deleted video, with the recoverability being “Excellent.”
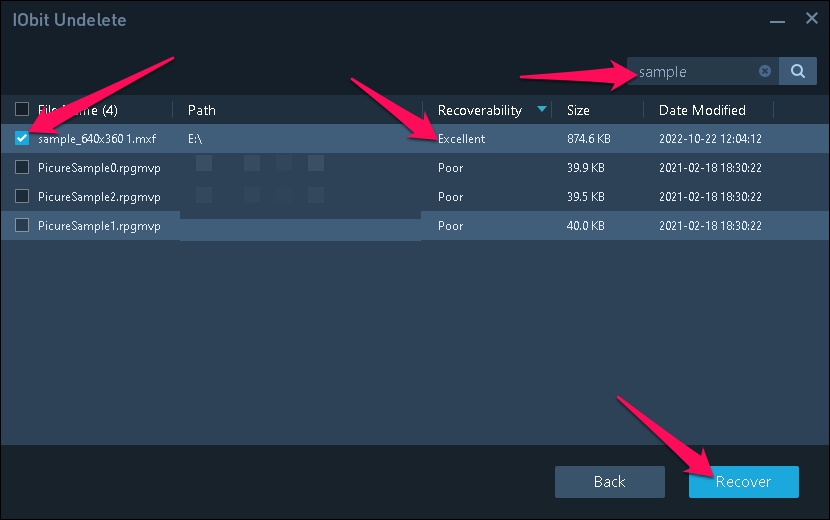
- I highlighted the file by ticking the checkbox next to its file name, then clicked the Recover button to proceed. A pop-up appeared asking me to select the location where the recovered video clip should be saved. I attempted to choose a location within the same drive I just scanned and received a warning that doing so may cause unwanted overwrites. So I chose my USB flash drive as a recovery location instead and clicked OK to finalize the recovery process.

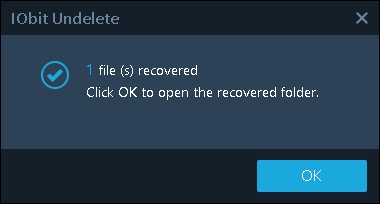
- It took less than ten seconds to recover my video, which was around less than 1MB in size. Larger files, of course, would be expected to take longer. A completion message appeared on the screen once the process was done, with instructions to click the OK button to open the folder that contains the recovered file.
- I checked out the details of the recovered file, and it seems to be pretty much identical to the original. The file name, size, and format all matched. The problem is, when I attempted to play the rescued video clip, all of my media players were unable to play the file, citing unsupported format as the issue. This shouldn’t be the case since the existing copy I have of the video plays just fine. I redid the scan attempting to retrieve a deleted photo instead, and the recovered photo could not be opened either.
Pricing
IObit Undelete is a totally free program with no paid plans in place. In contrast, data recovery can cost a pretty penny, so a free option is always welcome.
User Feedback
So you don’t have to just take our word for it; we scoured the web for some user reviews to see what other people had to say about their experience with IObit Undelete.
When asked about what they liked best about the program, user Nishant J. responded by highlighting the “User Interface, Minimal Size, and No Installation Required.” Lightweight size and lack of required installation are indeed some of the app’s best features and set it apart from some of the competition.
As for its cons, the same user cited “fewer features” and the fact that the program “looks like still in the beta phase,” which makes sense given the IObit Undelete’s overly-simplistic design and lack of additional features.
Another user Kengeorge M. praised the app for being “easily navigable” and “fast, thus making the process of file recovery quicker.” In my experience, IObit Undelete’s basic UI indeed couldn’t be simpler to navigate, and the scanning process proved faster than most. However, similar to the previous user, this one advised that “the developers of this software need to add on more features to meet the demands.”
FAQ
What is IObit Undelete for Windows?
IObit Undelete is a totally free data recovery program for Windows operating systems that allows users to potentially retrieve lost files from a variety of storage devices. It supports a wide range of file formats and several data loss scenarios, including accidental deletion and formatting.
How does IObit Undelete work?
Just like most of its competitors, IObit Undelete is a data recovery software that works by scanning one or all of the storage devices connected to your Windows PC for potentially recoverable files. From there, you can browse through the results and select the ones you want to get back. Finally, IObit Undelete attempts to retrieve the lost files for you.
How to use IObit Undelete to recover files?
Using IObit Undelete is remarkably effortless. Simply follow the steps below to utilize the program:
- Download and run IObit Undelete.
- Choose the storage drive you want to scan.
- Wait for the scan to finish.
- Select the files you want to retrieve.
- Set the recovery location and click OK.
Is IObit Undelete free?
IObit Undelete is a free program by design and has no paid versions with extra features.
Is IObit Undelete safe?
IObit has been around as a software company for nearly two decades, and although the brand’s reputation is a bit on the controversial side when it comes to the efficacy of its programs, its software is completely safe to use, including IObit Undelete.
How to uninstall IObit Undelete?
Since IObit Undelete requires no installation to run, there’s no need to uninstall it once you’re done using it.
Verdict
IObit Undelete’s small size and portable nature remain its strongest features, providing users with a data recovery program that’s quick to use and doesn’t require any installation. The app is also completely free, which is always a great thing, and it administers speedy scans.
On the other hand, IObit Undelete is sorely lacking in the features department and is limited to only Windows systems. Furthermore, despite its quickness, the files I recovered using IObit Undelete could not be accessed, defeating the purpose of recovering the file in the first place. That being said, it’s tough to recommend a program that ultimately wasn’t able to fulfill its intended function.
This article was written by Princess Lescan, a Staff Writer at Handy Recovery Advisor. It was also verified for technical accuracy by Andrey Vasilyev, our editorial advisor.
Curious about our content creation process? Take a look at our Editor Guidelines.