If you need a to-the-point Sony Handycam video recovery guide, you just found it. Sony forums are full of people trying to recover something they lost, whether it’s footage from a wedding, vacation, or a work project. So, we decided to put together a practical guide that actually explains how recovery works for Sony Handycam models, and how to give yourself the best shot at getting those videos back. Everything here is based on hands-on testing with multiple recovery tools and real Sony storage devices, from SD cards to internal hard drives.
This is a recovery guide for digital Sony Handycam models, like the HDR-CX405, FDR-AX53, DCR-SX85, or any other Sony device that records to SD cards, internal flash memory, or hard drives.
If you have an older Sony camcorder that uses tape (like Hi8, Digital8, or MiniDV), you’re dealing with analog tape-based formats, and we won’t focus on those here since it’s a whole different process.
If you want to skip the basics and jump straight to the recovery guide, click here.
Sony Handycam Storage & Recovery Basics
Let’s get one thing out of the way: whether your Sony Handycam records to a memory card, built-in flash, or an internal hard drive, the first rule of recovery is always the same: stop using it immediately. If you accidentally deleted a clip or something weird happened and your files vanished, every second you keep shooting new video on that device could be sealing the fate of your lost footage. Think of your camera’s storage like a dry-erase board: if you start scribbling new stuff on top, good luck recovering what used to be there.
Now, depending on your Handycam model, the type of storage you’re working with might vary. Sony has used several storage systems over the years.
- If you’ve got something like the HDR-CX405 or FDR-AX53, you’re probably using a standard SD card. These cards usually come formatted as FAT32 if they’re 32GB or smaller, and exFAT if you’re working with 64GB or higher. That’s important because FAT32 has a 4GB file size limit. So if you were shooting something long, the camera quietly split the recording into multiple chunks behind the scenes. Recovery tools can usually stitch those back together, but only if all the pieces are still there. That’s why recording to exFAT is better for long, high-quality clips.
- Some of the older Handycam models went with internal hard drives. You’ll see this in the HDR-SR series or DCR-SR (like DCR-SR190), for example. These shipped with their drives formatted as FAT or FAT32 too, so they’re still subject to the 4GB cap.
- Then there are the newer 4K models that let you plug in an external USB hard drive and record straight to that.
The point is, it doesn’t matter whether you need to recover deleted videos from an SD card, a corrupted memory card, or even a freshly formatted drive – the basic steps are exactly the same.
- Once you realize something’s missing, stop using the camera immediately. Remove the storage properly, just like the manual says. Don’t try to record new footage. Just power it off, eject the card or drive carefully, and set it aside.
- Next, move to your computer. Install a proper data recovery tool (we’ll cover the best options in a moment), and then connect the storage device. That might mean inserting an SD card into a built-in slot, or using a USB card reader or drive adapter. Whatever gets the job done safely.
- Once it’s connected, your recovery software will be able to scan it find lost or deleted videos.
How to Recover Deleted Videos from a Sony Handycam Camcorder
Alright, now let’s get to the good part: how to recover deleted videos from a Sony Handycam in practice. We’re going to walk you through three solid recovery options: Disk Drill, PhotoRec, and Recuva.
Each one has its own strengths, quirks, and learning curve, so before we go into the step-by-step tutorials, we’ll quickly break down what you can expect from each tool. That way, you’ll know which one fits your situation best.
In scenarios such as physical damage to your storage device, it is recommended not to try to DIY your file recovery as it may do more harm than good. Instead, you may need the assistance of an expert. But otherwise, you can recover your files with the help of third-party file recovery apps.
Method 1: Use Disk Drill
Disk Drill, developed by CleverFiles, has been around for over a decade, and for good reason. It constantly lands on best data recovery software lists because it strikes a great balance between beginner-friendliness and powerful recovery features under the hood. If you’re looking for Sony recovery software that’s easy to navigate but still gets serious work done, Disk Drill is a great pick.
![]()
What you get with Disk Drill:
- Fast scan speeds
- Intuitive UI
- Video previews available before scan is complete
- Excellent results on FAT32 and exFAT (used by most Handycams)
- Recovers AVCHD (.MTS), MP4, MOV, and other Sony video formats
- Supports HDDs, SD cards, and USB drives
- Disk Drill 6 includes Advanced Camera Recovery (ACR)
- Recovers from corrupted or reformatted camera storage
- Free recovery on Windows (up to 500MB)
- Includes extra tools like Byte-to-byte backup and S.M.A.R.T. monitoring
To retrieve videos from a Sony Handycam using Disk Drill, simply follow these steps outlined below:
- First, download Disk Drill from the Cleverfiles official website.
- Then, open your file and follow the installation instructions on the screen until properly installed.
- Connect your Sony Handycam memory card to your computer with a card reader.
- Open Disk Drill and look for your Handycam’s storage in the device list.
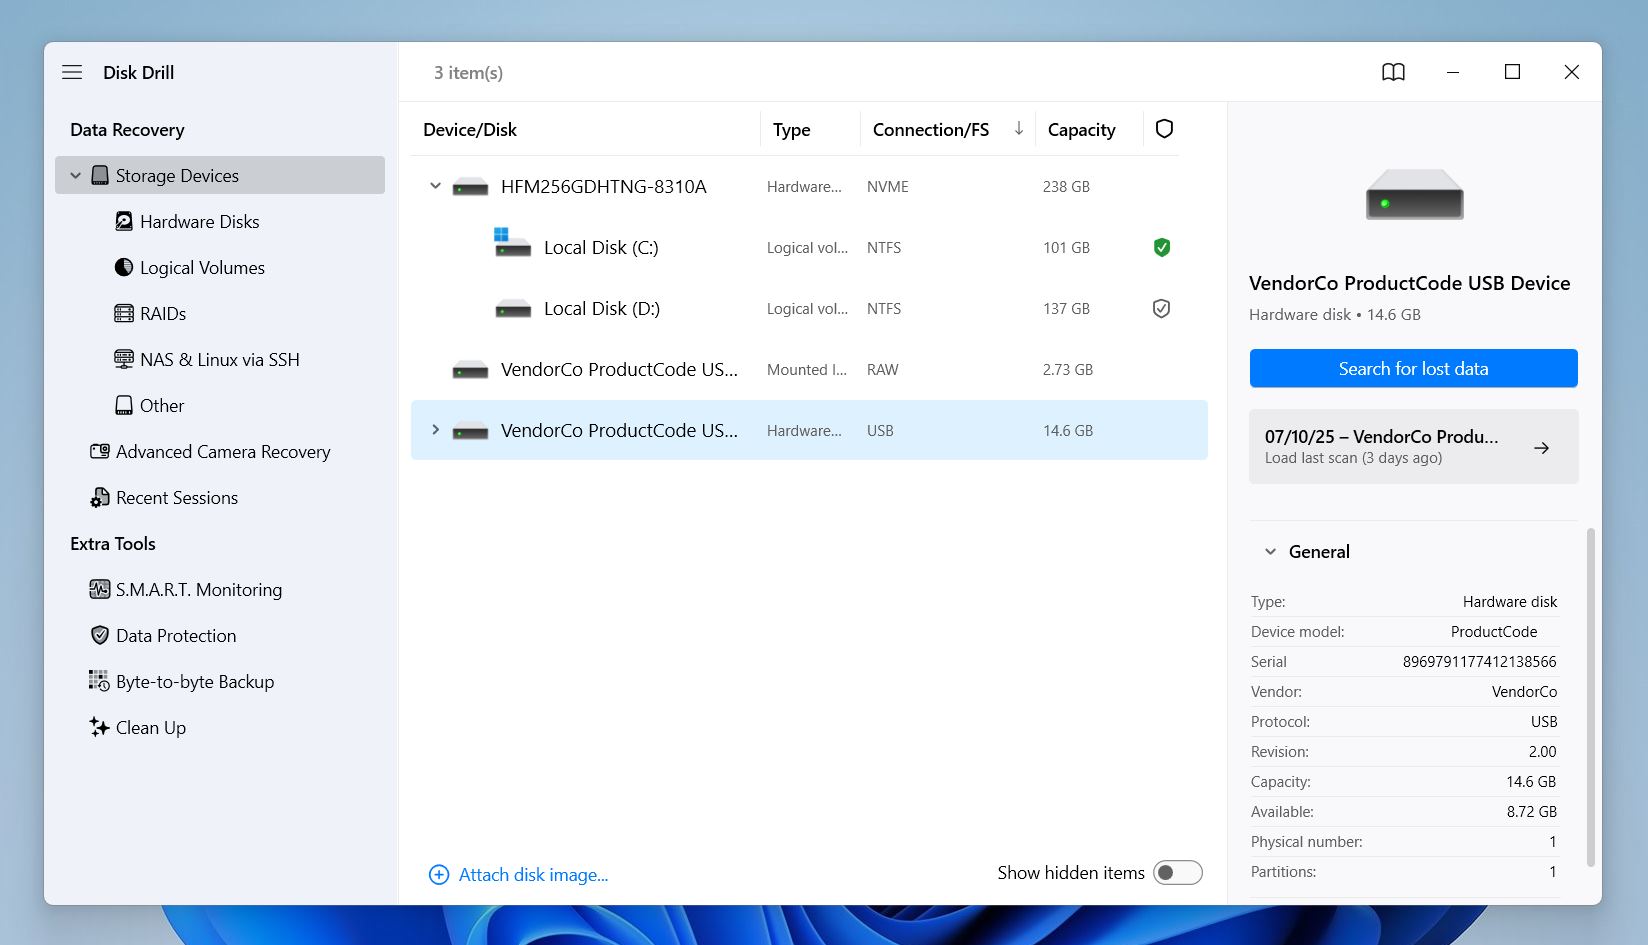 Select it and click Search for lost data.
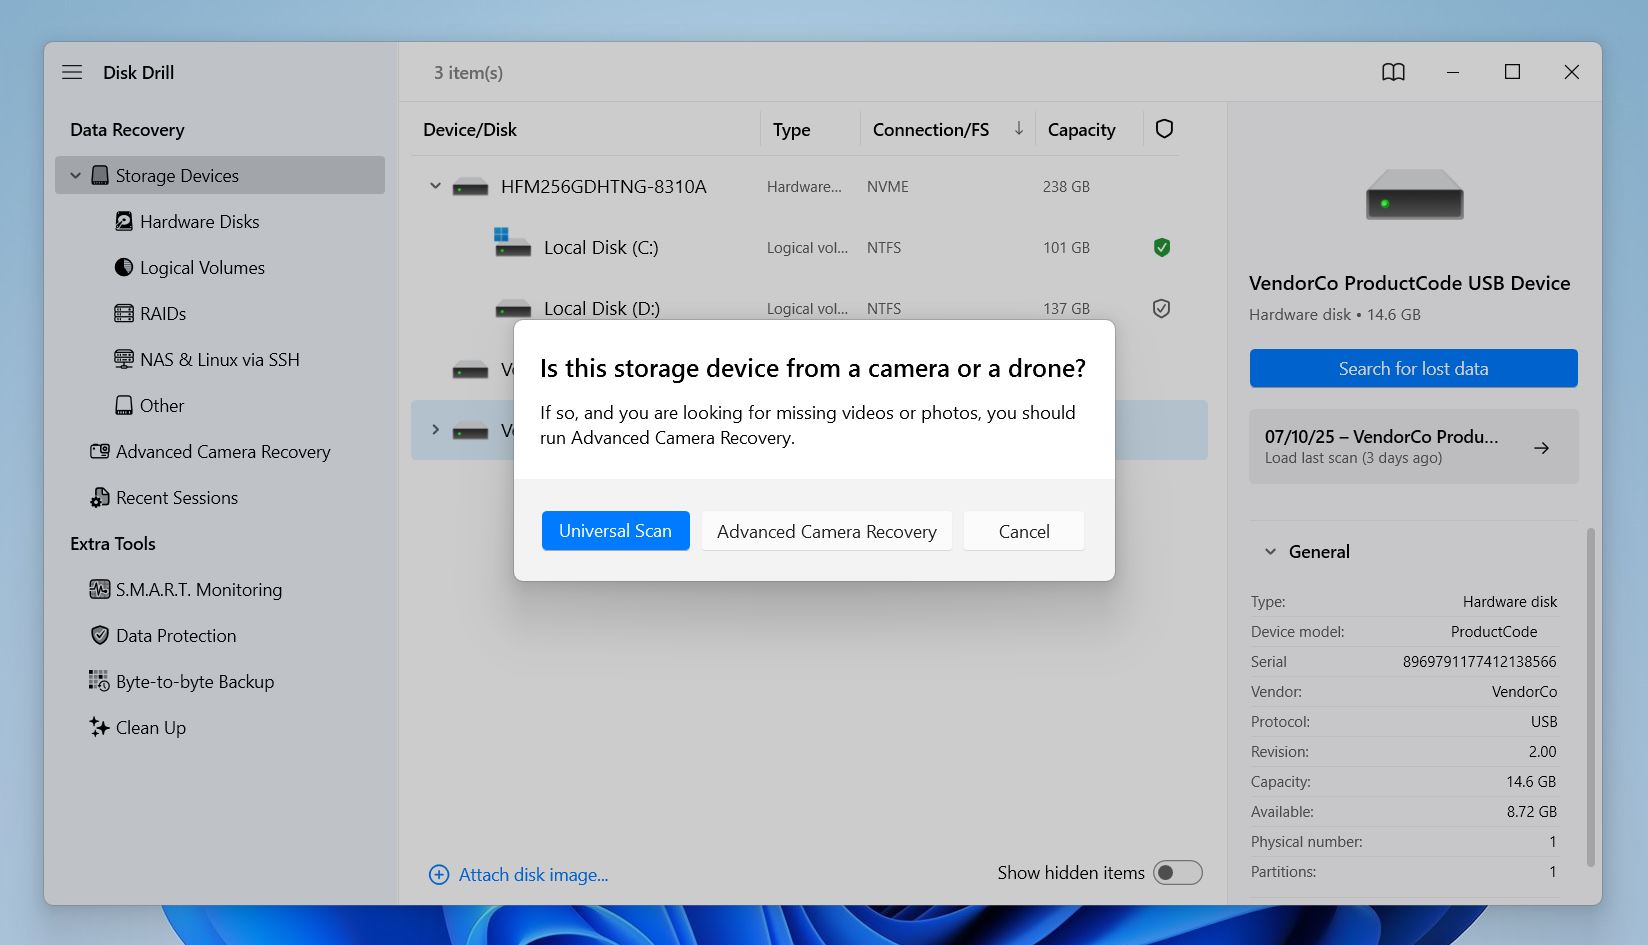
- If you deleted videos directly on the camera or lost them during recording, choose Advanced Camera Recovery. That mode is designed for video cameras and handles file fragmentation much better than standard scans.
- If the card seems corrupted or doesn’t open in File Explorer, try Universal Scan.
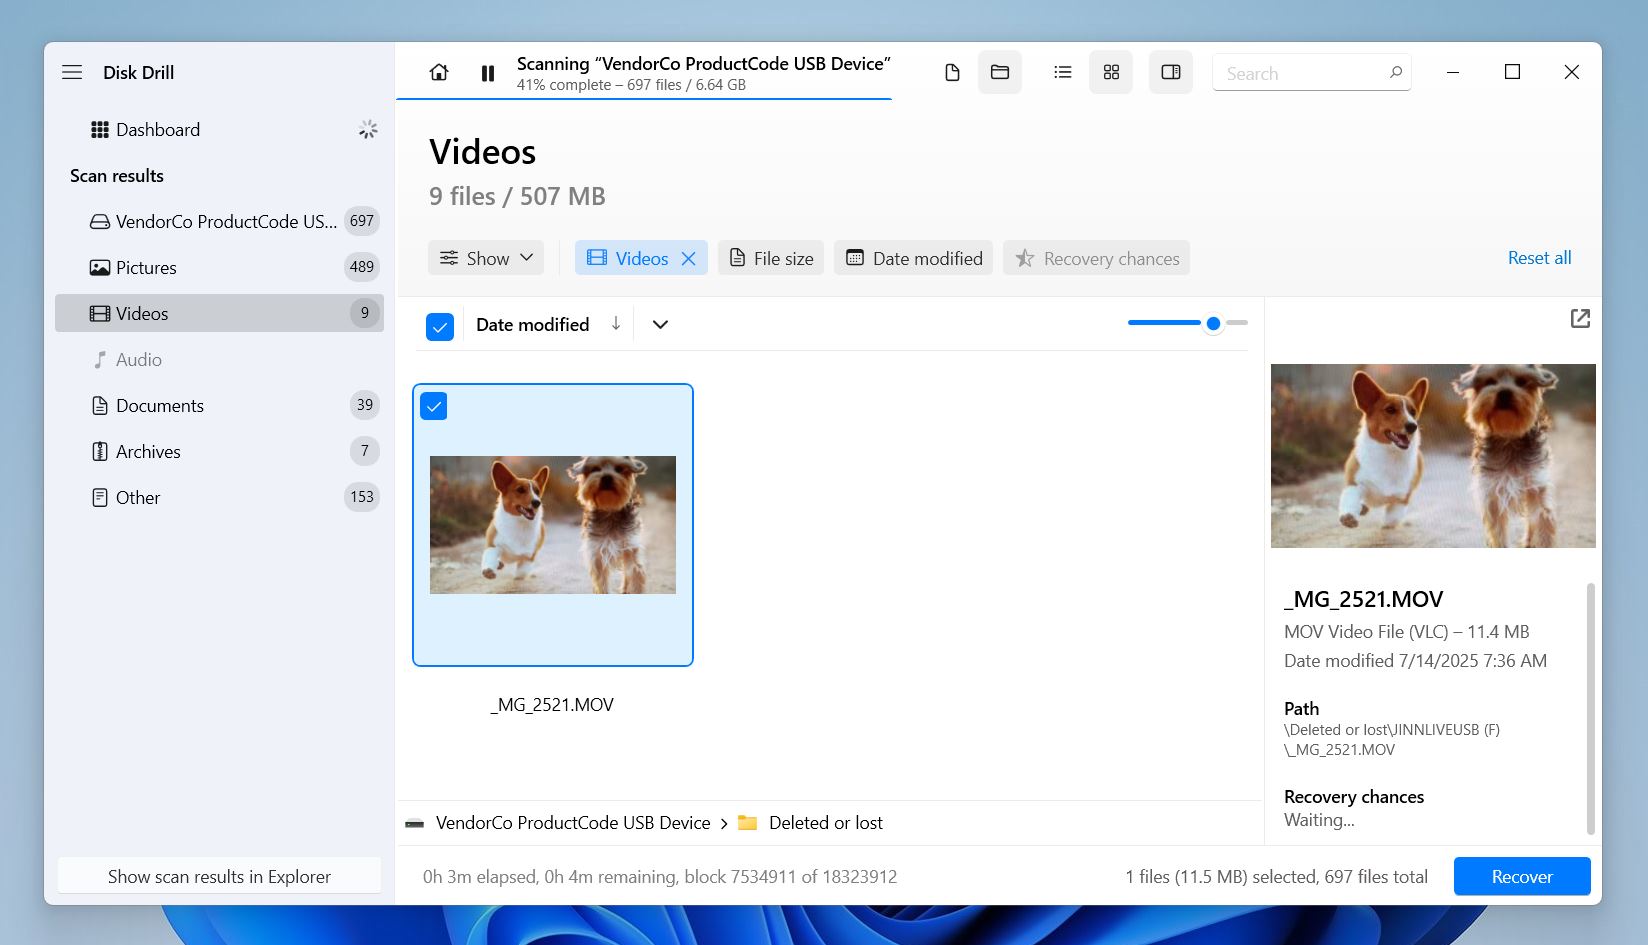
- Disk Drill will start scanning and show you recoverable files grouped by category. You’ll want to check the Video section.
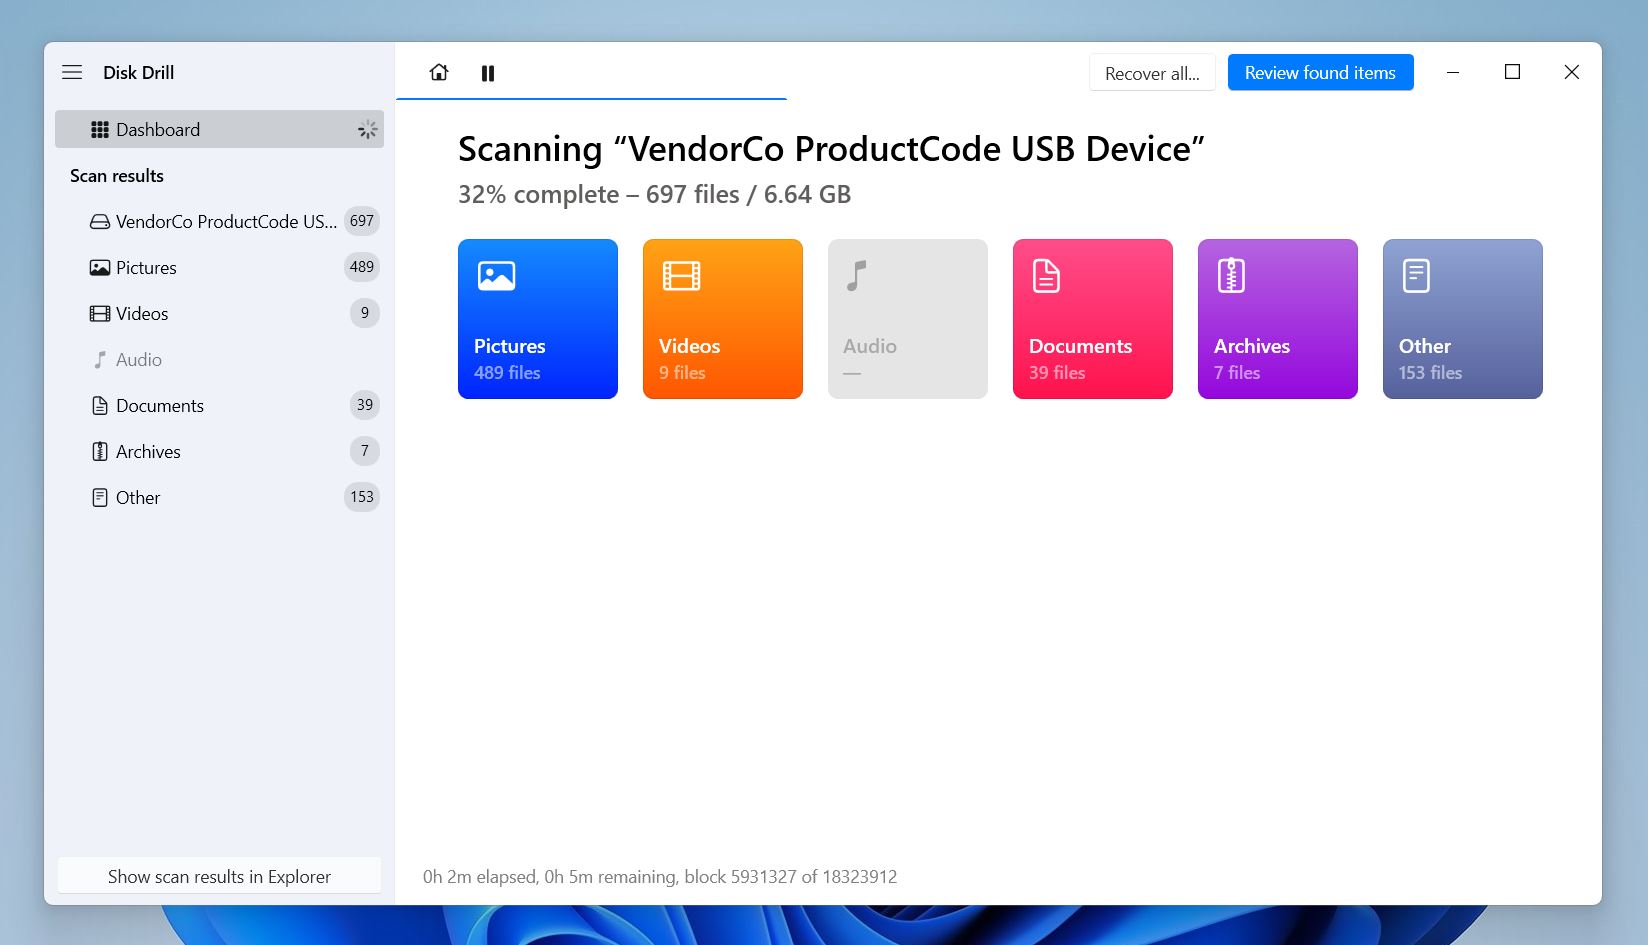
- You don’t have to wait for the whole scan to finish; files should start to appear within minutes. You can browse, search, and sort as the tool works in the background.
- Disk Drill lets you preview video files before you recover them. If your deleted Sony Handycam clip shows up in the list, you can click to play it right there. If it opens and plays without glitches, you’re in luck – it’s 100% recoverable.
 Formats like MP4, MTS, and MOV are all supported. As long as your OS can play the file natively or through a third-party player, it’ll preview just fine inside Disk Drill too.
 - And finally, check the boxes next to the files you want and hit Recover.
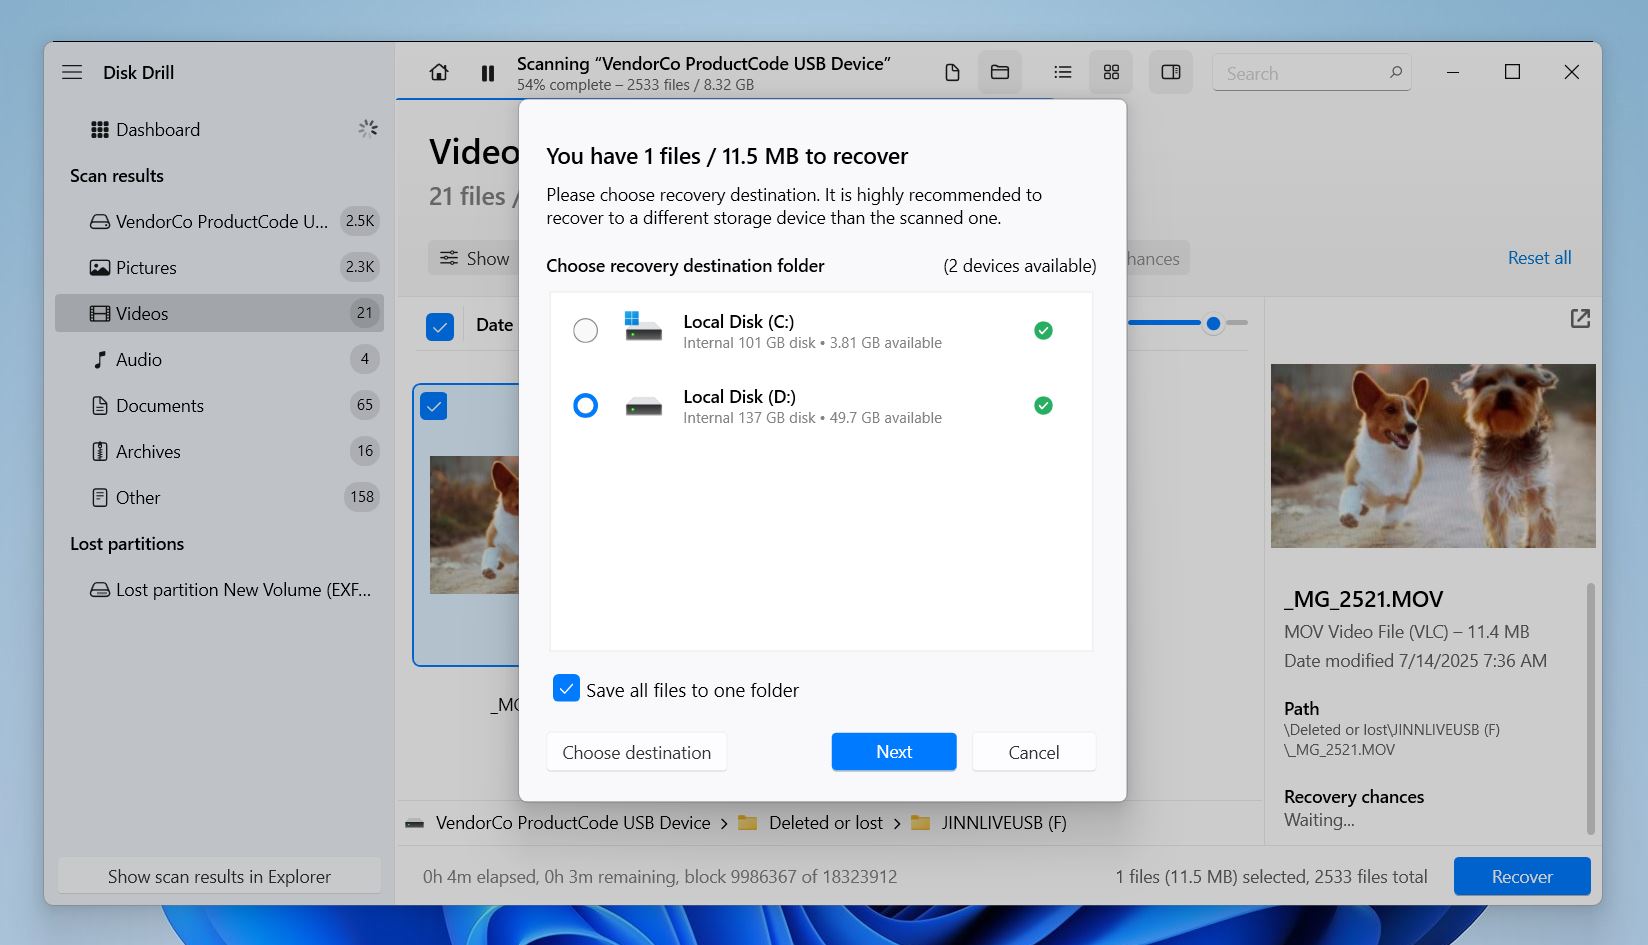 When it asks where to save them, pick a different drive (Never recover to the same card or disk you’re scanning, since doing that can overwrite the exact videos you’re trying to get back).
 - Once recovery’s done, you can open the folder and watch your recovered videos right away.
Disk Drill is one of the most capable tools we’ve reviewed (and also one of the safest) when it comes to camera footage, but what really gives it a serious edge is its Advanced Camera Recovery feature. Most recovery apps fail when video files are fragmented, especially with long or high-resolution clips from cameras like Sony. You end up with glitchy, silent, or broken files. Disk Drill 6 fixes that. The ACR module rebuilds fragmented videos by scanning the entire card, reordering video, audio, and metadata fragments, and stitching them back into clean, playable files.
It’s the first consumer tool we’ve seen that actually does this right.
Method 2: Use PhotoRec
PhotoRec is open-source recovery software bundled with TestDisk. Despite the name, it’s not just for photos; it can recover videos, documents, and many other file types.

Although it’s poor in terms of features and has a barebones interface, it’s a powerful tool.
What you get with PhotoRec:
- 100% free and open-source
- Can recover .MP4, .MTS, .MOV, and many other video formats
- Ignores the file system and scans raw data by file signature
- Lightweight, runs on Windows, macOS, and Linux
- Is a command-line tool, but includes a simple GUI wrapper called QPhotoRec
- Can’t recover original file names or folder structure
- Doesn’t offer file previews
Here’s how to recover deleted videos from a Sony Handycam for free using PhotoRec:
- First, download PhotoRec from CGSecurity. Note that TestDisk and PhotoRec are bundled in the same zip.
- PhotoRec does not have to be installed. Extract your files in the location you prefer. Make sure your memory card is properly connected to your PC. Then, find and open the photorec_win file.
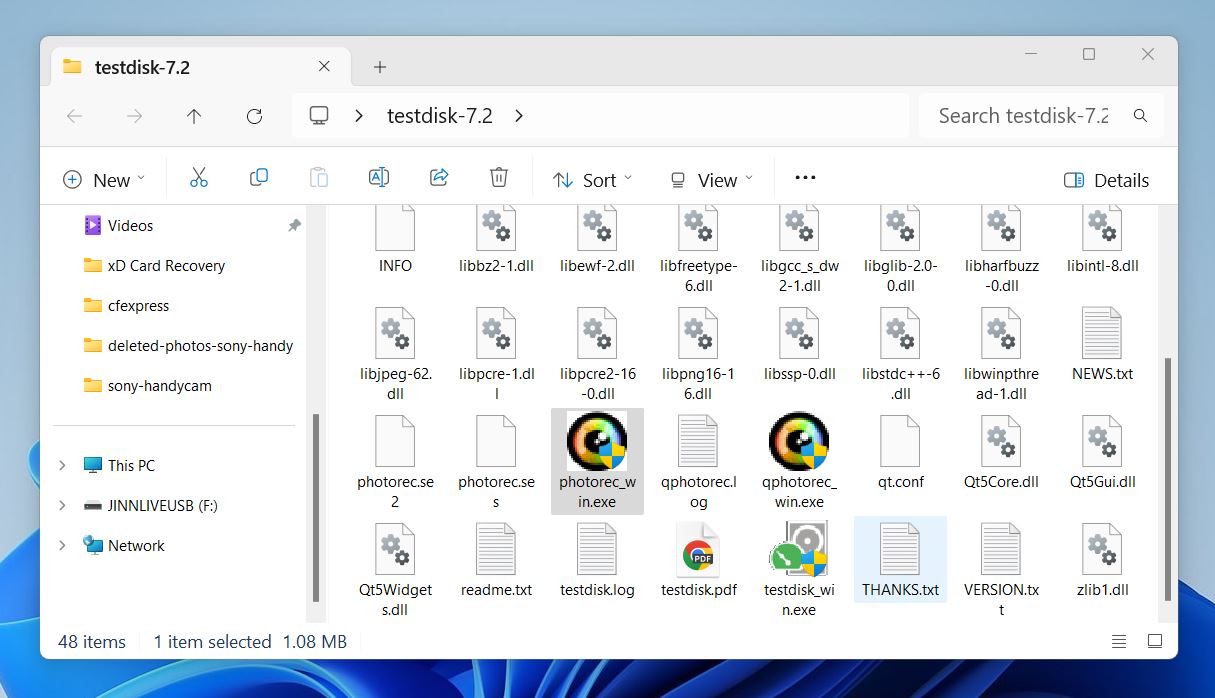 👀
👀In the same folder, you’ll also find QPhotoRec; it’s the exact same tool with the same recovery engine, just wrapped in a simple graphical interface. The only difference is that you can click buttons instead of navigating through text menus in the terminal.
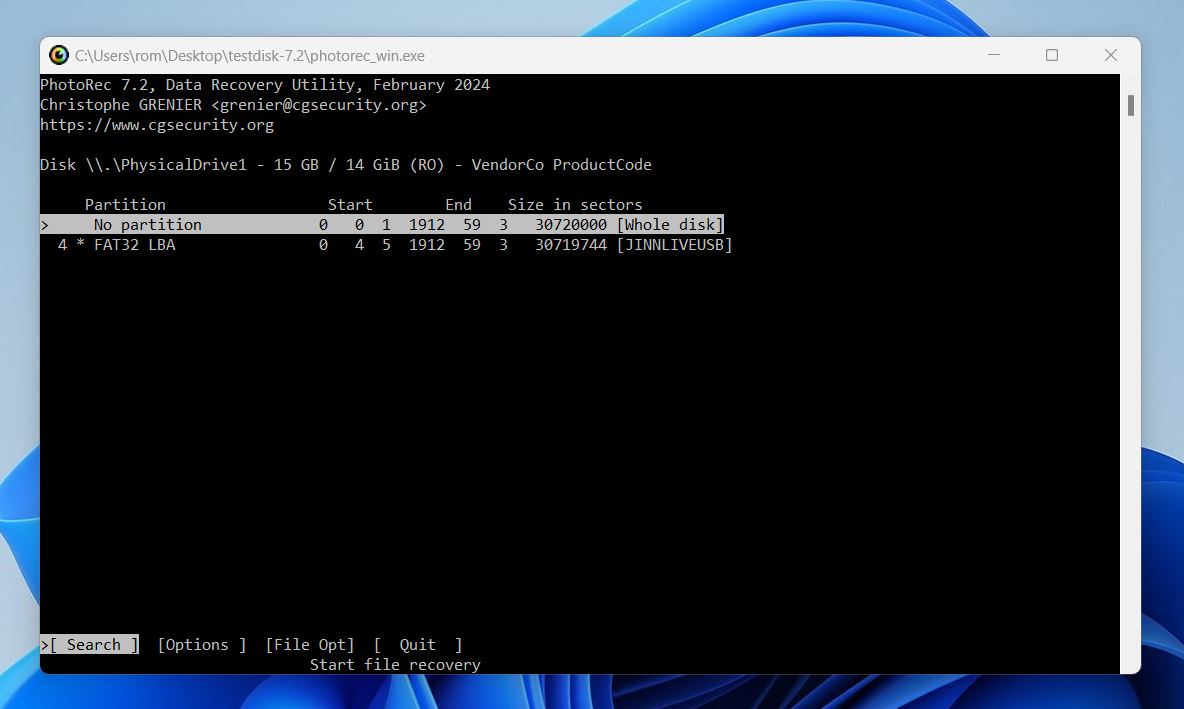
- The first screen will give you options of media to scan. Use the Up/Down arrow keys to navigate the terminal screen and press Enter to select an option.
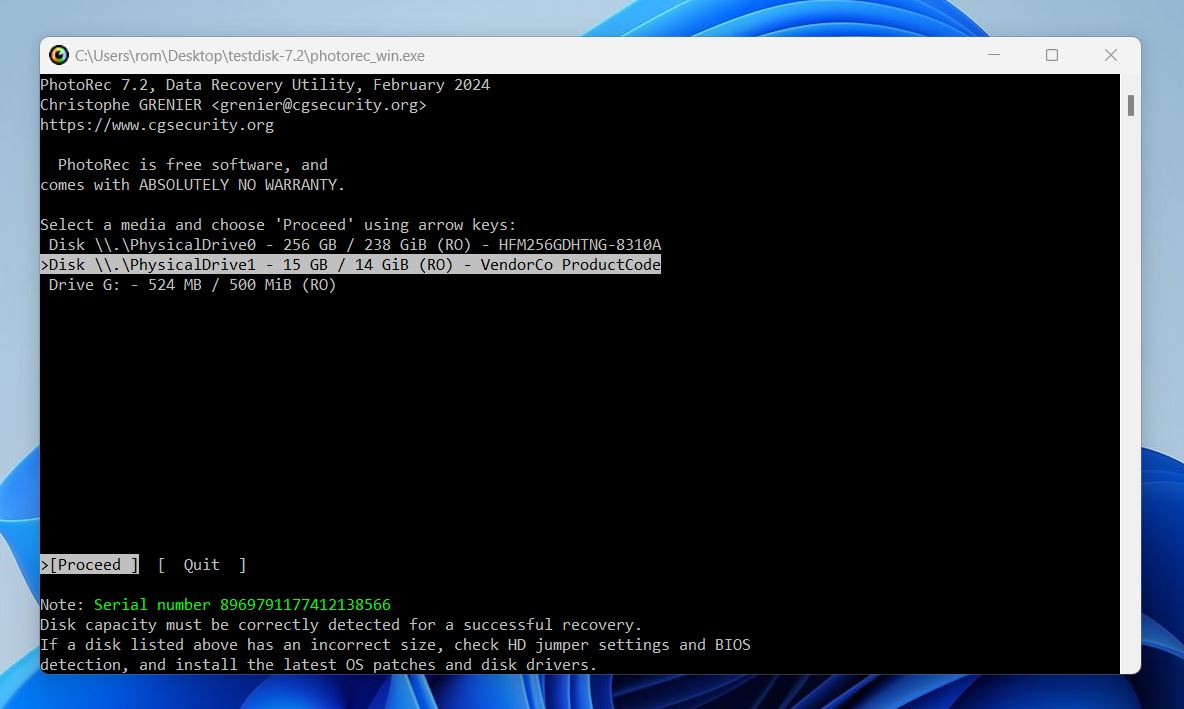 ⚠️
⚠️Note that PhotoRec does not display the drive’s names. In order to choose the correct partition, inspect the disk description, total space, and drive type indicated. Then, pick the one that matches your storage device’s description.
- On the next screen, select the partition to scan (or better yet select the whole disk).
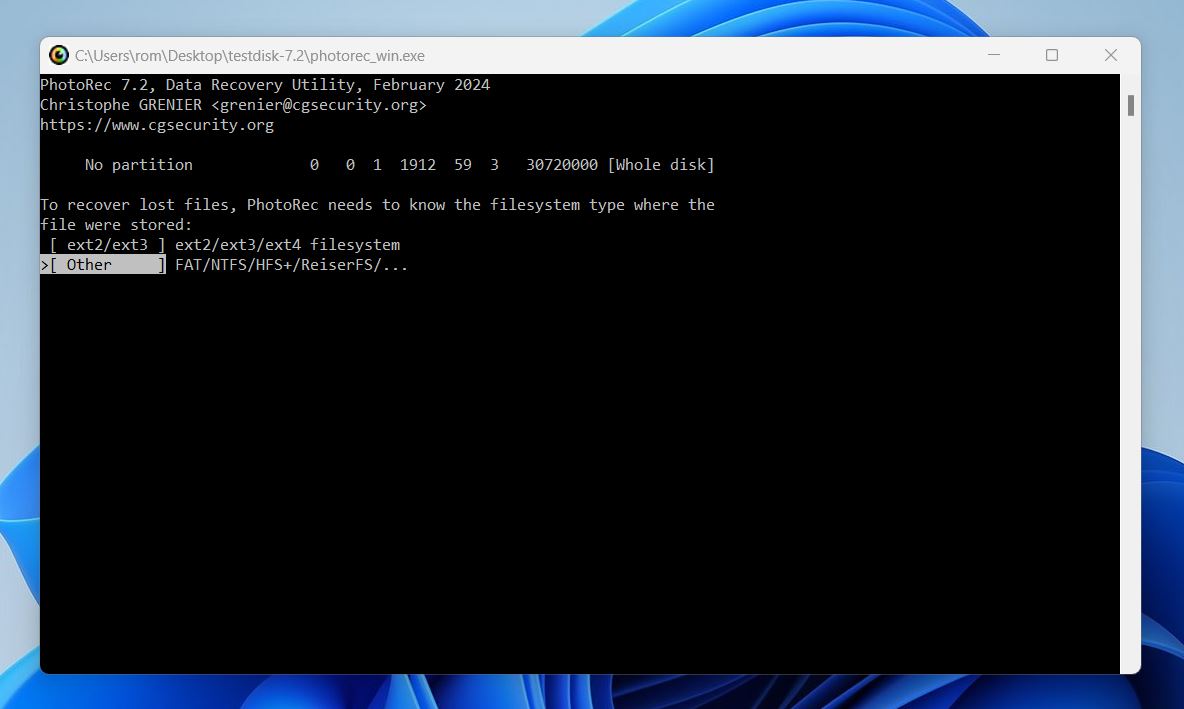
- Choose the appropriate filesystem type for your storage device.
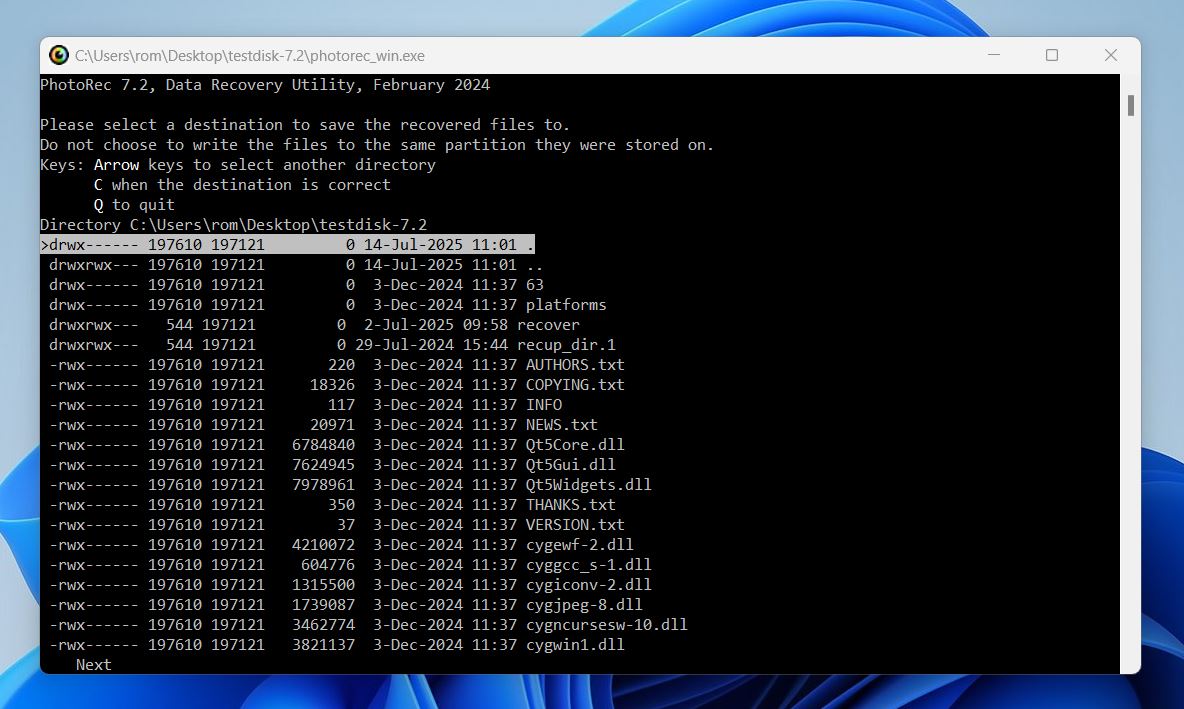
- Select the destination where you want to save your recovered files. In this example, the default location is chosen. Note that it is recommended to always locate your recovered files on a different partition to avoid data from being overwritten.
- The file recovery will now start. Wait for the process to finish. You can also select Stop and press Enter if you want to stop the process.
- Once the recovery process is done, you will receive a confirmation with the information of your recovered files. You can then go to the recovery location you chose earlier and view the files PhotoRec recovered.
While PhotoRec is not the most user-friendly option out there, it absolutely delivers when it comes to raw recovery power.
No, it doesn’t have previews or a dedicated advanced video recovery module, but in cases where you just need to recover files that were simply deleted or recover files from a corrupted memory card, it gets the job done. And it does it all for free.
Method 3: Use Recuva
And the last option on our list is Recuva, a lightweight Sony Handycam video recovery software from the makers of CCleaner.
![]()
It’s been around for years and has built a solid reputation as the go-to app for quick file recovery on Windows. While it’s not as powerful as Disk Drill or as deep-scanning as PhotoRec, it’s incredibly easy to use and perfect for simple cases, like when you just deleted a video from your SD card and realized seconds later.
What you get with Recuva:
- Free version available with basic recovery features
- Simple interface
- Supports .MP4, .MOV, .MTS, and some other Sony Handycam formats
- Works well on FAT32 and exFAT memory cards
- Includes a quick scan and deep scan mode
- Shows file recovery chances (Excellent, Poor, Unrecoverable)
- Allows filtering by file type and name
- Lightweight
- Windows only tool
- No advanced camera/video-specific recovery tools
Recuva’s not designed for complex corruption or fragmented Handycam footage, and it won’t do much if the file system is badly damaged. But for quick undeletes it’s a handy memory card data recovery option.
Here’s how to recover deleted videos from a Sony camera using Recuva:
- To get started, download Recuva for Windows here.
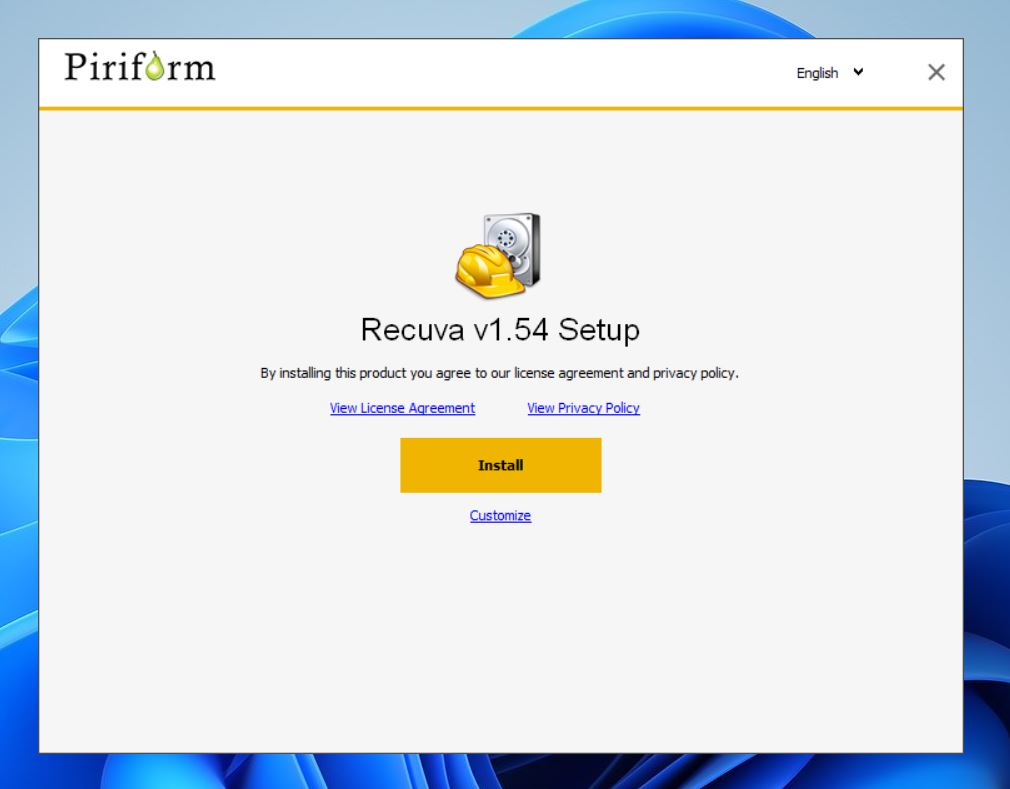
- Next, launch Recuva’s downloaded file. Click Install, and follow the installation wizard instructions until successfully installed.
- You can connect your camcorder or eject your memory card and connect it to your computer via a card reader or a built-in reader if your PC has one. Then, launch Recuva.
Recuva will start in Wizard mode (by default). To skip it, just hit Cancel on the first screen. This will redirect you to the Advanced mode. If you don’t want Recuva to launch in Wizard mode next time, tick the Do not show this Wizard on startup checkbox.
Wizard Mode:
- First, select the file type you’re trying to recover. Then, click the Next button below.
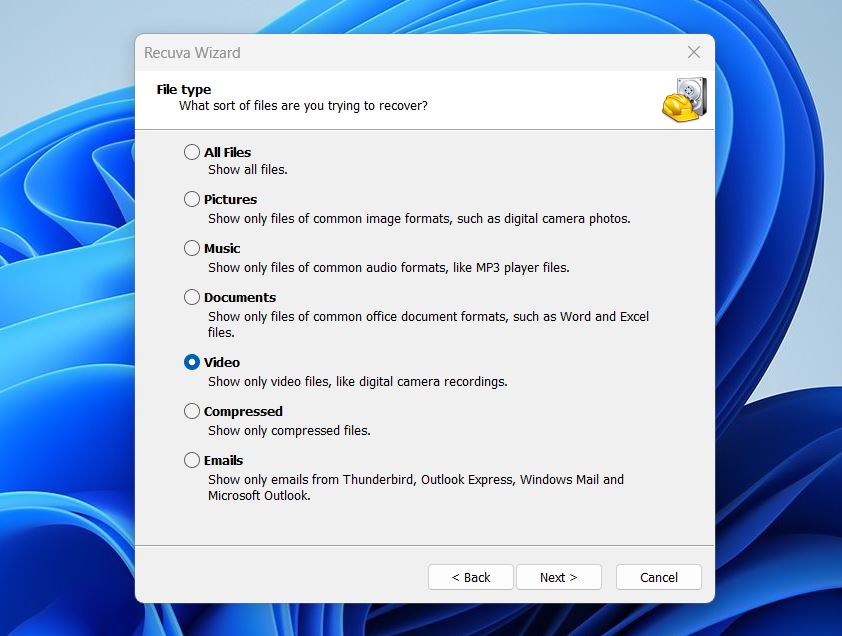
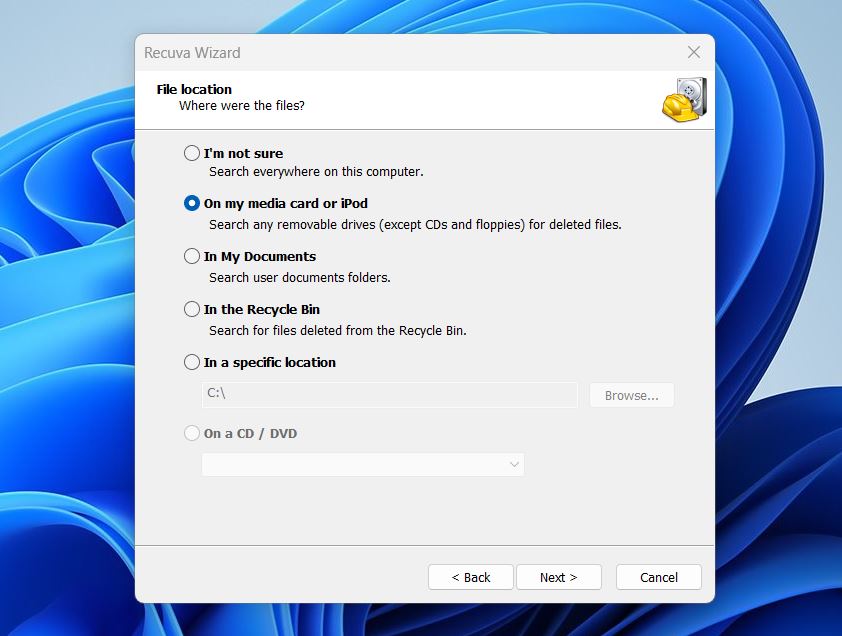
- Select your file location, then click Next.
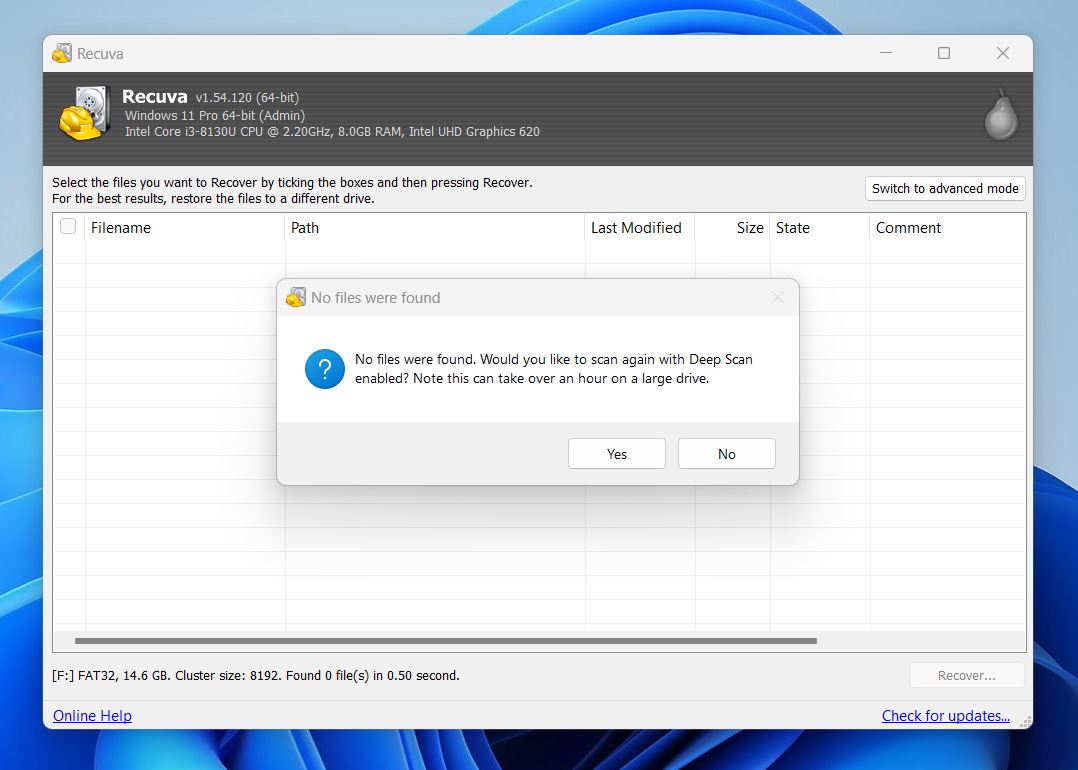
- Click the Start button to begin the scan. If you want a more thorough scan, select Enable Deep Scan. In this example, Recuva was not able to find any file to recover in the simple mode. It then prompted if the user would like to scan again with Deep Scan enabled.
- Once the scan is completed, choose the videos you want to retrieve. Tick the checkboxes next to each file name to do so. After that, hit Recover.
- Choose a destination where you want your files to be stored after recovery. It’s best to choose a different drive (not the one you scanned) to avoid overwriting data.
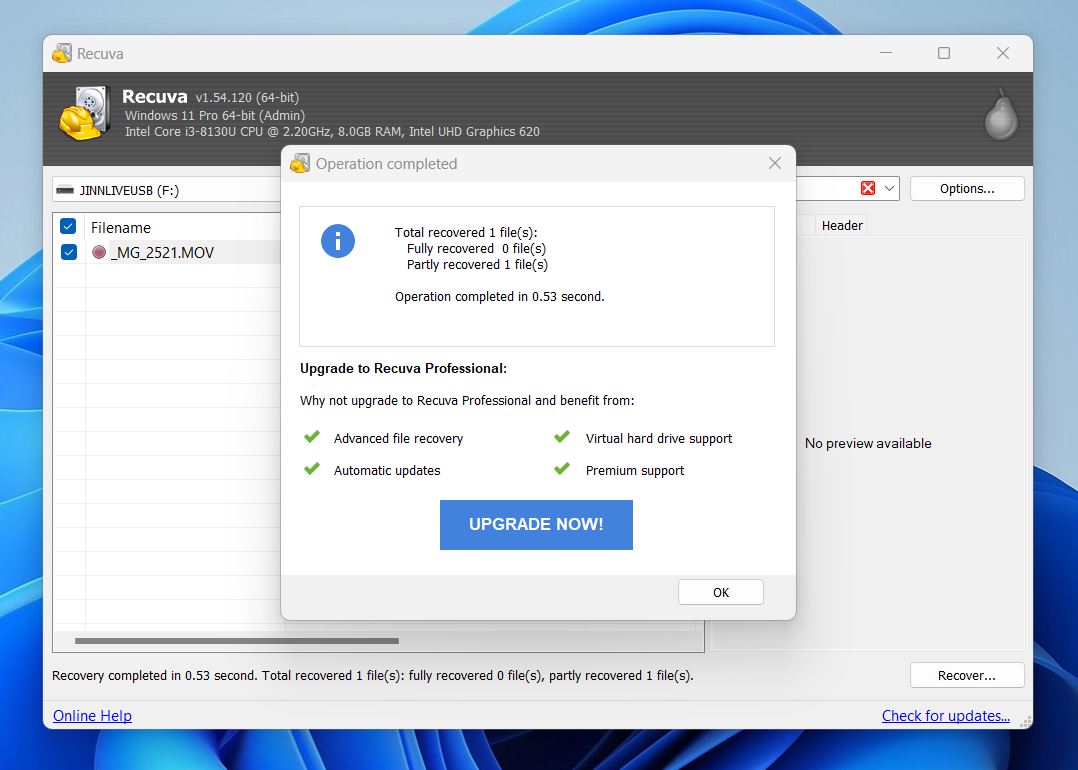
- Finally, once the operation is completed, a new window will appear to show the recovery status.
Advanced Mode:
- To use the advanced more, start by selecting your storage device in the dropdown menu on top of the screen. Then, hit Scan next to it. For a more complete search, you can scan all partitions on your PC as well.
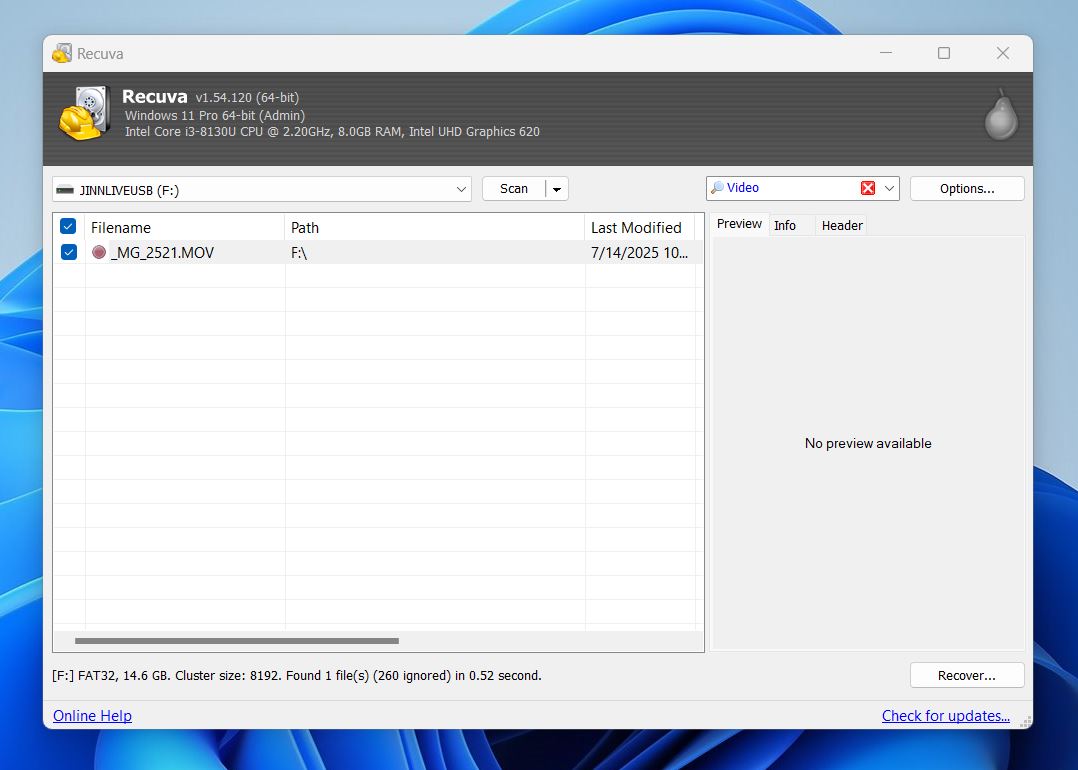
- Check the results to see if your missing files are listed. If Recuva did not find any lost video files in the first scan, you can choose to enable Deep Scan and try again. This is done by ticking the Deep Scan (increases scan time) checkbox found in the Options button > Advanced tab. Once the scan results become available, tick the checkboxes on the left side of the file names you want to recover. Then, click Recover.
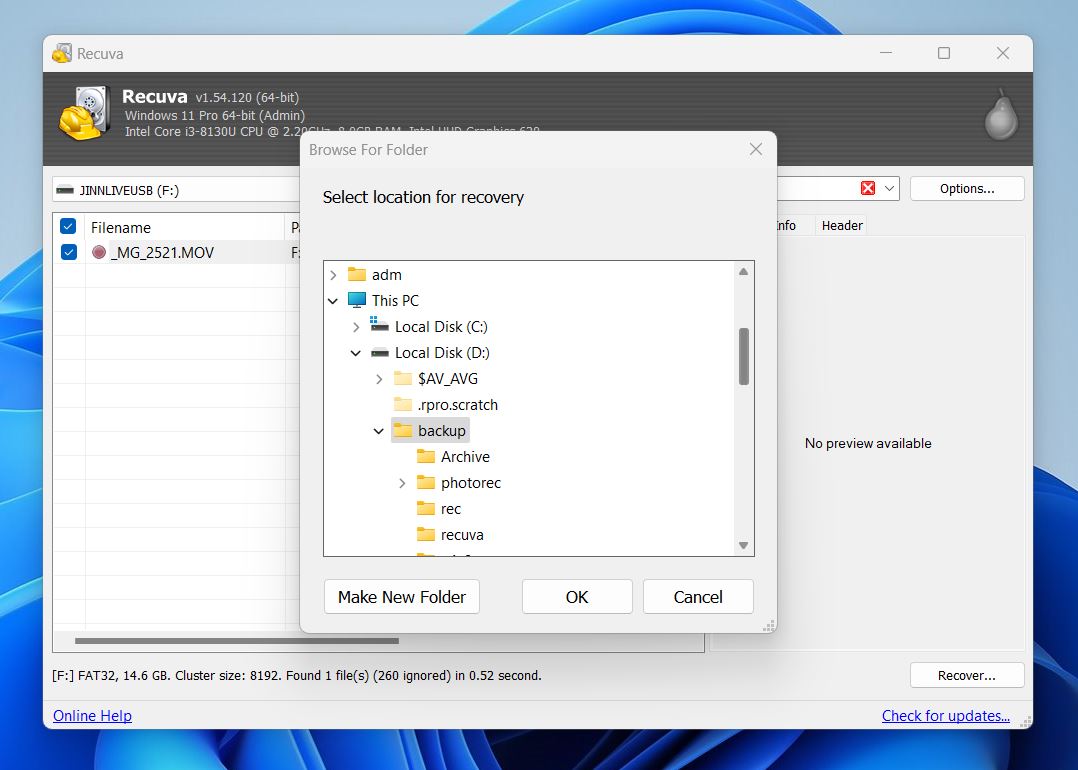
- Select a file destination for recovery. Choose a different drive (not the one you scanned) to avoid overwriting data.
Once the recovery is successfully completed, you will get a pop-up notification of your file recovery status and information.
Tried, Tested, but Not Included (More Sony Handycam Recovery Options)
There are lots of other tools that can (or at least claim to) recover Sony Handycam videos. But for this walkthrough, we focused on apps that are free or freemium, and more importantly, have proven themselves in real-world recovery of video files, specifically from camera storage like Handycam SD cards.
The options below can still help in the right scenario, but each one has a “catch” that made it a poor fit for a step-by-step guide.
Windows File Recovery
Windows File Recovery is 100% free and available right now from the Microsoft Store. On paper, that sounds great: zero cost, backed by Microsoft. If you’re recovering a recently deleted document or photo from a Windows-formatted drive, it can actually be useful.
But here’s the big but: for Sony Handycam footage, it’s an extremely poor fit. Handycam models record to SD cards or internal memory formatted as FAT32 or exFAT. Windows File Recovery was clearly built with NTFS in mind. It can technically scan FAT/exFAT volumes, but support is limited and results are spotty. In our tests, it showed partial results at best, and even those came with zero previews or structure.
Sony Memory Card File Rescue
Sony actually offers its own recovery tool called Memory Card File Rescue, and at first glance, it looks like the obvious solution. You can download it from Sony’s support site, and it claims to recover deleted photos and videos from compatible media.
But once you actually try to use it with real-world Handycam footage, the limitations become hard to ignore. In our testing, it couldn’t recover files that had been split or fragmented (a common issue with Handycams recording long clips). Even with a supported Sony card, we couldn’t recover a fragmented test clip that had been deleted. So we decided not to include it in the main walkthrough.
MiniTool Power Data Recovery
While we gave MiniTool Power Data Recovery a positive review overall, and it does come with a fairly generous free version (up to 1 GB of recovery) it still didn’t make the cut for this specific Handycam recovery walkthrough. The main issue is that MiniTool doesn’t have any advanced handling for video or camera-specific formats like .MTS or long .MP4 clips split across blocks. It also falls short when it comes to previews. You can’t reliably check whether a recovered clip will play properly until after you save it. For Sony Handycam recovery, where video integrity is everything, that’s just not enough.
Can I Retrieve Video Directly from a Sony Handycam Connected to My Computer?
While you might think that plugging your Sony Handycam directly into your computer is the easiest way to recover deleted videos, it usually doesn’t work that way. Most Handycams connect in MTP or USB mode, which limits access and doesn’t let recovery software scan the storage at a low level.
To properly scan and recover deleted videos, it’s better to remove the memory card and connect it using a card reader. That way, your computer sees it as a regular storage device, and recovery tools can do their job.
All you need to do is make sure the card is connected with a proper adapter and shows up in Disk Management with the correct size. That’s the key: Disk Management, not File Explorer, is what tells you if the card is truly accessible at the level recovery tools need. If it appears there, even without a drive letter, you’re good to go.
Final Words
DIY Sony Handycam video recovery is absolutely doable in most cases. While there are situations where the storage is physically damaged, and yeah, in those cases you’ll probably need a professional data recovery service with cleanroom tools and the right expertise, that’s not what most people are dealing with.
In reality, the majority of cases come down to accidental deletion, a quick format, or a memory card that suddenly shows errors. For those, memory card data recovery software is more than capable. The tools we covered, Disk Drill, PhotoRec, Recuva, are built to handle these exact situations, and they do it well.
Even in our own survey, about 79% of users who tried DIY recovery tools said they were successful in getting their lost files back. That’s a strong success rate, especially when you consider that most of these people had no prior experience or technical background. They just followed the steps, ran the scan, and recovered their videos.
So, unless your storage device is completely dead, there’s a very good chance you’ll get your Sony footage back without much trouble. And if you run into any unexpected issues along the way, check out our FAQ section or start a thread in our community, it’s always active, full of people who’ve been through the same thing, and there’s almost always someone ready to share a tip.
FAQ
What types of Sony Handycam models does this recovery guide apply to?
This guide applies to most digital Sony Handycam models that record to SD cards, internal flash memory, or hard drives. That includes popular series like the HDR-CX, FDR-AX, and DCR-SX lines, as well as older models like the Sony Handycam DCR-DVD110E, which could record to a memory stick. As long as your computer can read the storage, you can try to scan it with a data recovery tool.
Tape-based models like Hi8 or MiniDV are not covered here, since those require analog capture, not file recovery.
Unfortunately, there is no Recently Deleted album on most Sony Handycam models. Once deleted, there is no option in your camcorder to restore your videos..
What if I recovered my deleted videos but now they won’t play?
If a video won’t play after you recover it, it usually means the file was incomplete, fragmented, or partially overwritten. This is pretty common, especially with longer clips or high-resolution footage. The good news is that it’s often possible to fix these files. We’ve put together full step-by-step guides on:
There are also several free online services that might help, like Clever Video Repair – a browser-based tool that works with damaged files. For the best chance of success, you’ll also want to upload a sample video recorded with the same Sony Handycam. That way, the tool can use the working file as a reference to reconstruct the damaged one.
If I recover deleted videos from my Sony camera, will they be the same quality?
Yes, if the recovery is successful, your videos will be restored in their original quality. Recovery software doesn’t “degrade” the file; it simply restores the exact data that was deleted. That means your recovered Sony Handycam videos should look and sound exactly the same as before.
However, if the file is only partially recoverable (because it was fragmented or partially overwritten), you might end up with a video that glitches, has missing audio, or won’t play at all. To give yourself the best chance, use data recovery tools that include a dedicated video recovery module, like Disk Drill’s Advanced Camera Recovery. These tools are specifically built to handle fragmented video files and can often rebuild clips that standard recovery software can’t.
What is the best Sony Handycam video recovery software?
There are plenty of great Sony handy camera recovery options out there, and the best one really depends on your situation. We’ve covered top picks like Disk Drill, PhotoRec, and Recuva in this article, but there are others worth checking out too. To make it easier, we’ve put together a full rating of the best video recovery software you can check out. It includes both the tools we talked about here and a few more you might not have heard of yet.
Can I recover data from a formatted Sony Handycam's memory card?
Yes, it’s often possible, especially if the card was quick formatted, which is usually the default on Sony Handycams. In a quick format, the file system gets reset, but the actual video data usually stays on the card, at least until it’s overwritten. If you act quickly and use proper recovery software, there’s a solid chance you can get your videos back. The tools and steps are the same ones we walked through earlier.
This article was written by Princess Lescan, a Staff Writer at Handy Recovery Advisor. It was recently updated by Roman Demian. It was also verified for technical accuracy by Andrey Vasilyev, our editorial advisor.
Curious about our content creation process? Take a look at our Editor Guidelines.