
Time Machine is great, but if you dislike the app or are unable to use it, you can still recover your iMac, MacBook Air, or MacBook Pro without it. You just need the right tools and some preparation, which are covered in this article.
In the guide below, we’ll demonstrate how to restore your Mac to a previous date without Time Machine. We’ll also show you how to recover your Mac with Time Machine, should you decide to use it. Read on!
Сan I Restore Mac to an Earlier Date Without Time Machine?
Yes, you can restore your Mac to an earlier date without Time Machine! There are 2 ways to accomplish this task:
- Use Disk Utility, which is completely free and comes installed with macOS. However, you must have a backup volume that Disk Utility can copy to your Mac’s own disk. This method will delete existing data on your Mac drive, so create a new backup first.
- Use third-party data recovery software, which can restore files even if you don’t have a backup (and as long as the data hasn’t been overwritten). This is the superior method if your goal is to retrieve deleted files.
In the following sections, we’ll go through both methods step by step. We’ll also briefly cover how to restore your Mac with Time Machine. You also have the option to recover your deleted files without software, but they may be less effective depending on your situation.
If you are facing data loss due to physical damage, we highly recommend that you seek professional data recovery services instead of doing it yourself. They have the tools, facilities, and specialists, to handle physically damaged drives properly.
How to Restore Mac to Previous Date Without Time Machine
Below are guide sections dedicated to the Disk Utility method and data recovery software method to restore your Mac or MacBook to a previous date without Time Machine. Some methods will affect your existing data, so please make sure to create new backups before proceeding.
To restore your Mac with Disk Utility, you’ll need a backup volume that can be copied by the app to a new drive. If you don’t have a backup, stick to Method 1.
Method 1: Restore Mac to Previous Date Using Recovery Tool
Third-party data recovery software is your go-to method if: (1) you don’t have a backup, (2) you can’t/don’t want to use Time Machine, and/or (3) you want to restore data that has been deleted a while ago. Unlike Time Machine and Disk Utility, which rely on copying backup data, data recovery software can retrieve lost or deleted data directly from your drive.
The only situation where this method will struggle to restore data is when attempting to recover a TRIM-enabled SSD, which automatically overwrites deleted data with zeroes. However, as long as you act fast, you may be able to restore your data before TRIM overwrites it.
To demonstrate, we’ll be using an app called Disk Drill. It works with both HFS+ and APFS file systems and recognizes over 400 file signatures (including common Mac file types). It also has a beginner-friendly interface, making it perfect for users at any level.
You can use any similar app with the instructions below or you can try out Disk Drill yourself. If you want to learn more about this app before installing it on your own Mac, read our in-depth Disk Drill review.
- Download and install Disk Drill.
- Connect an external drive (to your Mac) with enough space to store the data you want to recover.
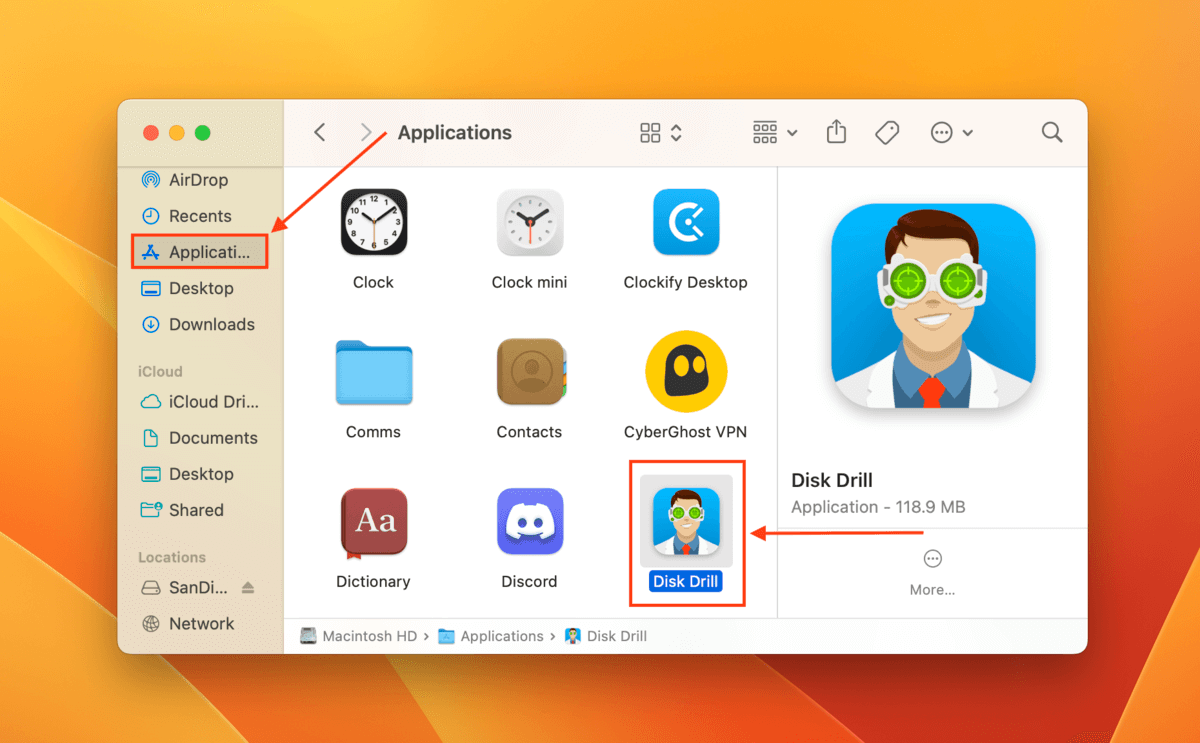
- Launch Disk Drill (Finder > Applications).
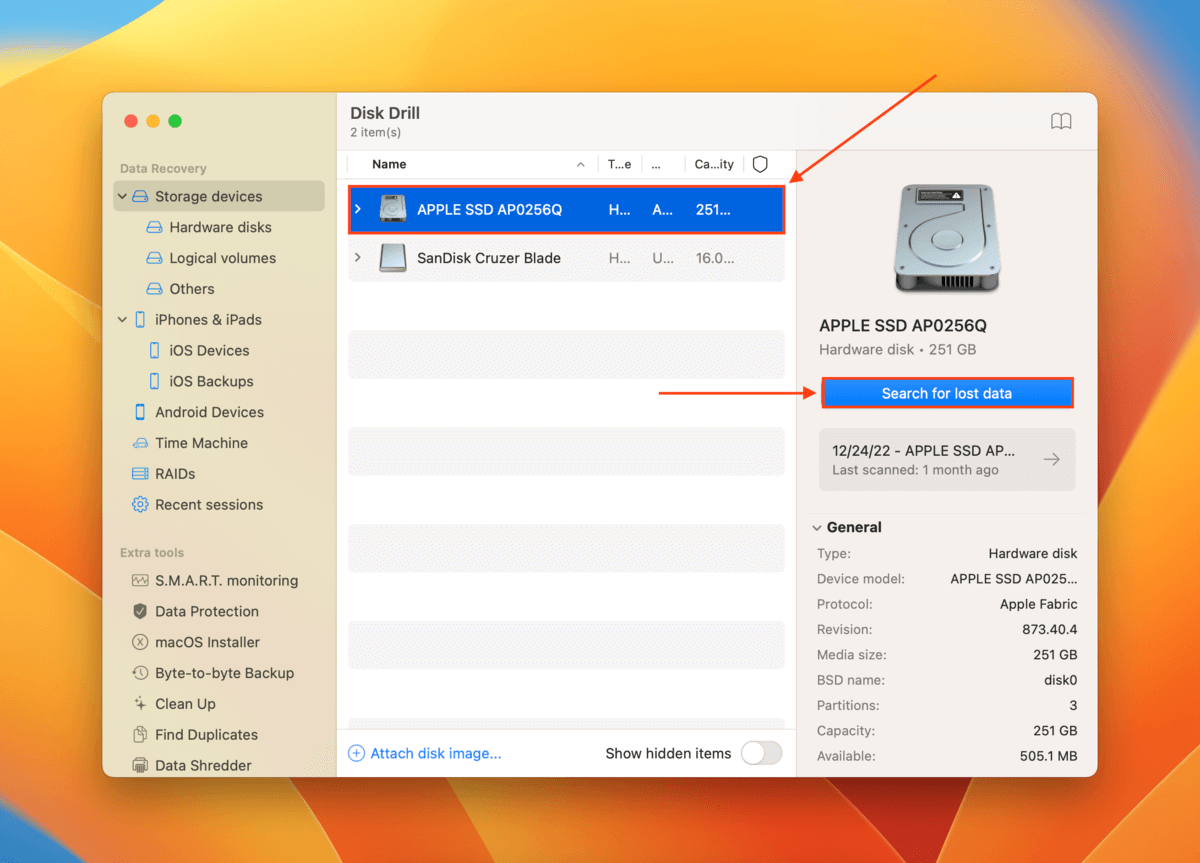
- Select your Mac drive (usually labeled APPLE SSD) and click Search for lost data.
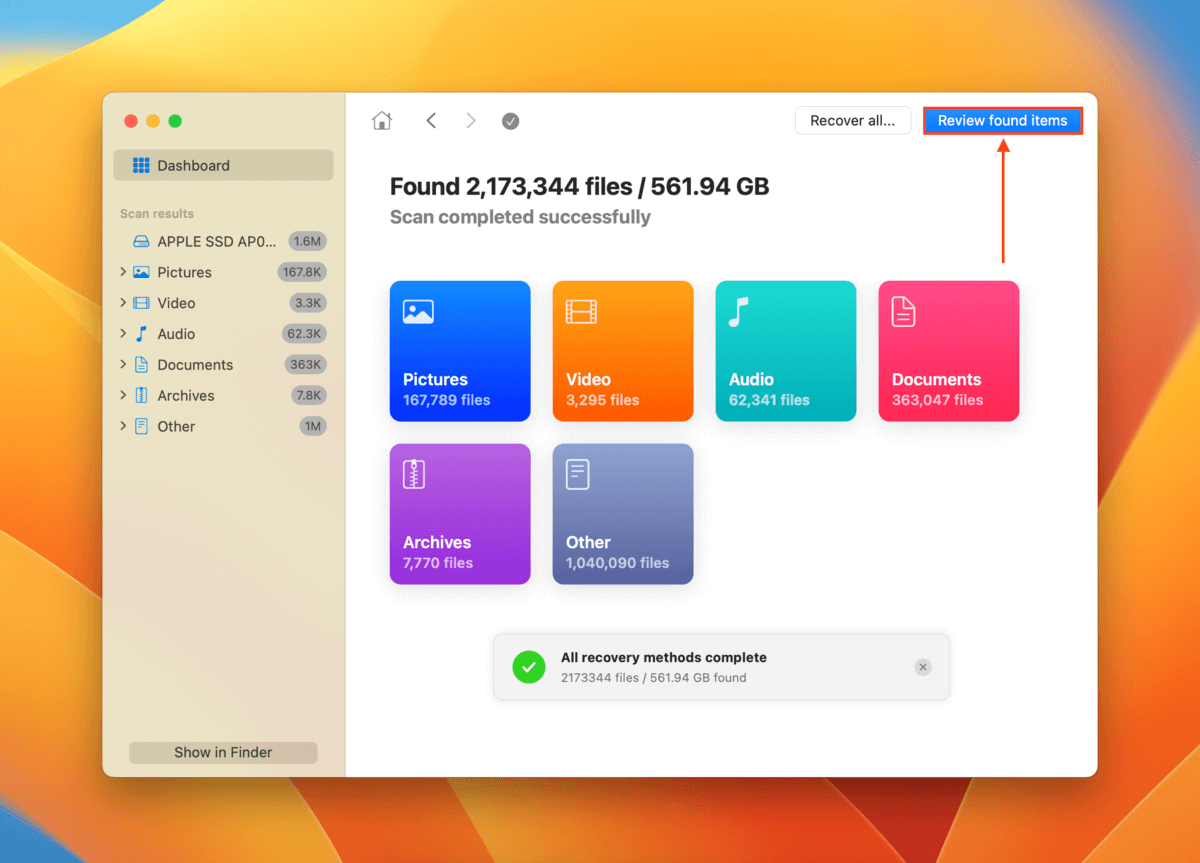
- Once Disk Drill completes its scan, click Review found items to view and select the files you want to restore to an earlier date without Time Machine.
- Expand the deleted or lost tab to view the files erased from your system. Disk Drill can often restore folder structure as well, so you can find specific files by following the folder tree. For example, locate the Trash folder (Data > Users > username) to specifically recover files you deleted from Trash.
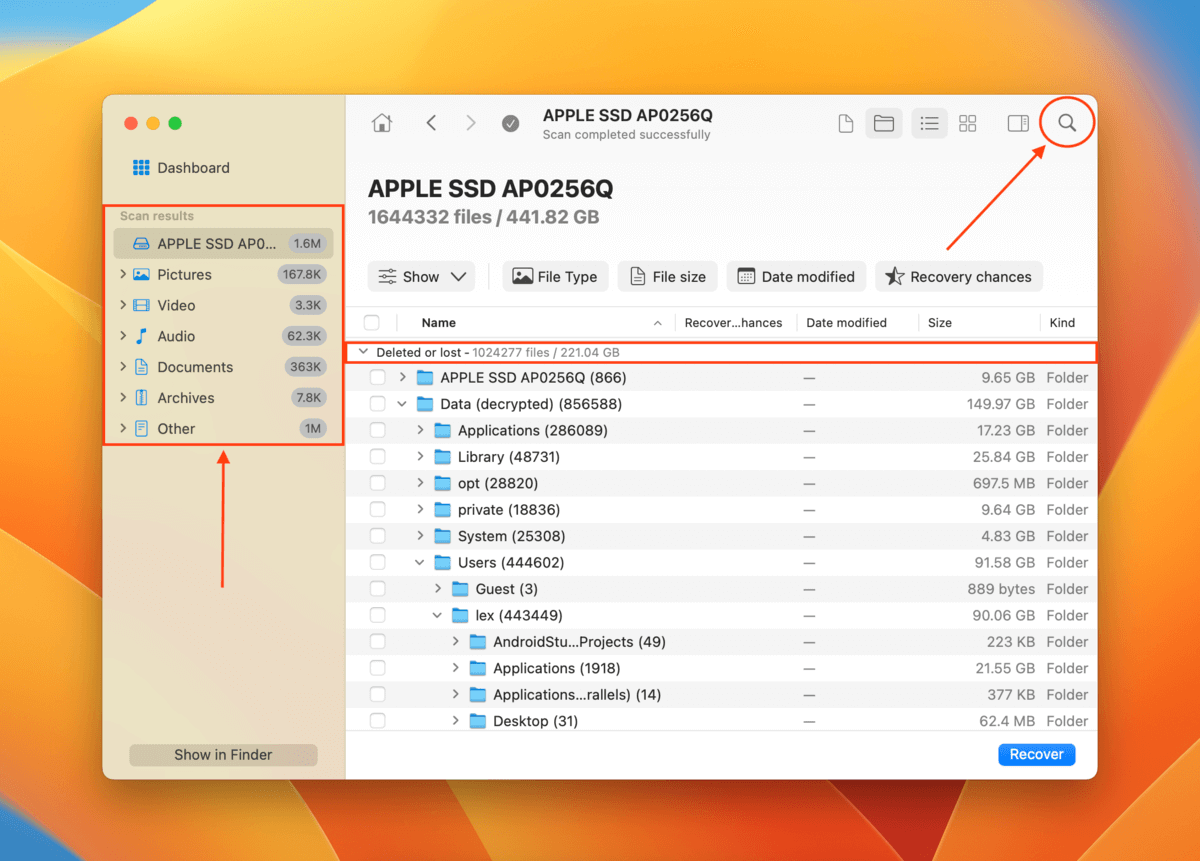
- Use the boxes in the leftmost column to select the files or folders you want to retrieve. Then, click Recover.

- In the pop-up window, select your external drive as the destination for the recovered files. Otherwise, you may overwrite files in the queue. Then, click Next to proceed with recovery.

Disk Drill Basic for Mac does not offer free recovery. You can, however, scan and preview your data for free – this should tell you whether or not your files are recoverable. There are free data recovery software available, but they all have their own limitations.
Method 2: Restore Mac to an Earlier Date Using Disk Utility’s Backup
This method is for users who have a backup of the drive volume containing the data they want to restore. Disk Utility has a Restore feature that can copy one drive volume to another. In this case, we will copy the backup data to the Mac drive.
If you use this method to restore your MacBook to the previous data without Time Machine, the process will erase all the data on its disk. If you only want to restore a couple of files without deleting your existing files, stick with Method 1. You can also scan the backup volume using Disk Drill using the Attach disk image… button in the drive selection screen. This (altered) method will give you better results on a TRIM-activated SSD.
- Connect the drive that contains the backup data to your Mac.
- Shut down your Mac and boot into Recovery Mode (Intel: Command + R while booting. Silicon: Hold Power button while booting).
- Select Disk Utility and click Continue.
- Click View > Show all devices.
- On the left sidebar, select your macOS volume and click the Restore button.
- Select the volume on the external drive that contains your backup data. Then, click Restore.
How to Restore Mac to Previous Date With Time Machine Backup
For users who want to use Time Machine, it’s simpler to restore Mac to a previous date as this app takes incremental backups or “snapshots” of your data. In other words, you can select backups of your files from a certain date and time.
This method will overwrite current files with its backup data. If you don’t want to overwrite the current version of a file while restoring its old version, create a backup first.
- Connect your Time Machine backup drive to your Mac.
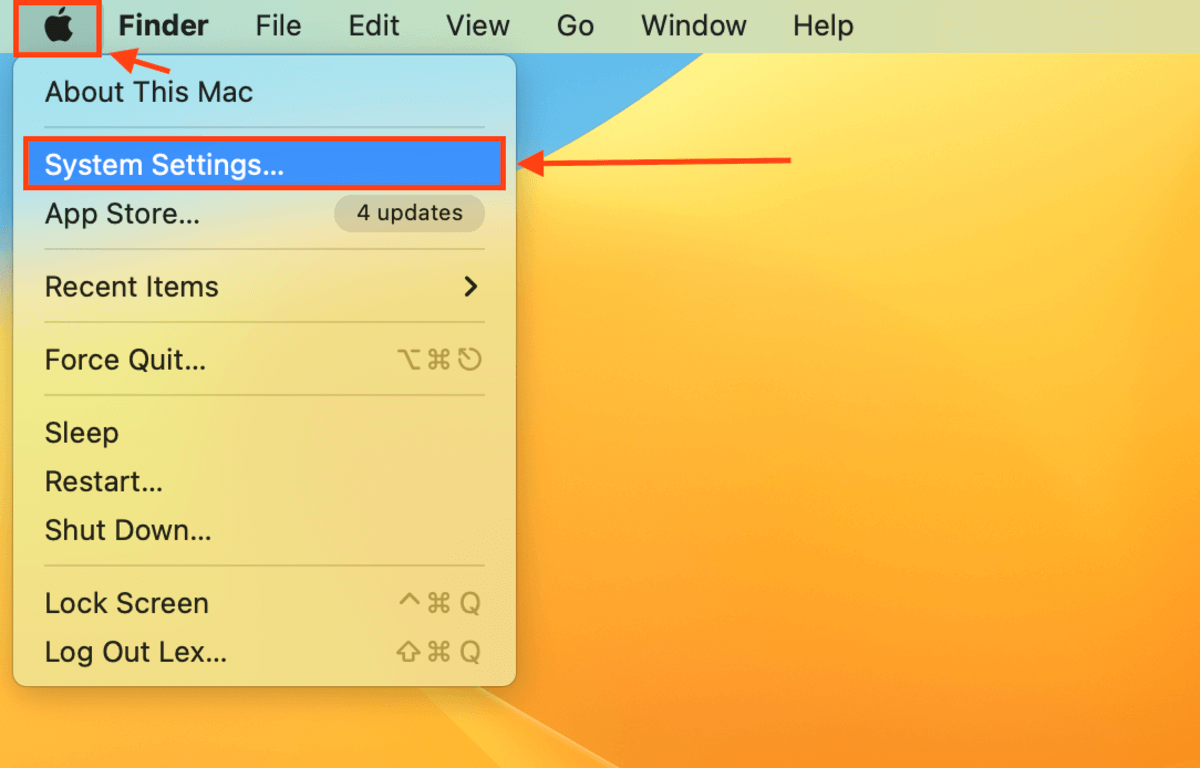
- On the menu bar, click the Apple button > System Settings…
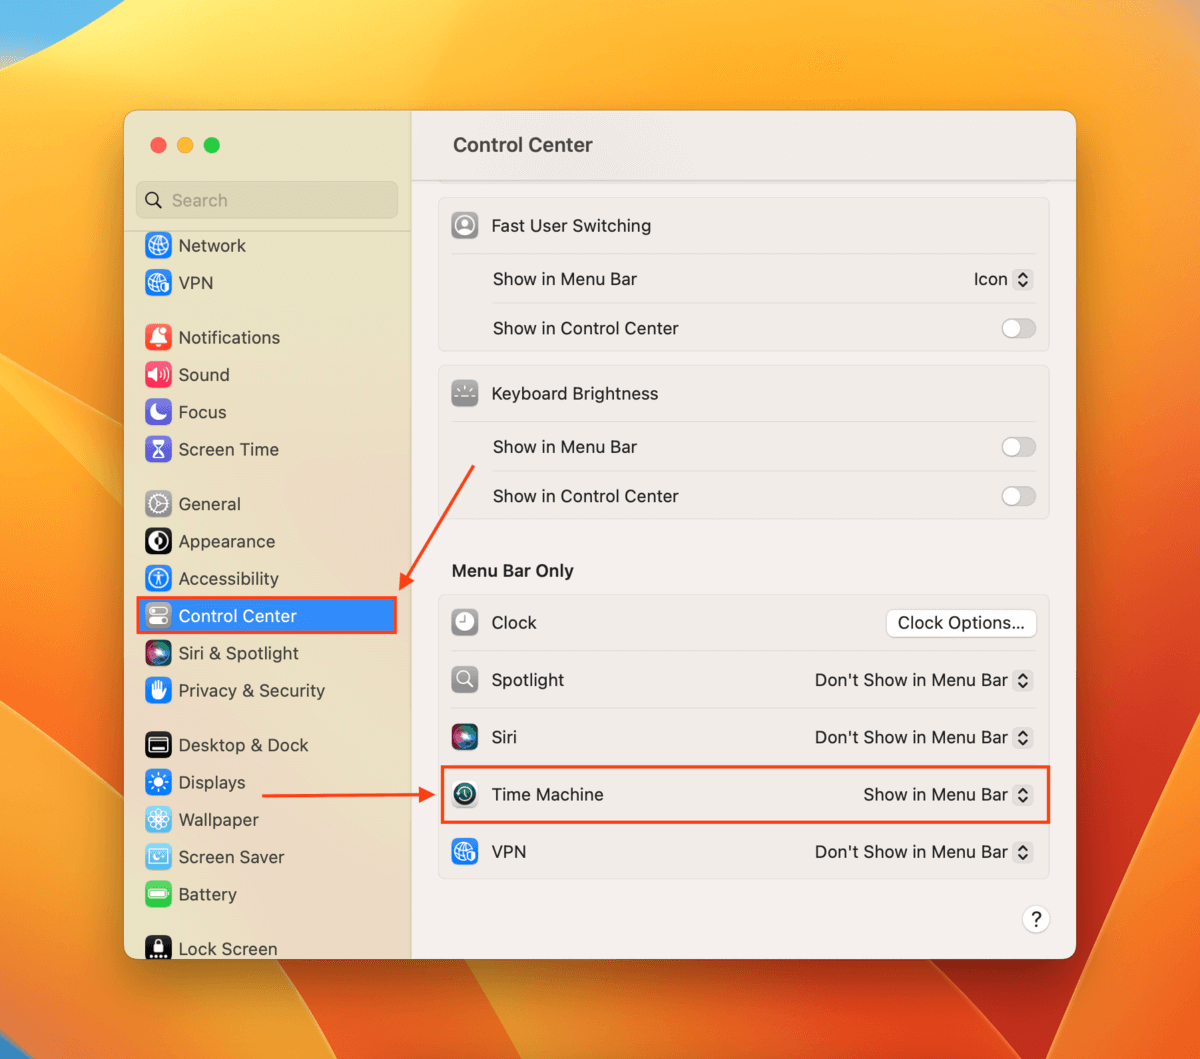
- On the left sidebar, click Control Center. On the right, scroll down to the Menu Bar Only section and set Time Machine to Show in Menu Bar. Close the window.
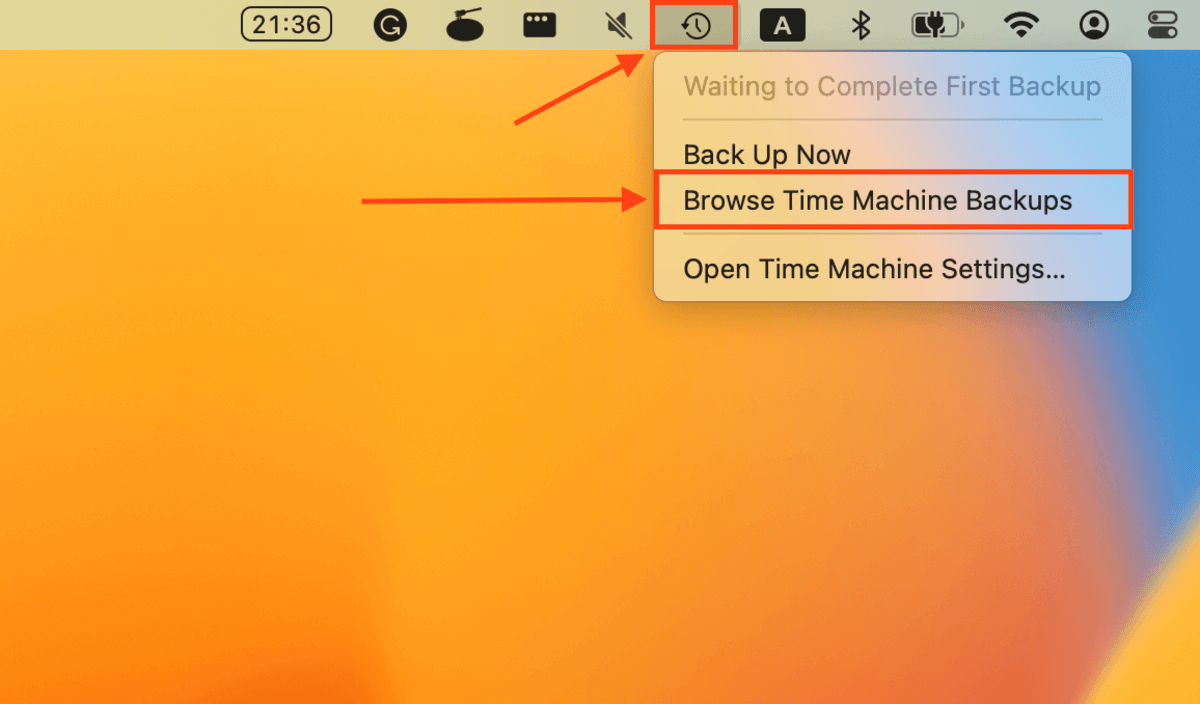
- Open Finder and navigate to the folder that contained the files you want to restore. Then, on the menu bar, click the Time Machine button > Browse Time Machine Backups.
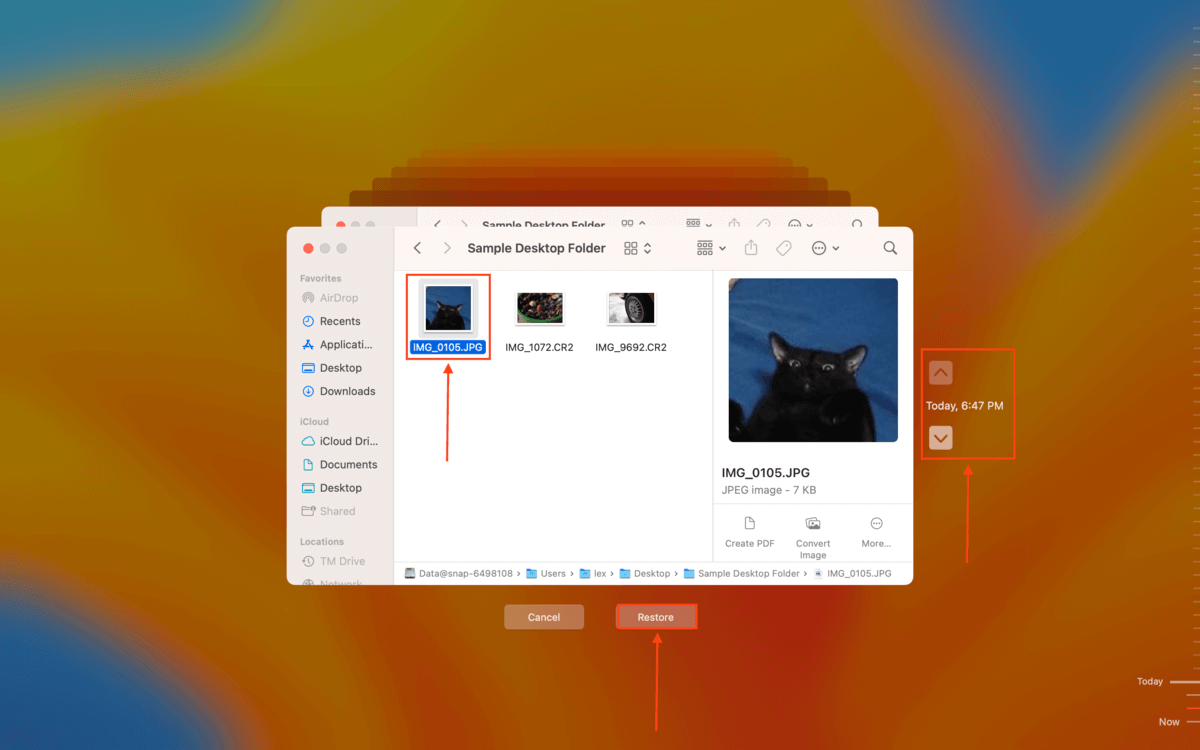
- Use the arrows on the right to browse through past versions of your files and folders. Then, select the data you want to recover and click Restore.
You can also fully restore macOS from a Time Machine backup by launching the app in Recovery Mode (Intel: Command + R while booting. Silicon: Hold Power button while booting).
FAQ
How do I restore my Mac to an earlier date without Time Machine?
As long as your SSD’s TRIM function didn’t work or was not executed yet, you can recover deleted files or past versions of files without Time Machine using data recovery software like Disk Drill:
- Download, install, and launch Disk Drill.
- Select your Mac drive and click Search for lost data.
- Click Review found items.
- Select the data you want to restore to the previous date and click Recover.
- Save the recovered files to an external drive.
Is it possible to restore a Mac to yesterday?
Yes, it’s possible to restore a Mac to yesterday using Time Machine. Time Machine creates incremental backups of your data, so you can restore your files to the state they were in at a specific date and even time. With Finder open, launch Time Machine from the menu bar (enable it in System Settings > Control Center). You should see arrows to the right of the main window, which will allow you to browse earlier versions of your data.
How do I back up a Mac without Time Machine?
You can back up your Mac without Time Machine using Disk Drill’s byte-to-byte backup feature, which can create a full copy of your system drive:
- Connect an external drive to your Mac.
- Download, install, and launch Disk Drill.
- Select Byte-to-byte backup in the left sidebar.
- Choose your Mac drive and click Create backup (click Continue first if encrypted).
- Select your external drive as the destination, and click Save.
Alternatively, you can copy the entire volume of your system drive to another drive using Disk Utility’s disk imaging tool (File > New Image).
How to restore Mac to factory settings?
To restore your Mac to factory settings, you can use the Erase All Content and Settings option provided by the operating system. Note that performing a system restore will erase your settings, data, and apps, so create a backup first. To proceed, click the Apple button > System Settings > General. On the right, click Transfer or Reset, then click Erase All Content and Settings.
Conclusion
Time Machine is a reliable tool to restore your MacBook to an earlier date. But fortunately, it’s not the only option. You can restore your Mac to an earlier date without Time Machine by using Disk Utility, which is free and comes shipped with macOS.
Alternatively, consider using third-party software like Disk Drill if you don’t have a backup to rely on. However, we advise all users to get into the habit of using Time Machine (and other apps) to routinely create backups of their drives to avoid future data loss.
This article was written by Alejandro Santos, a Staff Writer at Handy Recovery Advisor. It was also verified for technical accuracy by Andrey Vasilyev, our editorial advisor.
Curious about our content creation process? Take a look at our Editor Guidelines.