Let’s get straight to the point. If you’re looking for a magic command in Mac Terminal to bring back permanently deleted files—whether they were emptied from the Trash or never even made it there—we have to be honest: there isn’t one. BUT! It’s still possible to recover deleted files via Mac Terminal, and today we’ll to show you exactly how.
Since you’re reading this article, we assume you already know what Terminal is. But just in case, here’s a quick refresher: Terminal is the command-line interface built into macOS. Think of it as a way to directly communicate with your Mac’s core functions using text-based commands instead of graphical menus. It gives you powerful control over your system, to perform tasks that aren’t always possible through the standard Finder interface.
How to Launch Terminal on Mac
As promised, we’ll walk you through several methods you can use to recover your data via Terminal. At the end of each, you’ll find our personal take on how effective we think it is. But first, let’s go over how to open Terminal and get started.
There are three quick ways to start Terminal on your Mac, and all of them are simple enough for beginners:
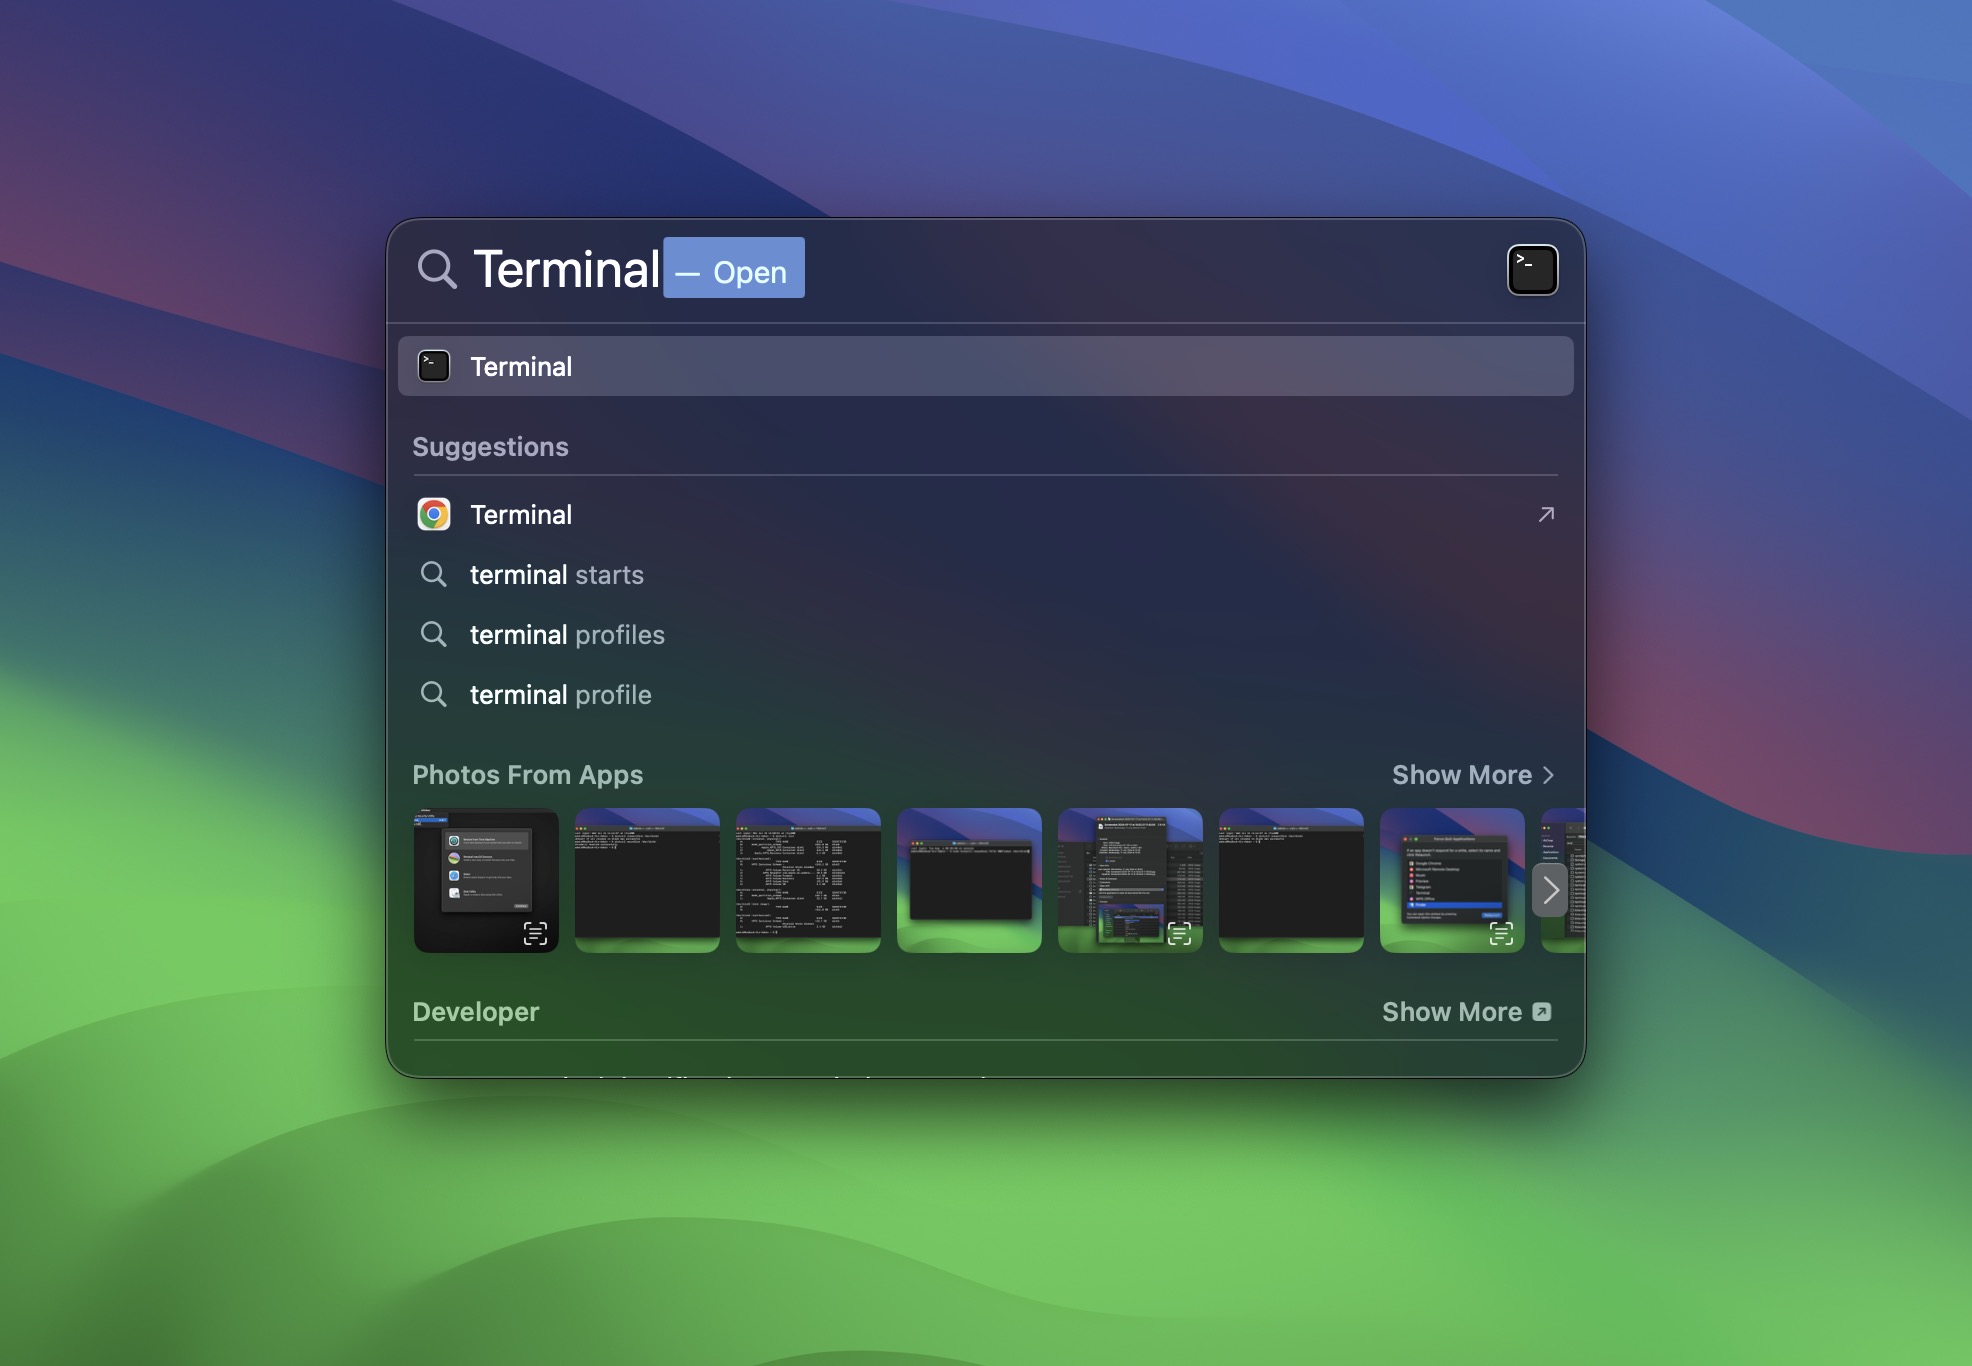
- Press Command + Space to open Spotlight Search. Type Terminal in the search bar and press Enter. Terminal will pop up instantly, ready for your commands.
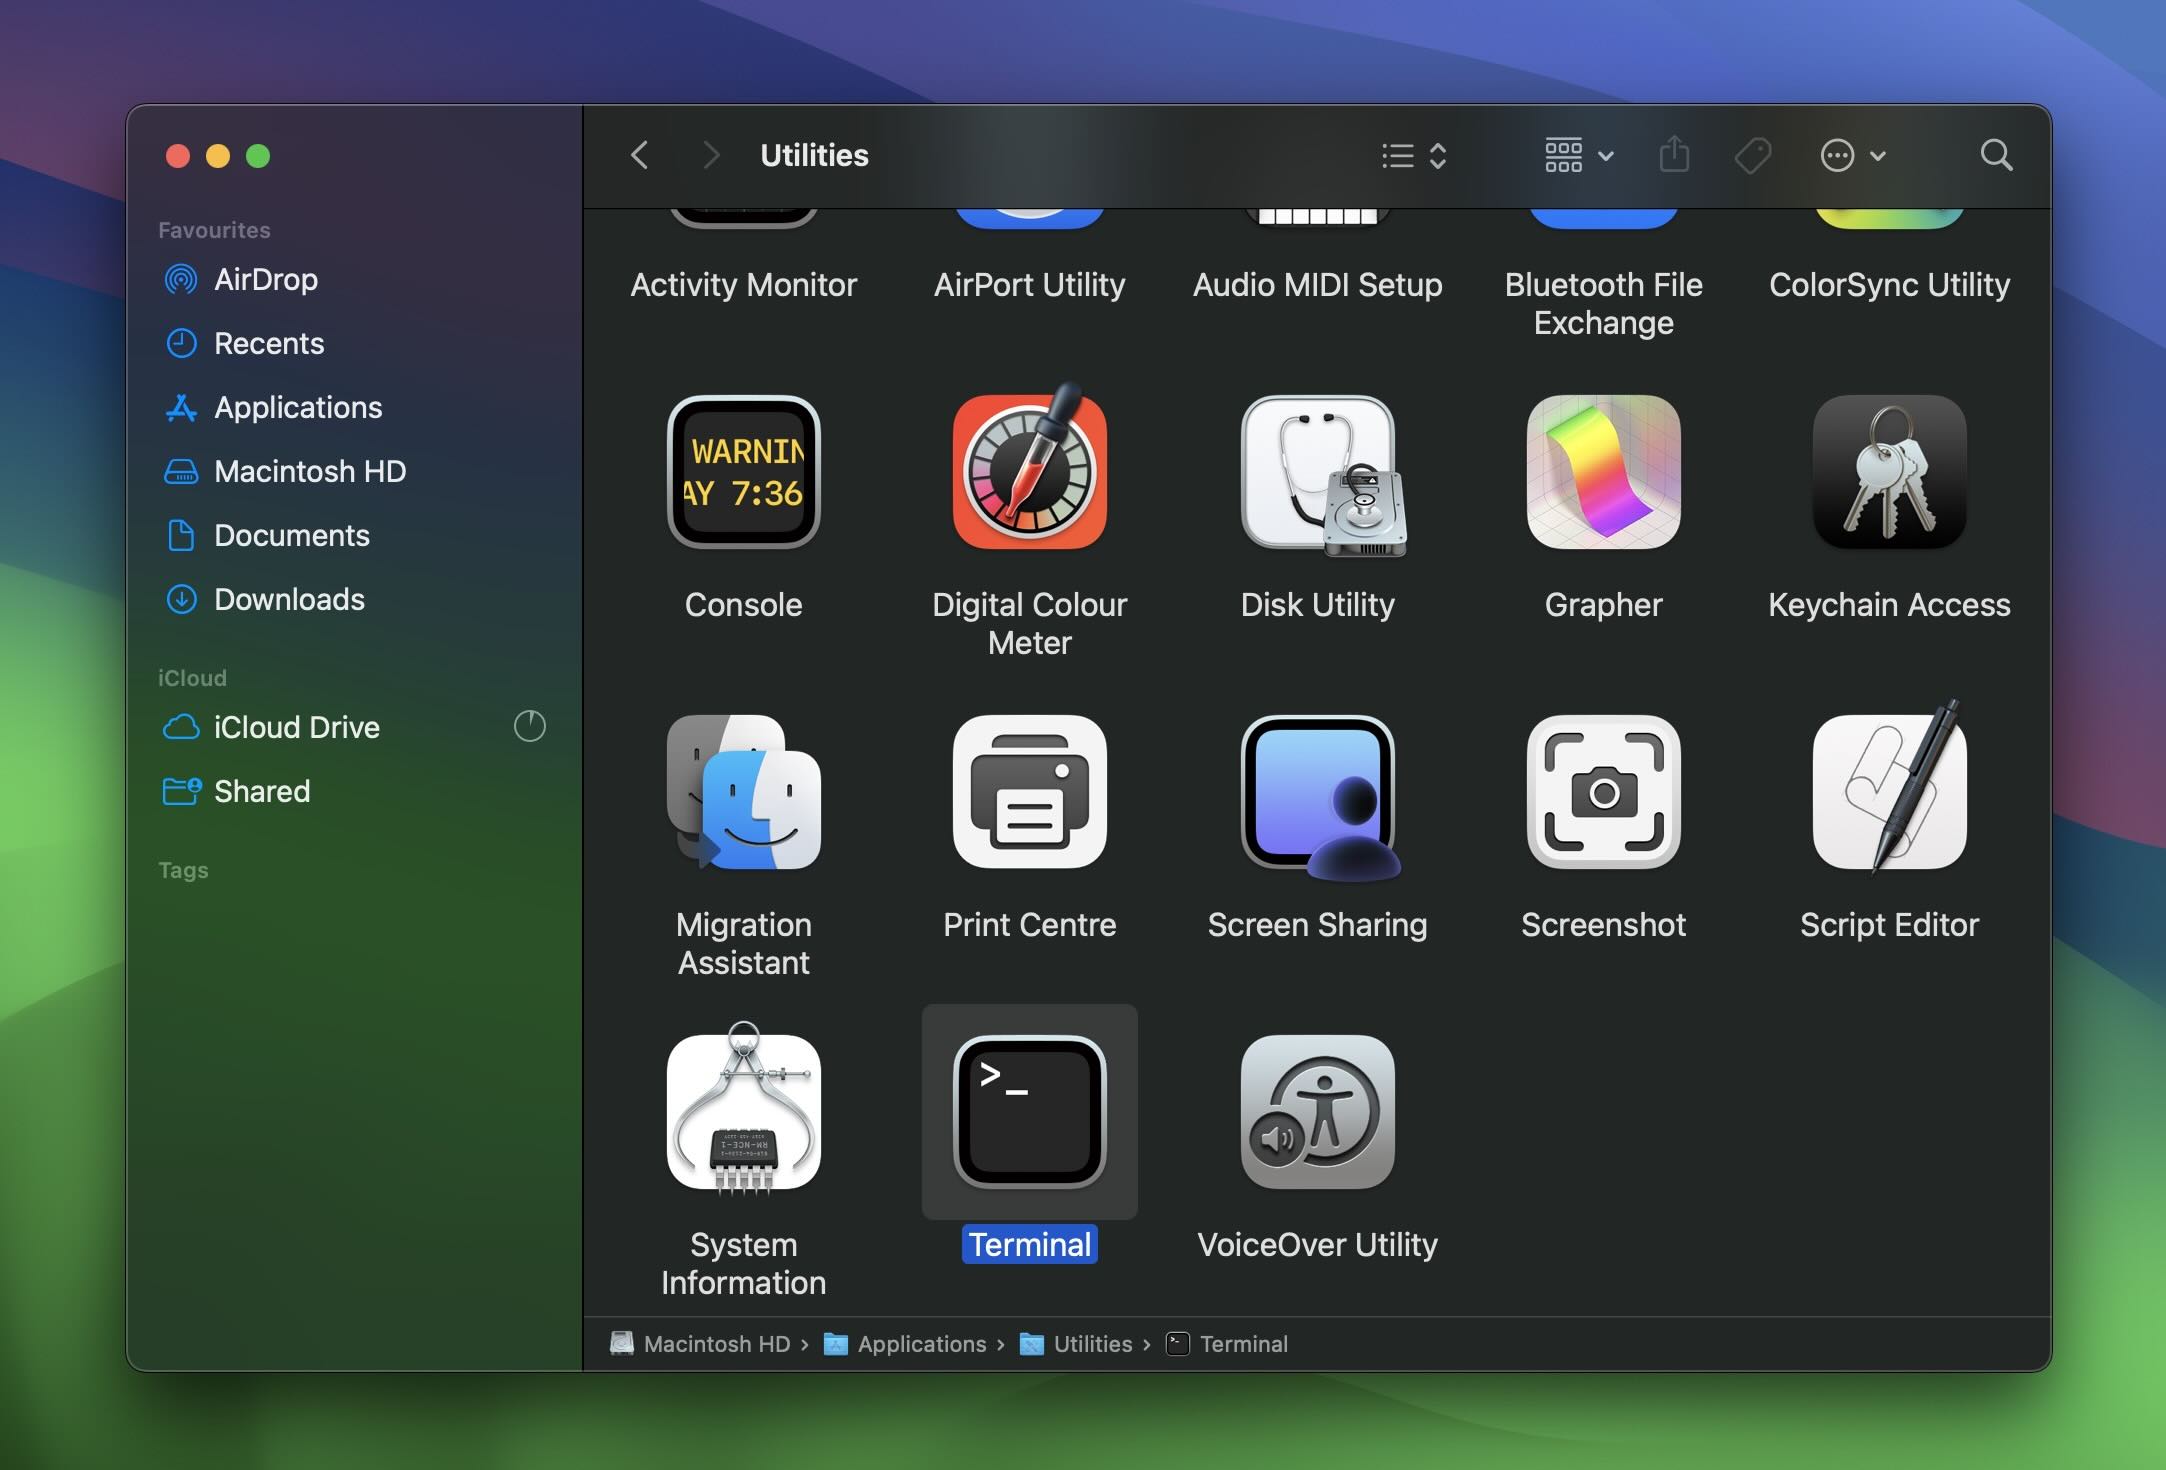
- Open Finder, go to the Applications folder, and then open the Utilities folder inside it. You’ll see the Terminal app there—double-click to launch it.
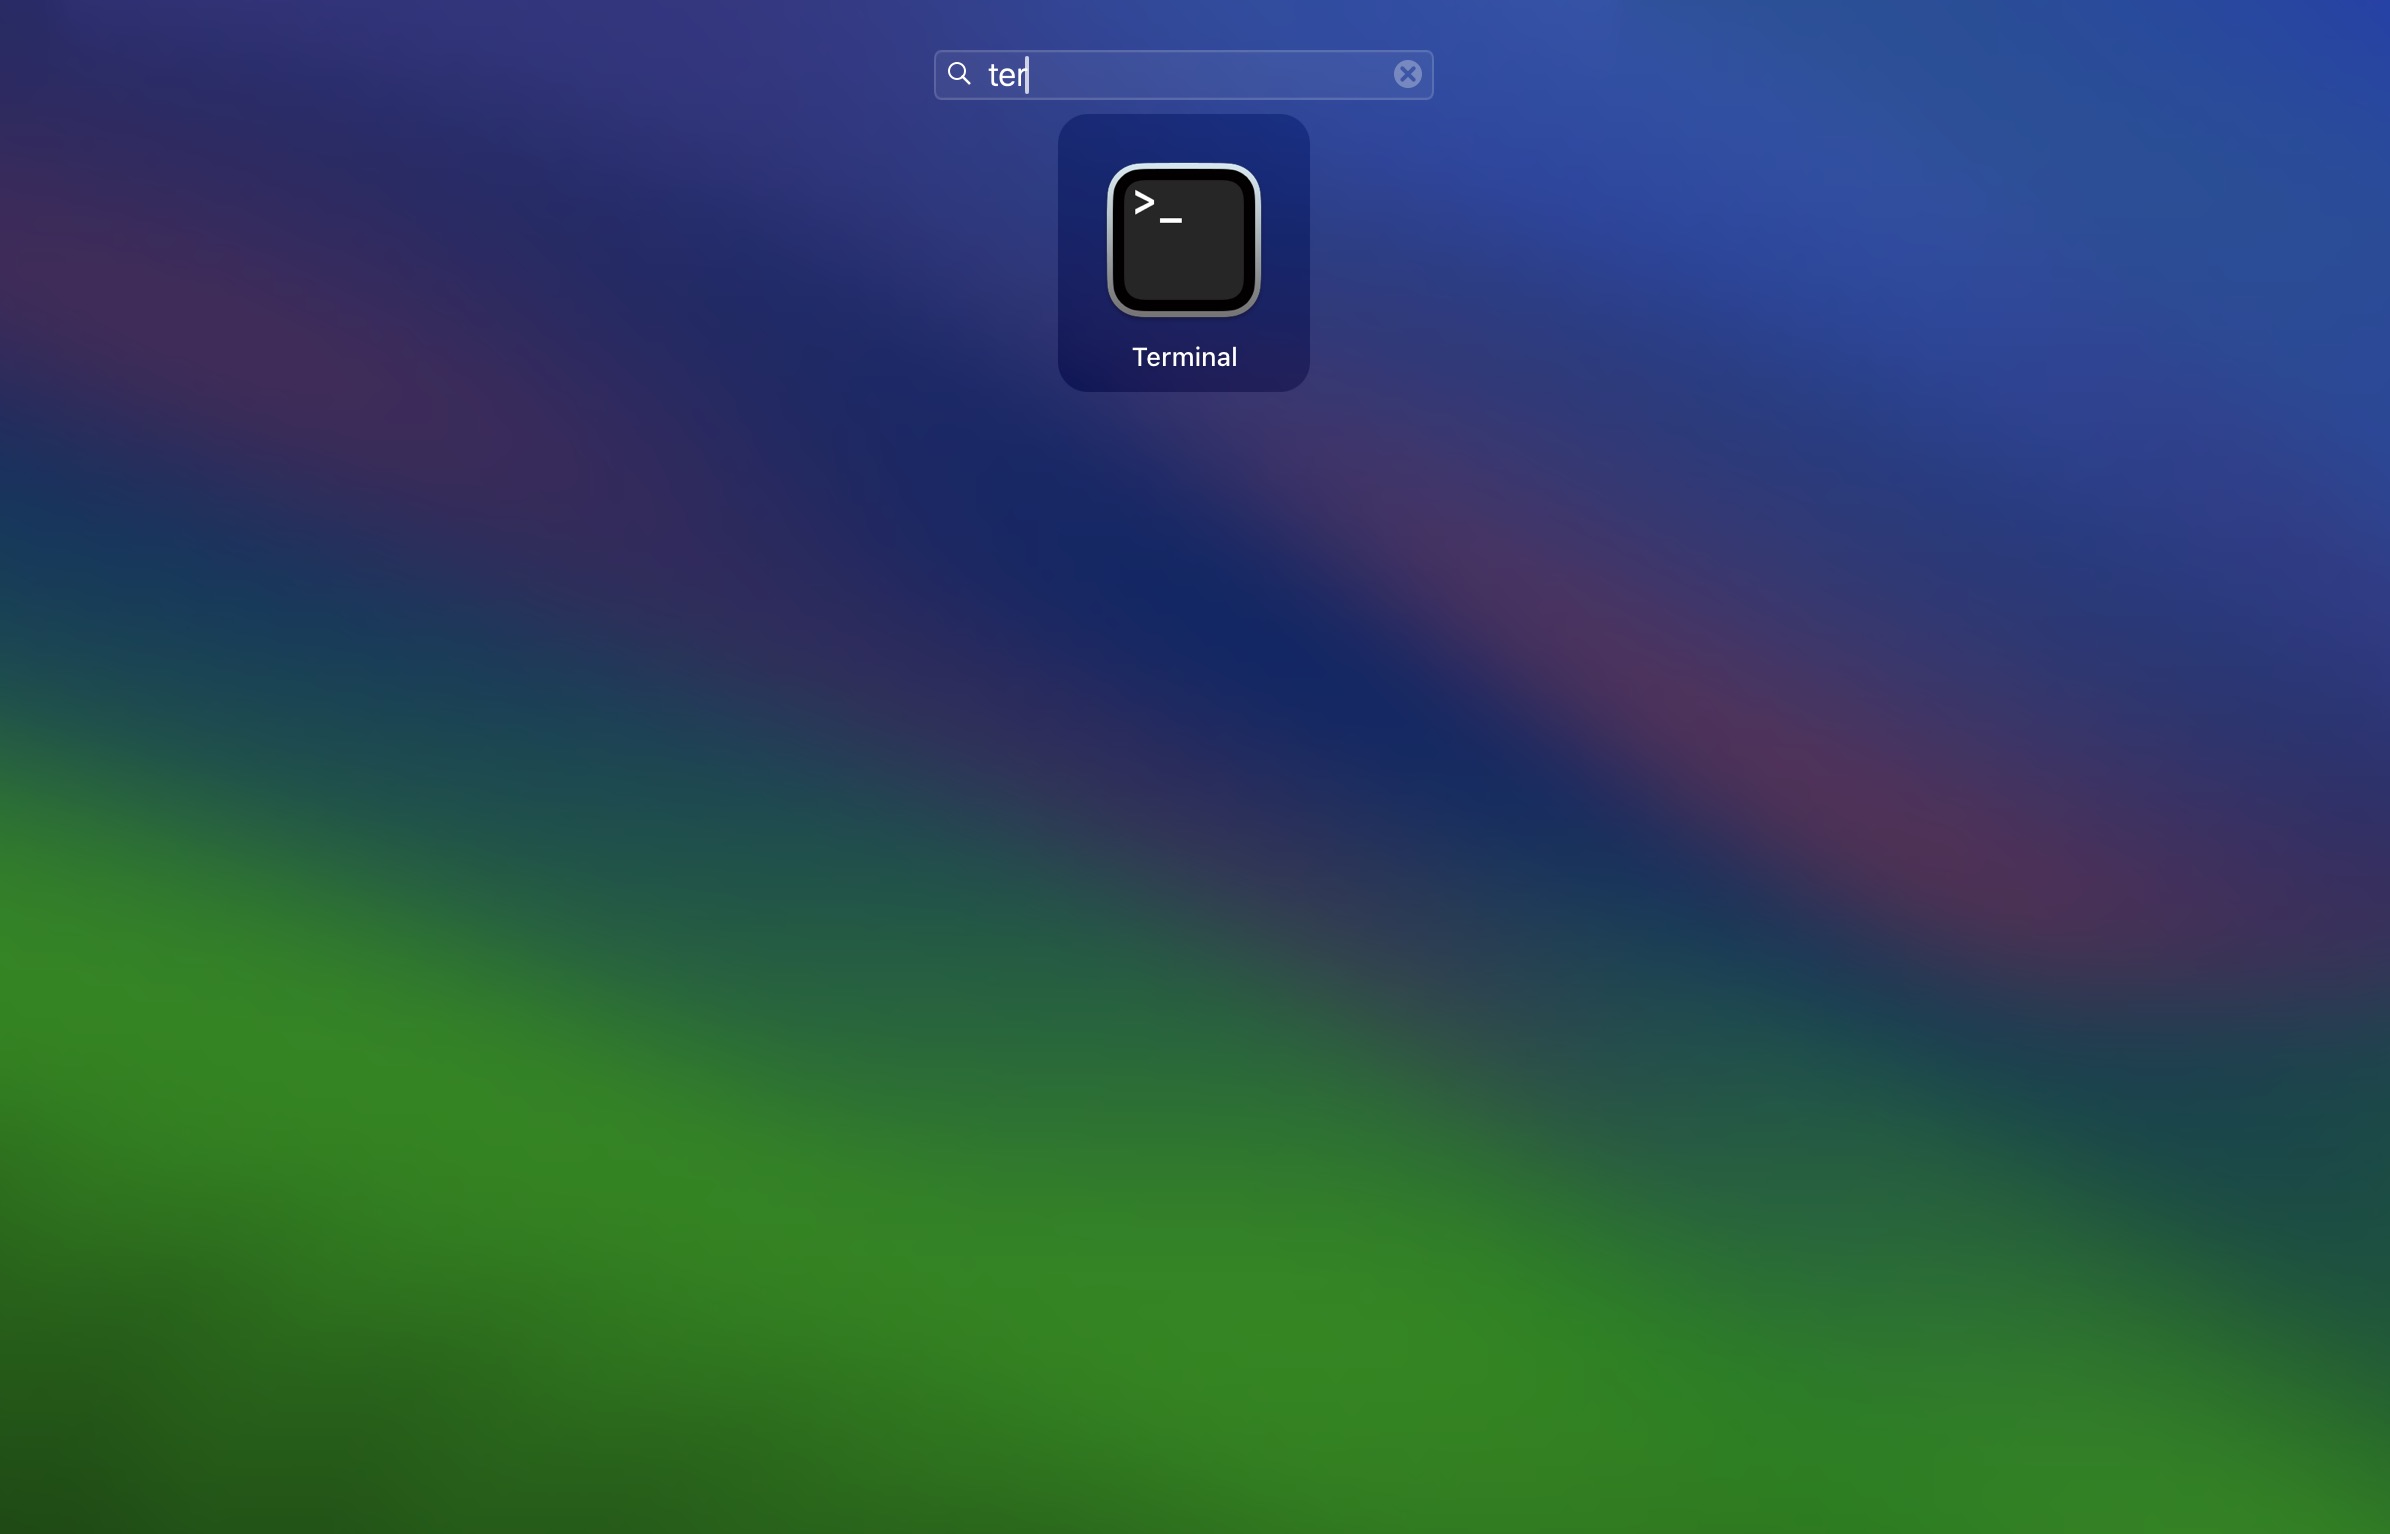
- Click the Launchpad icon on your Dock (the one that shows a grid of app icons). Type Terminal in the search bar, and click its icon when it appears.
Each of these methods gets you to the same place.
If you plan to use Terminal often, add it to your Dock for easy access. Right-click the Terminal icon when it’s open, choose Options, and select Keep in Dock. Now that you’ve got Terminal open, let’s move on to recovering deleted files.
By the way, if you used the rm command to delete your files, we’ve got you covered. Check out our guide on how to recover files deleted with rm command on a Mac for detailed steps and tips.
How to Use the Terminal to Recover Deleted Files From the Trash
The Trash is where deleted files go. Files are either put into the trash or you can delete them permanently right away.
You will need to change your privacy settings so that the Terminal can have Full Disk Access before the steps below will work. This is super easy to do and will only take a few steps.
- Launch your System Settings and then navigate to the Privacy & Security tab.
- From within here, you will want to look for Full Disk Access and allow the Terminal full access to your Mac.
- Now we can launch Terminal with one of the methods mentioned earlier.
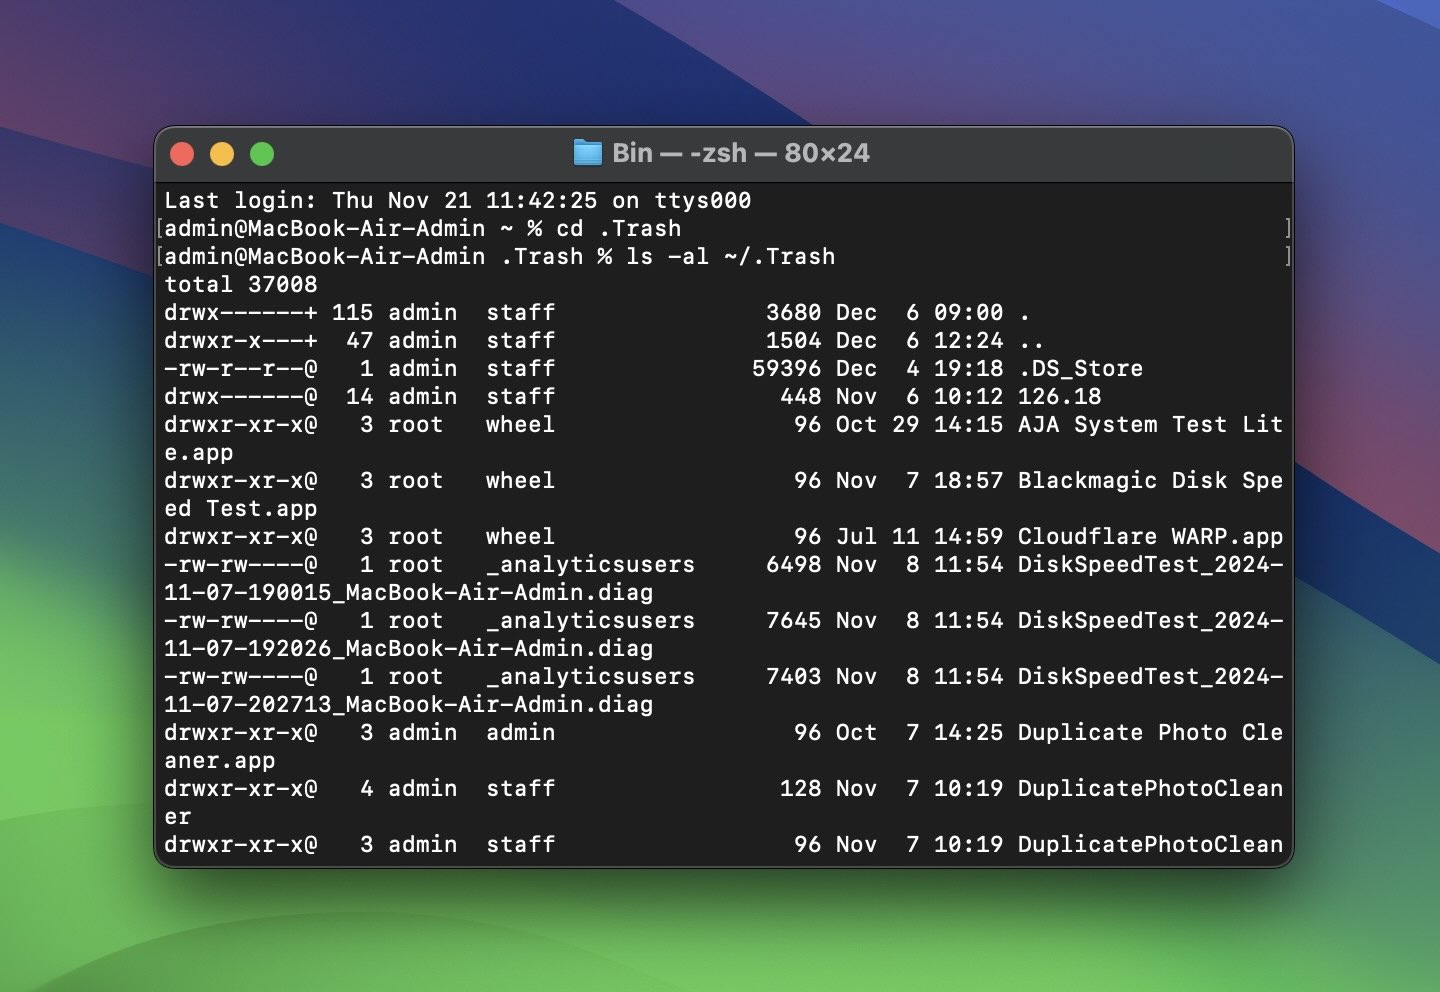
- The first thing that we want to do is navigate to the trash folder so that we can view its contents. Type in the code below and then hit return:
cd .Trash

- Next, we want to bring up the contents of the trash which can be done by typing in the code below and then hitting return.
ls -al ~/.Trash
- We can recover deleted files with the mv command. All it does is move a file from one location to another. In this case, it takes a file from the Trash and puts it back where you want it. The command requires two things: the file’s name and the destination folder. Once you provide that information, mv does the rest:
mv [file name] [destination path]
If the file name you want to recover includes spaces, the Terminal might misunderstand it. To avoid errors, you can fix this in two ways:
- Put the entire file name inside double quotes, like this:
mv "file name with spaces.txt" ~/Desktop
- Place a backslash before each space in the file name, like this:
mv file\ name\ with\ spaces.txt ~/Desktop
These small changes tell the Terminal to treat the name as one file instead of breaking it into parts.
After the file has been recovered, go to your home directory folder to view the recovered file.
Verdict. Our team at Handy Recovery Advisor rates this method poorly. All it really does is replace a few simple mouse clicks in the Trash with significantly more effort and commands in Terminal. It’s not the most practical option for most users.
What if I Deleted the File on an External Device?
Many external devices, especially USB drives and external SSDs, have their own hidden .Trashes folder. When you delete a file from an external device on a Mac, the file may move to this hidden folder instead of being completely removed.
We go into more depth on this in this external hard drive recovery article.
To locate your external device’s .Trashes folder in Terminal do this:
- In Terminal, type:
ls /Volumes
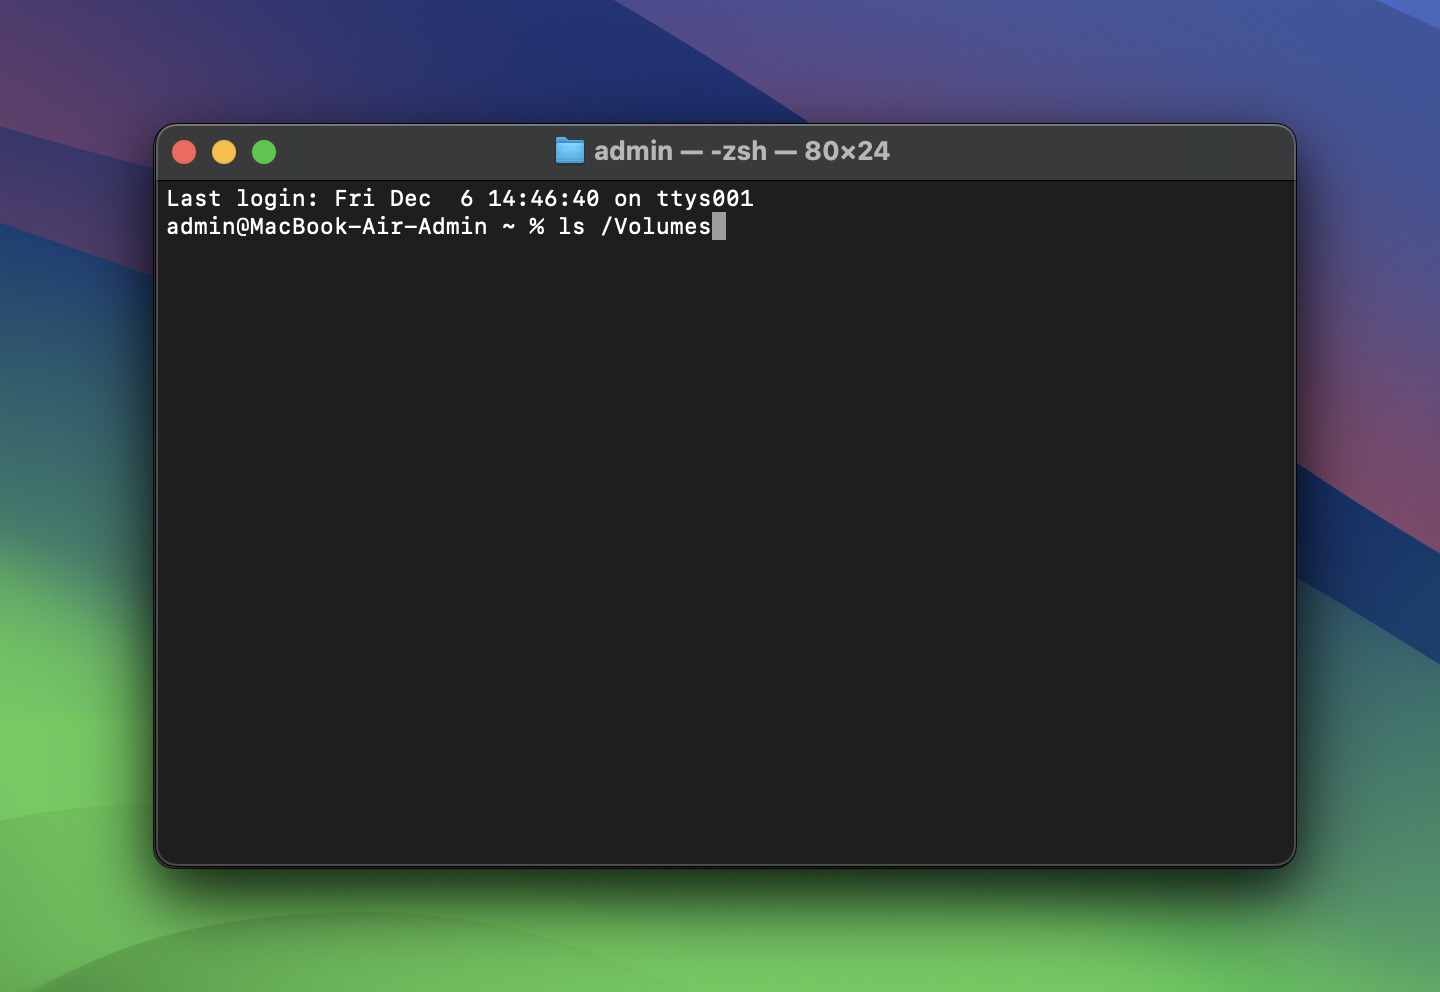
- This command lists all volumes connected to your Mac. Look for your external drive’s name in the output, such as MyUSBDrive.
- To move into your external device, type:
cd /Volumes/MyUSBDrive
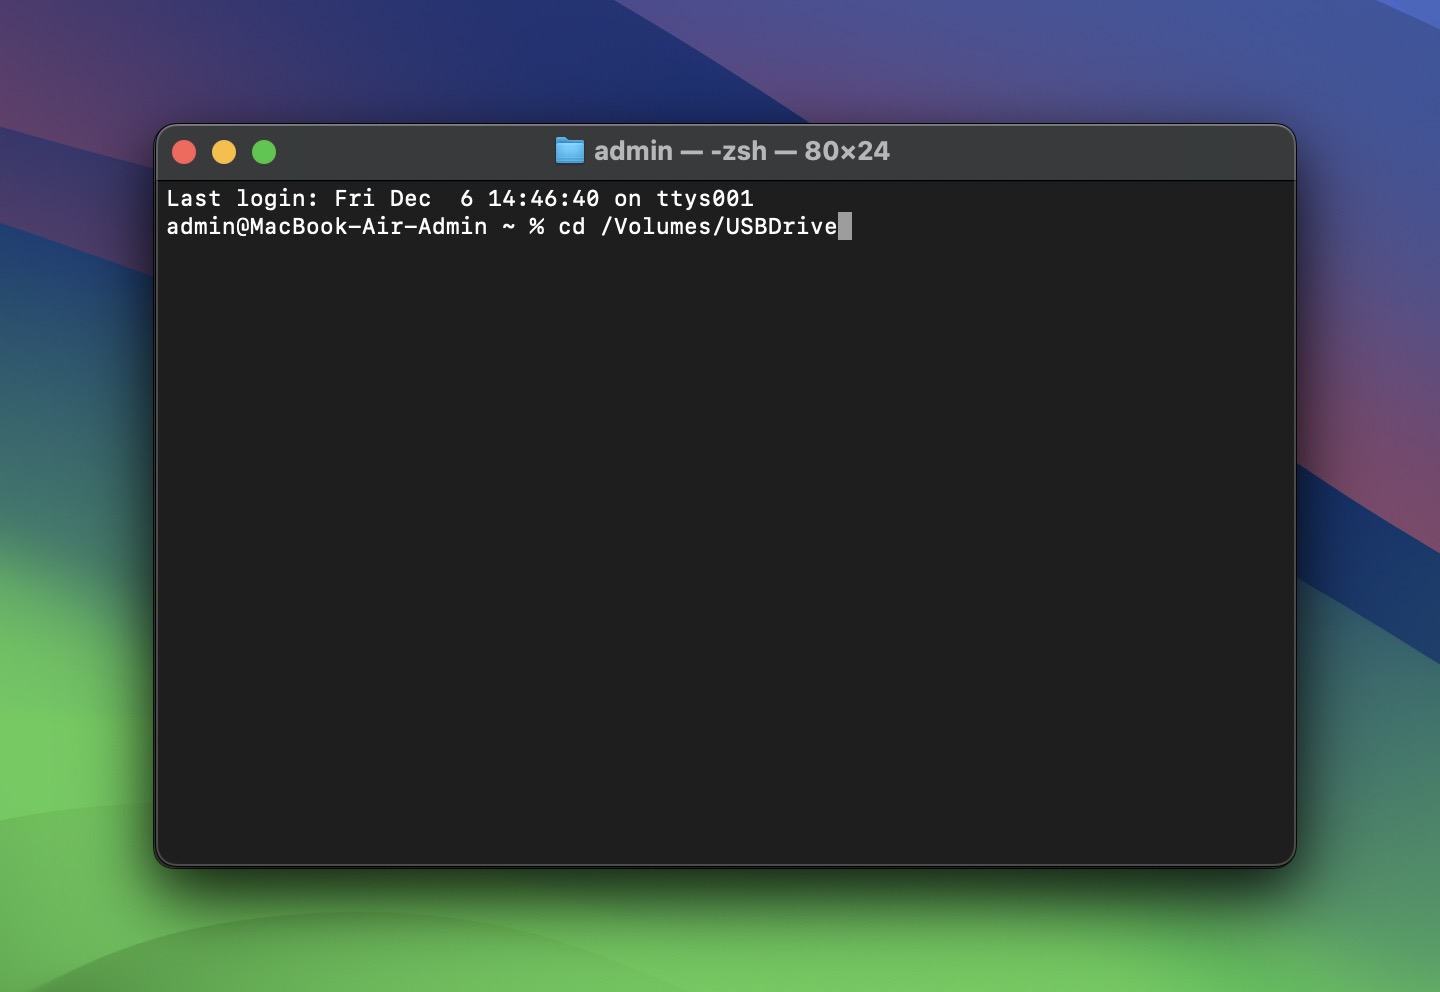
Replace MyUSBDrive with the exact name of your drive.
- To display all files and folders on the external drive, including hidden ones, type:
ls -a
- If the .Trashes folder exists, navigate into it by typing:
cd .Trashes
- Once inside the folder, you can use the same mv command we covered earlier to recover files. The next steps are the same.
Verdict. This method is just like the previous one. When you delete files (not permanently) on an external storage device in macOS, they are moved to the .Trashes folder. However, instead of using Terminal to navigate to .Trashes, you can simply open the Trash in Finder (while the external device is still connected to your Mac). You’ll see deleted files from both internal and external devices here together, and you can use the Put Back command to restore them.
How To Recover Permanently Deleted Files using Mac Terminal
Of course, deleted files aren’t always sitting in the Trash folder. Maybe you accidentally emptied Trash or it was emptied automatically (by default, macOS clears it every 30 days), or the file didn’t even make it to the Trash. If that’s the case and you couldn’t find it in the Trash, you have two main options to recover permanently deleted files from Terminal on Mac: backups or data recovery software.
Option A: Time Machine
This method works only if Time Machine was already set up and active on your Mac before the files were deleted. If you didn’t have Time Machine running, the deleted files won’t exist in any backup. In that case, you can skip straight to the next option.
Time Machine is a built-in backup utility that allows you to back up your Mac to an external hard drive. Most of the time, you can use the Time Machine interface instead of the Terminal for recovering deleted files. The Terminal-based method can come in handy if you’re trying to control Macs that are remote or if you’re running scripts on them. You could also use this recovery method to learn how to run Time Machine without using the graphical interface.
Here’s how to use it:
- Launch the Terminal. Make sure that the Terminal has full disk access which is explained in the section above.
- Type in the following to list all of the time machine backups that you have available:
tmutil listbackups

- Type in:
tmutil restore ‘$BACKUP_PATH/$ORIGINAL_PATH’ ‘$DESTINATION’
This will allow you to restore a file from your Time Machine backup. Remember that you will need the entire path when you put in the name of the file.
Useful tmutil commands and what they do:
- tmutil listbackups Lists all available Time Machine backups stored on the backup drive. Use this to see a complete list of snapshots and their timestamps.
- tmutil latestbackup Displays the most recent backup. This is helpful when you need to restore the latest version of a deleted file.
- tmutil restore [source-path] [destination-path] Restores a specific file or folder from a backup to a specified location. Ideal for recovering files when you know their original location.
- tmutil compare [path] Compares a file or folder on your Mac with its backed-up version in Time Machine. Useful for checking differences before restoring.
- tmutil deletelocalsnapshots [snapshot-name] Deletes a specified local snapshot stored on your Mac’s internal drive to free up space.
- tmutil status Shows the current status of Time Machine, including whether a backup is in progress or idle.
Verdict. We believe that for 99% of users, Time Machine’s graphical interface is more than sufficient for data recovery. It’s straightforward and effortless. However, as we explained earlier, this method is worth it for specific scenarios, even if it won’t be your go-to option in most cases.
Option B: PhotoRec
If your file isn’t backed up and doesn’t exist in the Trash, you can use data recovery software to try to recover it. It may still exist on your drive, even if it’s no longer visible in Finder. When files are deleted, macOS typically doesn’t erase the data immediately; instead, it marks the space as available for new data. This means recovery is possible as long as the space hasn’t been overwritten. This is why it’s always recommended to stop using the storage device where the lost data might still reside.
PhotoRec is a data recovery tool that runs directly in Terminal. It’s open-source and free. Yeah, this is probably not what you’d expect to see when you Googled “how to recover files from Terminal”—but hey, this software works through Terminal and gets the job done.
Here’s how you can use it to recover permanently deleted files via Mac Terminal:
- To download PhotoRec, you need to download the TestDisk suite from its official website. PhotoRec is included as part of this bundle.
- Download the version compatible with macOS. The file will come as a compressed archive (e.g., .zip or .tar).
You can also install PhotoRec directly in Terminal using Homebrew, a package manager for macOS. If you haven’t already set it up, you can install it with this command in Terminal:
/bin/bash -c "$(curl -fsSL https://raw.githubusercontent.com/Homebrew/install/HEAD/install.sh)"
Once Homebrew is installed, you can install PhotoRec:
brew install testdisk
- Extract the contents to an easily accessible location, such as your Desktop. You’ll see a folder that includes both TestDisk and PhotoRec.
- Launch Terminal on your Mac.
- Navigate to the folder where you extracted the TestDisk bundle. For example, if the folder is on your Desktop, navigate to it using this path:
cd ~/Desktop/testdisk-version
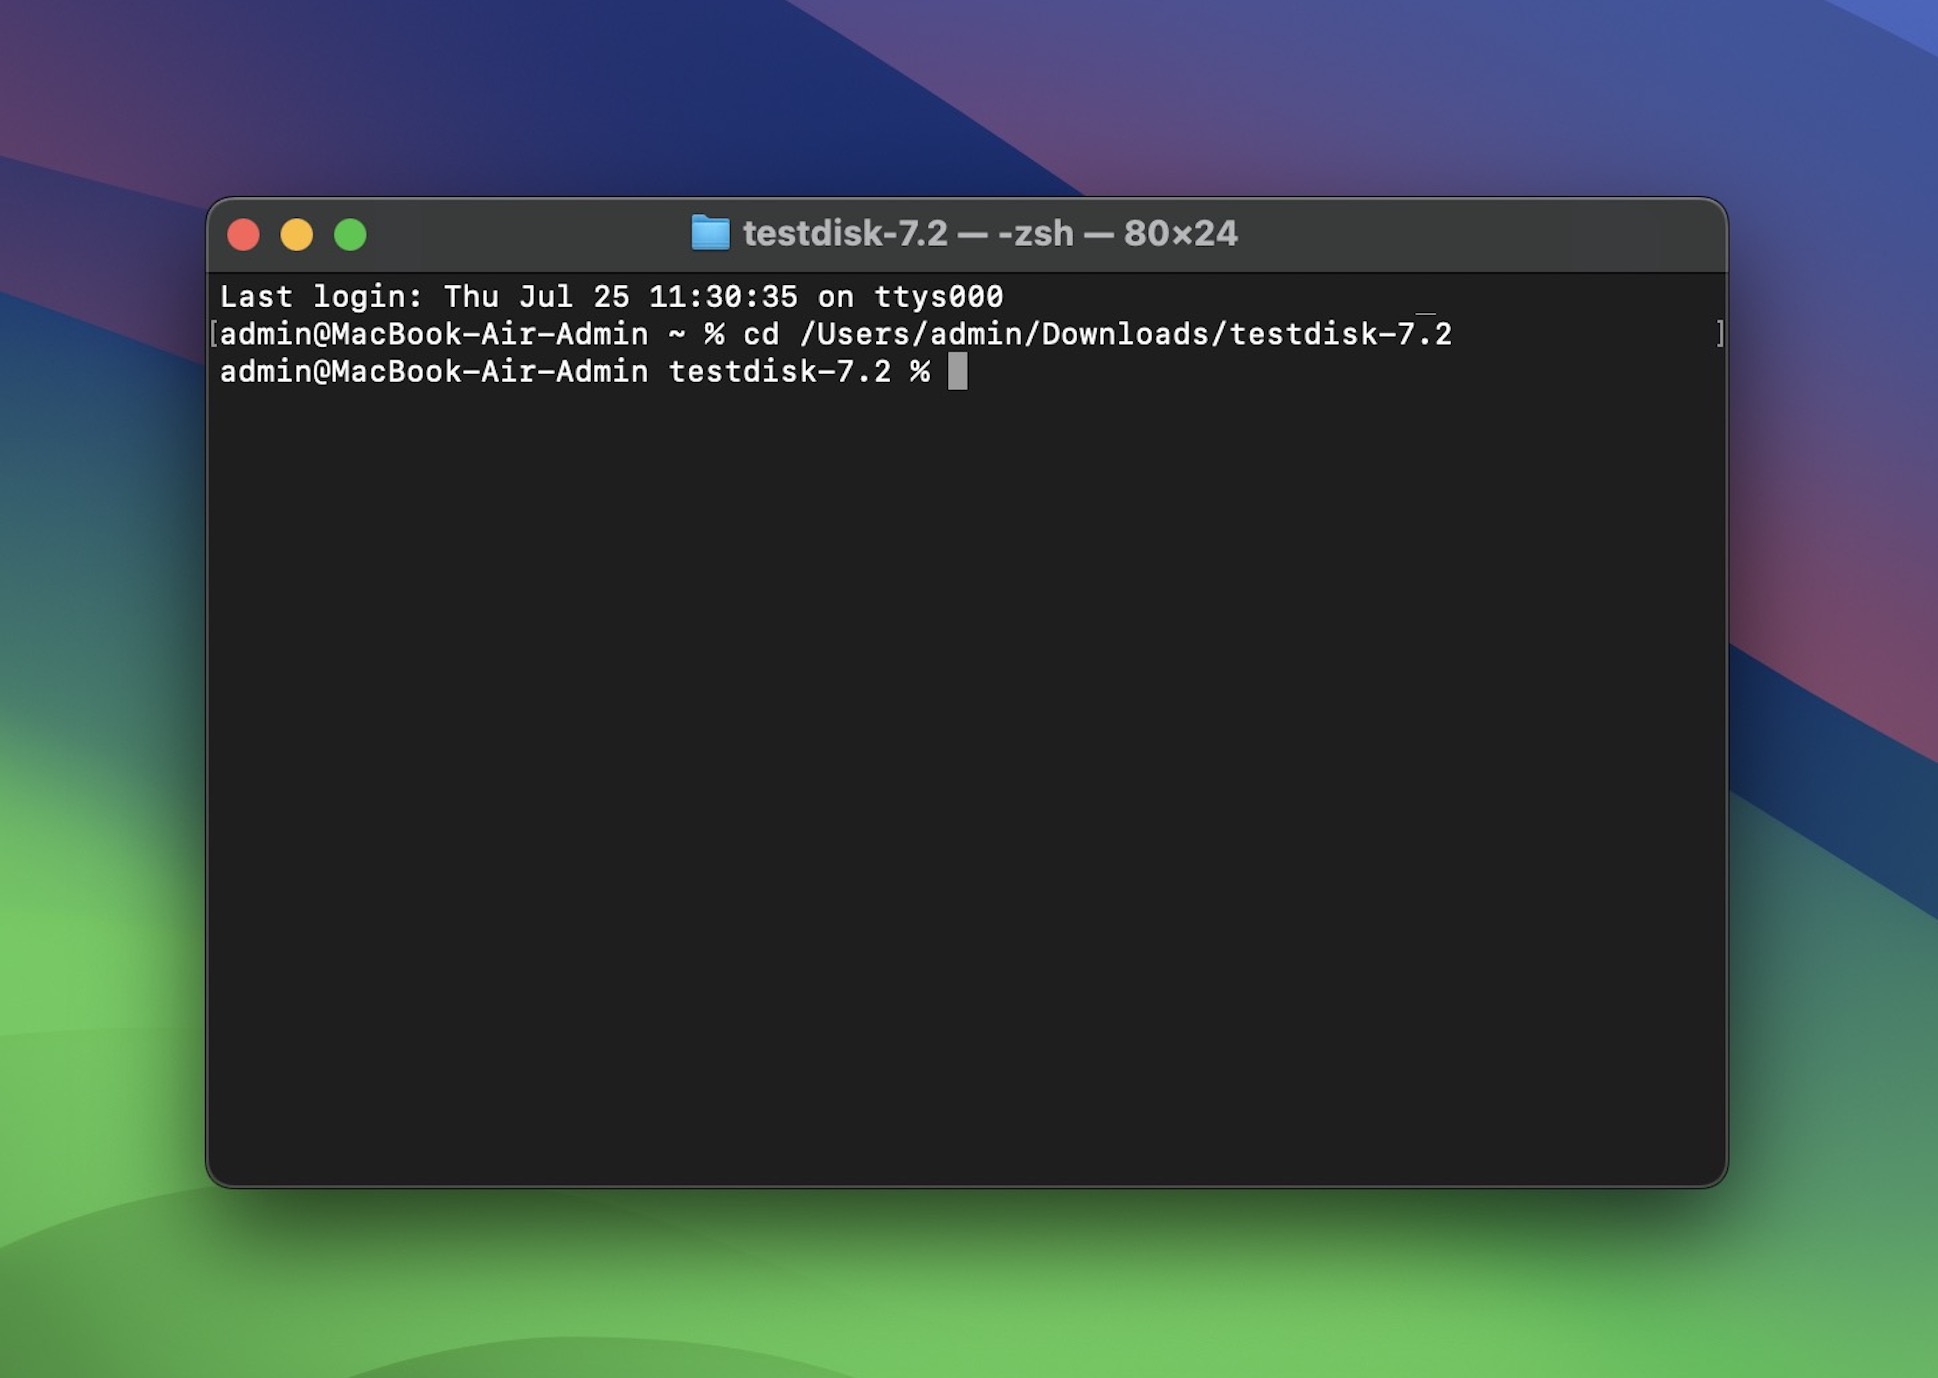
- Replace testdisk-version with the name of the folder extracted from the archive
- PhotoRec requires superuser permissions to access and scan drives. Start the program by typing:
sudo ./photorec
- Enter your Mac’s admin password when prompted.
- PhotoRec will list all connected drives. Use the arrow keys to highlight the drive where the deleted file was located, and press Enter to proceed.

- Select the partition on the drive where your file was stored. Press Enter to confirm.
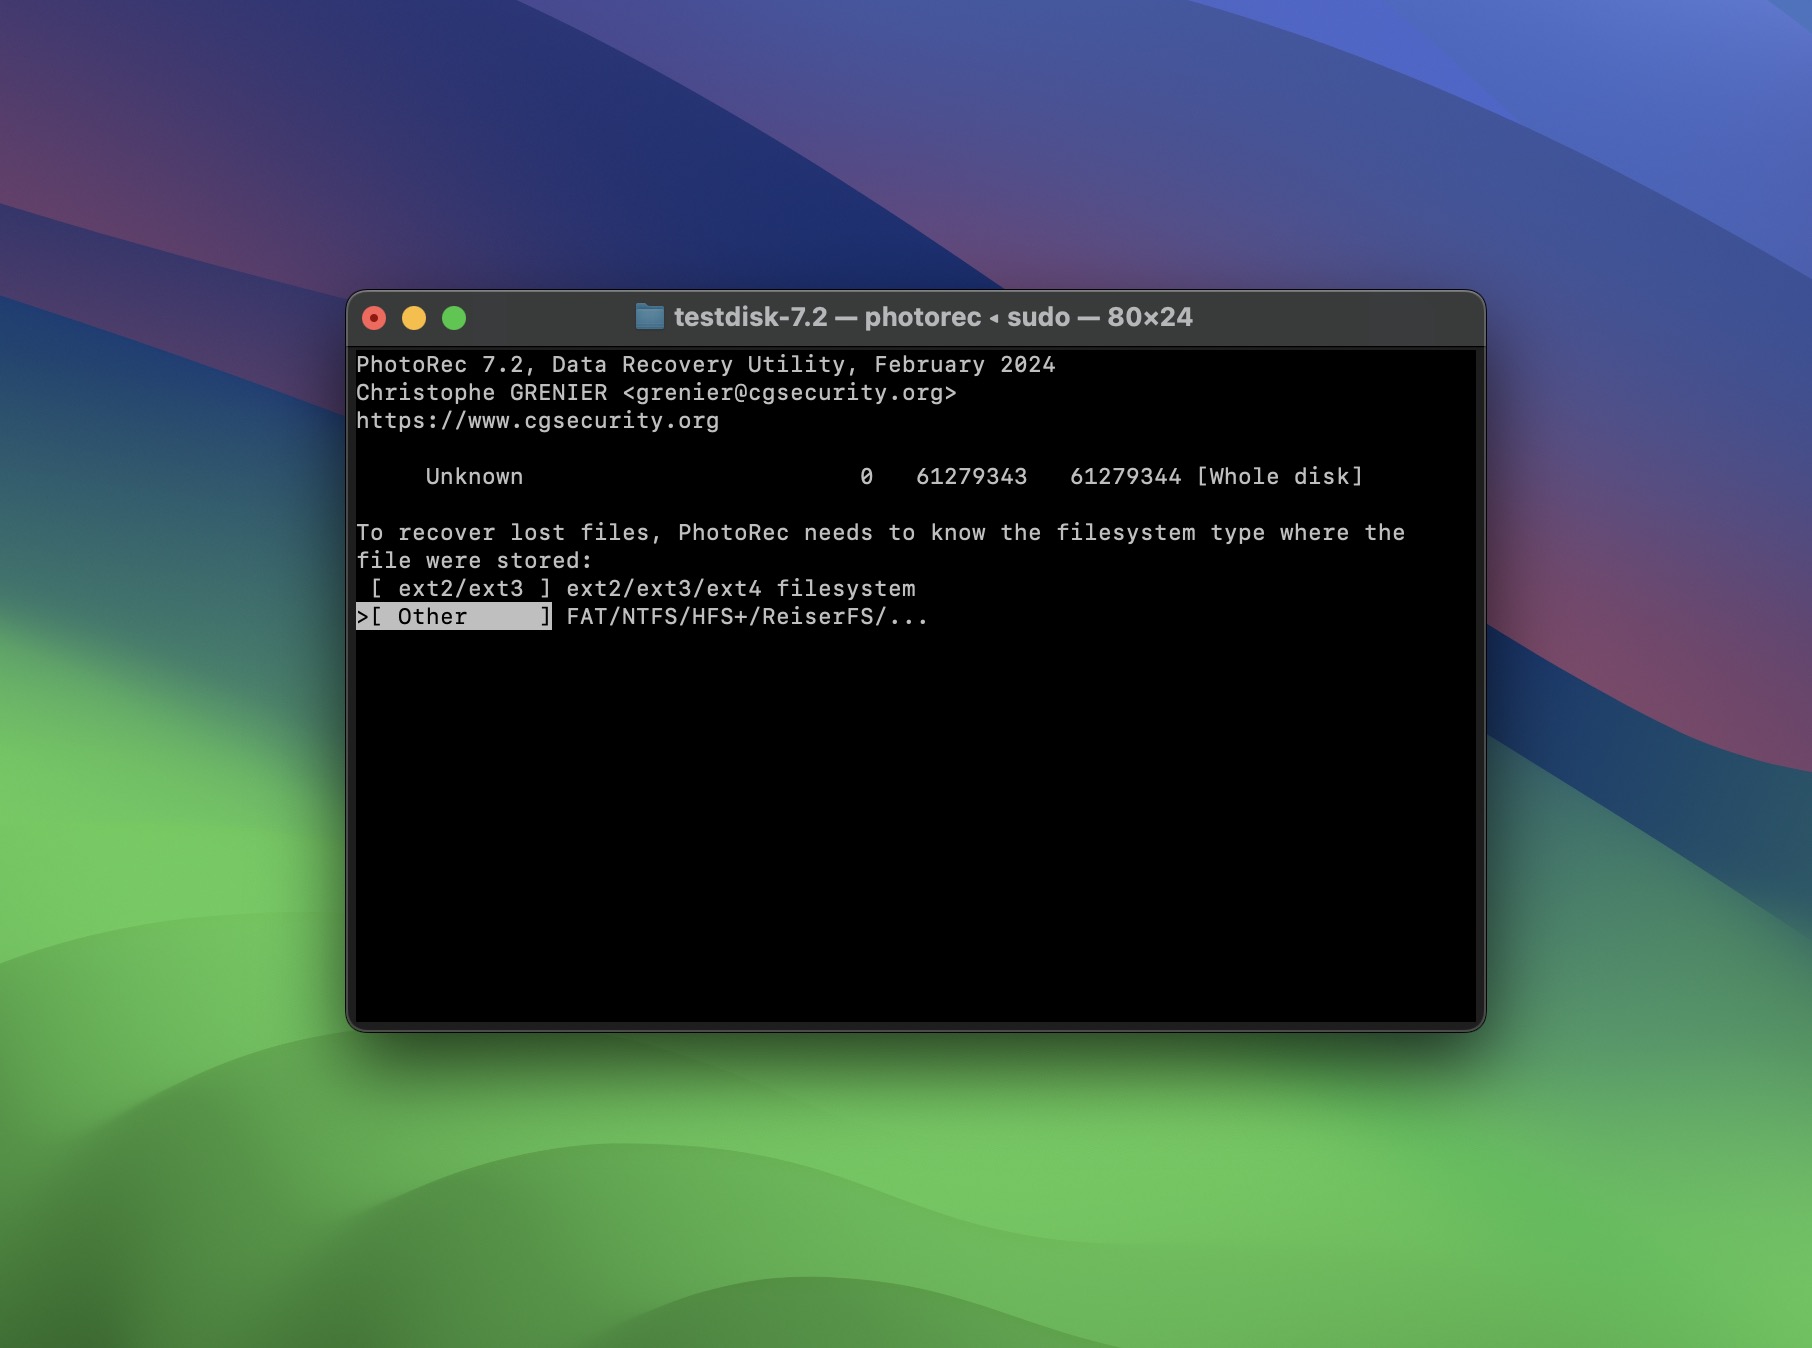
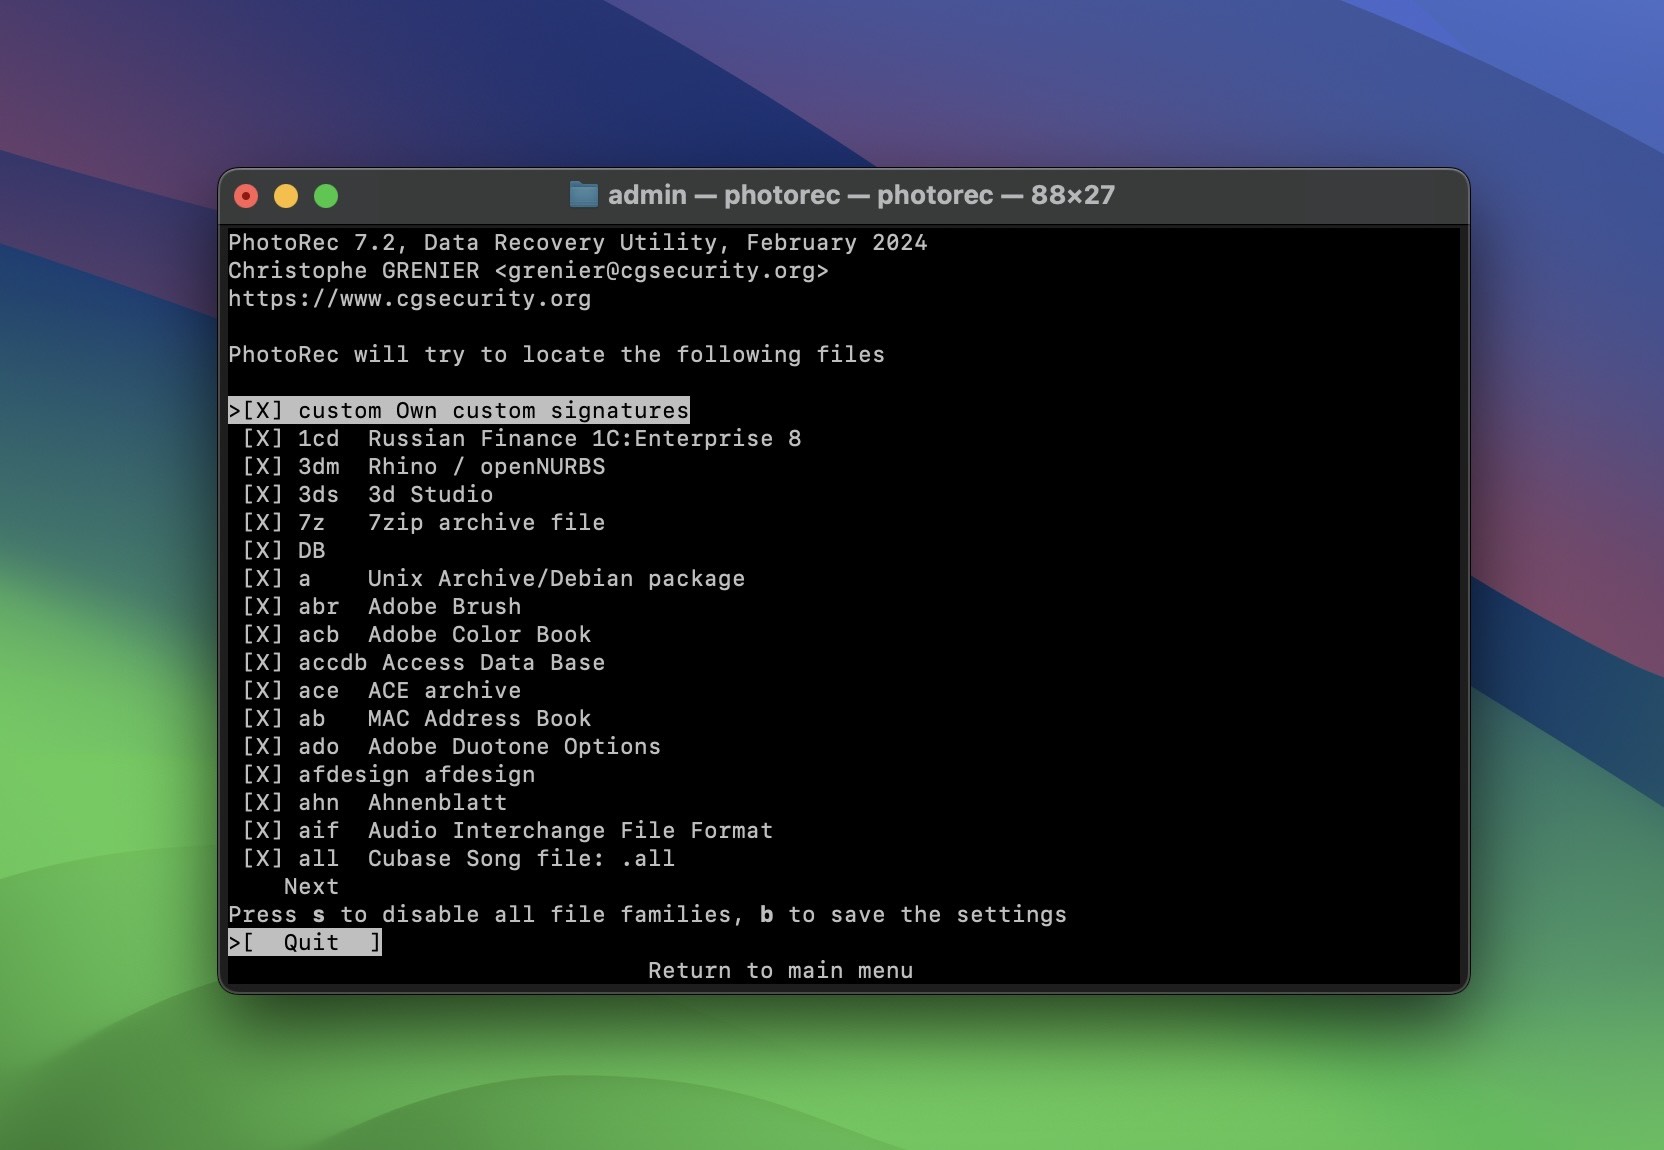
- PhotoRec allows you to target specific file types, such as photos, documents, or videos. You can also choose to recover all file types if you’re unsure.
- Select a folder where PhotoRec will save the recovered files. Make sure this location is on a different drive or partition to avoid overwriting existing data. For example, create a folder on your Desktop called “RecoveredFiles” and set it as the destination.
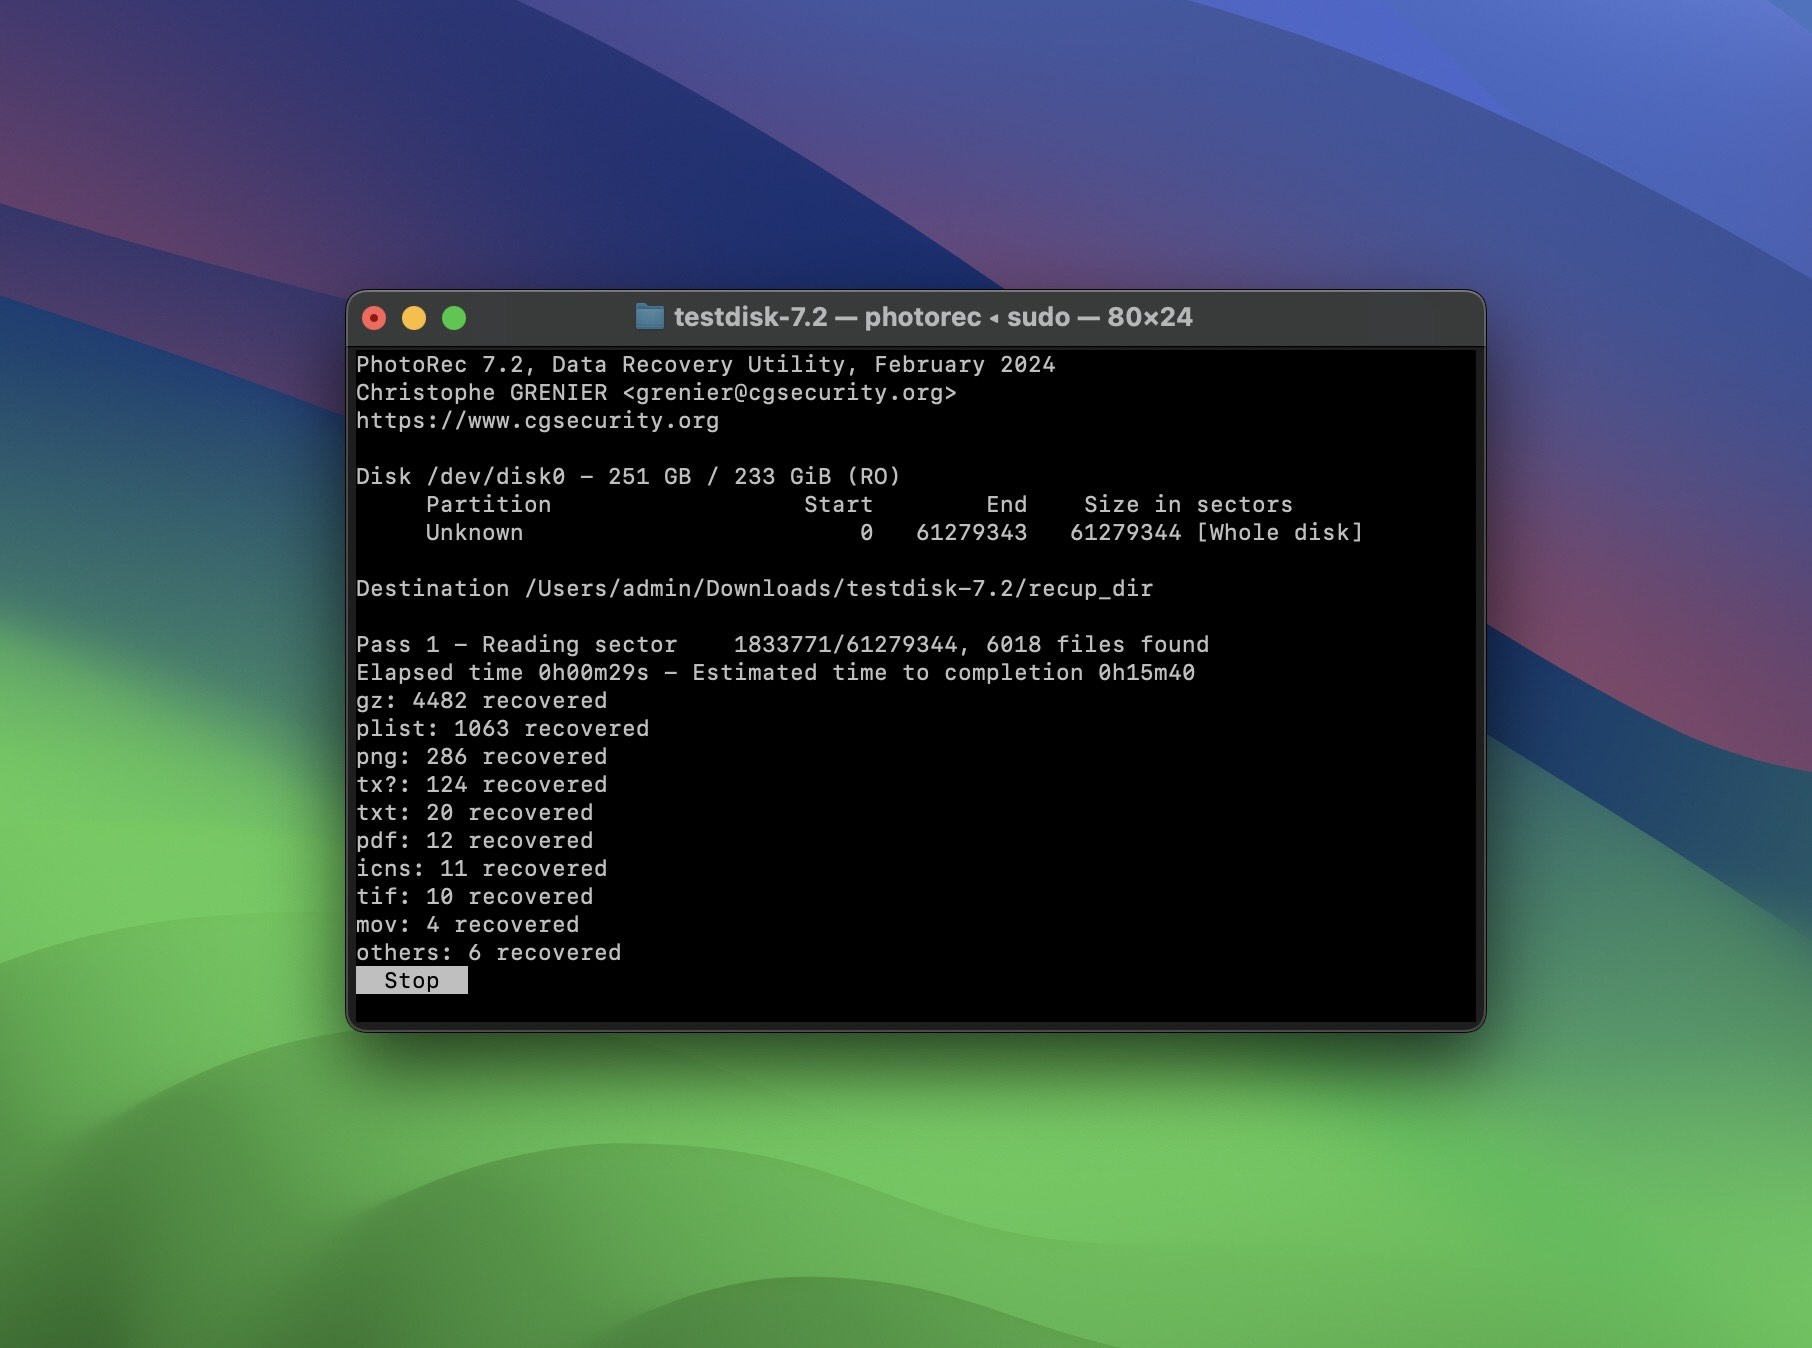
- PhotoRec will begin scanning the selected partition for files. This process may take some time.
- Once the scan is complete, open the destination folder to view the recovered files. PhotoRec often assigns generic names to recovered files, so you may need to manually identify the file you need.
As we mentioned earlier, PhotoRec comes bundled with TestDisk, another tool that operates exclusively in Terminal. TestDisk is designed to repair and recover partitions, rebuild boot sectors, and fix file systems. You can read more about its capabilities and how to use it in our TestDisk review.
Verdict. We have used PhotoRec many times, and while our team evaluates it positively, it does come with limitations. It works exclusively through signature-based scans. Unlike other advanced data recovery tools, this approach means it can only recover file types it “knows” and doesn’t restore original file names or folder structures. If you need to recover a large number of files, you could end up spending more time sorting through the results than PhotoRec took to retrieve them.
PhotoRec Didn’t Work? Need Software with a GUI? Try Disk Drill
If you weren’t able to recover your deleted files with PhotoRec or prefer an app with a GUI, you can check out our list of the best data recovery apps for Mac. While PhotoRec is on that list, it’s not the top pick. That honor goes to Disk Drill, a much more powerful and versatile tool. Although Disk Drill doesn’t run in Terminal, it simplifies the recovery process with an intuitive interface and features that go far beyond what PhotoRec offers. In most cases, recovery requires just a couple of clicks.
Here’s what else Disk Drill can do:
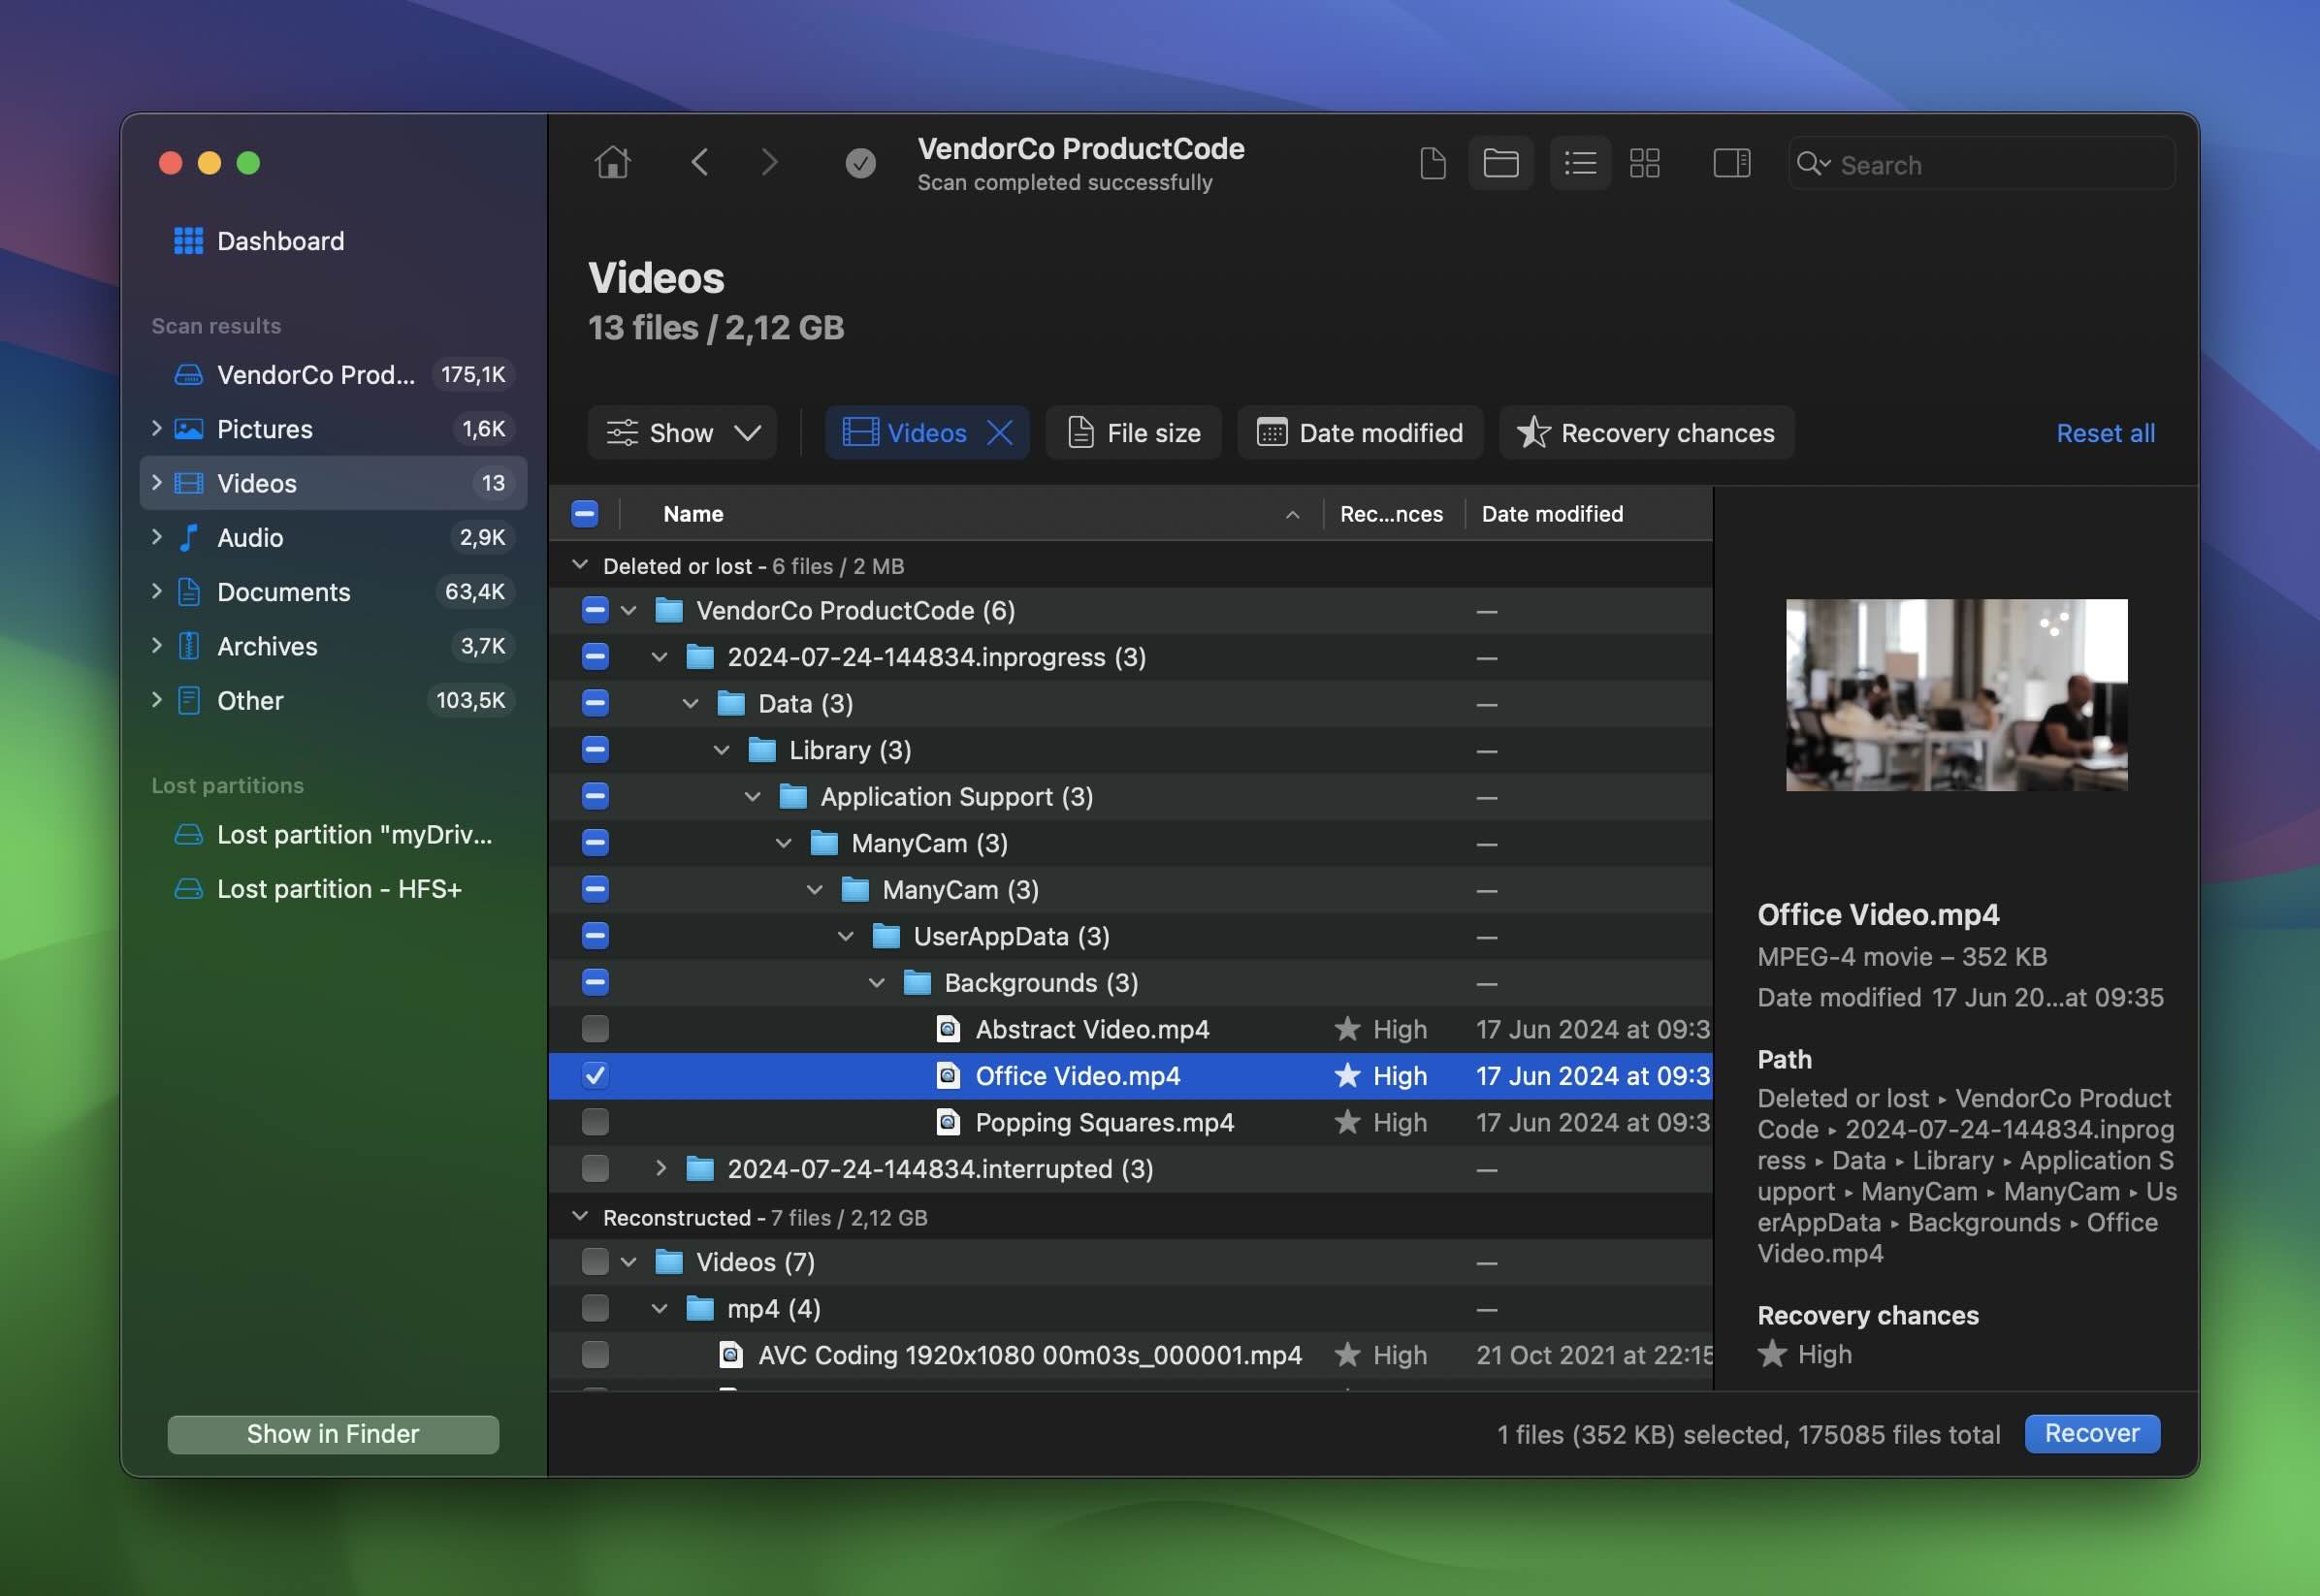
- Disk Drill allows you to preview files before recovering them. It can even preview and recover files while the scan is still running.
- Unlike PhotoRec, Disk Drill offers a range of scan modes tailored to different recovery scenarios: Quick Scan recovers recently deleted files, including those emptied from the Trash. Since the file system records are still intact, this mode can often recover files with their original names and folder structure. Deep Scan retrieves files in more complex scenarios, such as after formatting or when the file system is corrupted or missing (e.g., RAW drives).
- Disk Drill also includes tools like byte-for-byte backups to protect data from failing drives, S.M.A.R.T. monitoring to track drive health, a duplicate finder, a clean-up tool, and others.
Here’s a quick guide on how to use Disk Drill to recover permanently deleted files:
- Download and install Disk Drill.
- Select the storage device that you would like to scan. Disk Drill supports all kinds of devices, including internal drives, external drives, memory cards, USB drives and even iOS and Android devices.
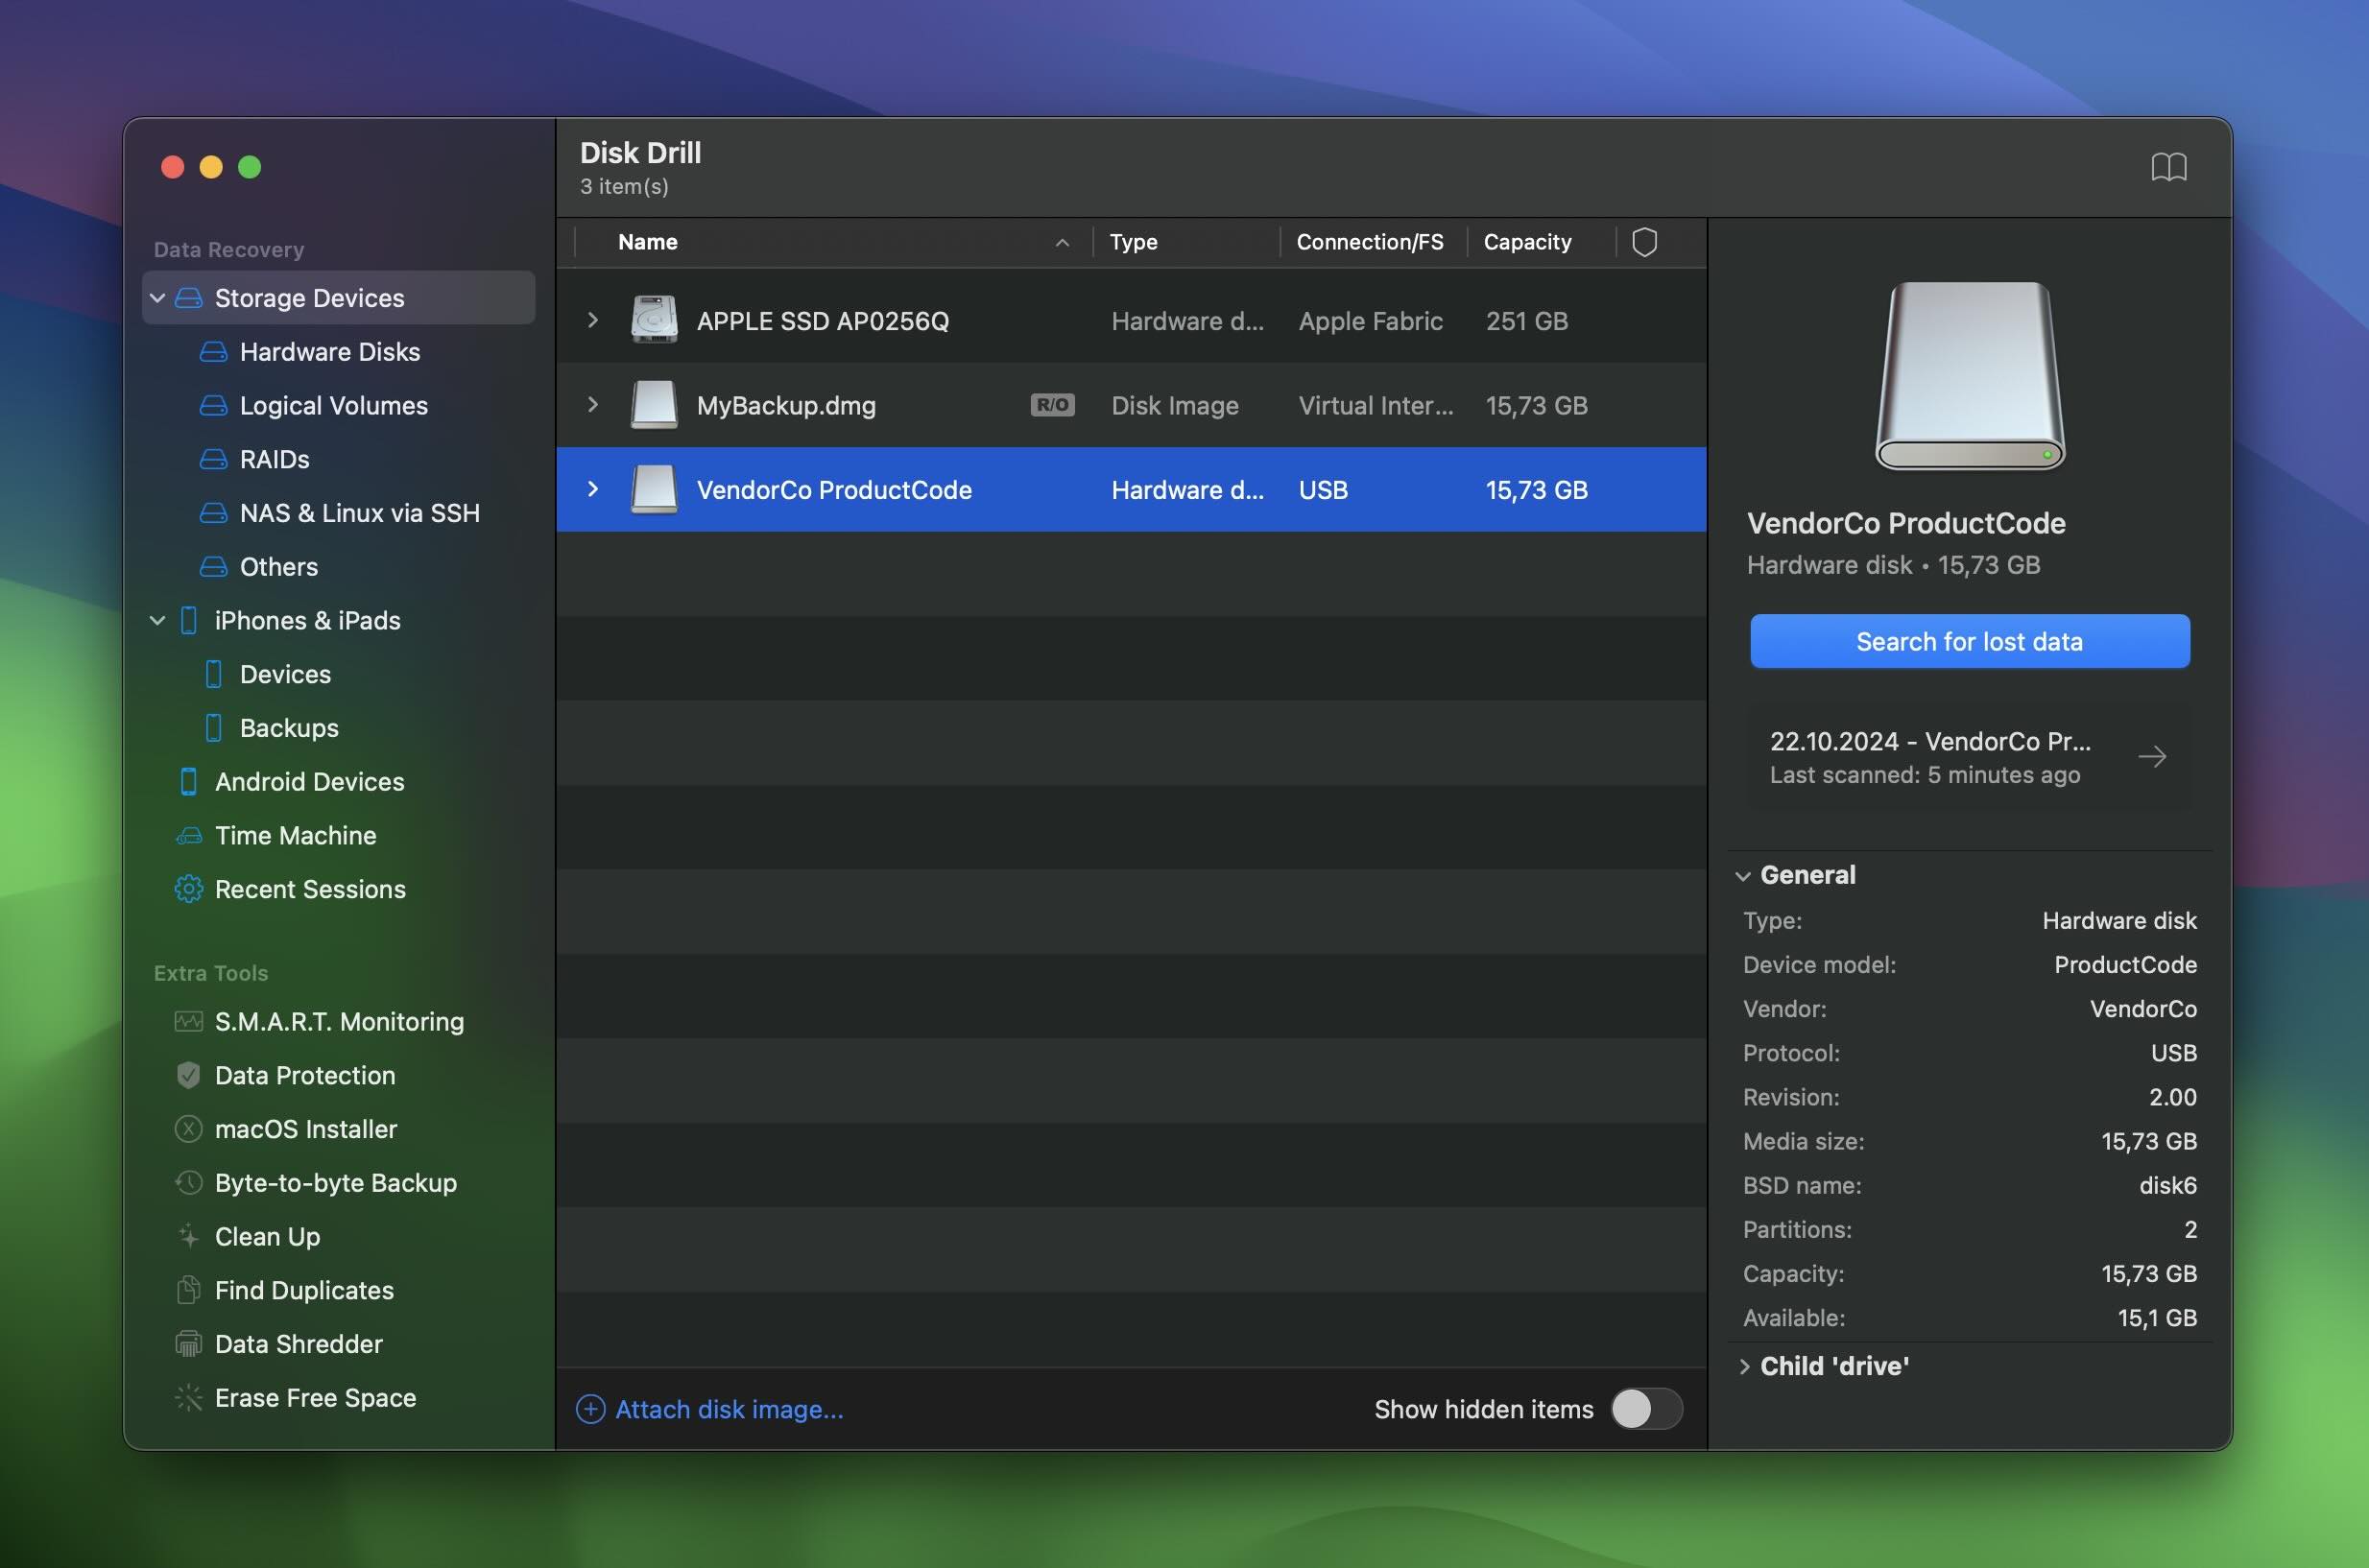
- Click the Search for Lost Data button. Wait for the scan process to complete.
- Disk Drill organizes files by type, such as photos, documents, or videos.
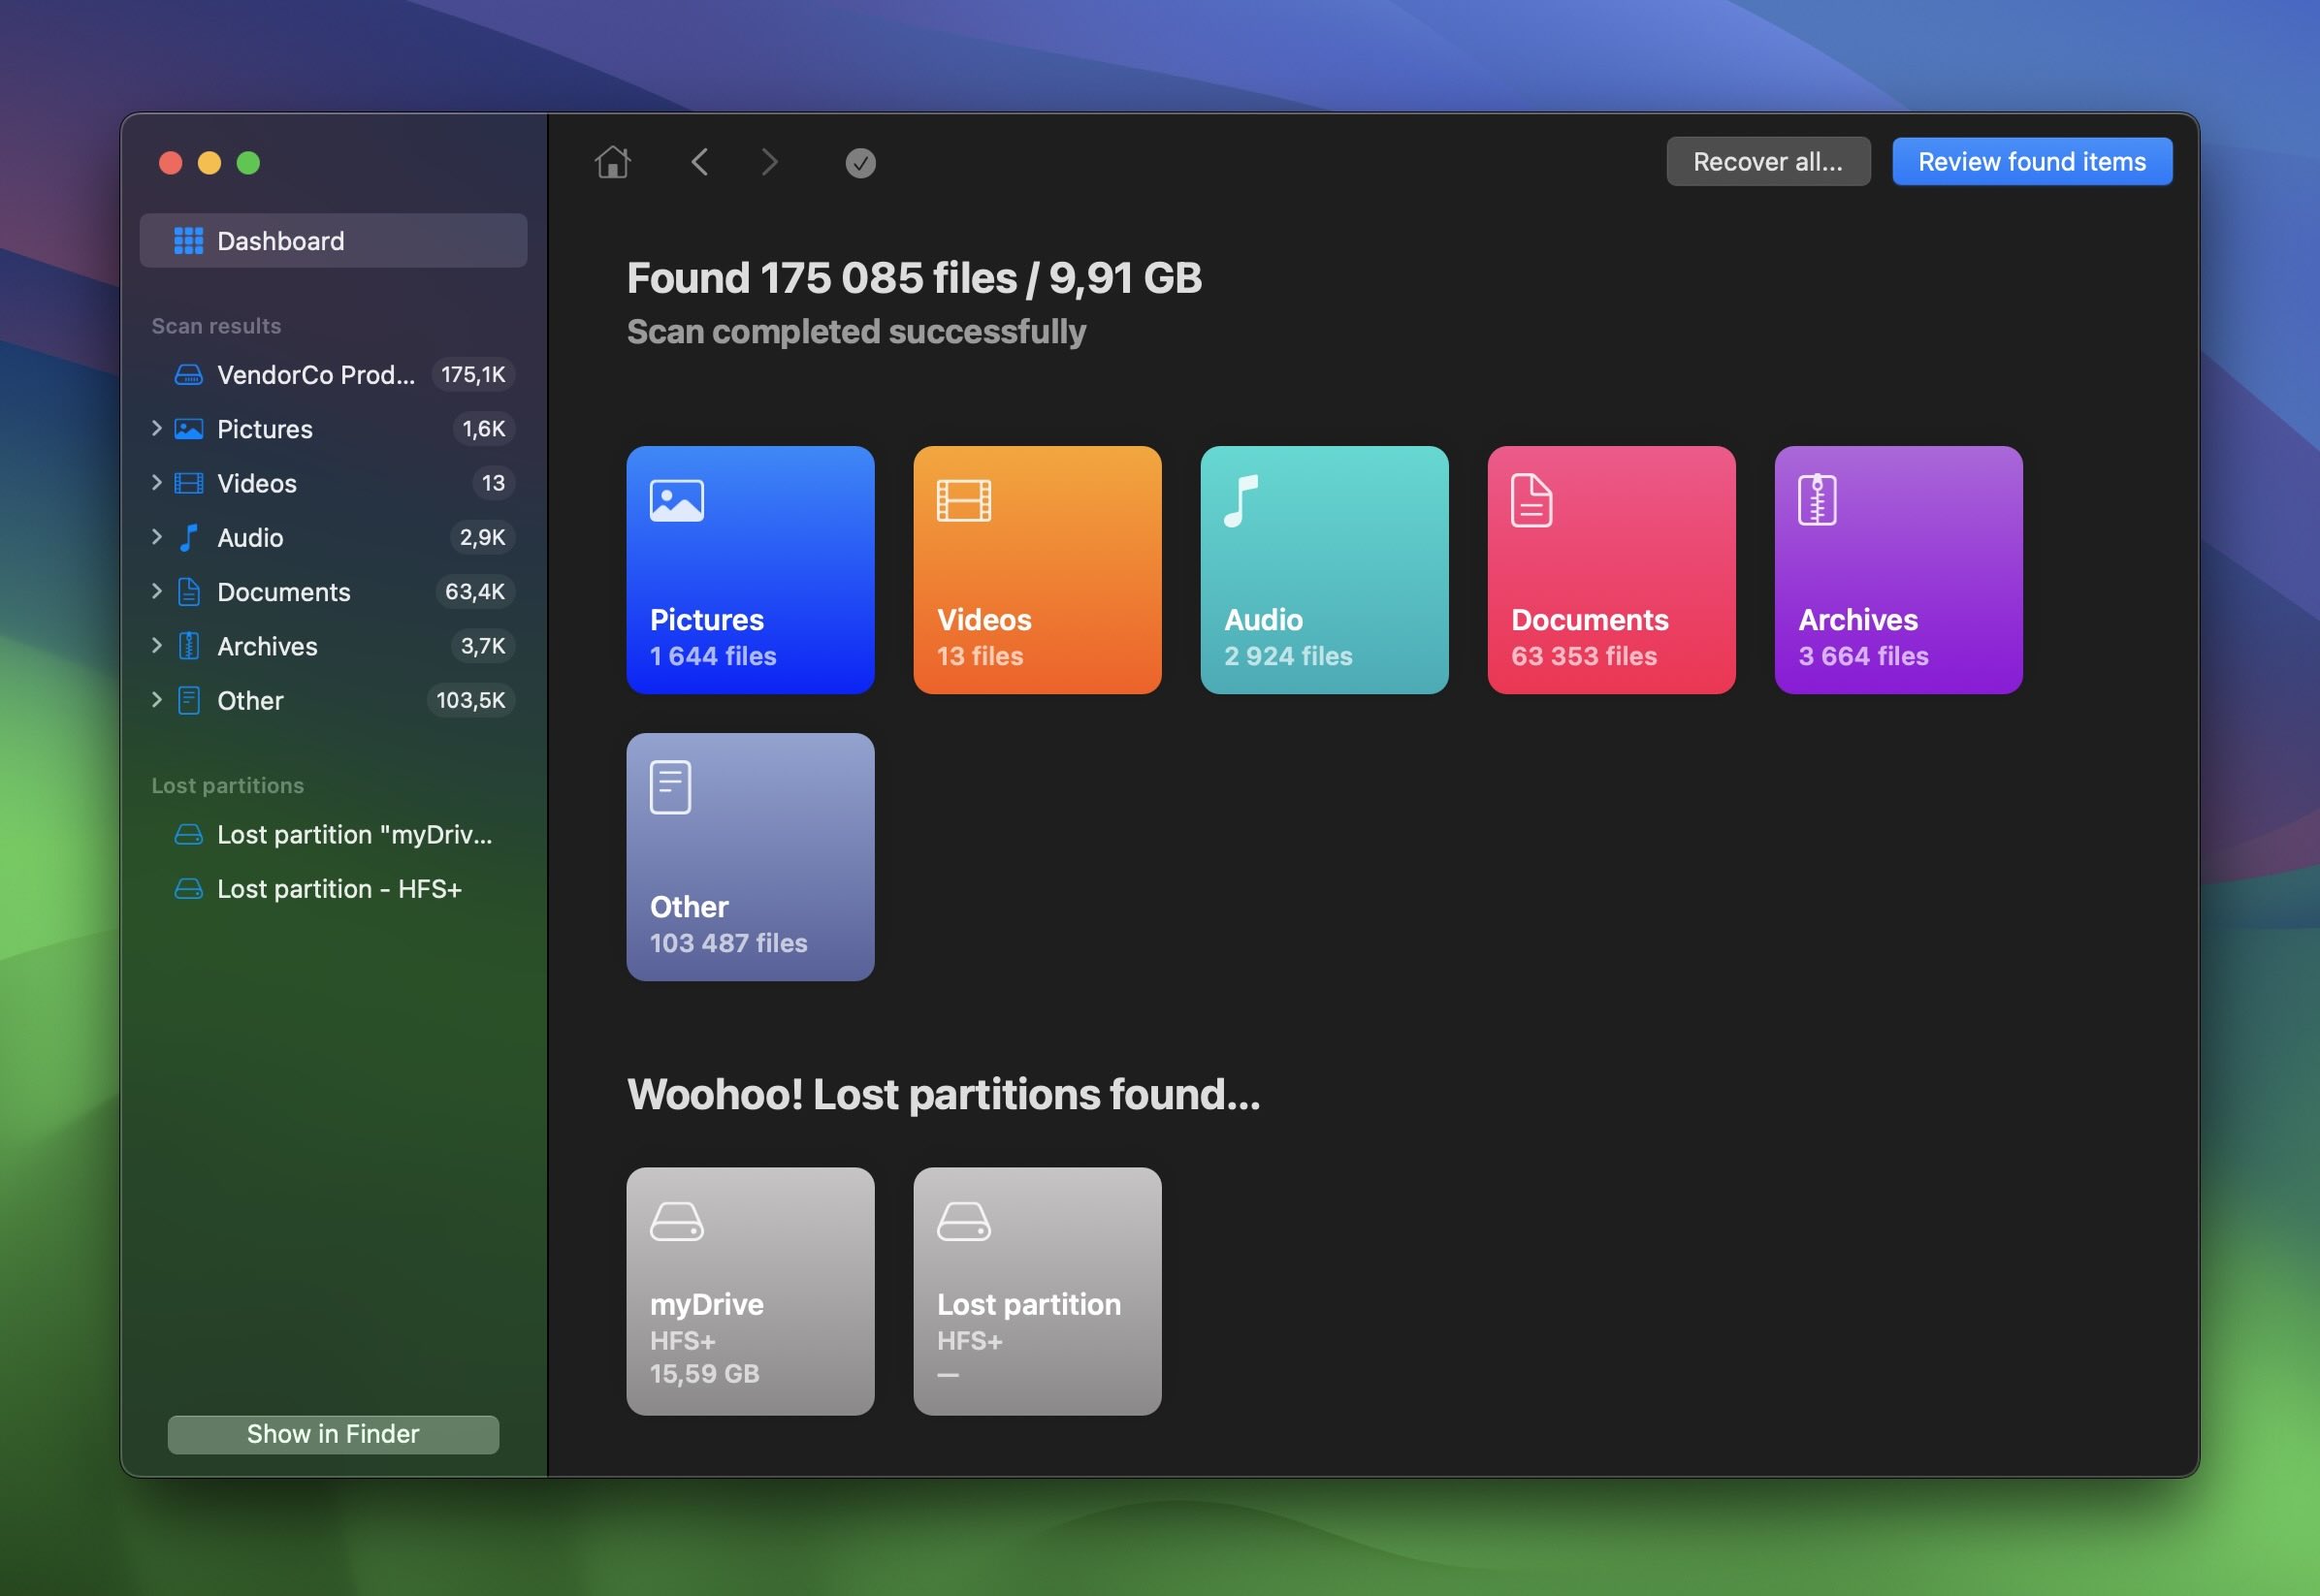
- Browse through the contents and checkmark the items that you would like to recover. You will then want to click the blue Recover button in the lower right-hand corner of the screen.
- After clicking on Recover, you will then have to choose a recovery destination for the files to be saved to.
Verdict. Disk Drill is a better option than Terminal commands or tools like PhotoRec. The process is simple, intuitive, and highly effective. With file previews, multiple scan modes, its recovery results rank among the best. Our team strongly recommends Disk Drill for deleted files. It’s fast, reliable, and much easier to use than command-line alternatives.
FAQ
What do I need to type into the Terminal on my Mac to recover a lost file?
First, you need to launch the Terminal and then type in cd .Trash and hit return. Then, you need to type in ls -al ~/.Trash and hit return. After that, type in mv filename ../ with “filename” being the entire path of the file that you’re wanting to recover and hit return.
How do I recover emptied Trash on my Mac using the Terminal?
To recover files from emptied Trash on your Mac using Terminal, you’ll need to rely on third-party tools, as macOS doesn’t provide built-in commands for this. Once the Trash is emptied, the files are removed from the visible file system, but their data may still exist on the drive until overwritten. If you don’t have any backups to restore from, tools like PhotoRec or Disk Drill can scan the drive for remnants of deleted files and attempt recovery.
How can I recover a deleted folder using Mac Terminal?
To recover a deleted folder using Mac Terminal do this:
- Open Terminal and navigate to the Trash directory by typing: cd ~/.Trash.
- List the contents of the Trash to locate your folder using: ls.
- Use the mv command to move the folder back to its original location. For example: mv “folder_name” ~/Documents.
- If the folder was permanently deleted or emptied from the Trash and you don’t have a backup, you’ll need to use recovery tools like PhotoRec or Disk Drill to scan the drive and retrieve it.
This article was written by Joel Lockard, a Contributing Writer at Handy Recovery Advisor. It was recently updated by Roman Demian. It was also verified for technical accuracy by Andrey Vasilyev, our editorial advisor.
Curious about our content creation process? Take a look at our Editor Guidelines.