Have you accidentally deleted photos from a Fujifilm camera? Maybe you pressed “Delete All Frames” on the camera or removed them from the memory card on your computer. You’re definitely not the first, and that’s exactly why we decided to write this guide. We’ve gathered methods that work best, based on our team’s experience. Stick with us, and you’ll find everything you need to recover deleted photos from your Fujifilm camera.
Is It Possible to Recover Data from a Fujifilm Digital Camera?
It certainly is possible to recover files from a Fujifilm digital camera in case the photos disappear from the SD card for whatever reason, including deletion. However, data recovery might no longer be an option if the storage device becomes physically damaged, fully formatted, or is subjected to other scenarios where the images are permanently gone.
Fujifilm has been at the forefront of the camera industry ever since it developed its first image-capturing device in the mid-1900s. Nowadays, the brand continues to thrive with multiple lines of cameras, like the GFX and X series, that cater to a wide range of users. No matter what your exact model is, all Fujifilm cameras rely on memory cards—whether SD, SDHC, or SDXC—for photo storage. That’s exactly what we’ll cover here: how to recover deleted photos from your Fujifilm camera’s memory card.
Below is a table with a list of common data loss scenarios and the corresponding methods to recover the data:
Data Loss Scenario |
Is It Possible to Recover Deleted Photos? |
I accidentally deleted photos from my Fujifilm camera’s memory card. |
Yes, as long as the data hasn’t been overwritten. |
I accidentally pressed “Delete All Frames” on my Fujifilm camera. |
Yes, as long as no new data has overwritten the space where the old files were stored. If even a part of the deleted file is overwritten by new data, it can corrupt or damage the structure of the original file. |
A data transfer failed between my Fujifilm camera and PC, and now the photos are gone. |
Yes, as long as the memory card has not been physically damaged and no new data has overwritten the space where the deleted files were stored. Recovery software can scan the card to locate and restore files. |
I accidentally formatted the memory card on my Fujifilm camera. |
Yes, since cameras typically perform a “quick format” on memory cards, the actual data remains intact until it’s overwritten. |
I accidentally formatted the memory card on my computer. |
Yes, if it was a “quick” format you can use data recovery software to potentially recover data from a formatted SD card. Unfortunately, for “full” formats, data can no longer be retrieved. |
As you see, recovery is usually possible with data recovery software, but here’s what you need to know—if you keep using the card, you could overwrite that “lost” data with new files, which will make recovery impossible.
Our number one advice: Stop using the memory card immediately. Take it out of your Fujifilm camera and leave it alone until you’ve installed the recovery software on your computer. This will give you the best shot at getting your photos back.
Do I Need A Card Reader or Can I Restore Data From a Directly Connected Fujifilm Camera?
Whether it’s built into your device or is an external peripheral, a card reader is necessary for Fujifilm SD card recovery.
When connected directly, Fujifilm cameras communicate with computers through MTP or Media Transfer Protocol, which will prevent the photos or other data from being read by data recovery programs.
How to Recover Deleted Photos from a Fujifilm Camera
The best method to recover deleted files from an SD card on your own is by using data recovery software. There’s no shortage of SD card recovery programs on the market, and our team has reviewed and tested many of them. For this article, we chose three options to demonstrate recovery: Disk Drill, Recuva, and SanDisk RescuePRO.
Each has its strengths: Disk Drill is very powerful and supports various photo formats used in Fujifilm cameras, Recuva is less advanced but offers an unlimited free version, and SanDisk RescuePRO is a convenient option often bundled with SanDisk memory cards, so there’s a good chance you already have a license key. We chose these three to cover all the bases.
We’ll walk you through the recovery process with each app step by step and break down their pros and cons so you can decide which one works best for your situation. Let’s start with Disk Drill—one of the most popular tools for Fujifilm photo recovery.
Option A: Disk Drill
Disk Drill is a fantastic data recovery program with a reliably high data recovery rate, an intuitive user interface, and is compatible with different file formats and storage devices. It can read virtually any device including SD, SDHC, and SDXC memory cards which are often used for Fujifilm cameras, and it can preview and recover even large file formats like RAW images.
![]()
Here’s a full list of image formats commonly used in Fujifilm cameras that Disk Drill can recover:
- JPEG (.jpg, .jpeg, .jfif, .pjpeg, .pjp) – a compressed format widely used for sharing and printing photos.
- HEIF (.heif, .heic, .heifs, .heics) – a modern compressed format that offers better compression efficiency and color fidelity than JPEG. Supported by the newest Fujifilm X and GFX series cameras.
- RAW (.raf) – Fujifilm’s proprietary RAW format, which stores uncompressed or lossless compressed image data from the camera’s sensor.
- TIFF (.tiff, .tif) – a high-quality, lossless format often created from RAW files during in-camera conversion or post-production for printing.
If you’re lucky and the file system on your card is intact, Disk Drill can extract files with their original metadata. Fujifilm cameras usually use exFAT or FAT32 for SD cards, and Disk Drill works great with these formats.
Here are the steps for Fujifilm deleted photo recovery using Disk Drill:
- Download the Disk Drill setup file from the Cleverfiles official website.
- Run the downloaded file and follow the instructions on the screen until properly installed.
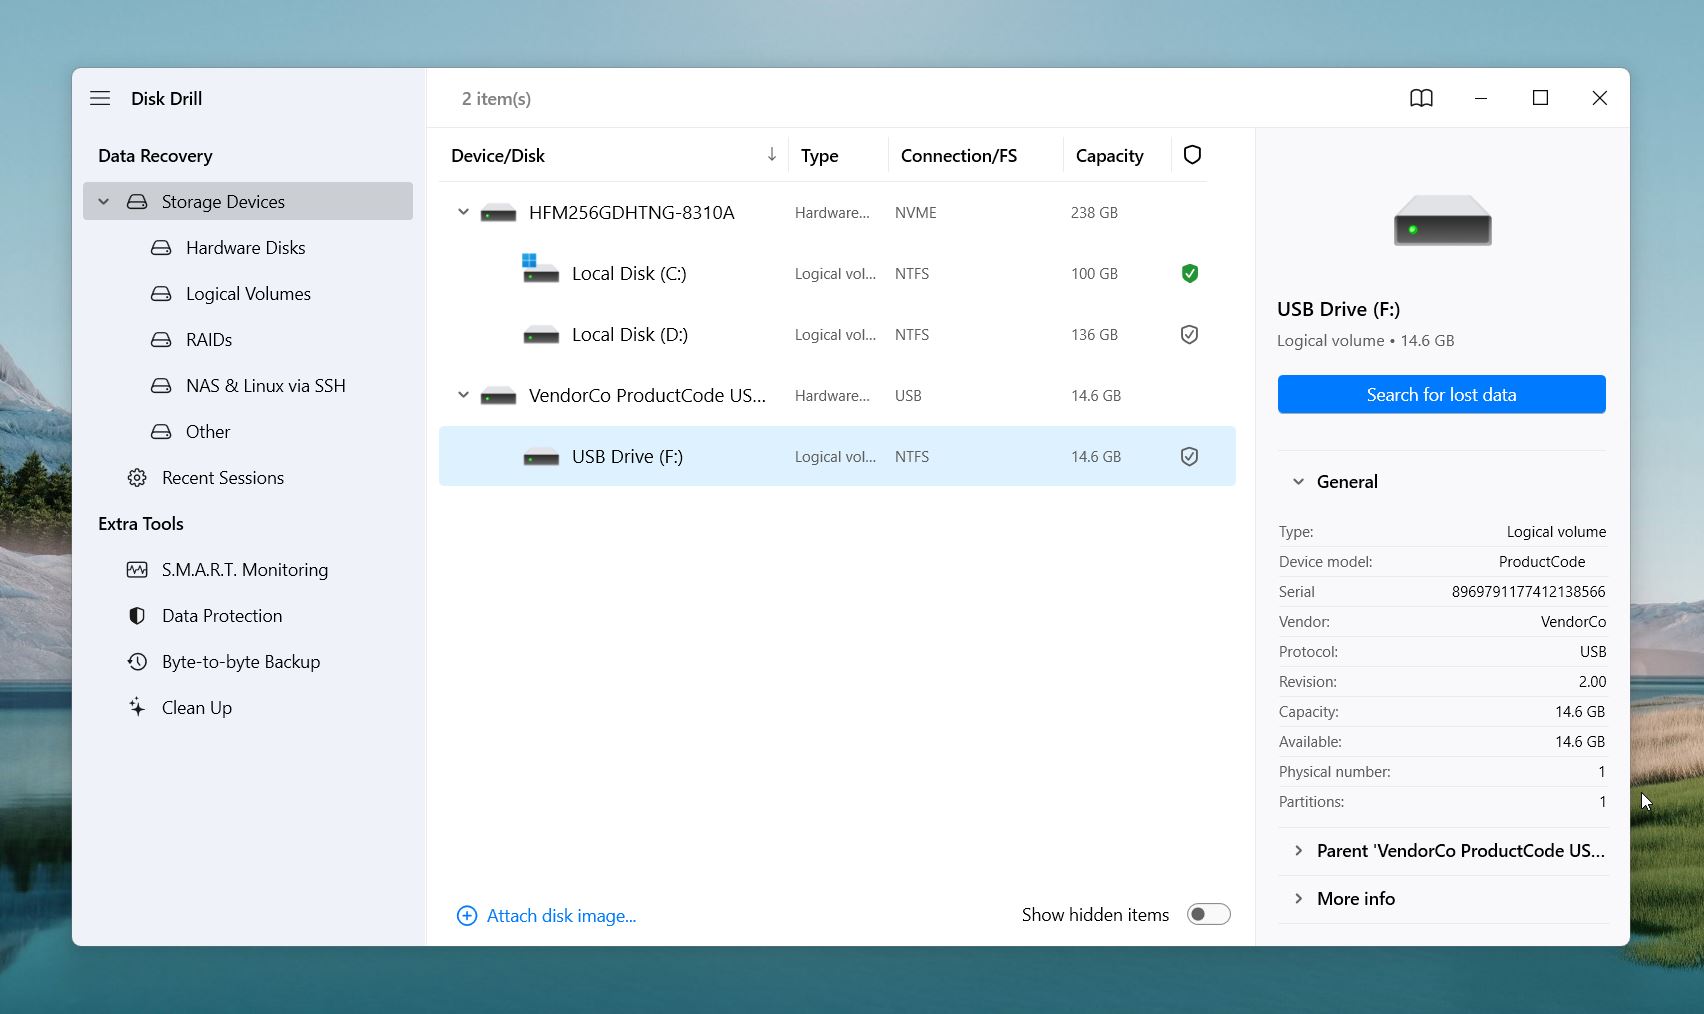
- Next, make sure to connect the memory card of your Fujifilm camera to your computer via a memory card reader, in case your machine doesn’t have one built into it. Once that’s done, launch Disk Drill, then select your memory card from the list of available storage devices and click the Search for lost data button.
- Disk Drill will begin the scanning process. How long this takes depends on how much total storage capacity your memory card has. While the scan is in progress, you can click the Review found items button to browse through the recoverable files that the software has found so far. You can also choose to wait and click the Recover all… button upon completion of the scan to retrieve all that was found.
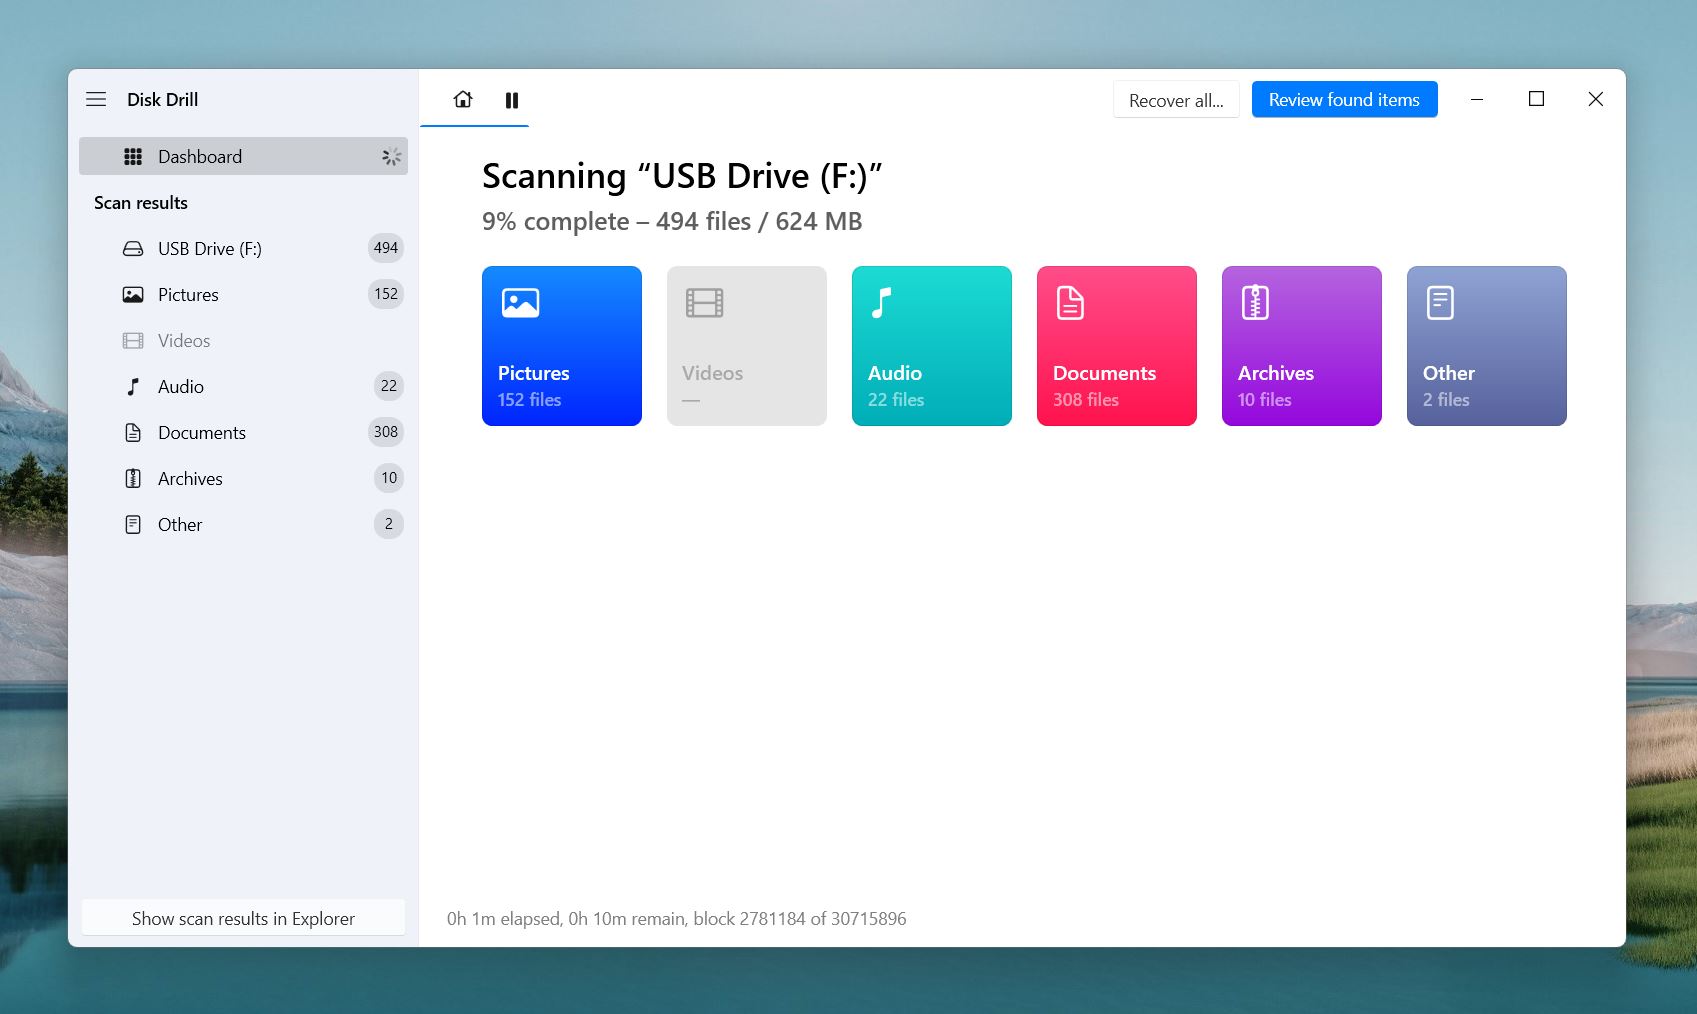
- Disk Drill organizes recoverable files into categories like Pictures, Videos, Audio, Documents, and so on.
- Since you’re after photos, click on Pictures to narrow down the results to image files. If you want to narrow it down even further you can also use the subtabs to filter by specific image types, such as JPG or BMP, or enter file extension into the search bar at the top-right corner of the window to filter out files with just those extensions. If you’re also interested in videos from your Fujifilm camera, switch to the Videos tab to view and recover video files from the SD card.
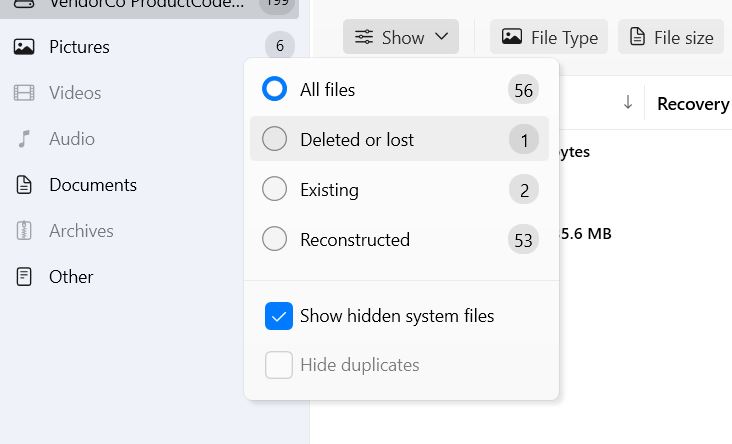
- You can use the “Show” dropdown menu to refine the displayed files. For example, you can choose to see All Files, just Deleted or lost ones, or only Reconstructed files, which have been pieced back together from fragments on the card.
- As you click on each file, a small preview window will appear on the right, showing a thumbnail of the photo. You can click the eye icon to open a full preview for a closer look.
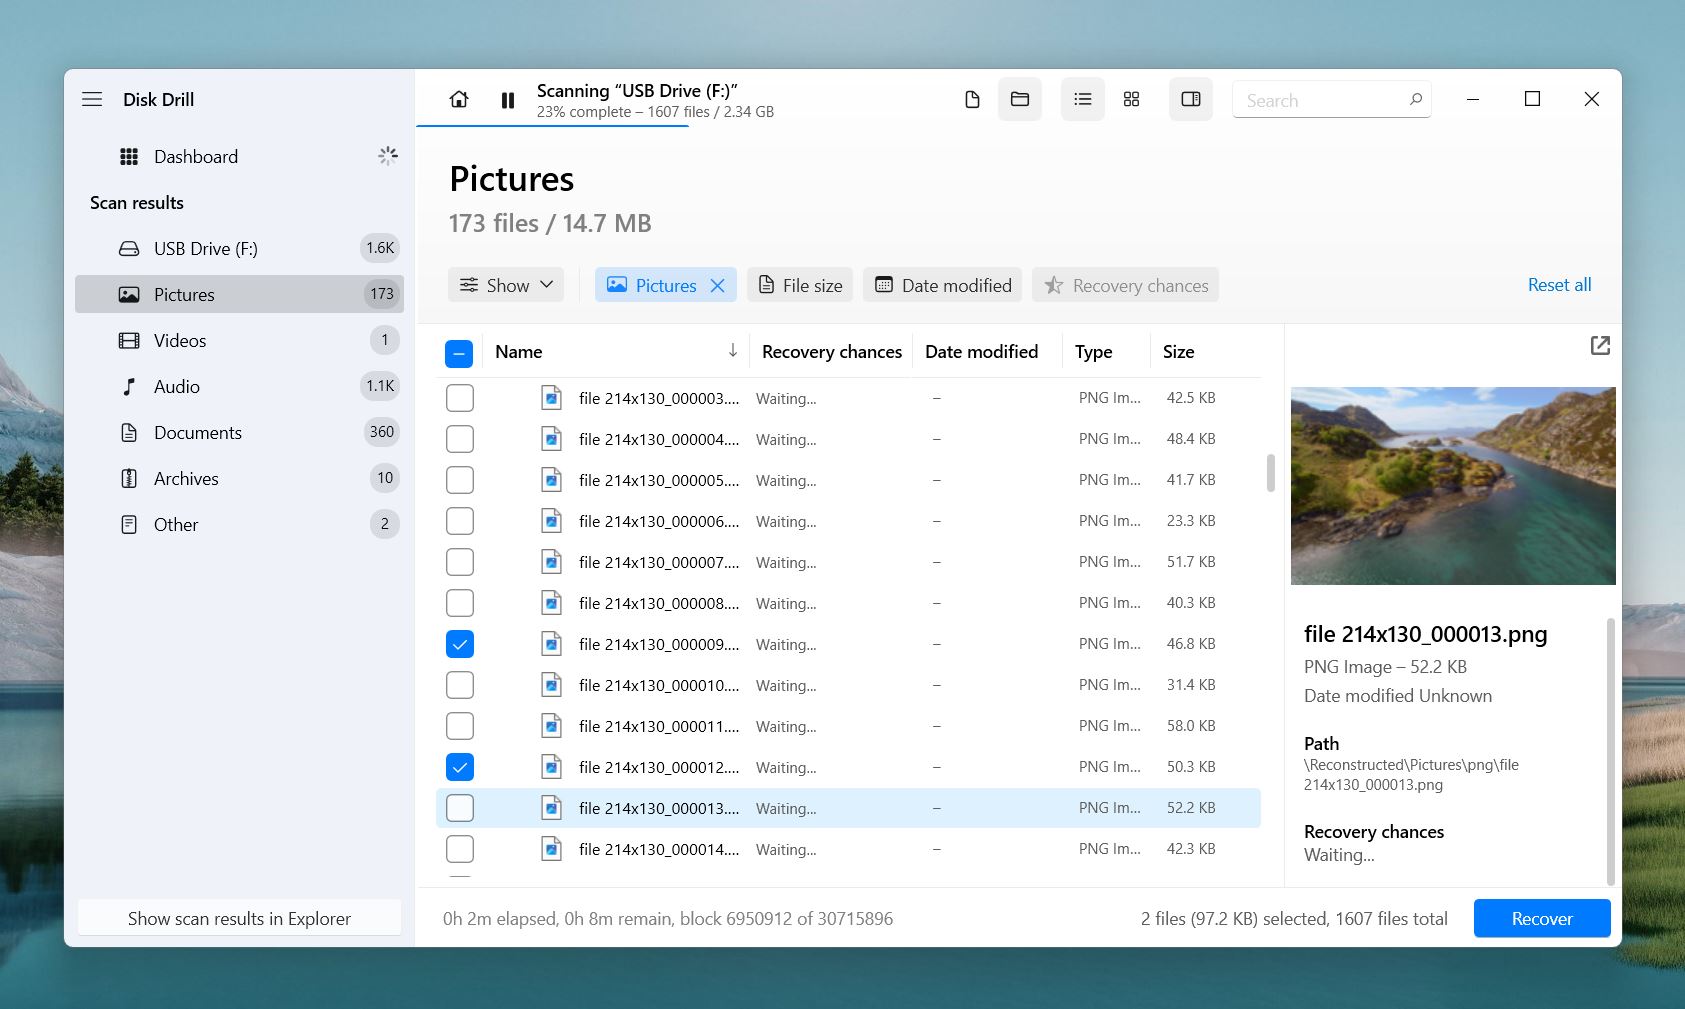 🗨️
🗨️Disk Drill includes a Recovery Chances column for each file, which indicates how likely it is to recover the file fully intact. Pro Tip: If you can preview the file, it means the file is definitely recoverable.
- Mark the checkboxes next to the files you wish to recover.
- Click Recover and choose a destination on your computer to save the files. Avoid saving the recovered files back to the memory card.
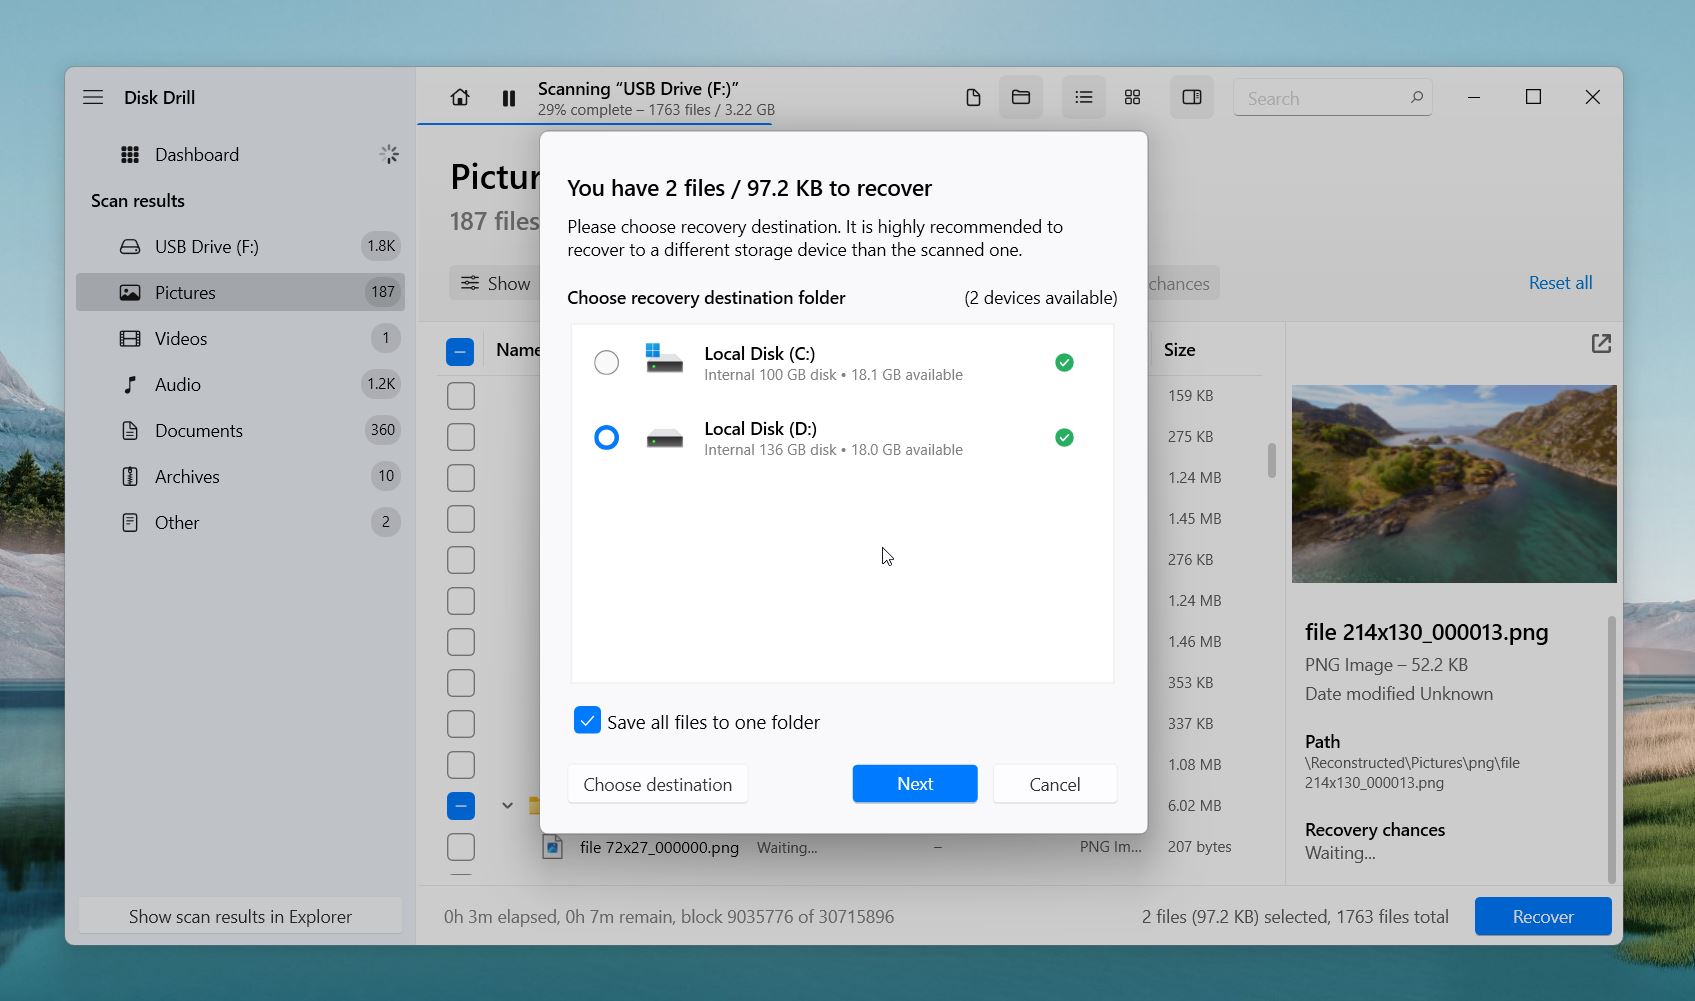
- Disk Drill will now attempt to recover the chosen images from the Fujifilm memory card. Finally, you’ll receive a completion message when the process is done, and there will be a button labeled Show recovered data in Explorer that you can click, and you’ll be taken to your retrieved images.
We’ve relied on Disk Drill in all kinds of data loss scenarios over the years. If you’re curious about its full capabilities, we’ve written a detailed review you can check out for more information. Now, as promised, here are its pros and cons to help you decide if it’s the right tool for your needs.
Pros:
- Reliable performance.
- Disk Drill recovers all major image formats used by Fujifilm cameras.
- It has great support for commonly used file systems in Fujifilm cameras, such as exFAT and FAT32 (and many others).
- The software automatically sorts recoverable files into categories.
- Allows you to preview files before recovery.
- Reliable recovery chances indicator.
- The clean and intuitive design.
- Runs on both Windows and macOS.
- Handles a variety of data loss situations (from accidental deletion to formatting and SD card corruption) with consistent results.
- Retrieves files without altering the original memory card data, which preserves the integrity of your storage device.
Cons:
- The free Basic version of Disk Drill caps data recovery at 500 MB. If you need to recover more than that—you’ll need to upgrade to the PRO version, priced at $89 (1-user license, up to 3 simultaneous activations).
Option B: Recuva
Recuva is another popular option for SD card data recovery and its free version doesn’t have any recovery limits. This app is not as good at restoring RAW photos as Disk Drill, but you can always try it since it is free.
![]()
However, the free edition doesn’t allow recovery from virtual drives and doesn’t come with many extra bells and whistles that are available with the paid edition. Unlike Disk Drill, Recuva can handle only basic recovery scenarios, such as when you’ve just deleted a photo and your memory card and its file system are still in good shape. In more complex situations, it struggles with RAF and TIFF files, often delivering decent results only with JPEGs.
Here’s how to recover deleted photos on a Fujifilm camera using Recuva:
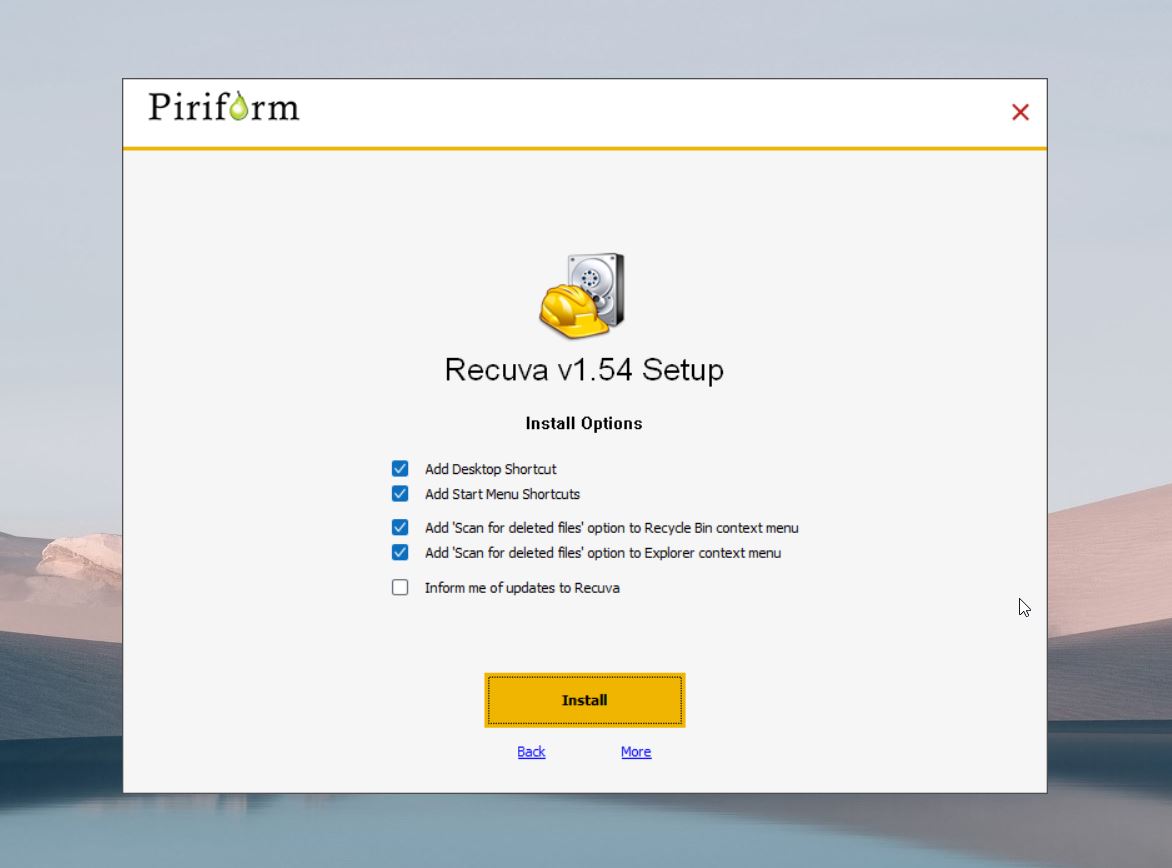
- Download the Recuva setup file from the official CCleaner website.
- Run the downloaded file and follow the instructions on the screen until properly installed.
- Make sure to connect the memory card of your Fujifilm camera to your computer via a memory card reader. Then, launch Recuva.
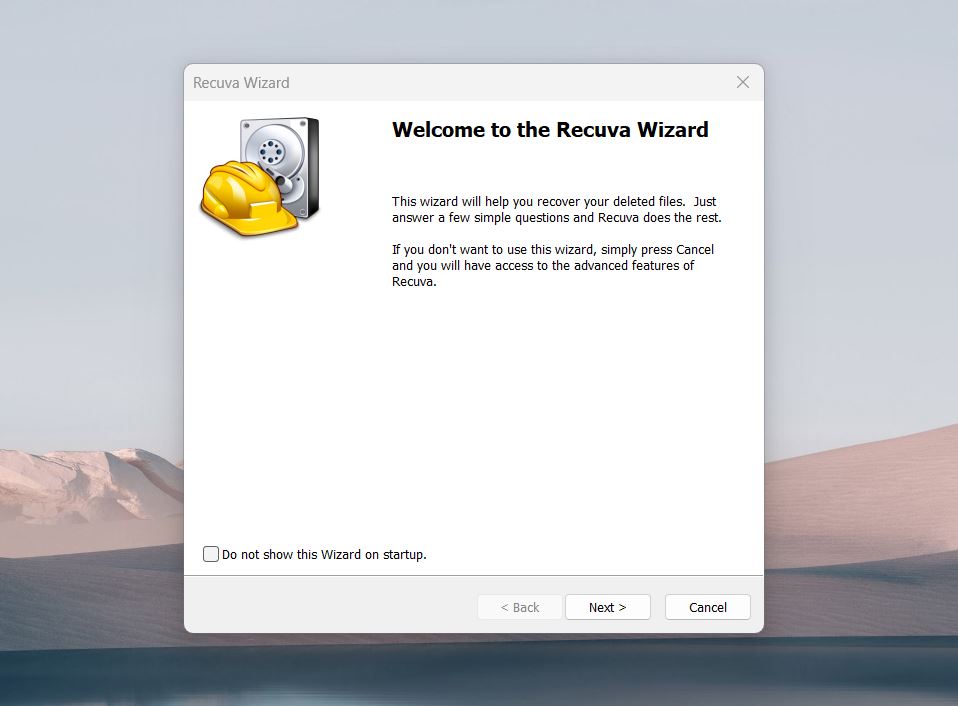
- Recuva will initially launch in Wizard mode which guides you through the recovery process in an overly simplified way. Most people prefer the Advanced mode since it’s far more flexible and allows quicker navigation. To enter Advanced mode, simply click the Cancel button. You can also tick the “Do not show this Wizard on startup” checkbox if you no longer want Recuva to boot in Wizard mode every time.
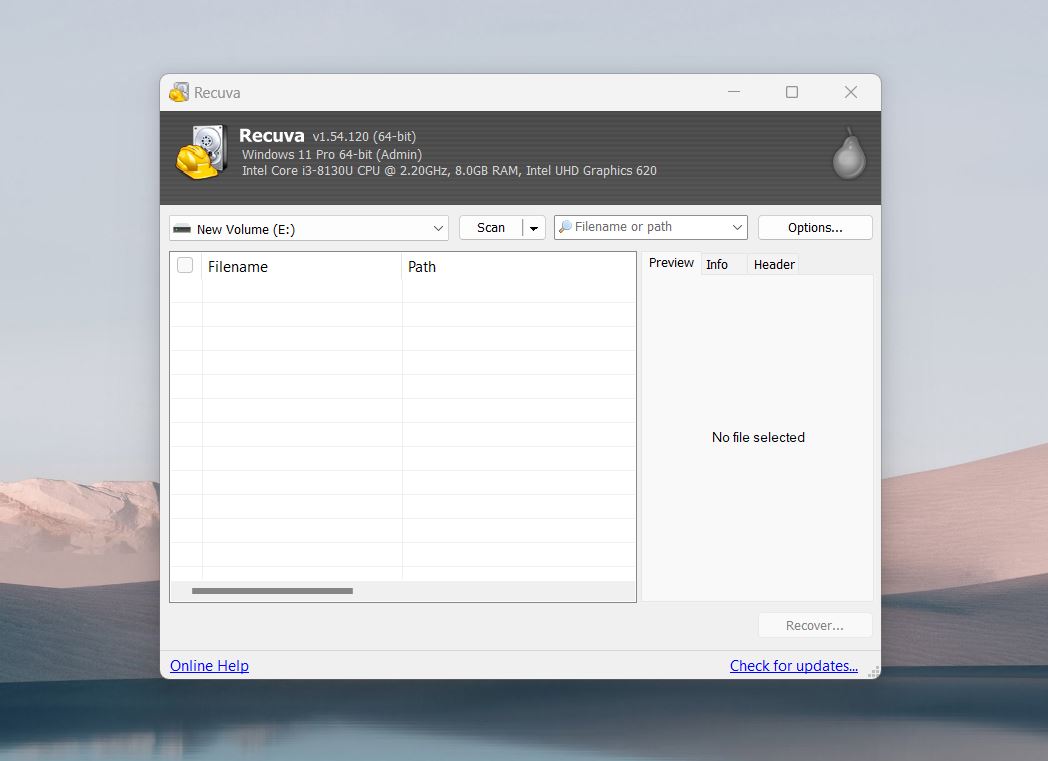
- Once you’re in Advanced mode, select your memory card from the dropdown on the top-left corner of the window.
- Click the Scan button to begin scanning the card. You can also click the arrow button beside the Scan button for additional scanning options.
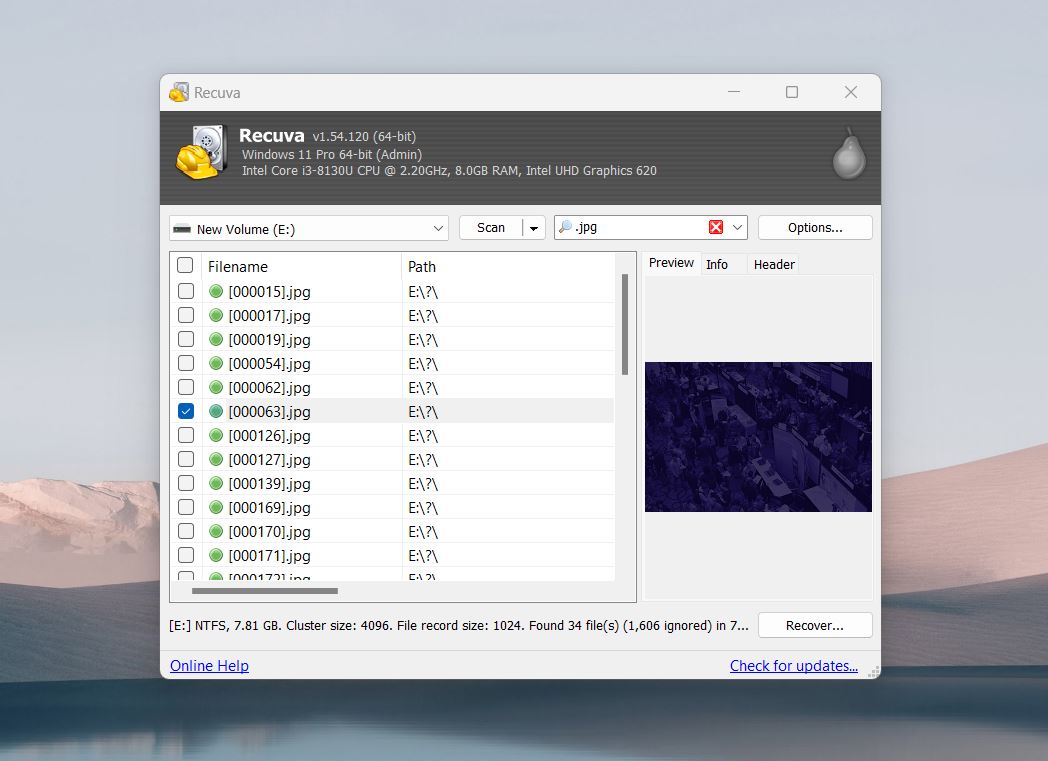
- The recoverable files will appear in the table below. You can also filter the results through the search bar on the right of the Scan button. Next, select the images you want to retrieve by ticking the checkbox on the left of the filename. Once you’ve selected all the files, click the Recover button on the bottom-right corner of the window to proceed.
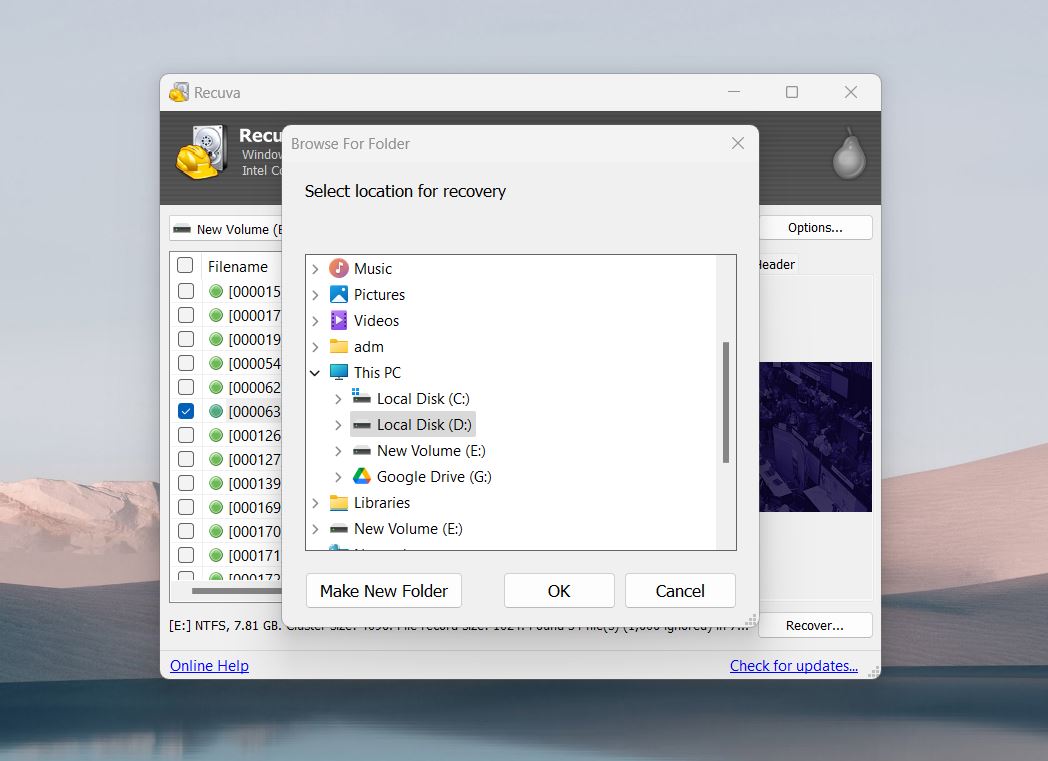
- After that, a small pop-up will appear where you’ll have to select the location where your recovered images will be saved. Click the OK button to start the recovery process.
- Upon completion of the recovery process, you’ll get a completion message with a breakdown of the recovery operation.
We’ve reviewed Recuva as well, and it’s a straightforward recovery tool best suited for basic recovery scenarios. Its main advantage is its uncapped recovery capability in the free version, which sets it apart from most competitors. While it doesn’t match the advanced features of tools like Disk Drill, it still performs well for standard recovery needs. Here’s a closer look at its pros and cons:
Pros:
- The free version offers uncapped recovery.
- Simple design.
- Takes up very little space on your drive.
- A color-coded indicator (green, yellow, red) shows the likelihood of recovery.
Cons:
- Lacks advanced tools.
- Has difficulty recovering Fujifilm-specific formats like RAF and TIFF.
- Limited preview support.
- Struggles with corrupted memory cards.
- Interface feels dated compared to modern recovery tools.
- Recovery chances estimates are unreliable.
- Recuva can only scan specific partitions.
- Lacks additional features.
Option C: SanDisk RescuePRO
And the third and last option is SanDisk RescuePRO. It’s proprietary SanDisk data recovery software (developed in partnership with LC Technology) that are tailored for SanDisk SD cards. We chose this recovery tool because SanDisk, as one of the most popular memory card brands on the market, is widely used by photographers. If you’re using a SanDisk memory card, there’s a good chance you already have access to RescuePRO, as many SanDisk cards include a free license key for the software, often found on the back of the packaging or on an insert inside the box.
![]()
It’s a fairly basic tool and doesn’t compete with more versatile options like Disk Drill or Recuva, but if you already have a license key, it’s worth a shot.
We once extensively tested their flagship tool, LC Tech FILERECOVERY Professional, and it delivered quite good results, especially with file systems like FAT32 and file types such as JPG, RAF, and TIFF. Perhaps this “junior” version will prove itself well for Fujifilm recovery as well.
Here’s how you can recover deleted files from your Fujifilm camera with RescuePRO:
- Visit the official LC Technology website, download RescuePRO, and install it.
- Remove the SD card from your Fujifilm camera and insert it into a card reader.
- Open the program and choose the recovery type. Since we’re recovering photos, select Recover Photos.
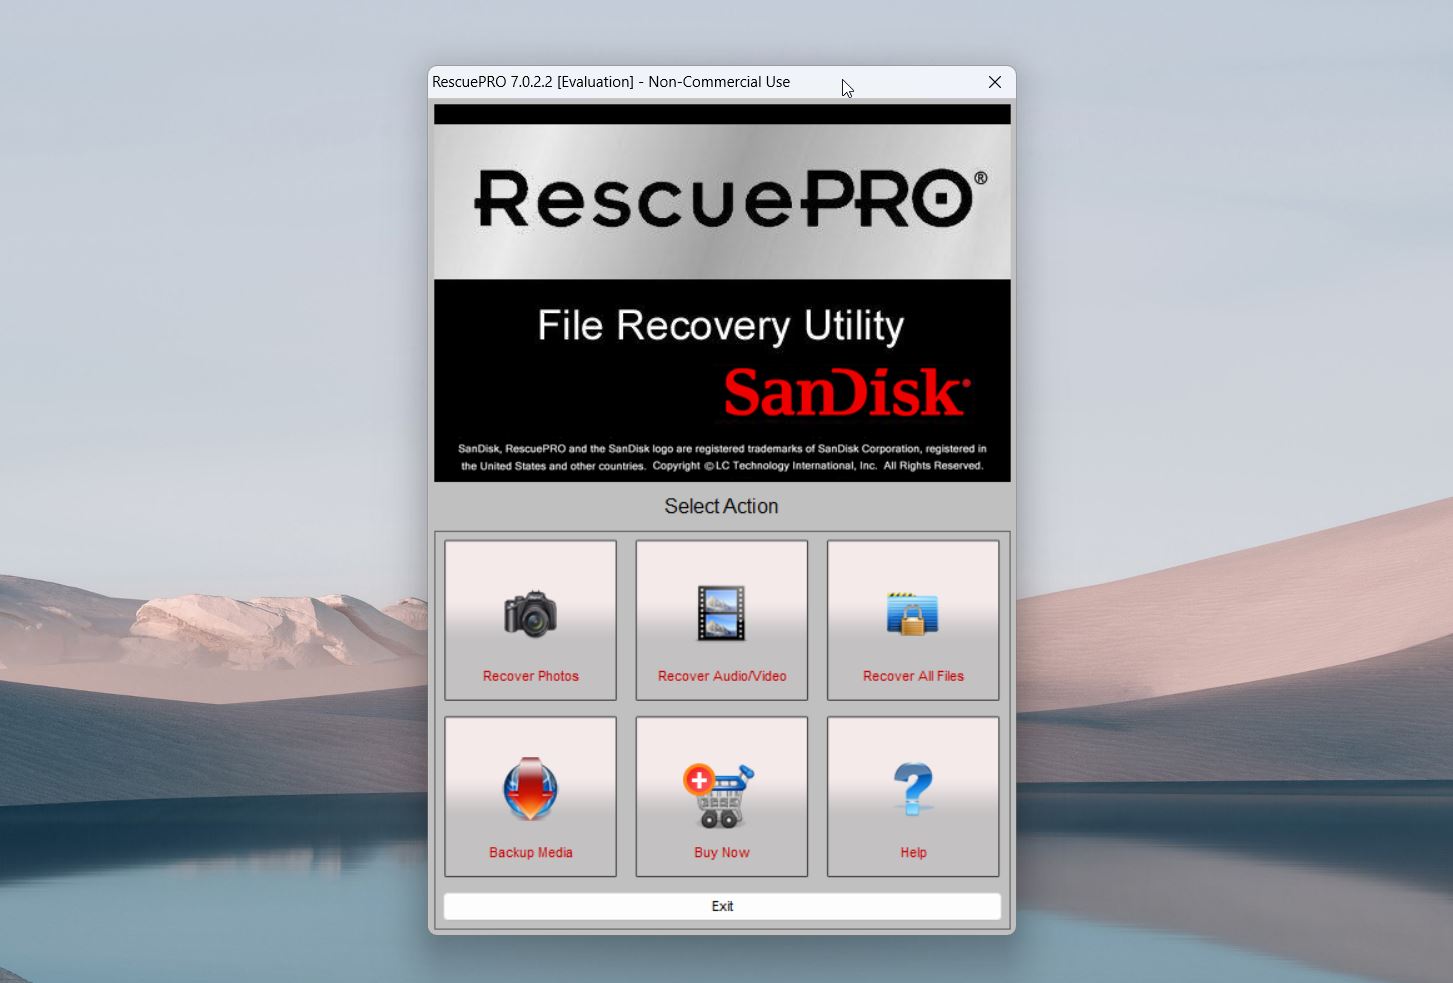
- Select your SD card from the list of available drives in the program.
- Click Start to initiate the recovery process. RescuePRO will scan your card for deleted files.

- Once the scan is complete, select the files you want to recover and choose an output folder to save them.
- Click Recover to restore the files to your selected destination.
SanDisk RescuePRO comes in two versions: RescuePRO and RescuePRO® Deluxe. The Deluxe version offers broader support for RAW image formats, and is much better option for photographers using Fujifilm cameras. If you don’t have a license key from your memory card, you’ll need to purchase one. The cost is $39.99 for RescuePRO and $59.99 for the Deluxe version. Given its basic functionality, these prices might feel quite steep. Here’s a full breakdown of the pros and cons:
Pros:
- Many SanDisk memory cards include a free license.
- Specifically designed for SD, SDHC, SDXC, and microSD cards.
- Straightforward interface.
- Handles basic recovery scenarios.
- Lets you preview files.
Cons:
- Offers no free trial.
- Lacks advanced tools.
- Basic for the price.
- Struggles with severely damaged cards.
- Deluxe adds minimal upgrades.
Need a Hand? Not Comfortable with DIY?
If you hit a roadblock while recovering deleted photos from your Fujifilm camera—there are plenty of places online where you can get help. r/Fujifilm on Reddit, with over 180,000 members, is a great spot to start. It’s full of experienced professionals and enthusiasts who’ve tackled just about every Fujifilm-related issue you can think of. Additionally, visit r/DataRecoveryHelp, a community dedicated specifically to data recovery from any device. It’s a great resource for troubleshooting complex recovery scenarios.
You can also check out the Handy Recovery Advisor Community. It’s our forum dedicated to recovery tips and advice. When you start a discussion, be specific—explain the issue, tools you’ve used, and the state of your memory card. The more detail you provide, the better advice you’ll get.
For tougher situations, like severe SD card corruption or physical damage, or if you’d rather pay than handle it yourself, professional recovery services are your best bet. Take a look at our list of the best SD card recovery services. These experts have access to advanced tools that can recover files from even the most damaged cards—tools that aren’t available to home users.
However, it’s important to remember, as we’ve mentioned before, that if your data has been overwritten, it’s gone for good. No professional service can perform miracles.
FAQ
How can I recover permanently deleted photos from my Fujifilm camera for free?
You can recover permanently deleted photos from your Fujifilm camera using a data recovery tool. Here are some free or potentially free options to consider:
- Disk Drill (Basic Version) – the free version of Disk Drill allows up to 500 MB of data recovery. It’s user-friendly and supports Fujifilm file formats like RAW (.raf) and JPEG (.jpg).
- Recuva offers unlimited recovery in its free version. It’s a simple and effective option for Windows users.
- PhotoRec is completely free and supports a wide range of file formats.
- SanDisk RescuePRO. If you use a SanDisk memory card, check the packaging or inserts. Many SanDisk cards come with a license key for RescuePRO, which will give you access to their recovery app at no cost.
Can I recover my Fujifilm photos if I accidentally pressed ‘Delete All Frames’?
Yes, you can often recover your Fujifilm photos even if you accidentally deleted all frames, as long as the data hasn’t been overwritten. When you use this option, the camera marks the files as deleted, but the actual data remains on the memory card until new data overwrites it.
You need to Immediately remove the card from your camera to prevent overwriting the deleted files. And use tools like Disk Drill, Recuva, or SanDisk RescuePRO to scan the memory card and recover your deleted photos.
What is the best Fujifilm photo recovery tool?
In our opinion, the best Fujifilm photo recovery software are: Disk Drill, Recuva, and SanDisk RescuePRO. Disk Drill has a wealth of useful features, fantastic compatibility for both devices and file extensions, and a pleasant user interface. It’s capable of recovering RAW, RAF, and pretty much any other kind of file format commonly associated with cameras.
Recuva is a solid option for Windows users, with its unlimited free recovery and doing a great job with simple data loss situations.
If you use a SanDisk memory card, you might already have access to SanDisk RescuePRO. It’s a handy tool for photo/video recovery, especially if you want something straightforward.
Does Fujifilm have its own Fuji recovery tool?
No, Fujifilm does not provide a dedicated data recovery app. While the company offers excellent cameras and accessories, it doesn’t include recovery tools. If you need to recover lost photos from your Fujifilm camera, you’ll need to use third-party recovery software like Disk Drill, Recuva, or SanDisk RescuePRO.
Is it possible to recover deleted photos from my Fujifilm camera's internal memory?
Given how connecting a Fujifilm camera directly to your PC via USB establishes an MTP connection to the memory card and offers no way to access files found in its internal memory, it is not possible to get photos from the camera’s internal memory.
This article was written by Princess Lescan, a Staff Writer at Handy Recovery Advisor. It was recently updated by Roman Demian. It was also verified for technical accuracy by Andrey Vasilyev, our editorial advisor.
Curious about our content creation process? Take a look at our Editor Guidelines.