
Oftentimes when your Outlook mailbox becomes full, exporting your old emails to a PST file for safekeeping is a great way to free up space. But, this convenience quickly comes into question if you’ve accidentally deleted the PST file and all its contents with it.
Thankfully, there are ways that you can get the PST file back. Read on to find out how you can quickly and easily recover permanently deleted PST files on Windows 10 and 11.
What Is a PST File?
The PST file extension is a Microsoft Outlook Data File. When you connect an email account to Outlook, a PST file is created locally. It contains information relating to your linked Outlook account, such as email messages, calendar events, and information for your contacts. PST files are used by POP accounts, as well as IMAP accounts in Outlook 2013 and earlier versions. They can be useful if you ever need to recover deleted Outlook emails as they also act as a backup.
Where Are Outlook PST Files Saved?
If your PST file was created using Outlook 2013 or later, it would usually be saved in the Outlook Files folder located in your Documents folder. However, if the PST file was created with Microsoft Office Outlook 2007 or earlier, it will be saved in a hidden folder at the location <DRIVE:>\Users\<USER>\AppData\Local\Microsoft\Outlook.
How to Recover Permanently Deleted PST Files
When you recover a deleted PST file, any information inside it will also be recovered, such as stored emails. For this reason, using an effective PST recovery tool can often save you a lot of time and hassle. Disk Drill for Windows is a data recovery tool that specializes in the recovery of such files. It’s trusted by many for its long track record of successful recoveries.
Follow these steps to recover a permanently deleted PST file:
- Download and install Disk Drill. Avoid installing it on the same drive where your PST file was located.
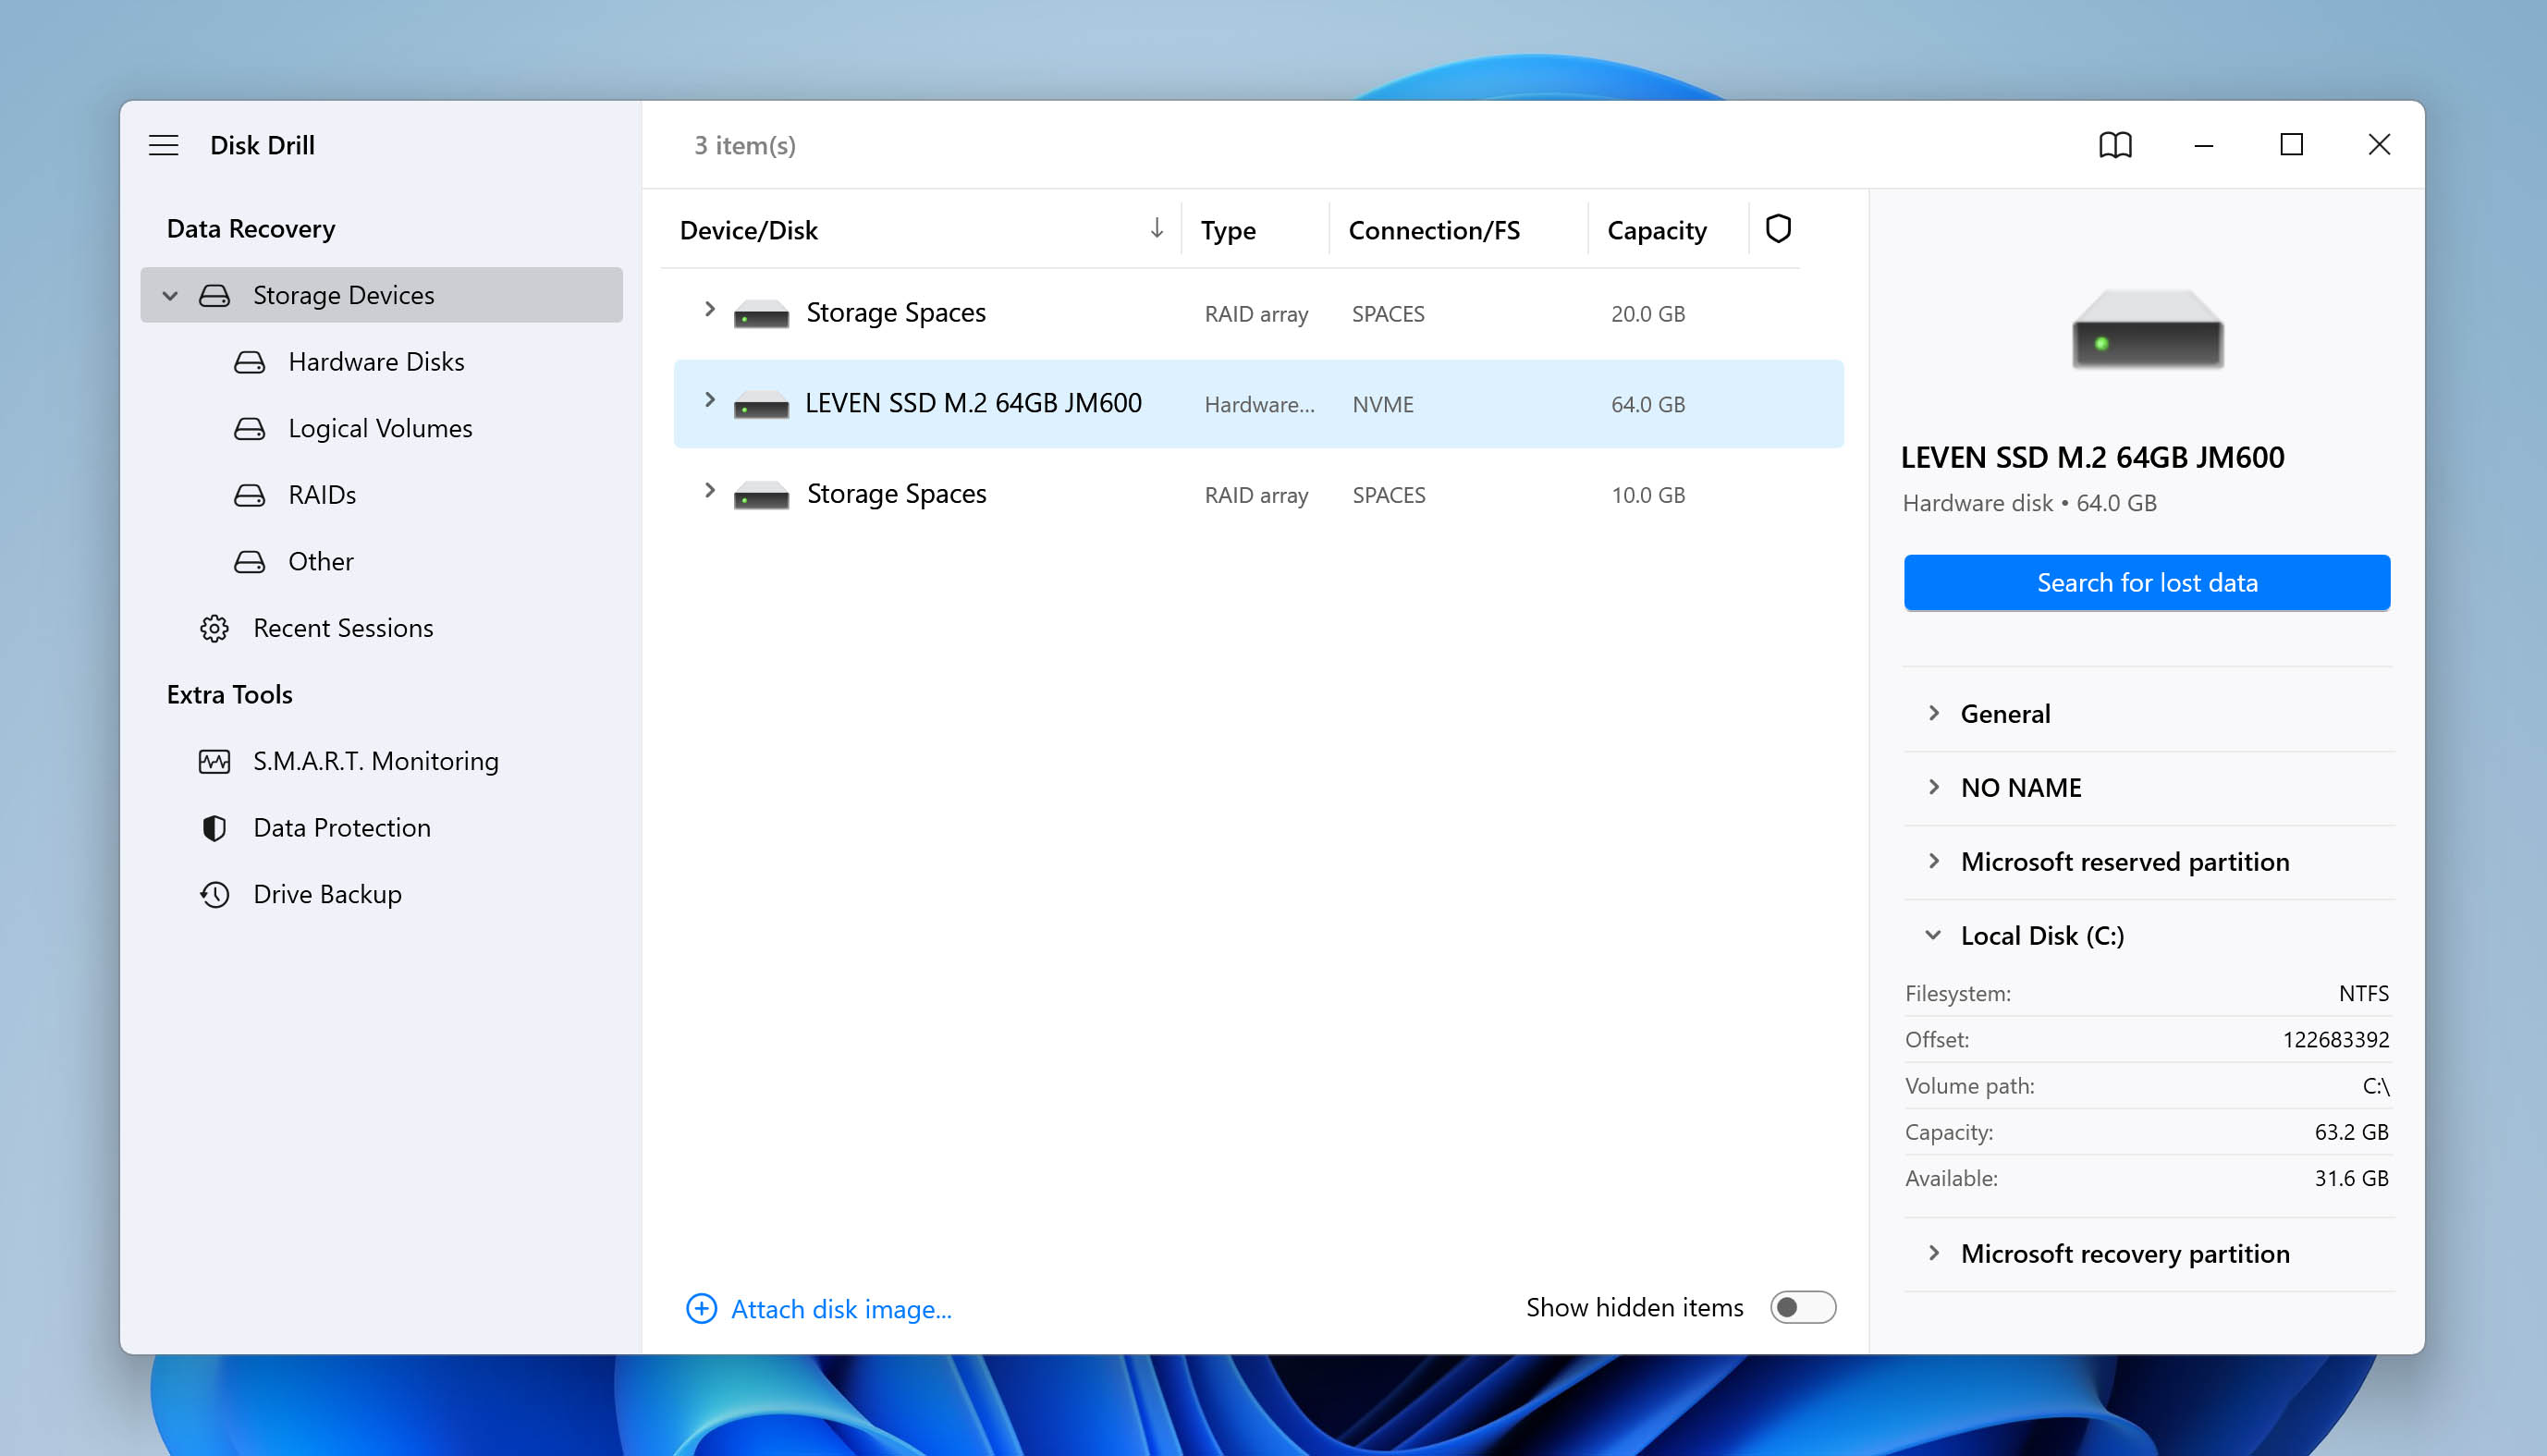
- Select the drive that contained the PST file and click Search for lost data.
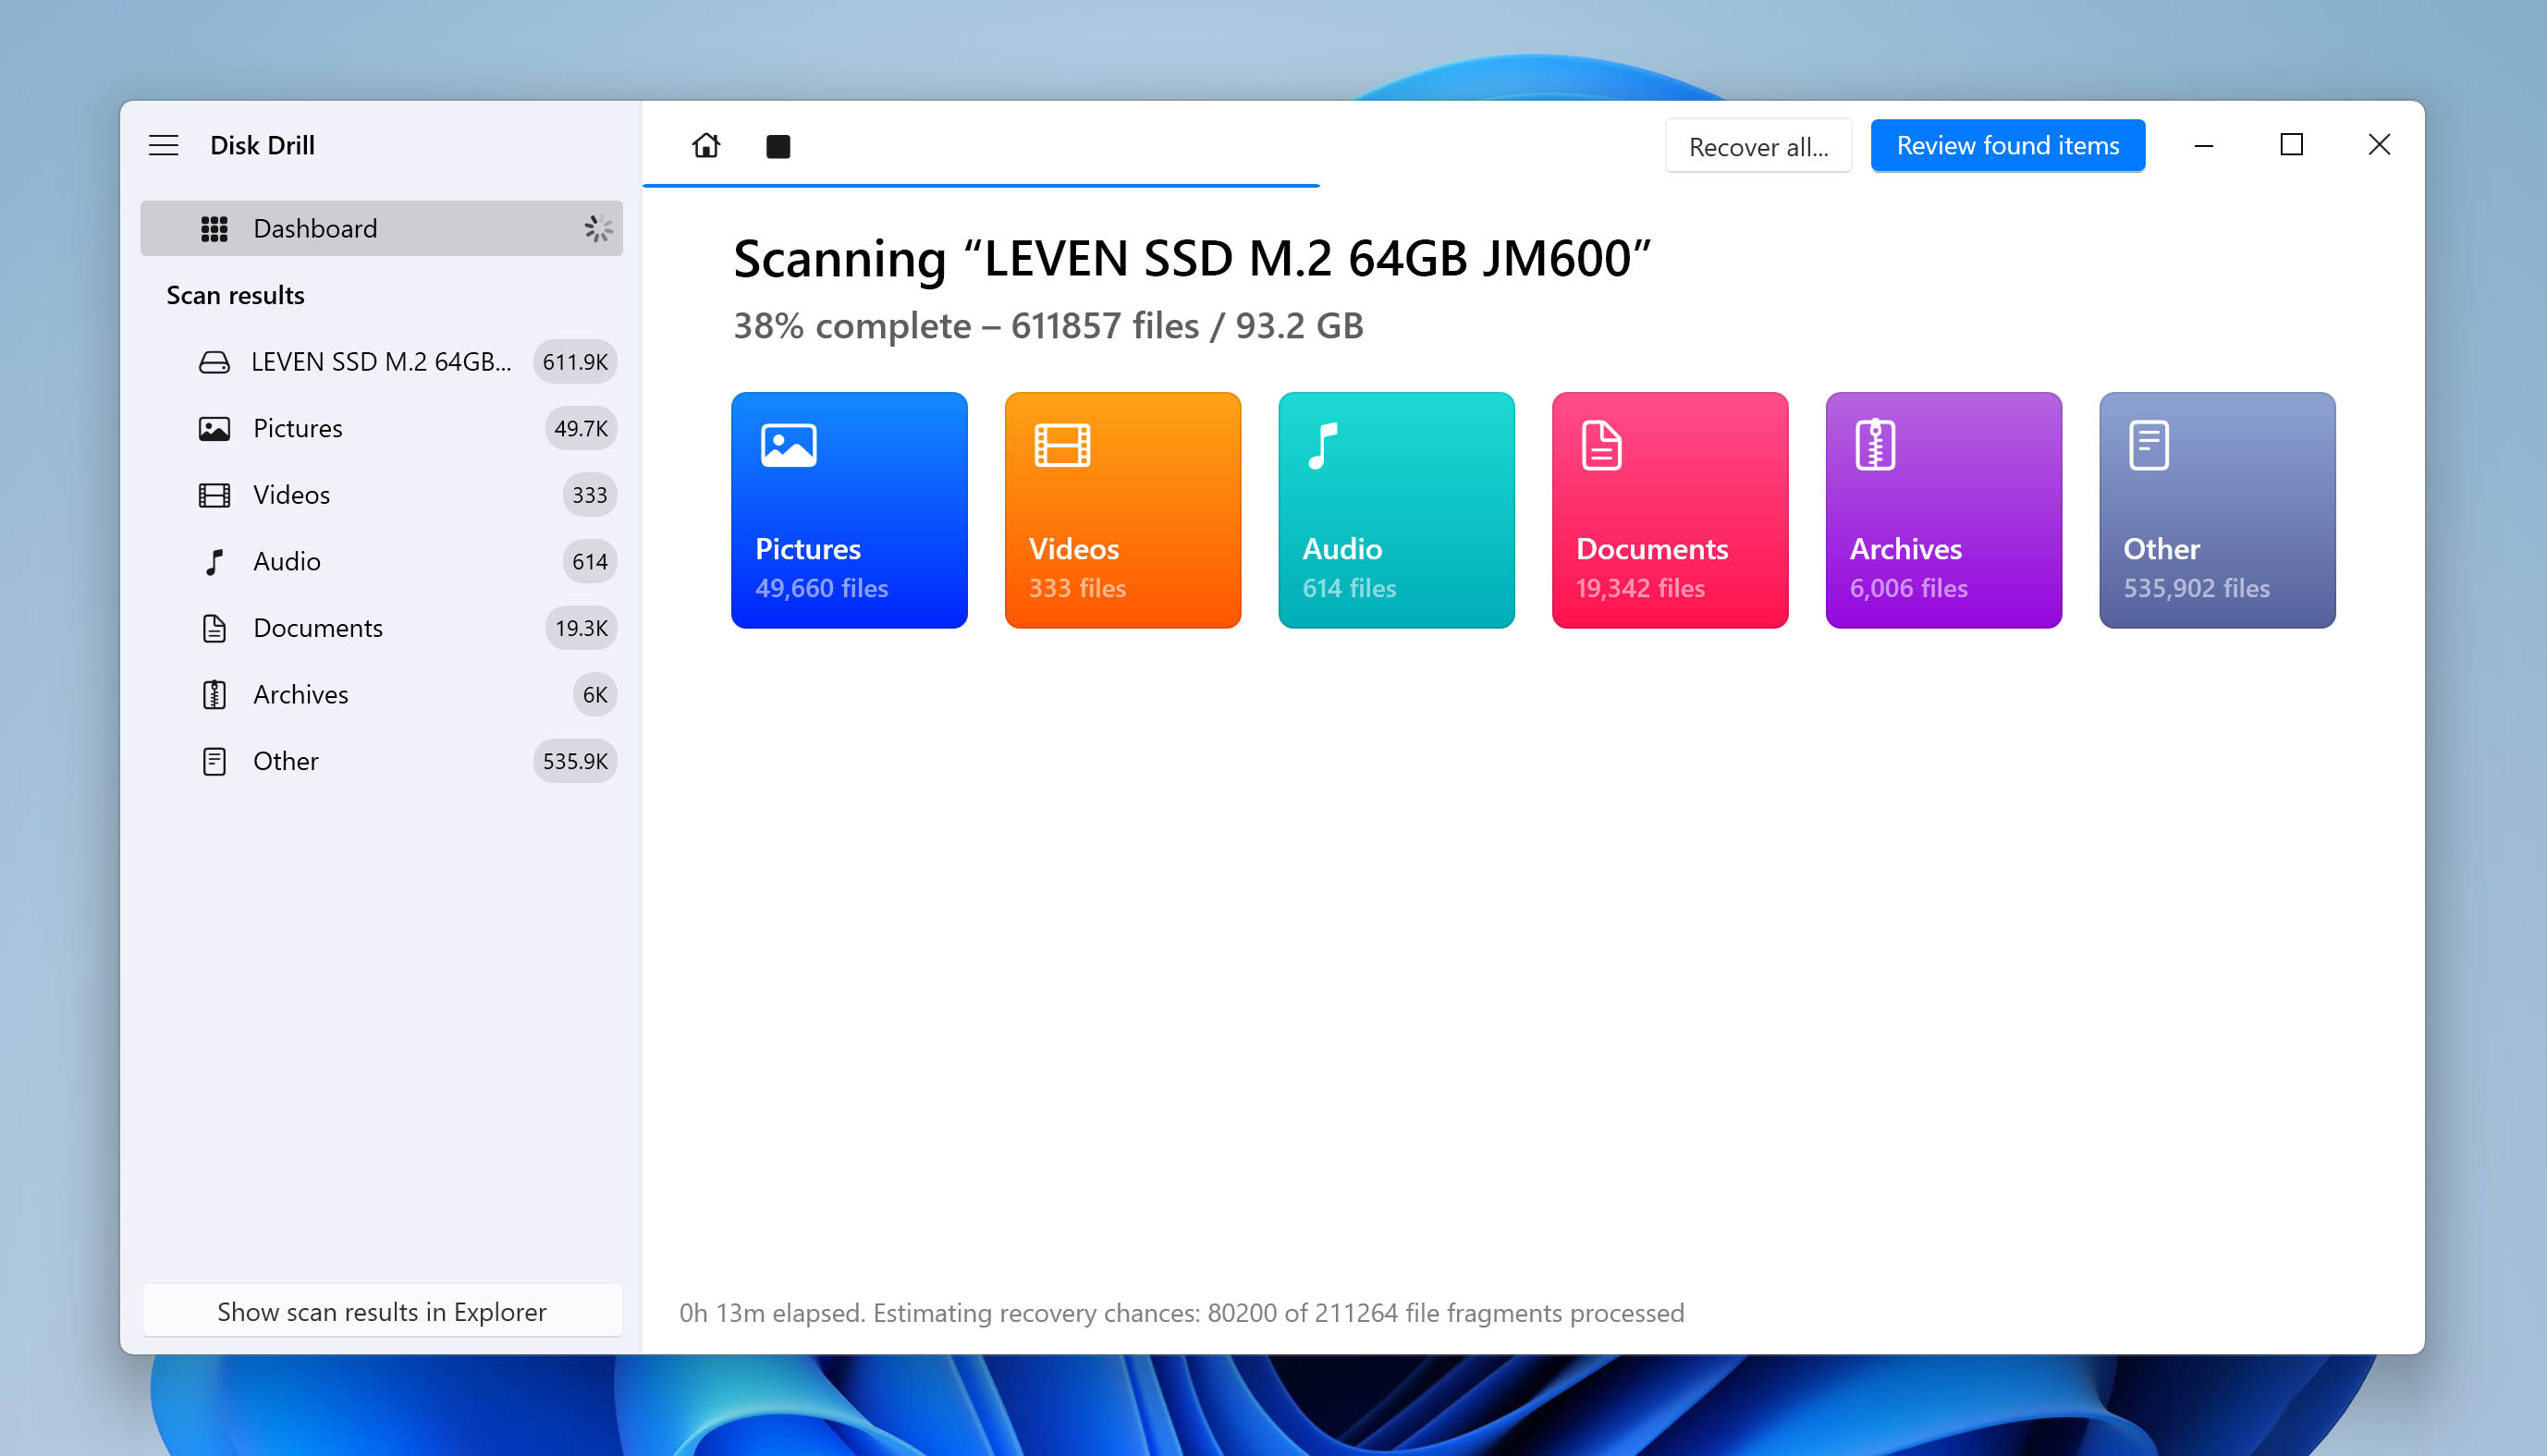
- Click Review found items once Disk Drill’s scan is finished.
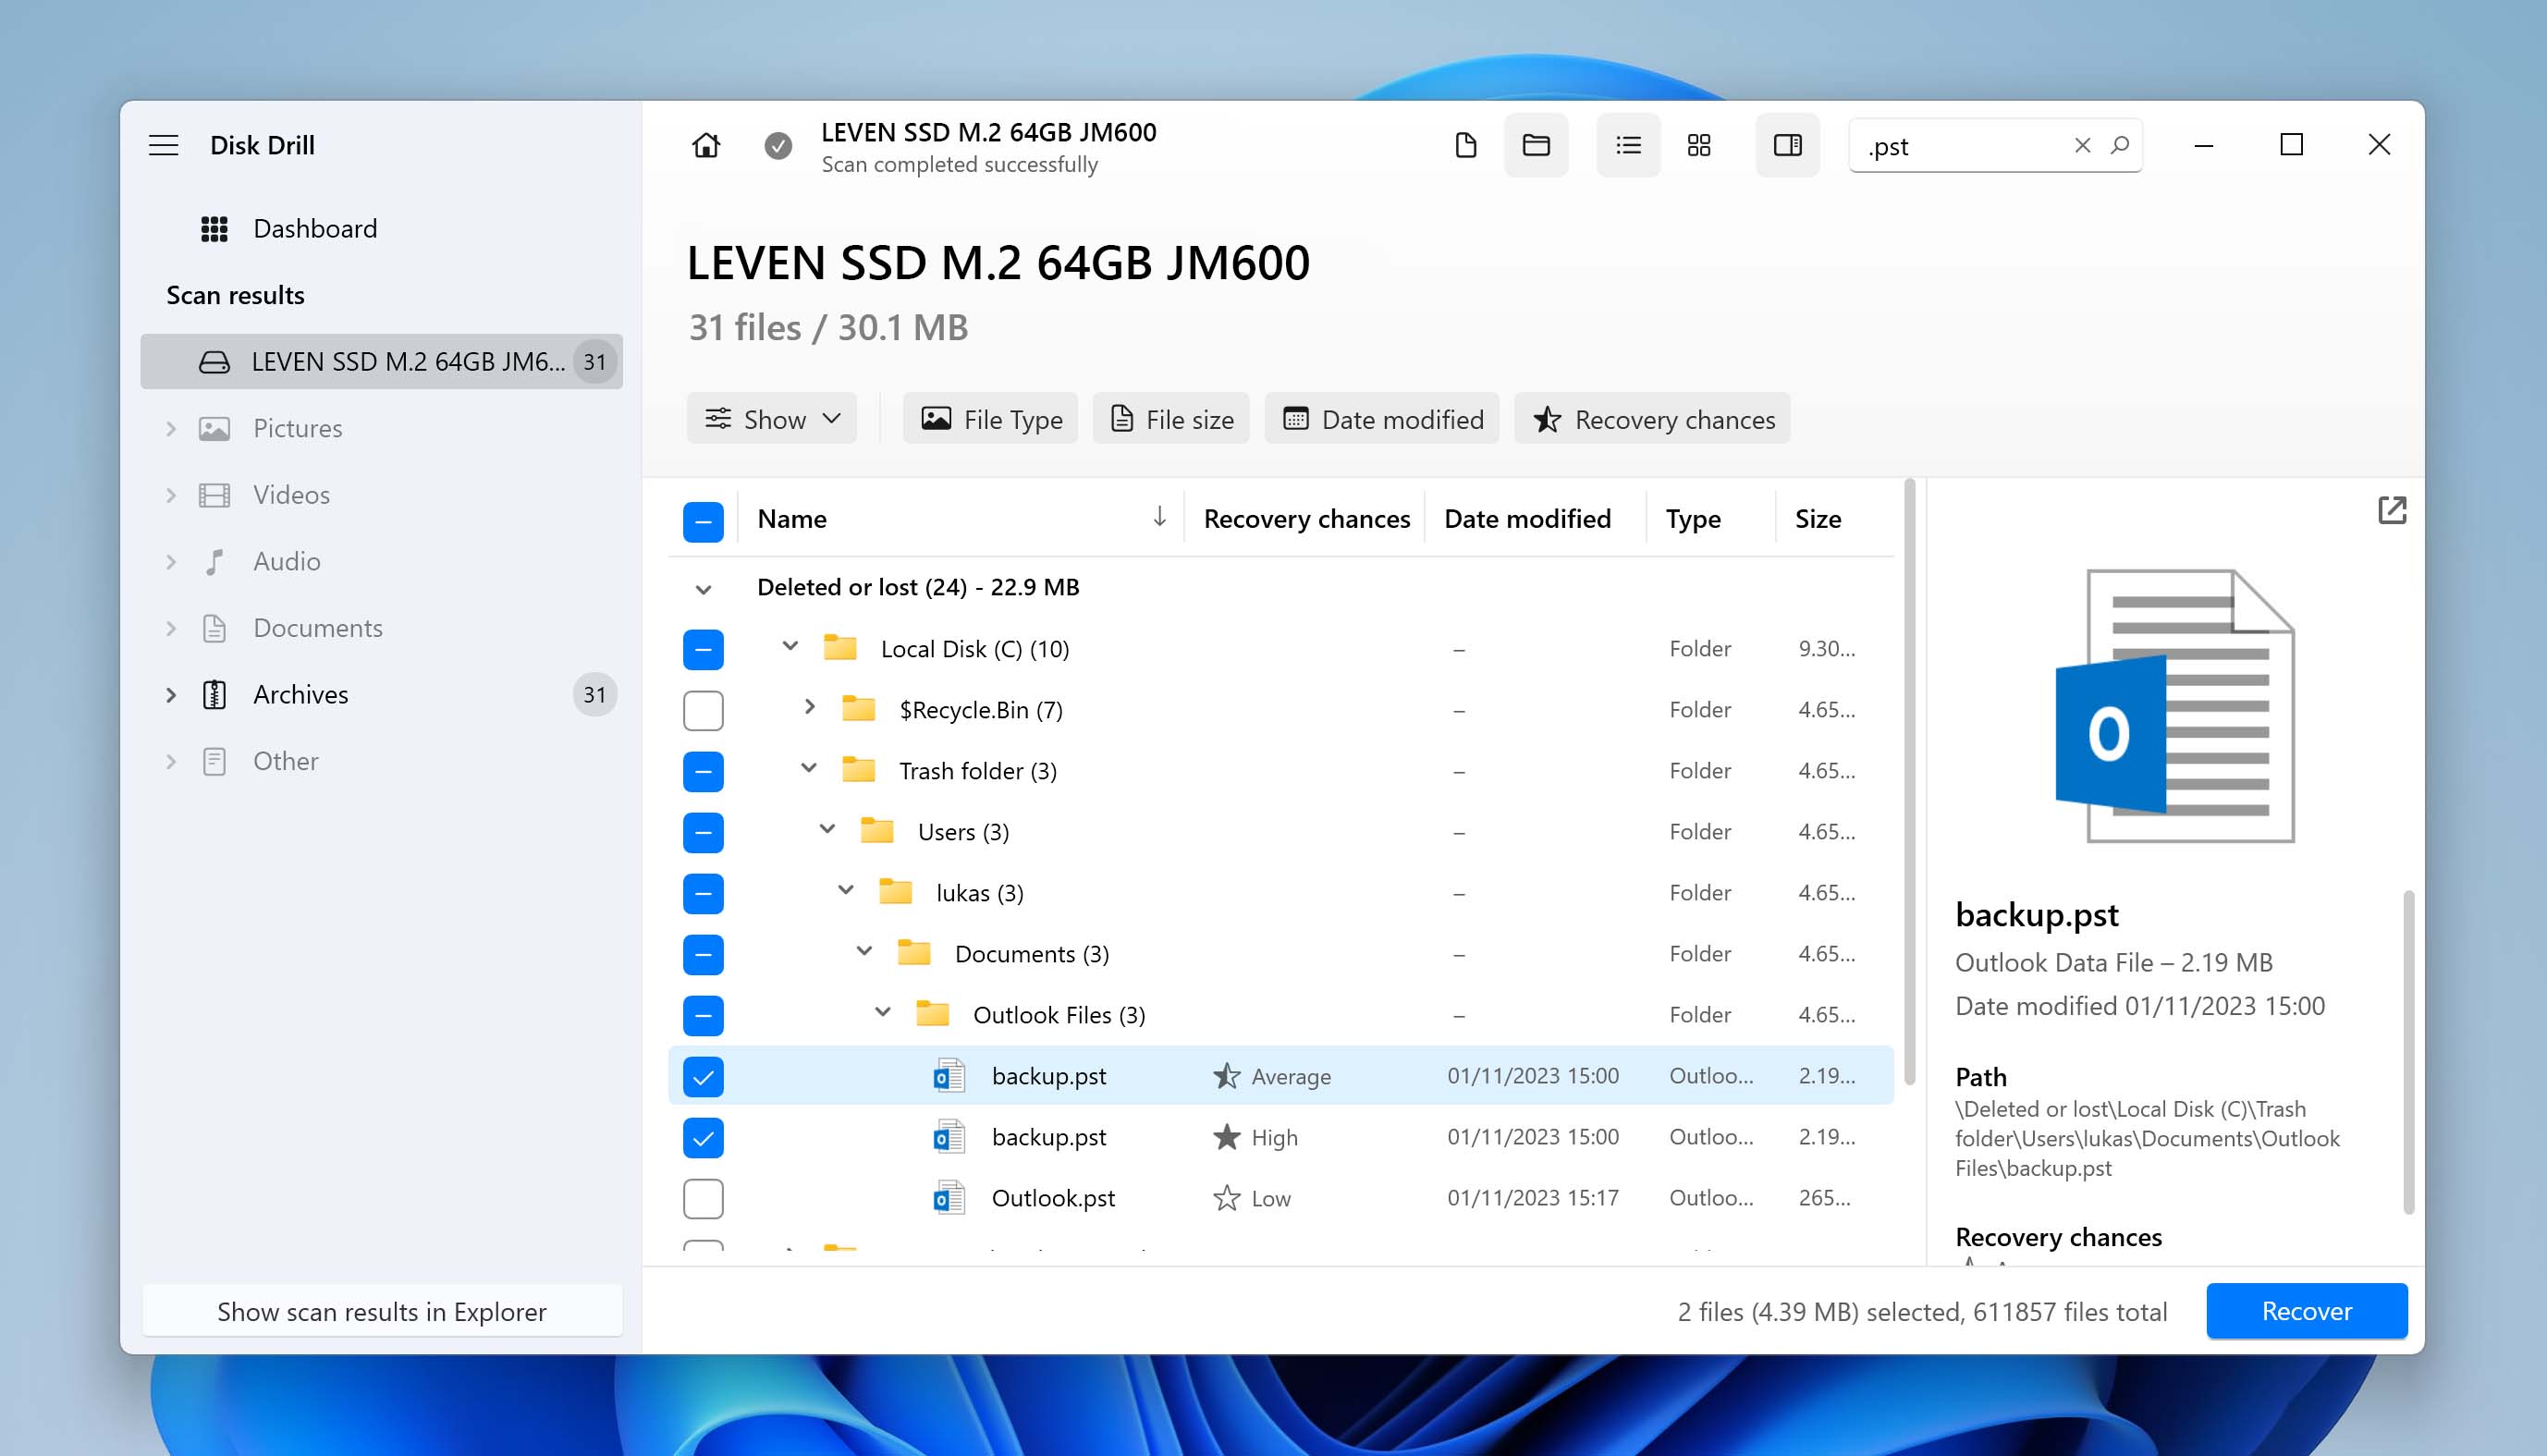
- Navigate to where the PST file was stored. Alternatively, use the search bar in the application to find any files with the PST extension. Mark the file, then click Recover.
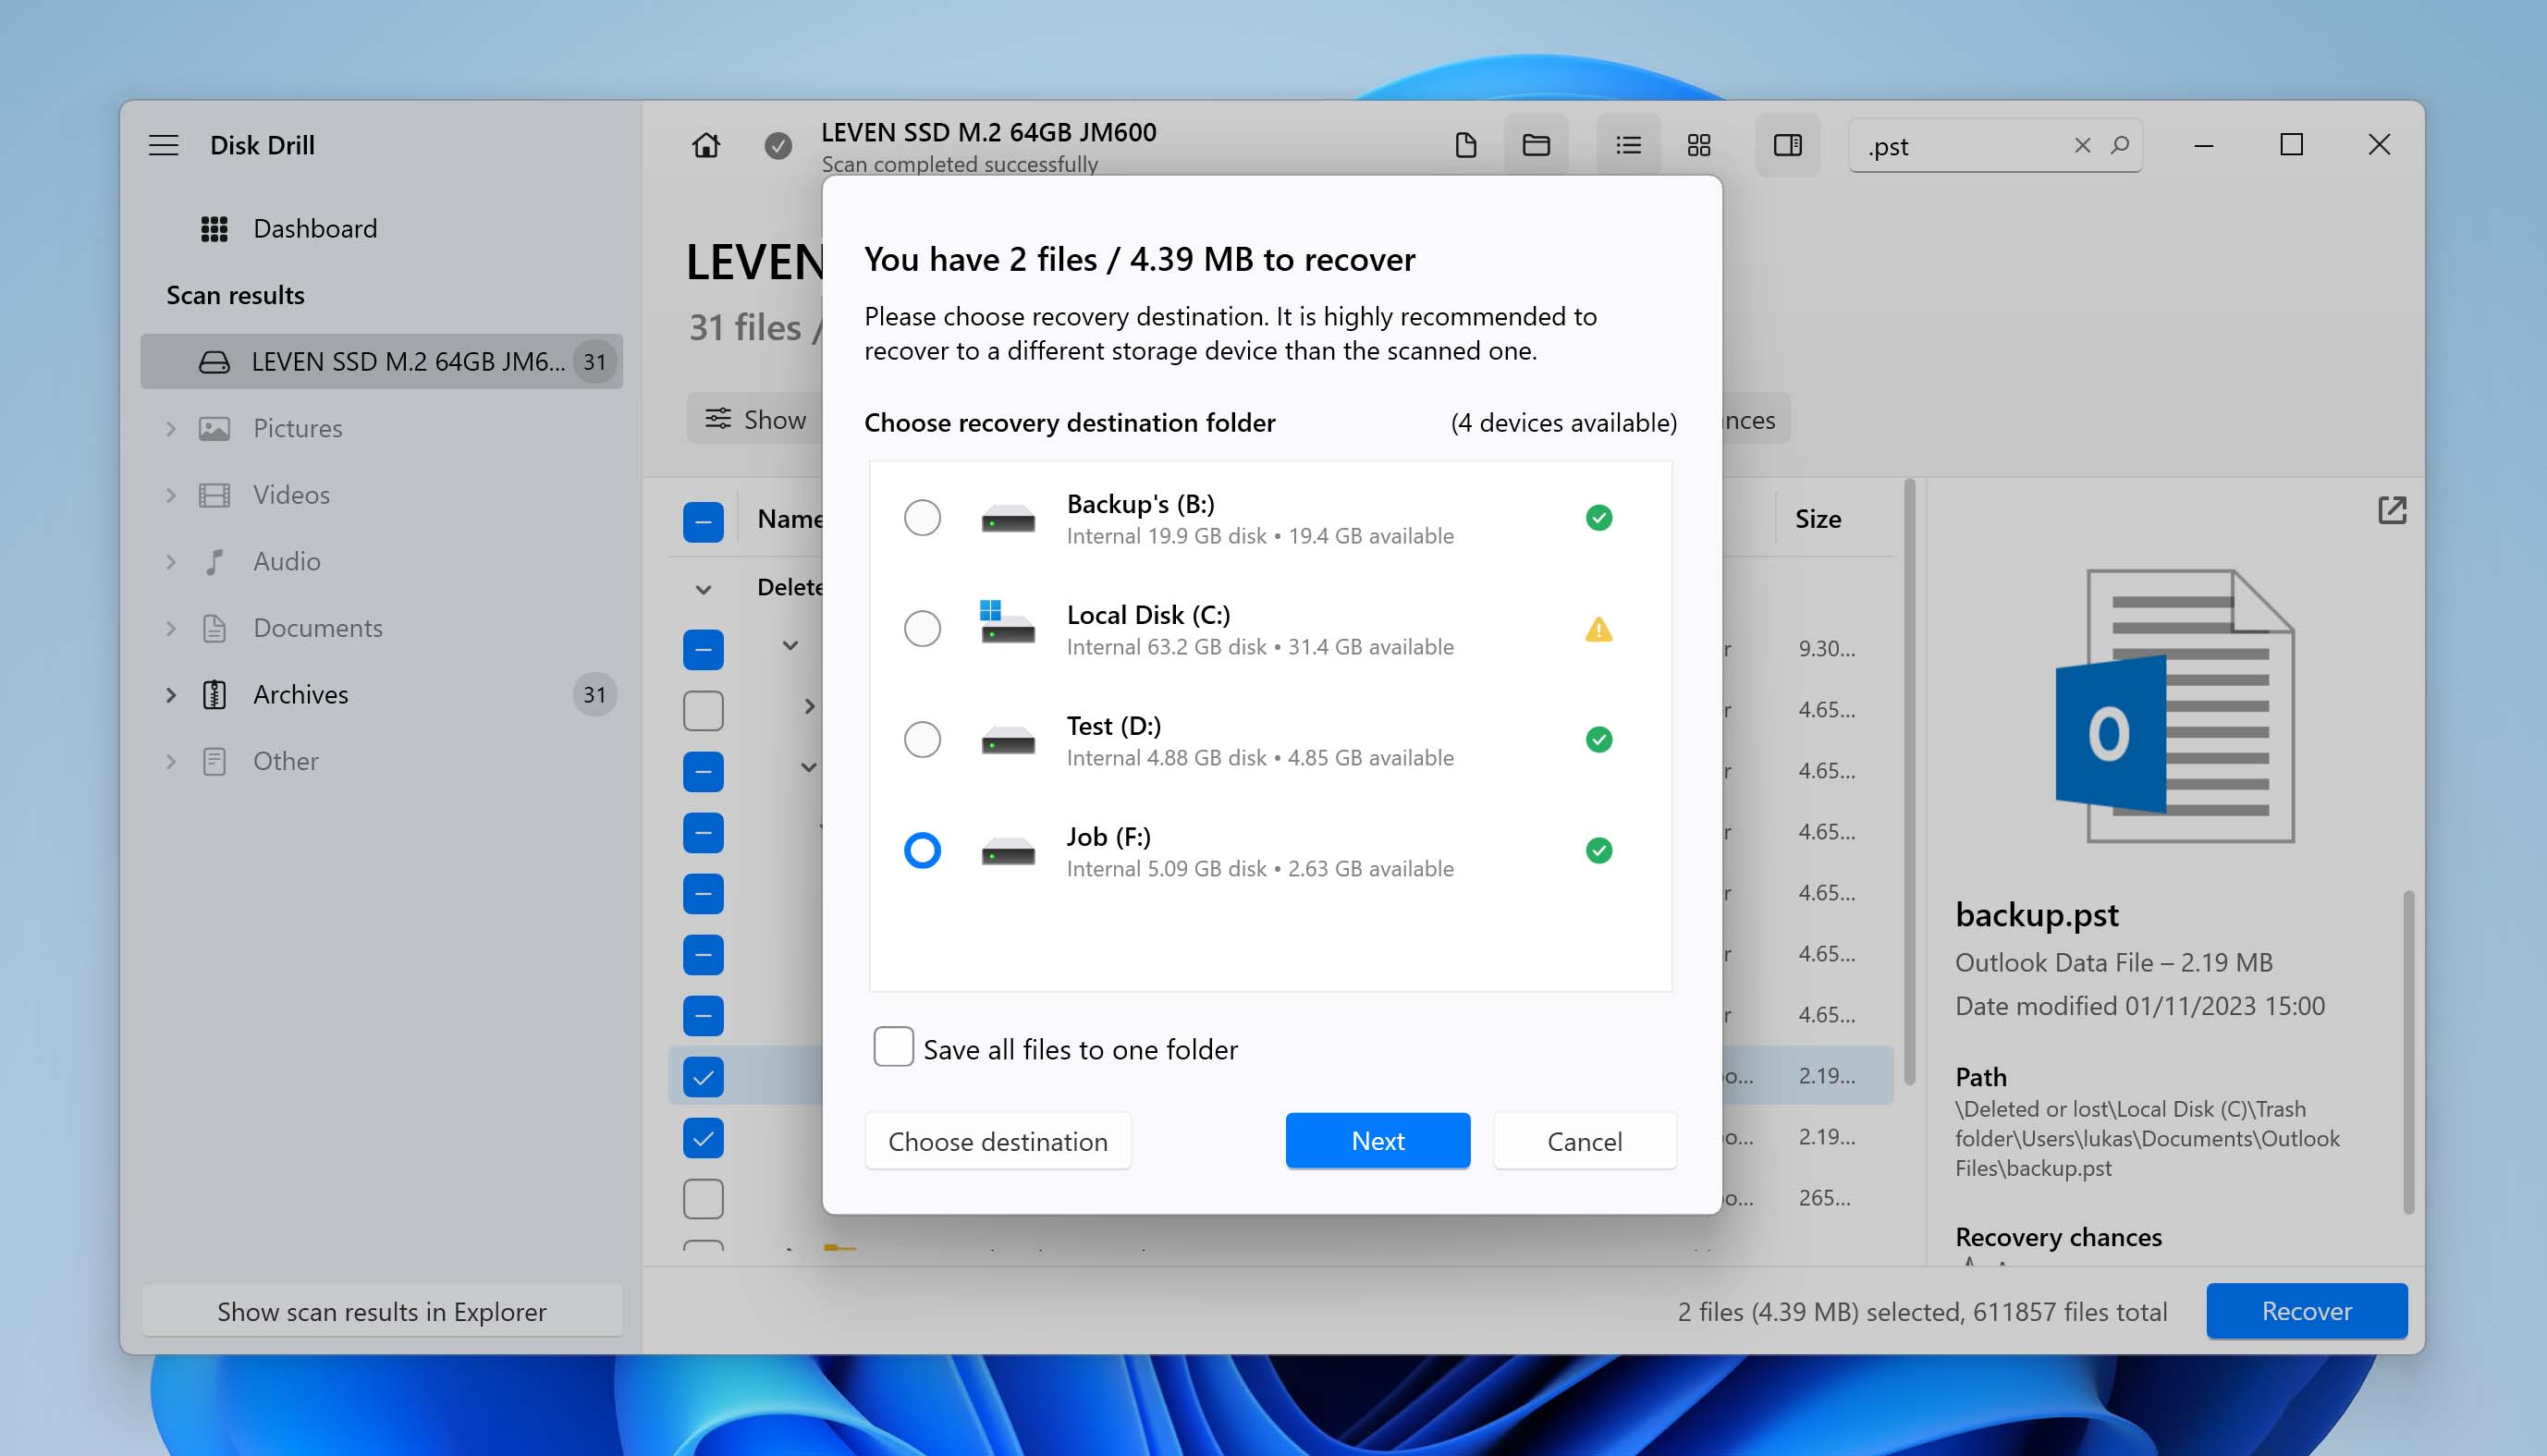
- Select an output location. Again, avoid choosing a location on the same drive you’re recovering the PST file. To recover the deleted PST file, click OK.
Disk Drill is designed with ease of use in mind, which is why it’s just as easy to recover deleted desktop files as it is your Outlook PST file. Once the file is recovered, be sure to create a copy of it to avoid losing it again.
How to Recover Deleted PST Files Without Software
If you don’t want to take the data recovery software route, you still have a few options available to perform Outlook PST recovery.
Method 1: Check the Recycle Bin
One of the easiest free ways to restore deleted PST files without software is Recycle Bin recovery. Your Windows Recycle Bin captures deleted files and temporarily holds them in case you want to restore them after they were accidentally deleted.
Here’s how you can recover a PST file from the Recycle Bin:
- Open the Recycle Bin on your Desktop.
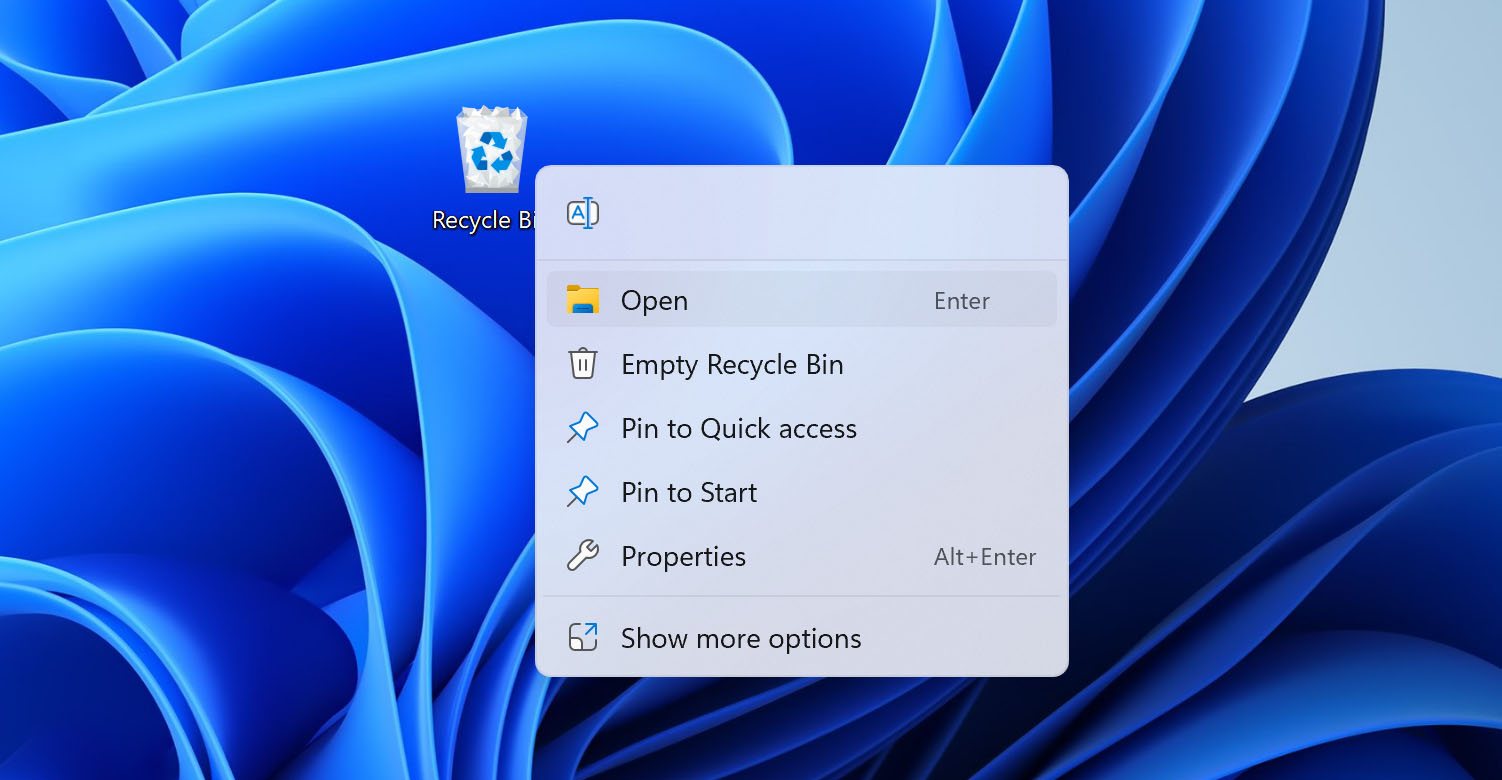
- Right-click the PST file and click Restore. Alternatively, simply drag it out of the Recycle Bin.
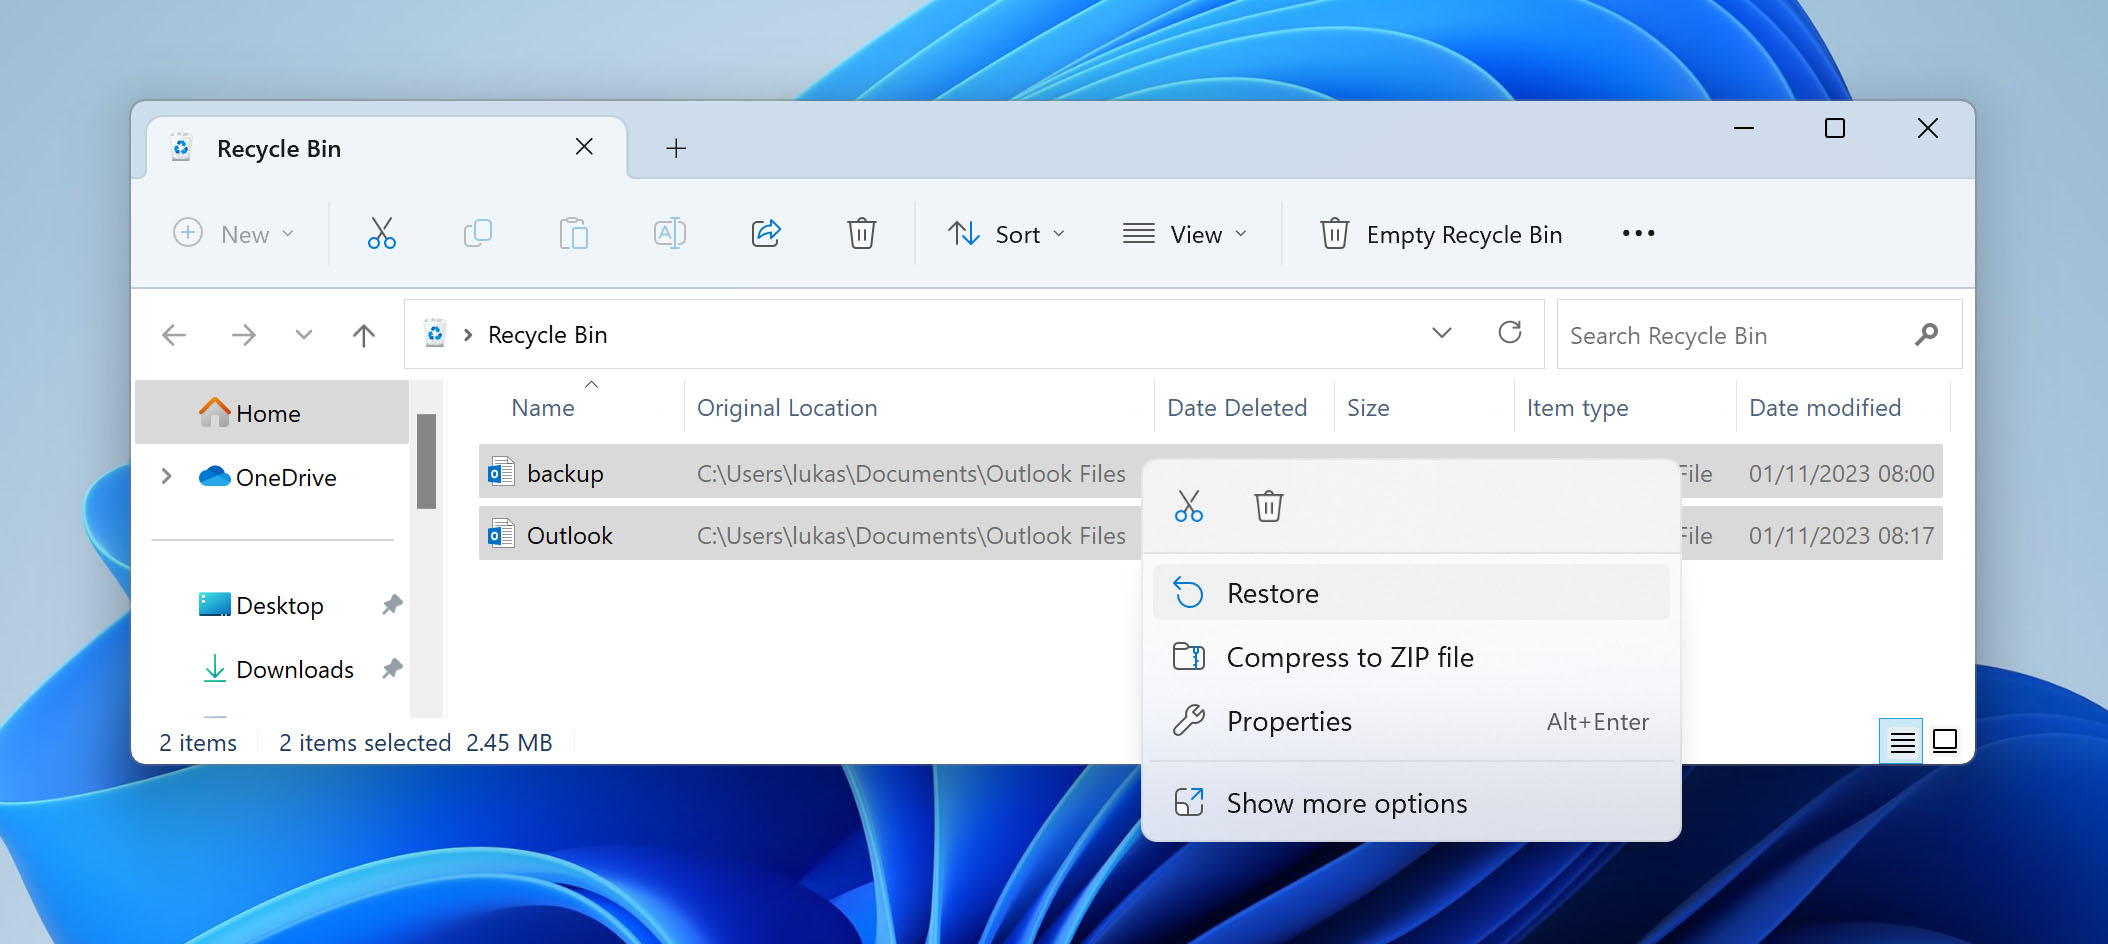
The Recycle Bin is a great way to recover folders and files in Windows. However, if the bin was already emptied, you can use the next step to recover PST files deleted from Recycle Bin.
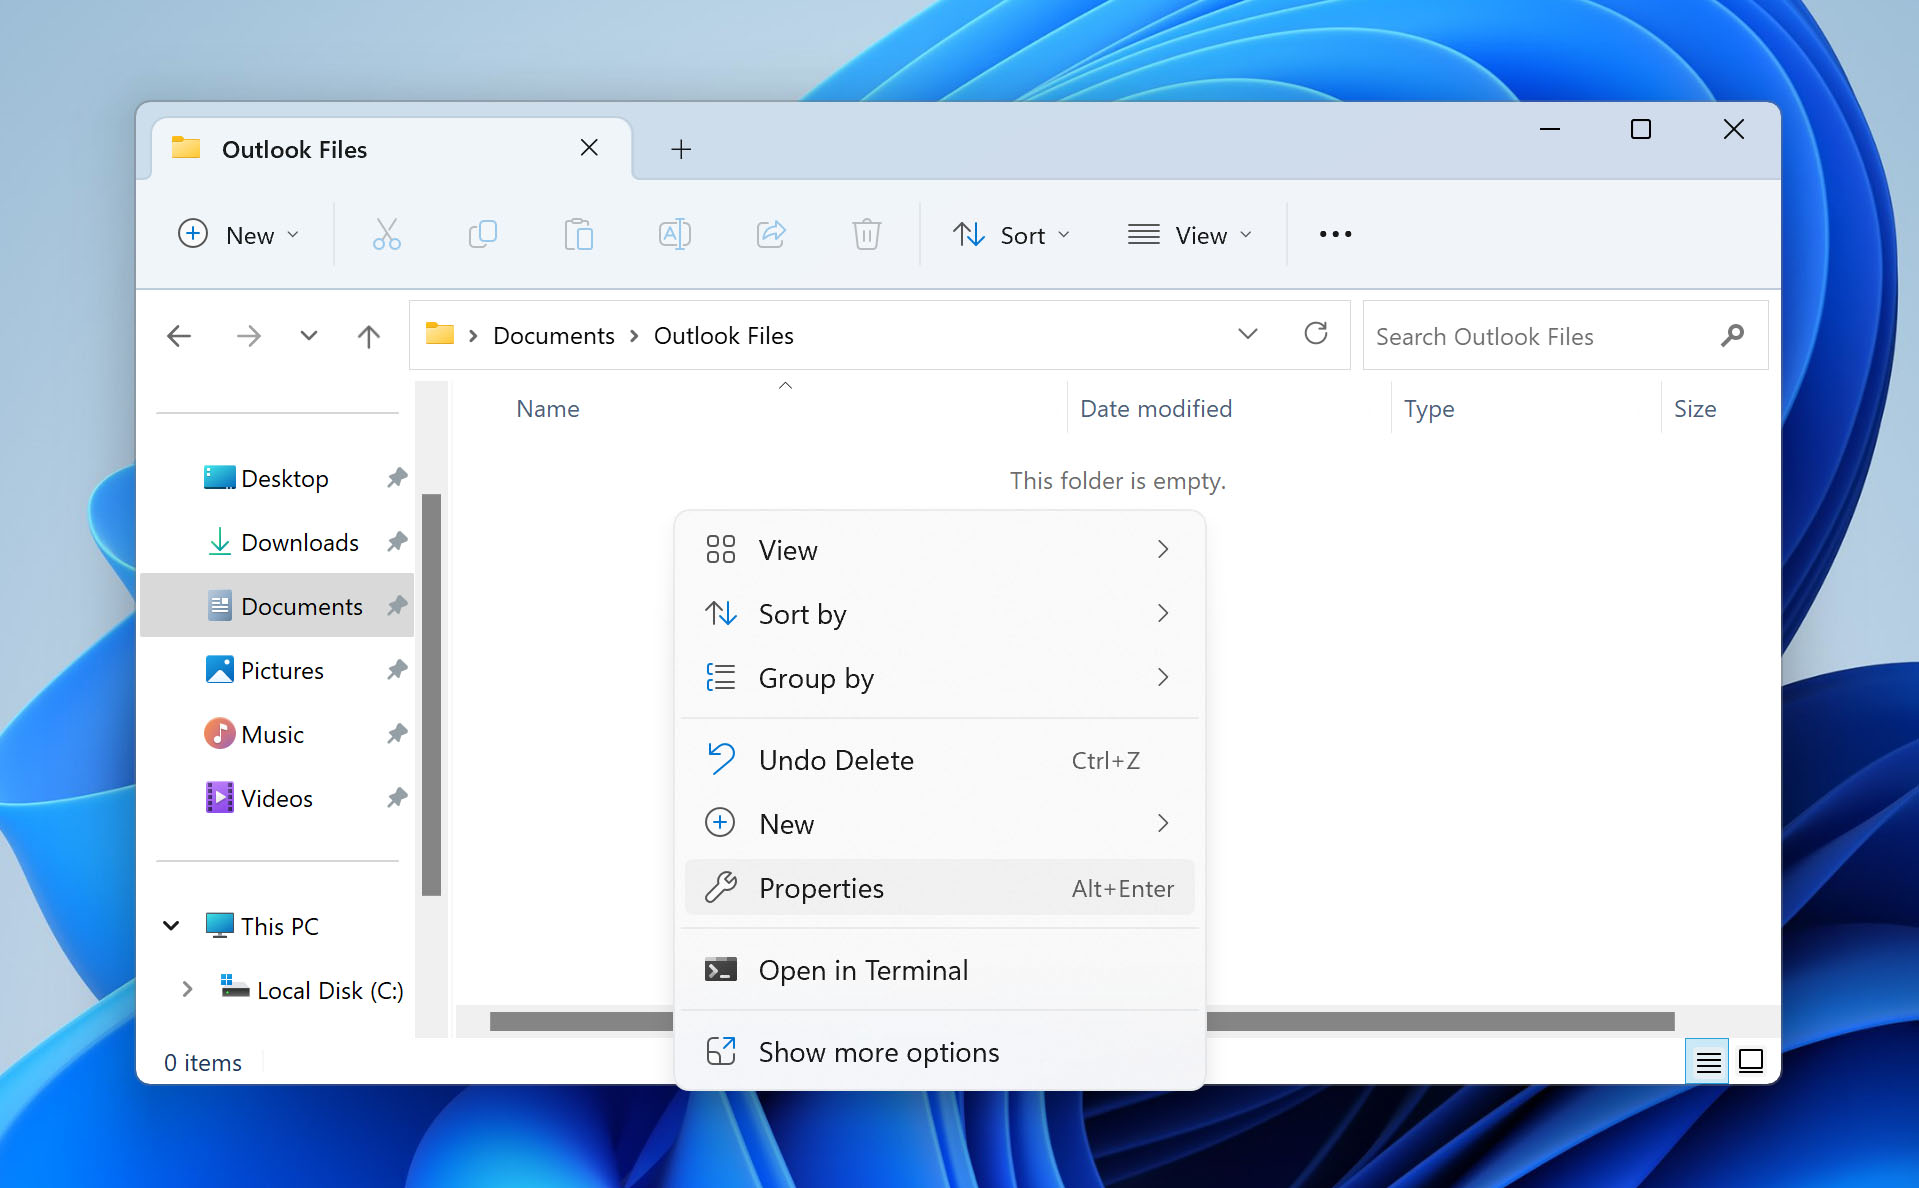
Method 2: Using Restore Previous Version Feature
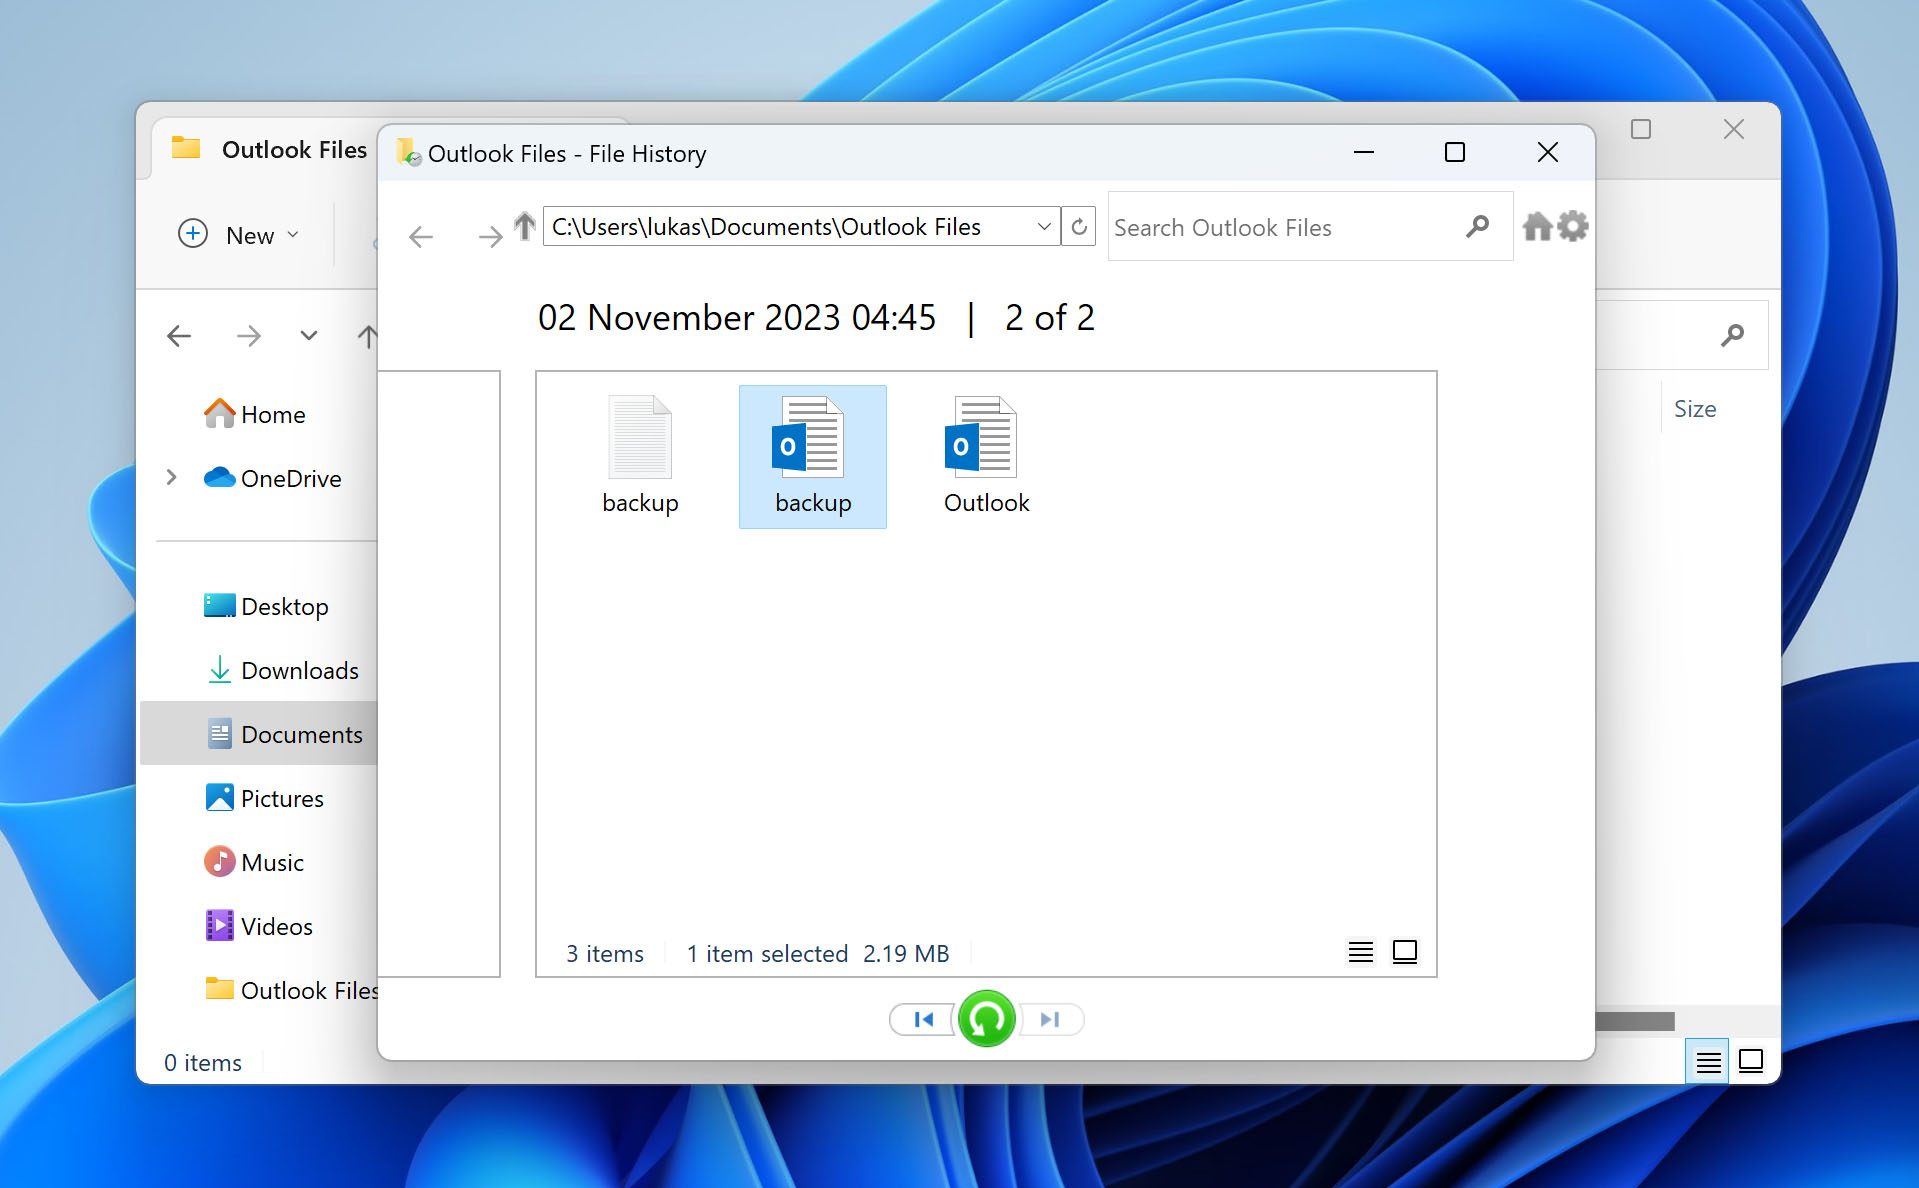
The File History backup tool may have a snapshot containing a previous version of your PST file. When configured, File History automatically takes periodic snapshots of specific files and folders, allowing you to recover deleted files in Windows 10 and 11 without the need for third-party software. Furthermore, since it takes multiple snapshots of the same file at different points in time, you can restore previous versions. Of course, the key requirement here is that File History needed to be enabled prior to the deletion of the file.
These steps will guide you through recovering a lost Microsoft Outlook PST file with File History:
- Navigate to the folder that once held your PST file. Right-click an empty space, then click Properties.
- Click the Previous Versions tab, then select the version of the folder you wish to restore. Once selected, either click Restore to restore it to the same place or click the down arrow and click Restore To… if you want to restore it to another location.
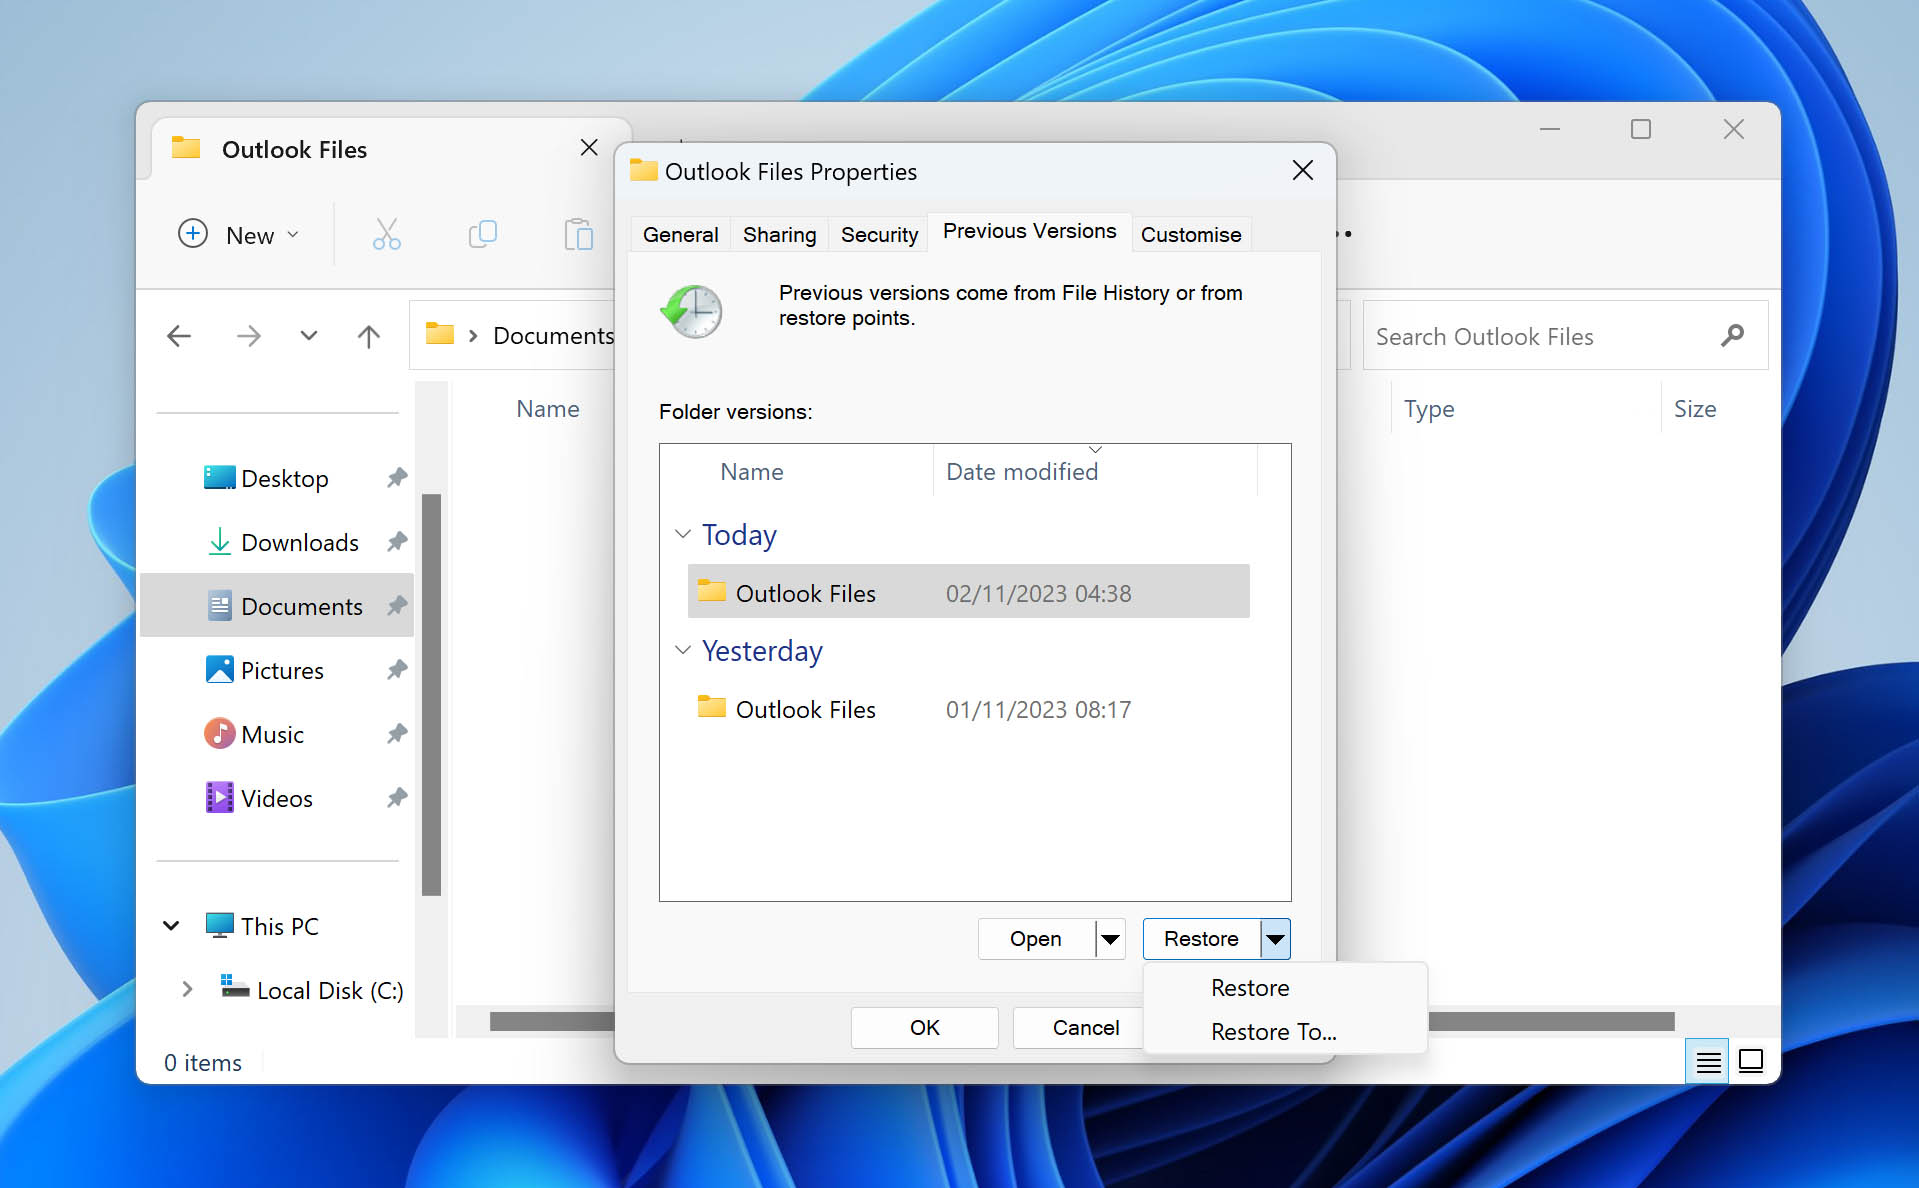
- To restore individual files to a previous version instead, click the down arrow on the Open button, then click Open in File History. From here, you can go through the versions using the left and right navigational buttons and select the files you wish to restore. When ready, right-click the green Restore button and choose how you wish to restore the data.
Should the file not be available through File History, you can also check the other backup utilities included with Windows, Backup and Restore.
Method 3: Recover From Backups
The AutoArchive feature is available in Outlook versions 2003 and later. When enabled, it automatically moves Outlook items of a specified age to an archive folder, freeing up space without permanently deleting them. If the items you need were set for automatic archiving, you can find them in this backup.
This is how you can open an AutoArchive backup in Outlook:
- Click File.
- Click Open & Export.
- Click Open Outlook Data File and select the archive. Unless it was changed manually, the default location is Documents\Outlook Files.
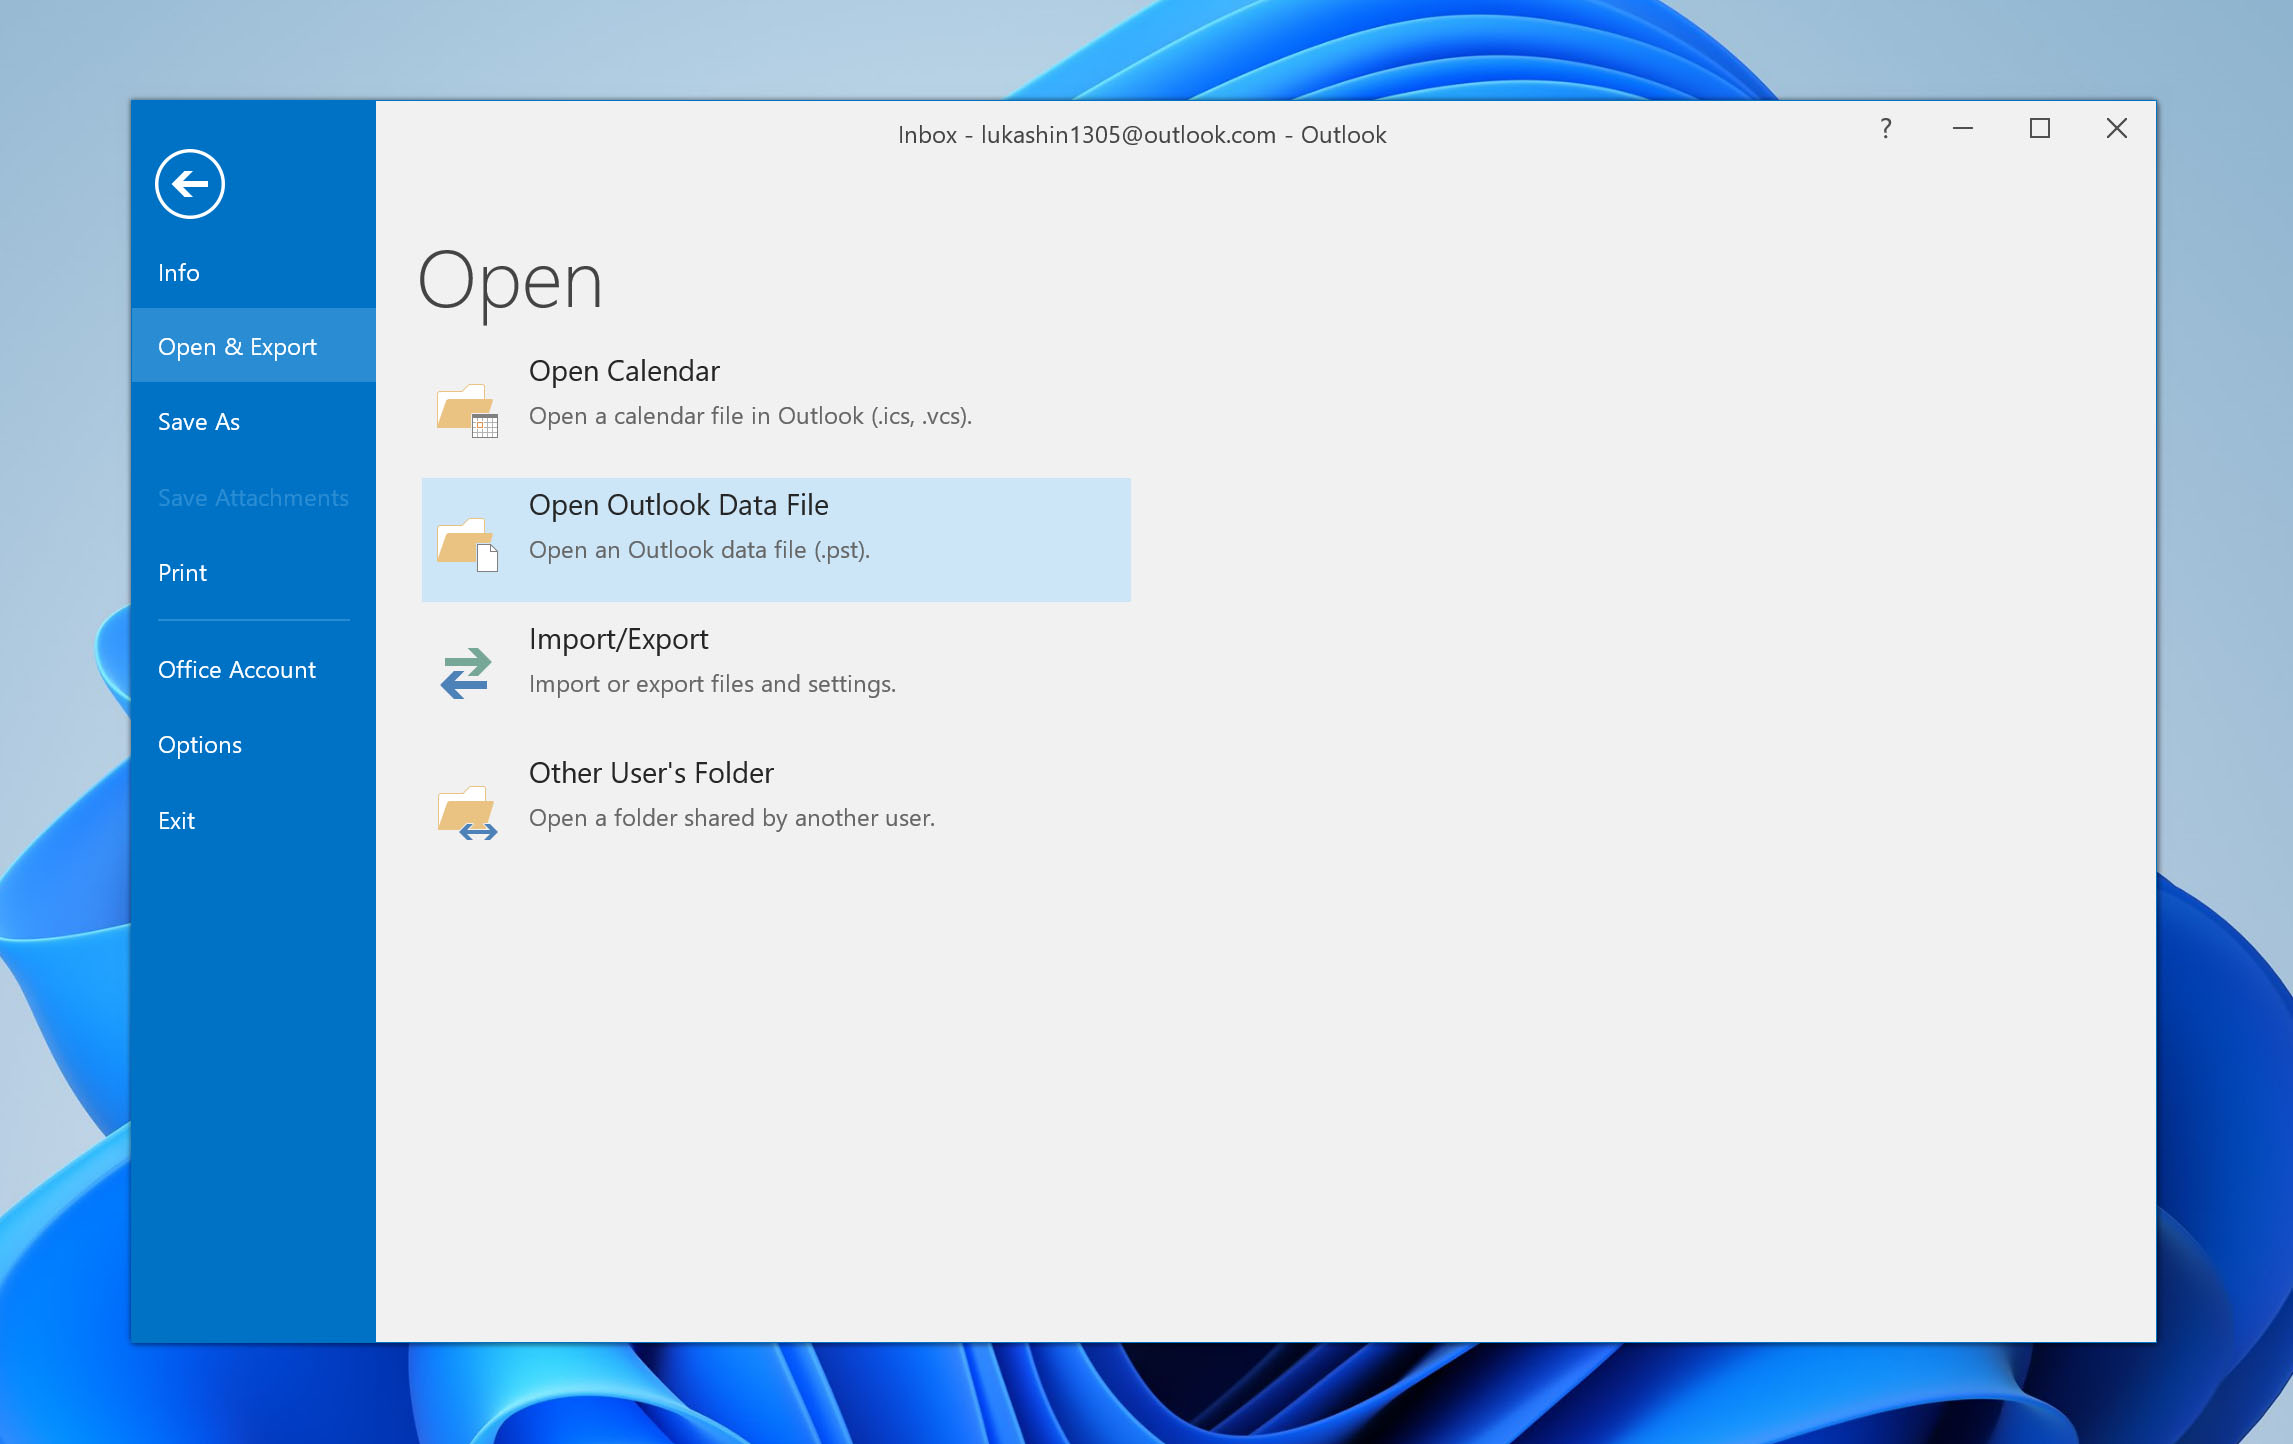
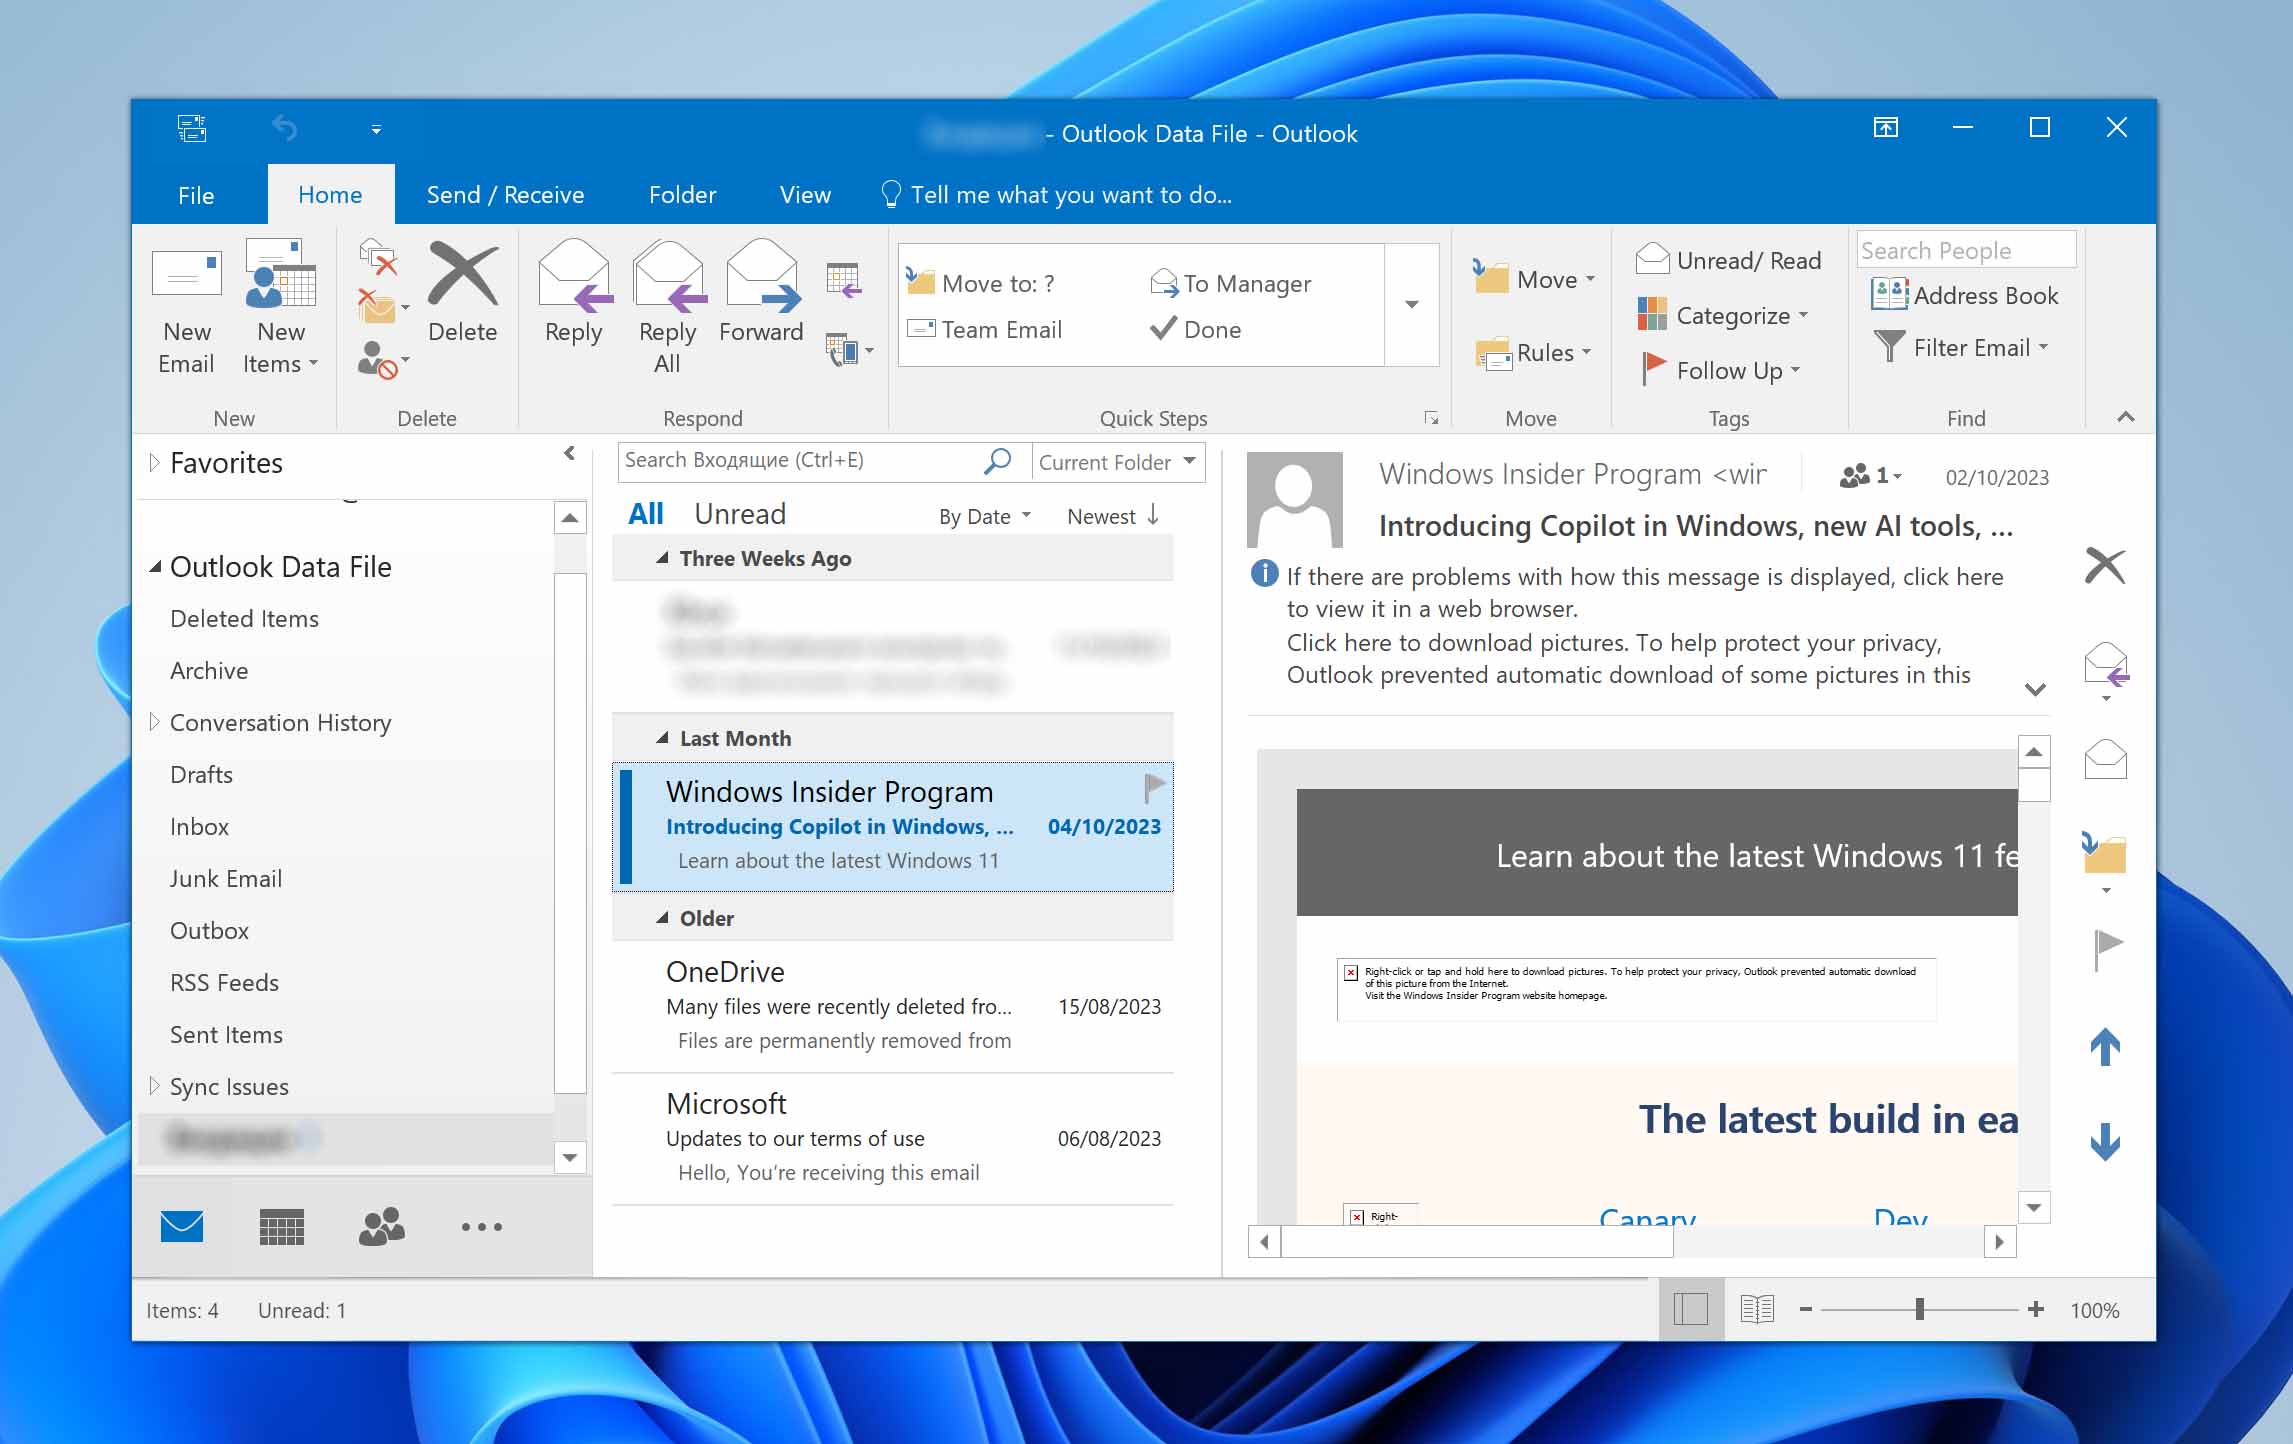
- Explore the opened Outlook Data File using the new Outlook Data File dropdown that appears below your mailbox.
Alternatively, you can explore other local backups that may contain the PST file. In addition to File History, Windows also includes Backup and Restore, an older backup feature. If it was configured prior to the deletion of your file, it may be held here.
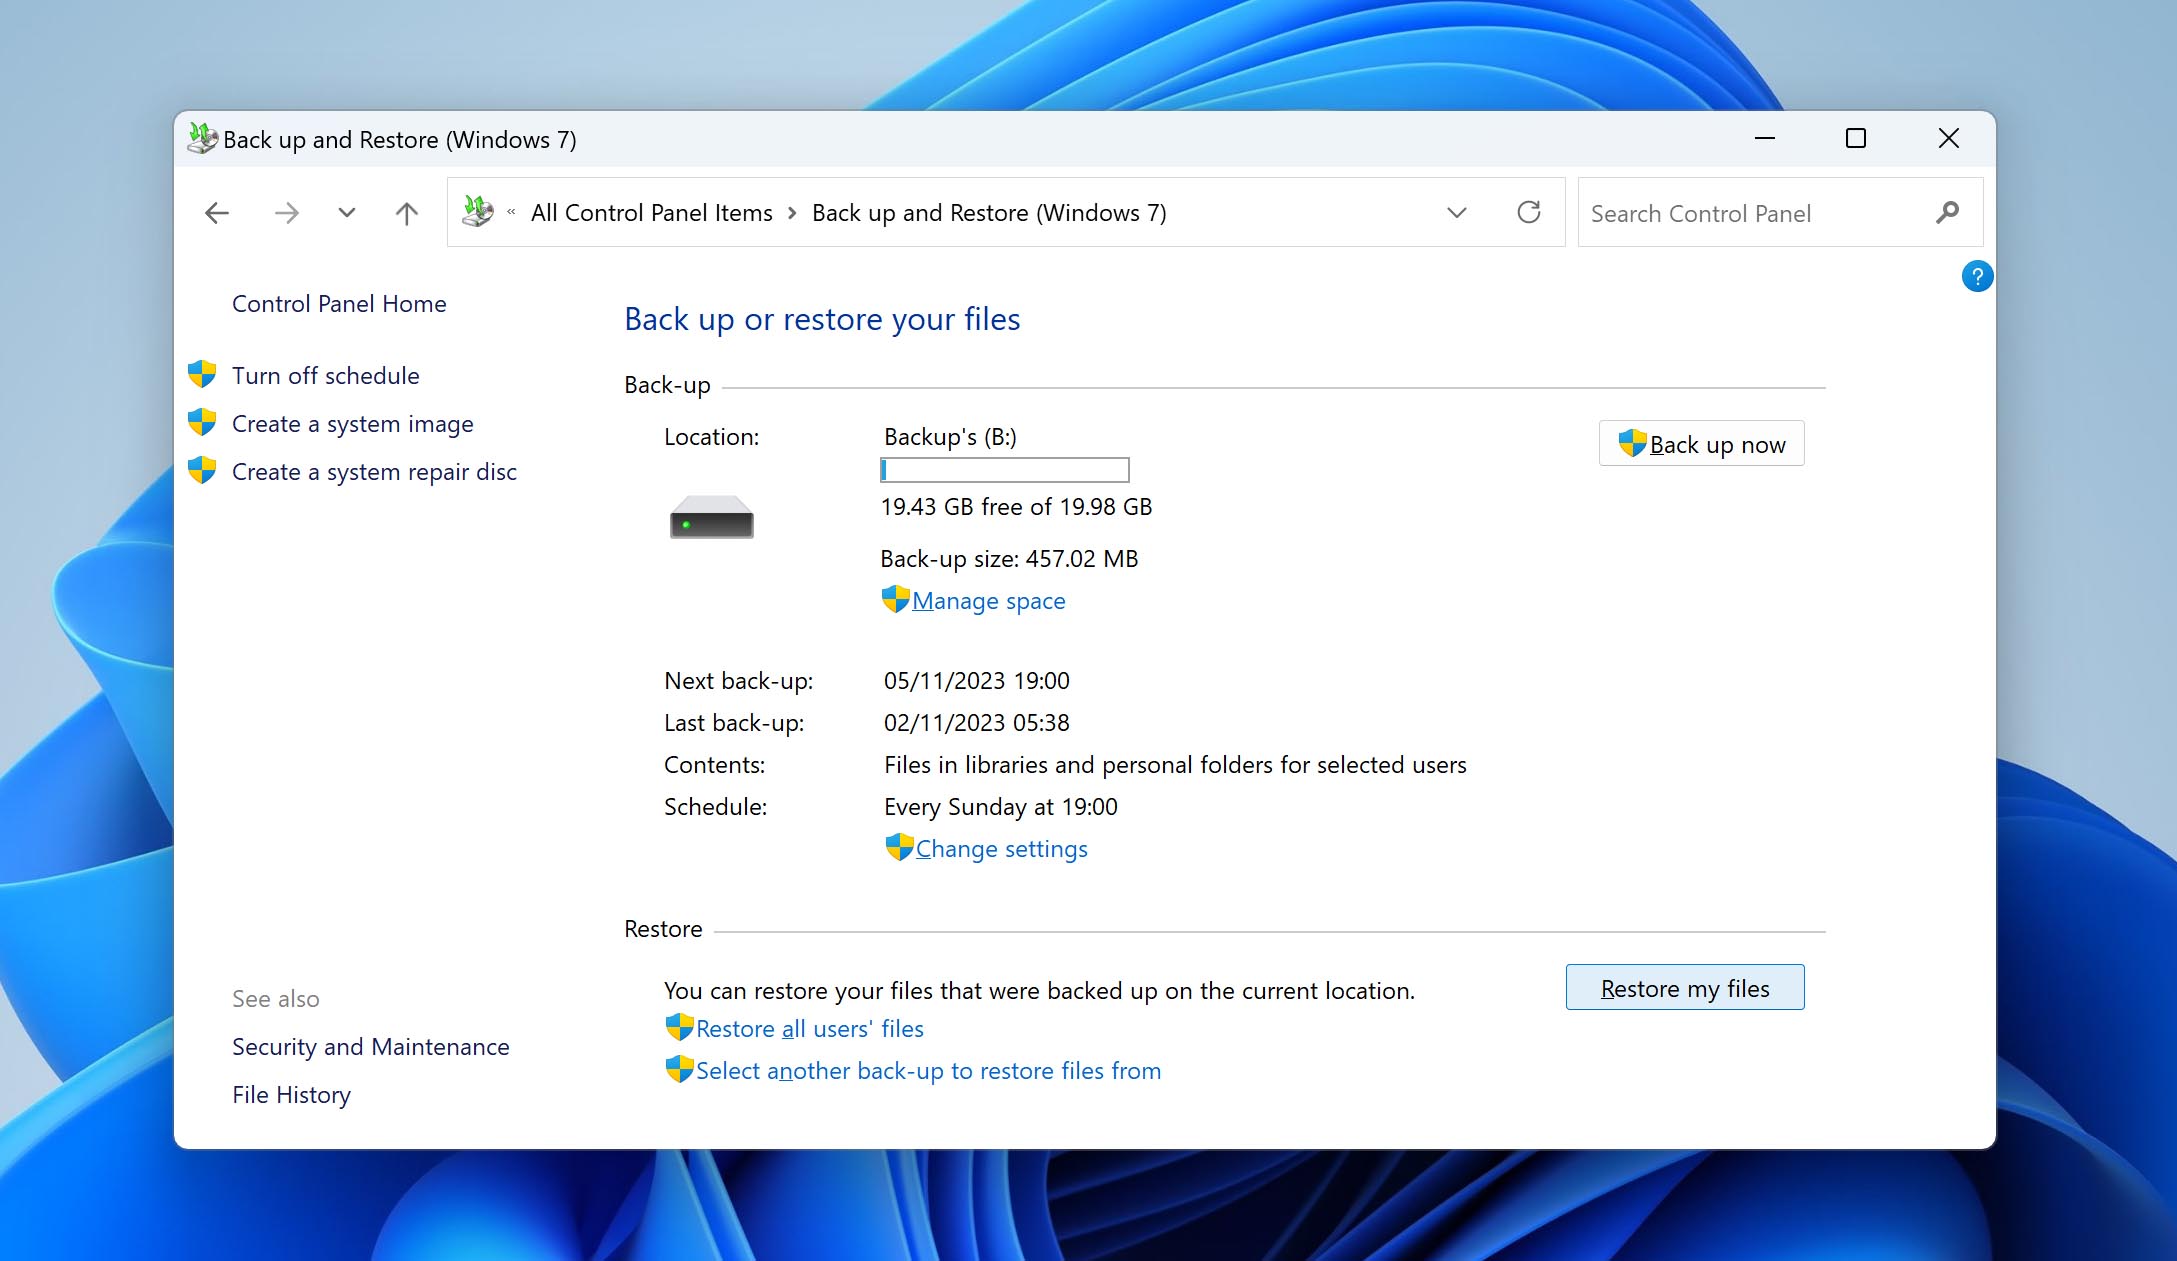
Method 4: Using Backup & Restore
Backup and Restore was the primary Windows backup utility before it was succeeded by File History. If it was enabled and configured to back up your Outlook directory before it was lost, you can restore a working copy of the PST file.
Follow these steps to restore the PST file from the Backup and Restore backup:
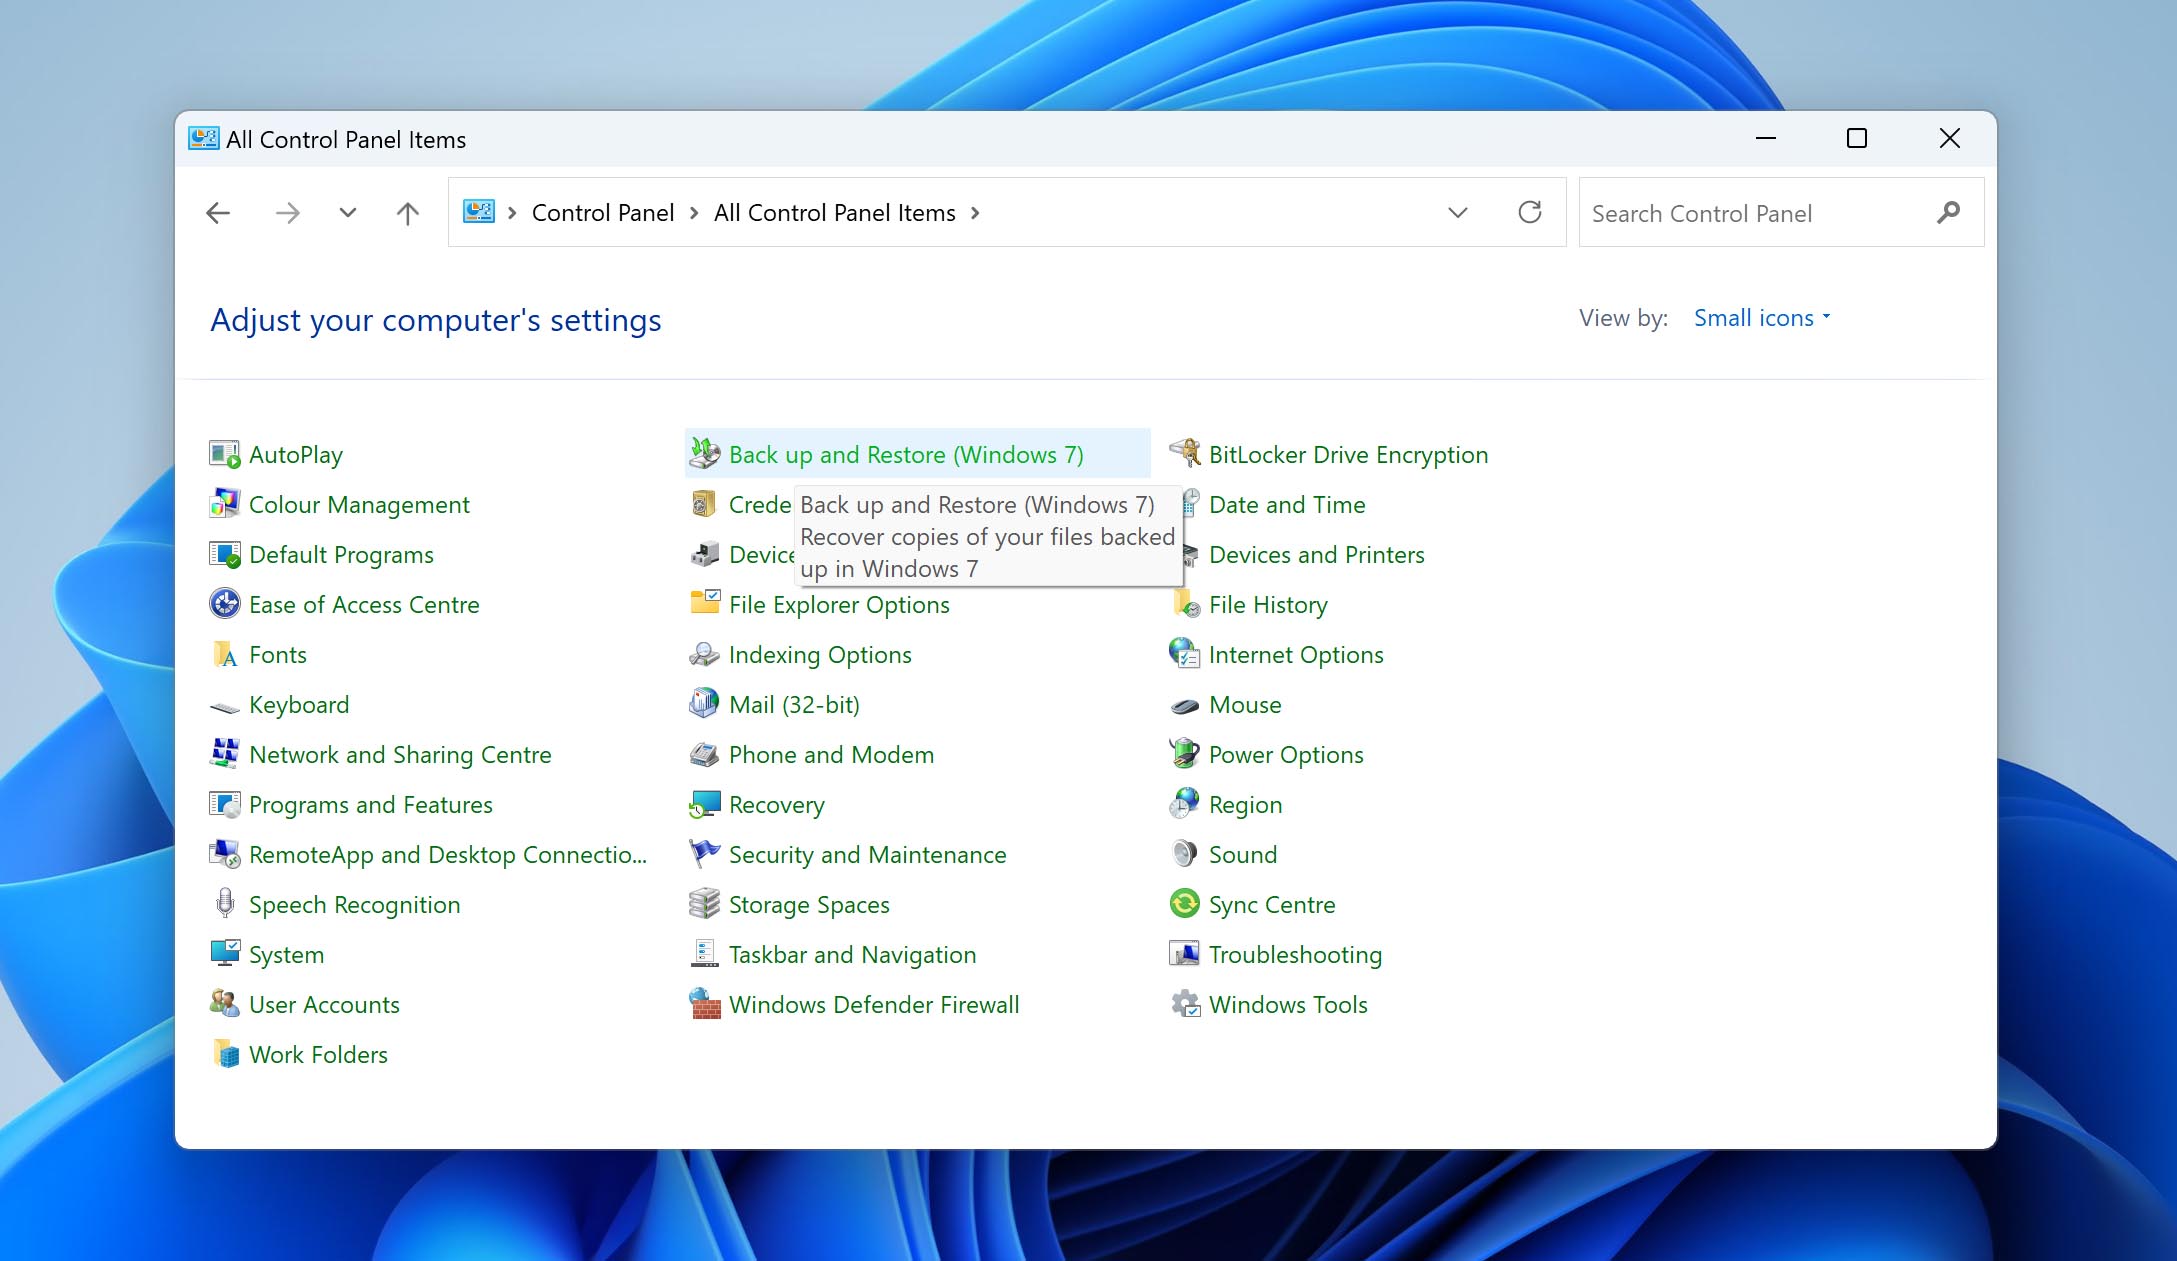
- Open Start. Search for and open Control Panel.
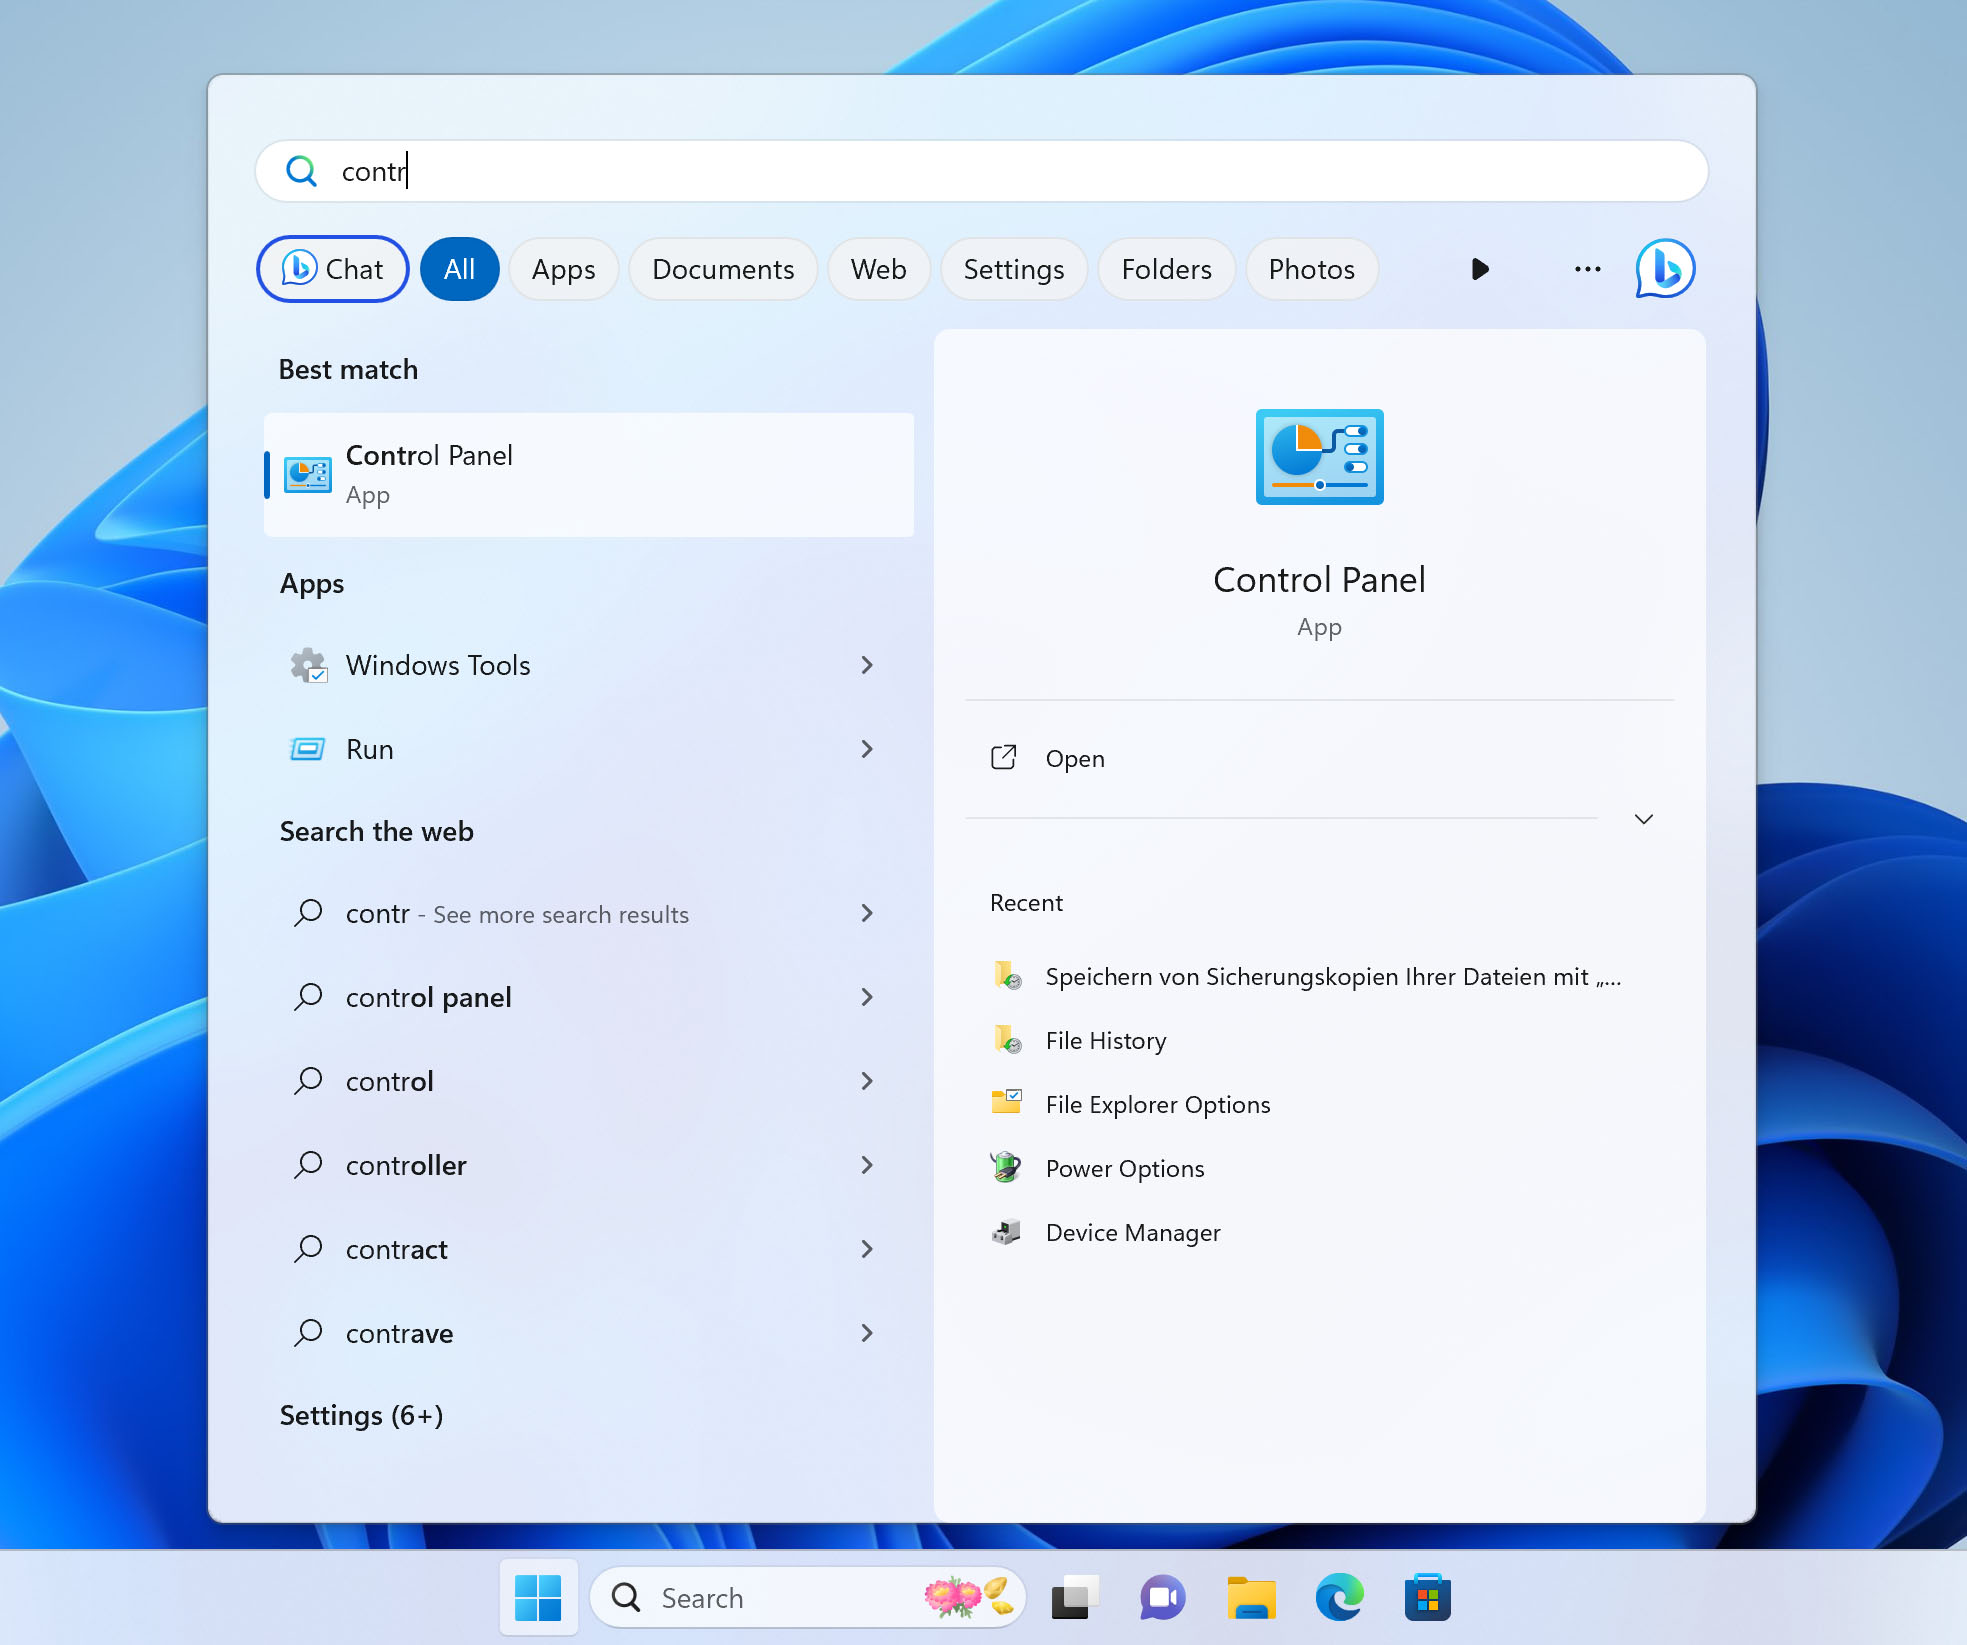
- Click Backup and Restore (Windows 7). Change the view mode if it does not appear.
- Click Restore my files.
- Click Browse for files and select your PST file.
- Click Next.
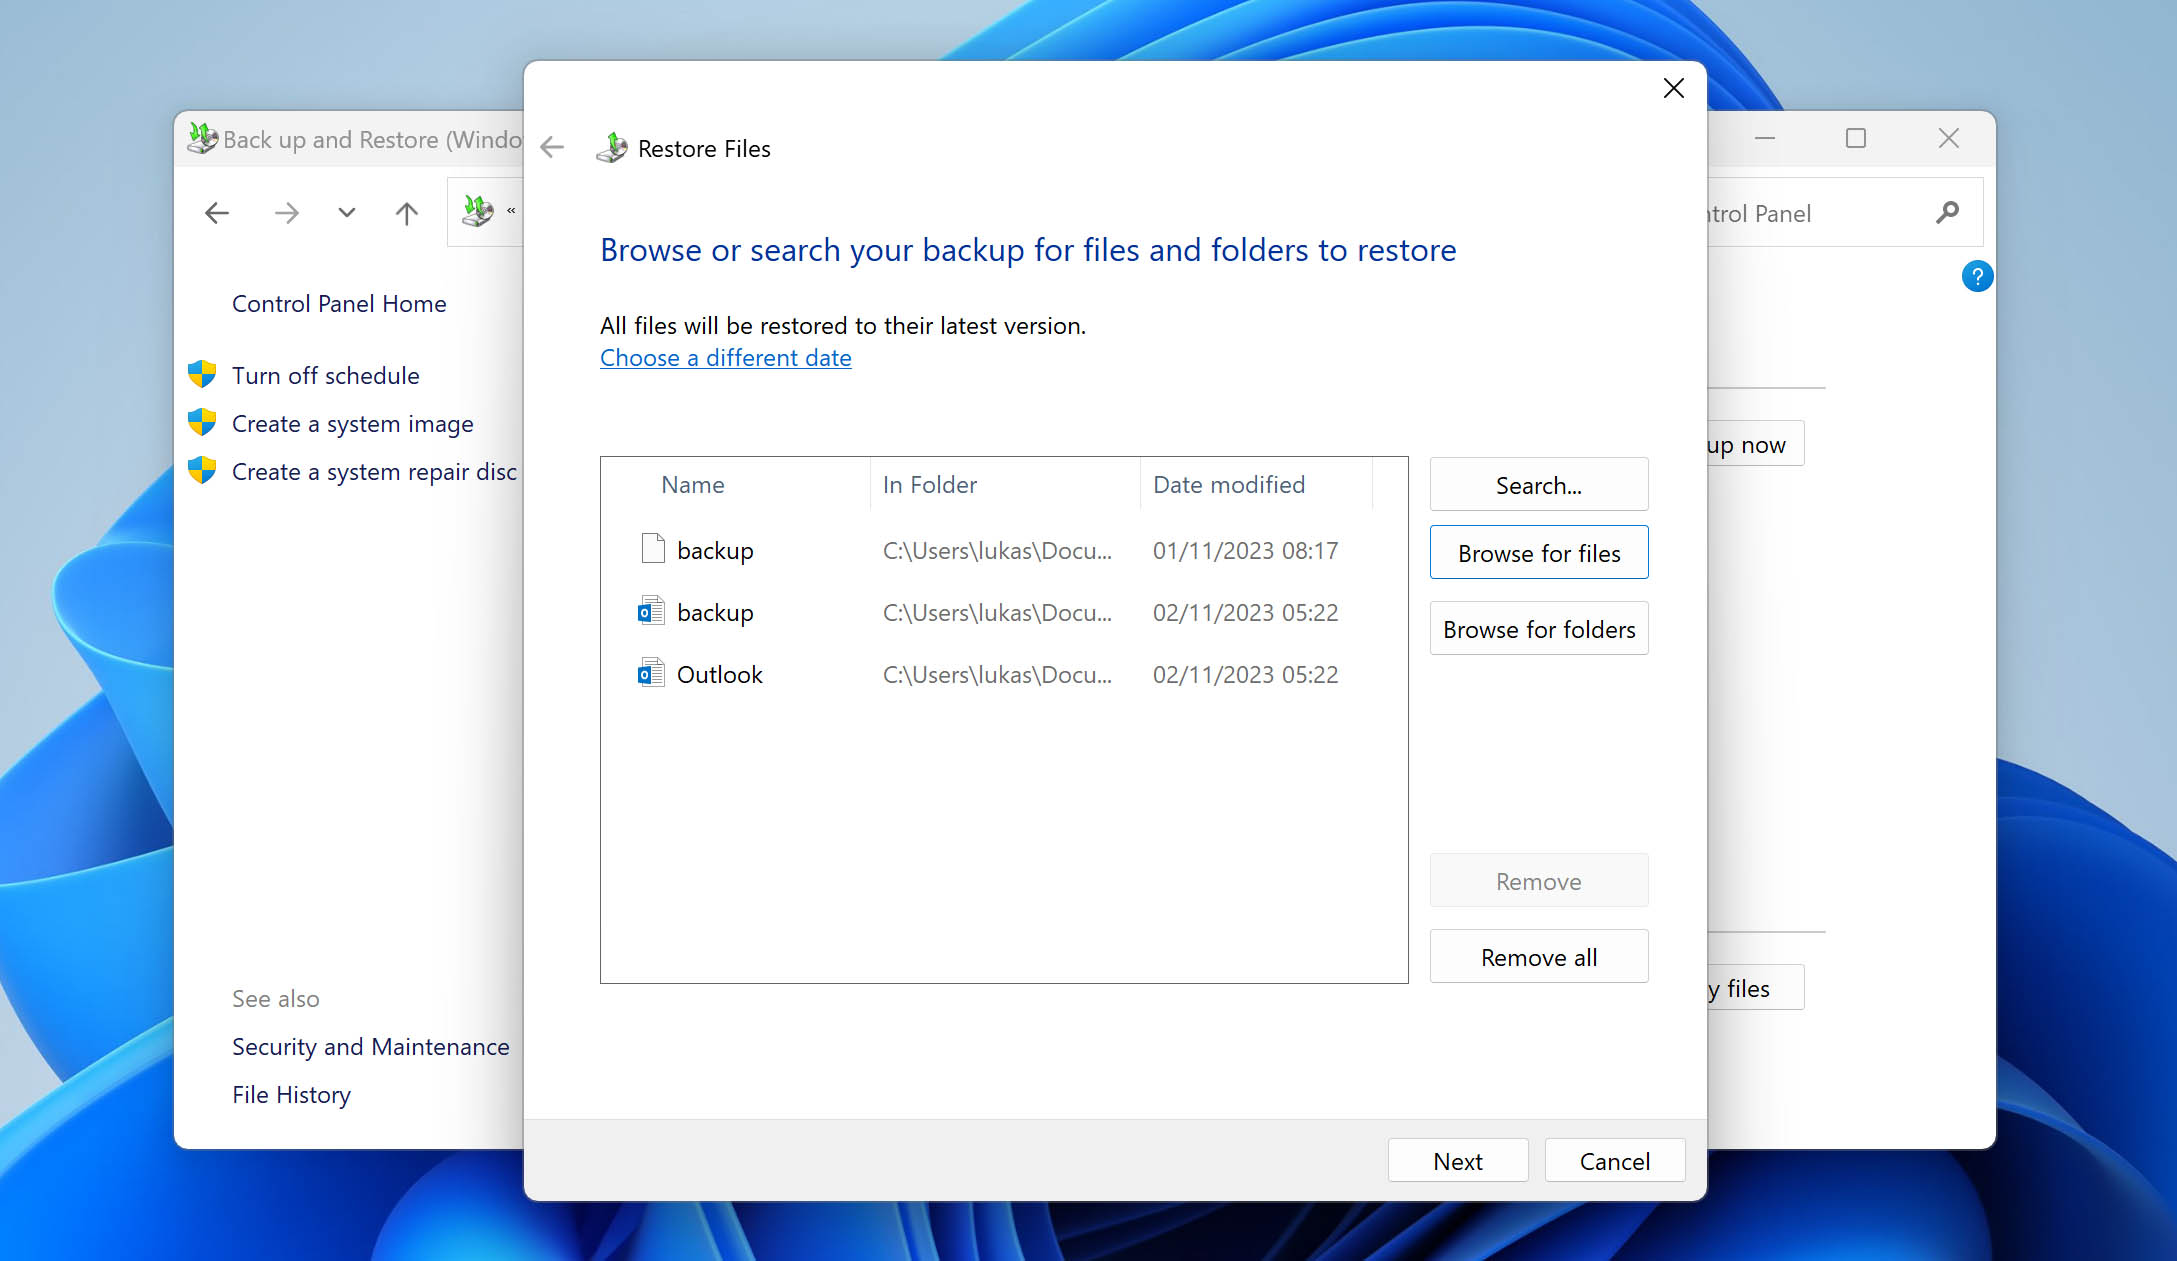
- Choose whether you want to restore the PST file to its original location or another, then click Restore.
Honourable Mention: Recover PST File Using Recovery Tool
If your PST wasn’t deleted or lost, but instead you found that it is no longer in a usable state, you can use the Inbox Repair Tool to scan your PST file for problems and repair them.
This is how you correct an unusable PST file using Inbox Repair Tool:
- Open Inbox Repair Tool (SCANPST.exe). Where it’s located depends on the version of Outlook you’re using. See the full location list to find where yours is located.
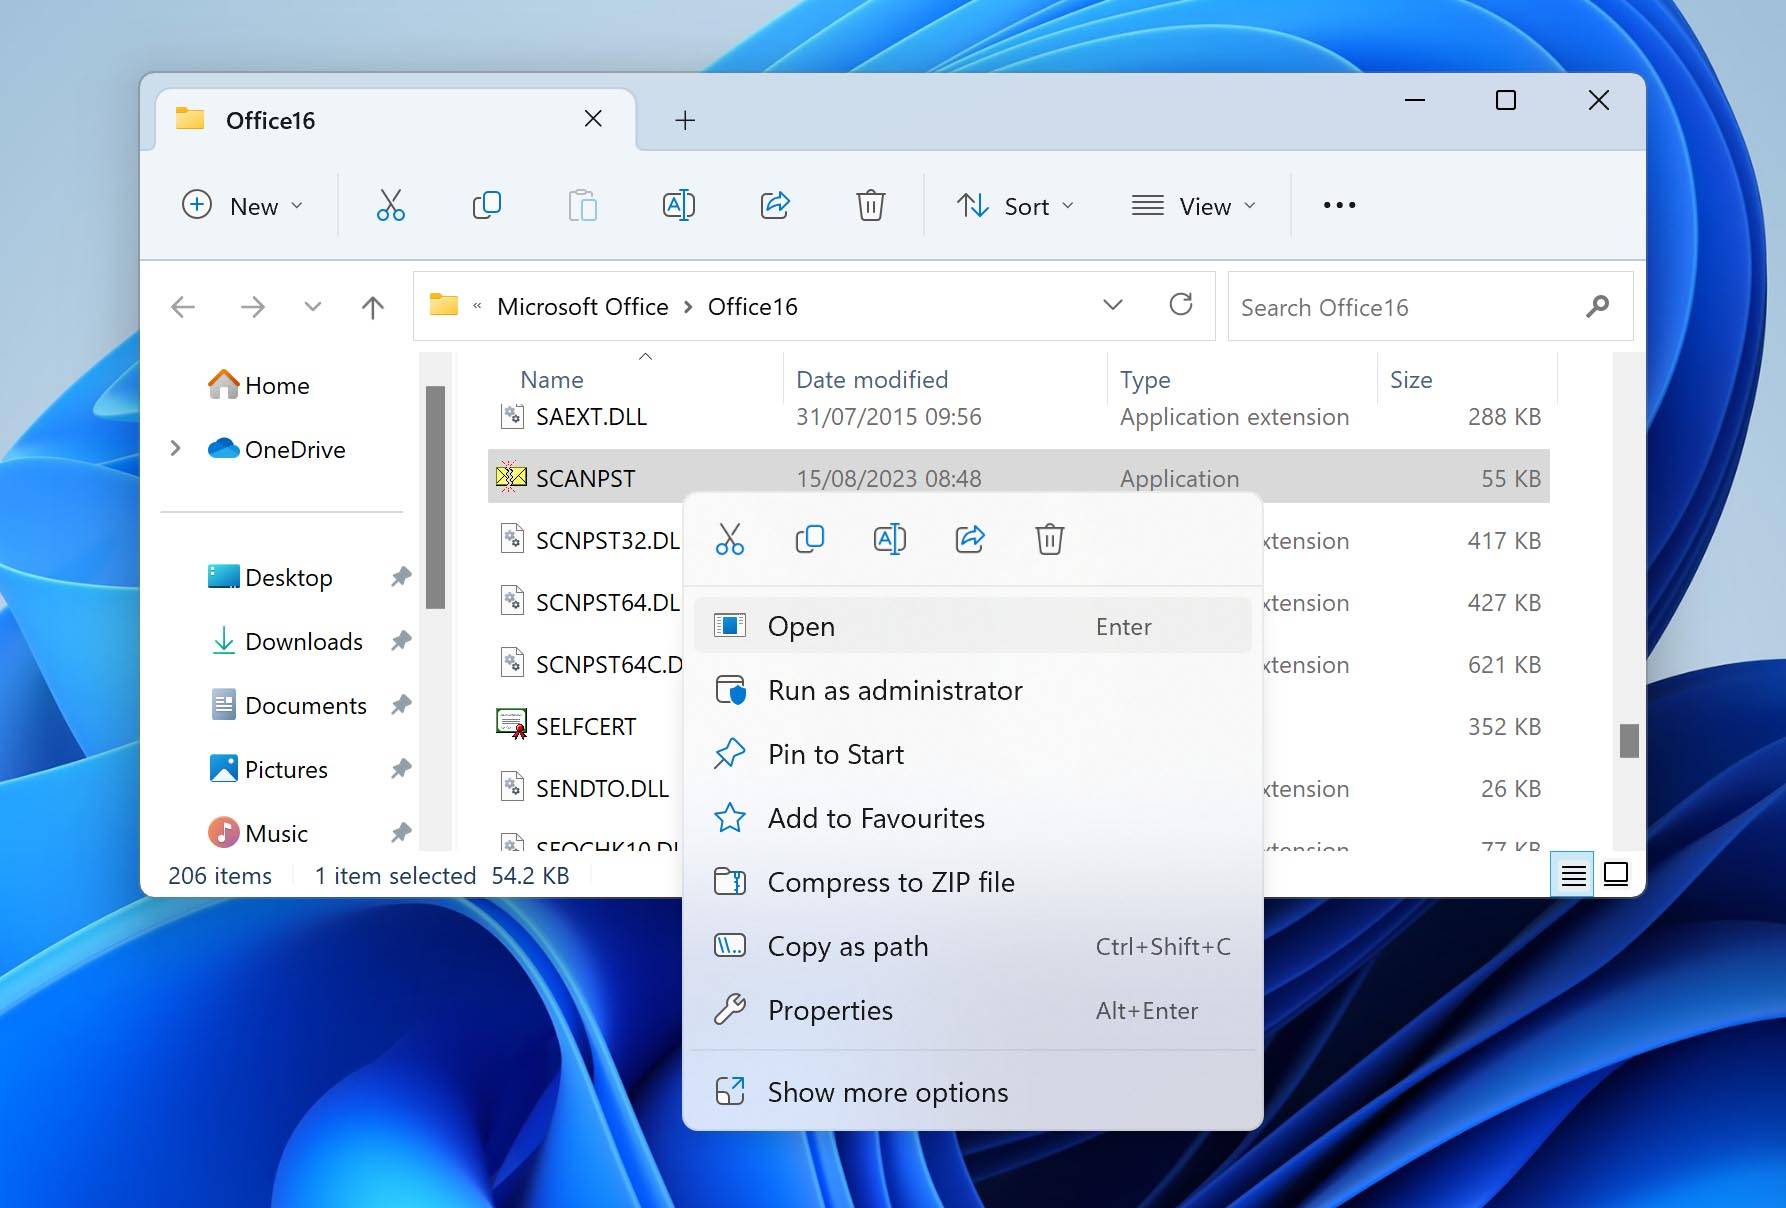
- Click Browse and select the problematic PST file.
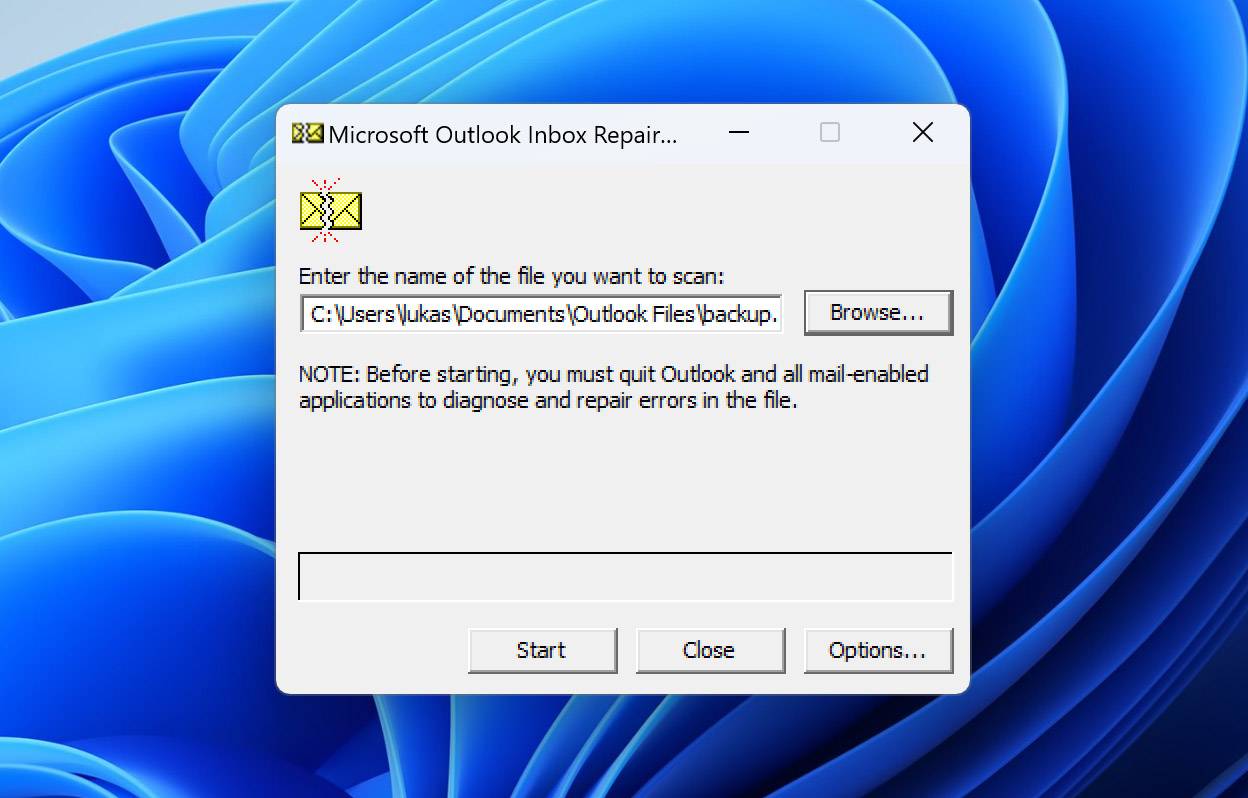
- Click Start.
- Make sure Make backup of scanned file before repairing is ticked, then click Repair.
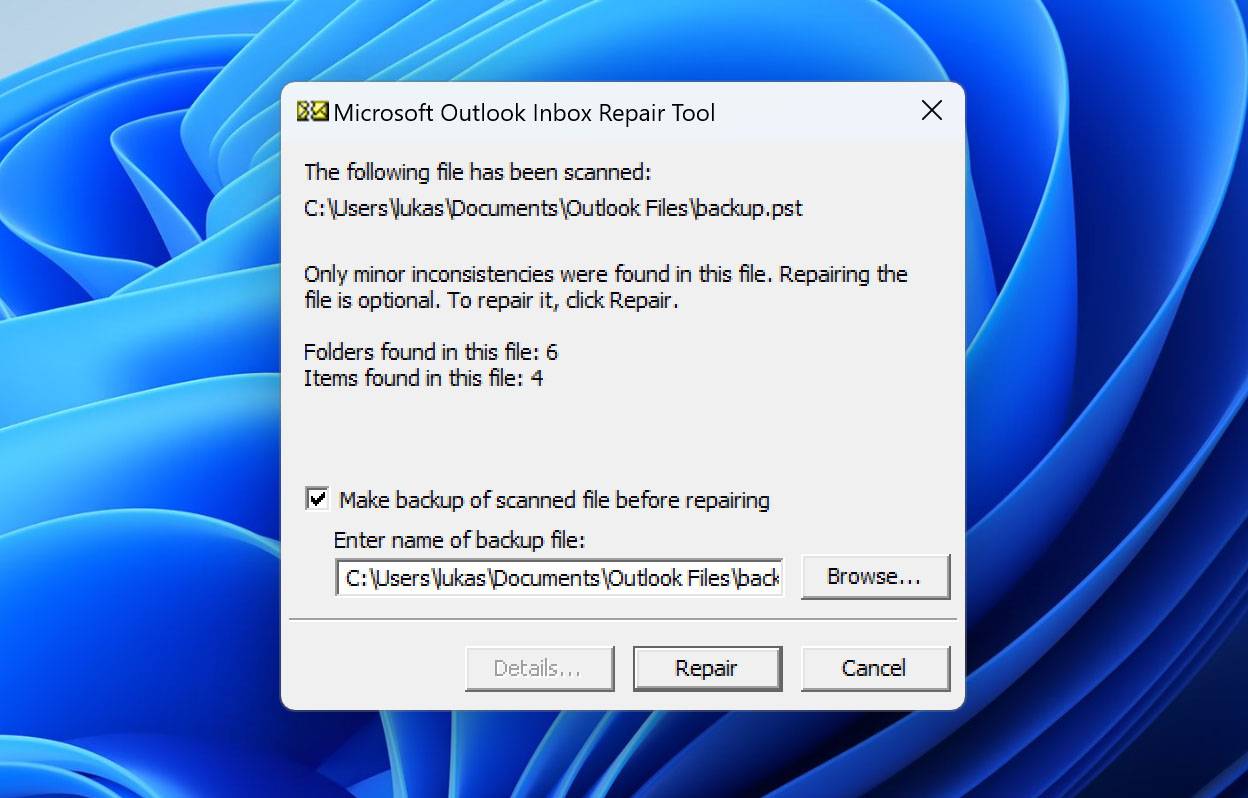
Bear in mind that you may need to run the Inbox Repair Tool multiple times to completely repair your PST file. Furthermore, it may not be able to repair every problem. If the PST file is unusable even after multiple attempts, it may not be repairable.
FAQ
How do I restore my Outlook PST file in Windows 10?
You can recover deleted PST files simply by using data recovery software, such as Disk Drill:
- Download and install Disk Drill.
- Select your drive and start the scan.
- Review the scan results and select your PST file.
- Click Recover and select an appropriate location.
How to recover .PST files from a formatted hard drive?
Following a format, all data on the drive will be in a state where it’s unusable but not completely erased. If you are unable to retrieve the PST file from a backup, we recommend using a data recovery tool to scan your drive for the recoverable PST file and restore it. If you need a recommendation, check out our list of the best data recovery apps.
Is it possible to recover PST files from a crashed hard drive?
You can try using a repair tool, like CheckDisk, to repair any issues your hard drive faces to get it back up and running. However, a crashed hard drive may have also resulted in some of your data, such as PST files, being deleted. In this case, you should look at how to recover deleted files on Windows 11 (or your version of Windows) to restore them.
How do I find PST files on Windows 10/11?
PST files created by Outlook 2013 or later will be saved in Documents\Outlook Files. PST files created by Microsoft Outlook 2007 or earlier will be saved in the hidden folder <DRIVE:>\Users\<USER>\AppData\Local\Microsoft\Outlook.
How to repair corrupted PST files?
You can repair a corrupted or damaged PST file using the Inbox Repair tool (SCANPST.EXE). Here’s how:
- Close Outlook and go to one of the following locations based on your Outlook version:
- Outlook 2019: C:\Program Files (x86)\Microsoft Office\root\Office16
- Outlook 2016: C:\Program Files (x86)\Microsoft Office\root\Office16
- Outlook 2013: C:\Program Files (x86)\Microsoft Office\Office15
- Outlook 2010: C:\Program Files (x86)\Microsoft Office\Office14
- Outlook 2007: C:\Program Files (x86)\Microsoft Office\Office12
- Run SCANPST.EXE.
- Click Browse and select your PST file.
- Click Start.
- Click Repair if the tool discovers any errors.
What is the difference between OST and PST?
Both OST and PST files are data storage files for Outlook.
PST files (Outlook Data Files) are locally stored copies of information relating to your Outlook profile and are typically associated with POP accounts. Essentially, they are backups that can be imported and exported to your liking.
OST files (Offline Outlook Data Files) are used by IMAP and Outlook 365 accounts. They are a synchronized copy of your mailbox that allows you to continue working without an internet connection. Any changes you make will be synchronized with the server upon reconnection. As is the case with PST files, you can also recover deleted OST files.
Are there PST files in Outlook 365?
Outlook 365 uses OST files in place of PST files due to their ability to synchronize ability once an internet connection has been re-established. You can, however, still choose to export to a PST file should you want a local copy of your mailbox. Outlook 365 still retains the ability to open PST files for backward compatibility with older versions.
Conclusion
Deleted PST files can easily be recovered on Windows 10 and Windows 11, even when they’re seemingly gone for good. If you find yourself in a situation where your PST file has become lost, damaged, or otherwise deleted, try restoring it from the Recycle Bin or from a backup. If neither of these options is viable for you, use a data recovery tool to take care of the job for you.
This article was written by Jordan Jamieson-Mane, a Staff Writer at Handy Recovery Advisor. It was also verified for technical accuracy by Andrey Vasilyev, our editorial advisor.
Curious about our content creation process? Take a look at our Editor Guidelines.