
It’s easy to accidentally make an unwanted change to a file or overwrite it with a different one and notice the mistake only after a long time has passed. Fortunately, it’s possible to restore a previous version of a file on Windows 10/11 using native features and third-party tools. This article details multiple methods to help you get back the original file so that you don’t have to recreate it.
How to Restore a File or Folder to a Previous Version
Both Windows 10 and Windows 11 come with a native backup and restore feature called File History. This feature saves incremental copies of files stored in the Documents, Music, Pictures, Videos, and Desktop folders on your computer, as well as the OneDrive files available offline on your PC.
If File History had been enabled when you changed or overwrote your file, then you can use it to painlessly restore the original version. Here’s how to perform a previous file recovery with it:
- Launch File Explorer and navigate to the folder where the file whose previous version you want to restore is located.
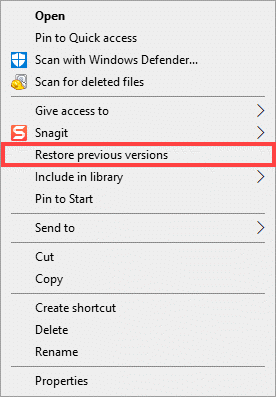
- Right-click the file you want to restore and select the Restore previous versions option.
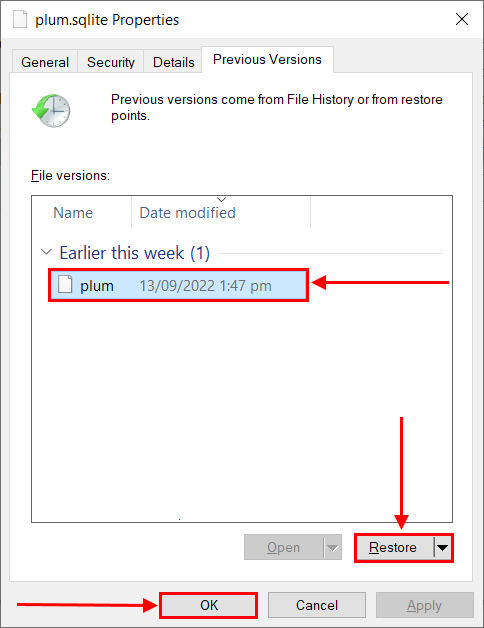
- Choose the previous version you want to restore the file to.
- Click the Restore button to restore the file to a previous version. Click OK when done.
- Verify if the file has been successfully restored.
- Launch File Explorer and navigate to the folder where the file whose previous version you want to restore is located.
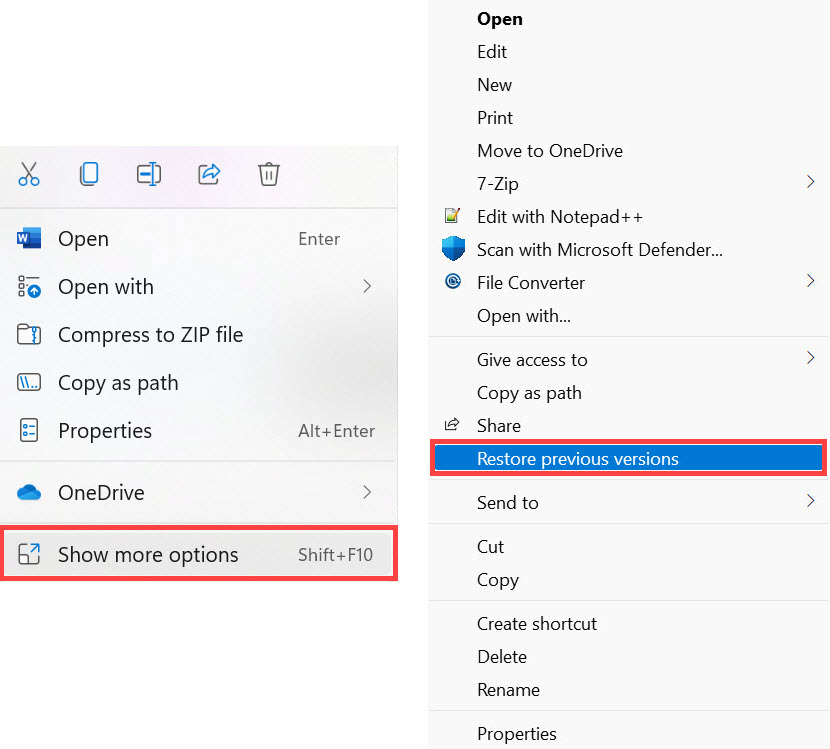
- Right-click the file you want to restore, select Show more options, and then select the Restore previous versions option.
- Choose the previous version you want to restore the file to.
- Click the Restore button to restore the file to a previous version. Click OK when done.
- Verify if the file has been successfully restored.
Note: Alternatively, you can click the down-facing caret next to Restore and select the Restore to option to avoid overwriting the current file.
That’s how to restore a file to a previous version using the File History feature. Best of all, File History can also be used to restore a folder to a previous version.
How to Recover Files Without Previous Versions in a Few Easy Steps
If no previous versions are available in File History, then you need to follow the steps below to restore the previous versions of your files.
Step #1: Search Your Windows PC
Even when it’s not possible to restore previous versions of your files using File History, there could still be older copies of your files somewhere on your Windows PC—you just need to find them using the built-in search feature in File Explorer.
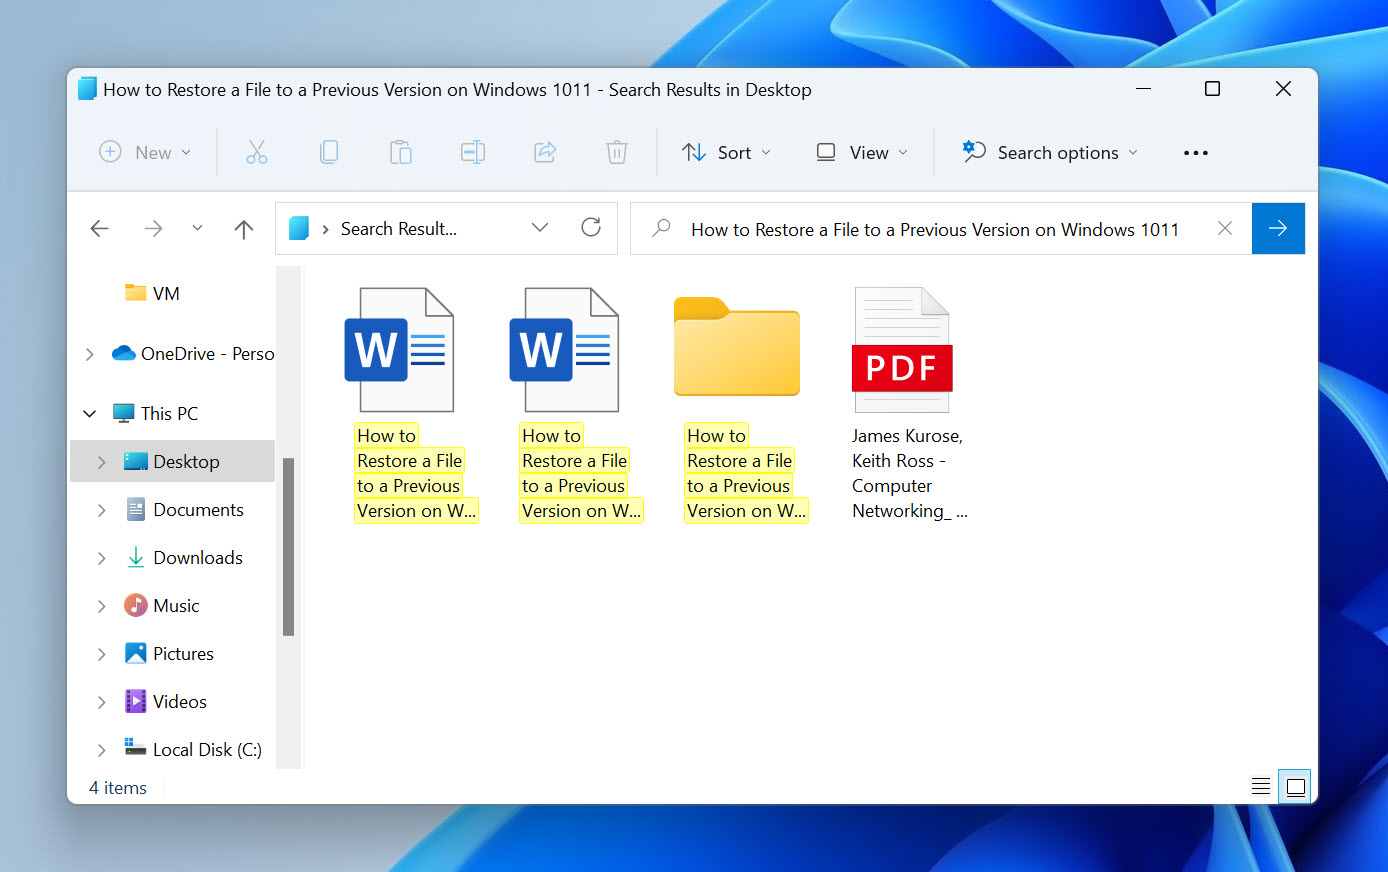
We recommend you search all folders across all connected storage devices. Pay special attention to the folder where the file you want to change back to an earlier version is currently located, and don’t forget to look inside the Downloads folder as well.
Step #2: Retrieve Your File from OneDrive
Many Windows 7/10/11 users back up important files, especially Excel, Word, and PowerPoint documents, to Microsoft’s cloud storage service, OneDrive. What’s great about OneDrive is that it keeps the version history of backed-up files, allowing you to revert a file to a previous version from anywhere and on any device. This is how:
- Go to: http://onedrive.com/
- Sign in to your OneDrive account.
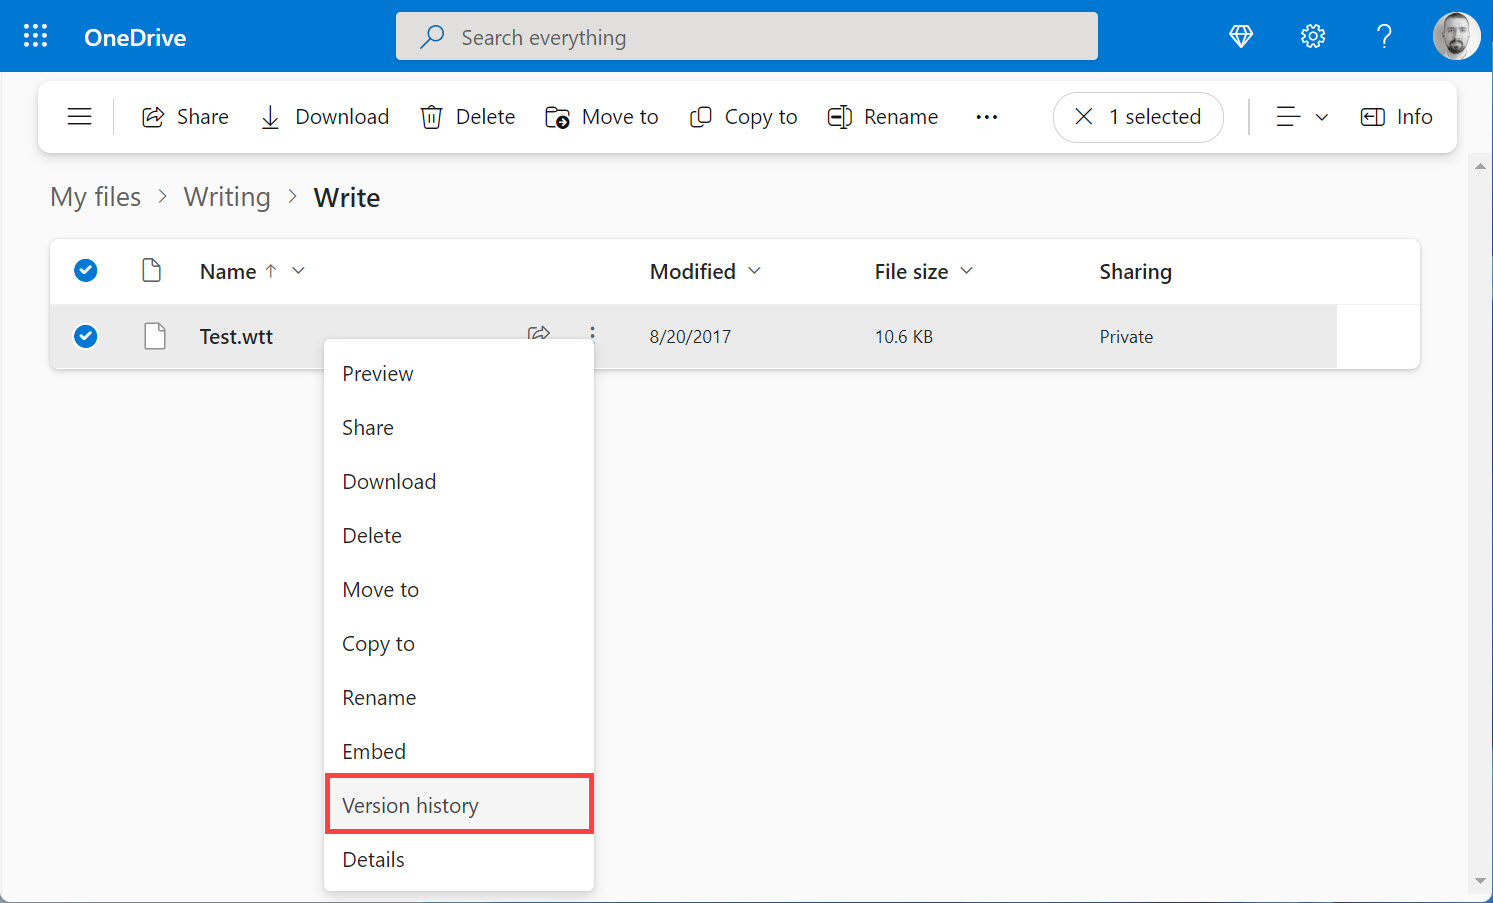
- Right-click the file you want to restore and choose.
- Choose the Version history option.
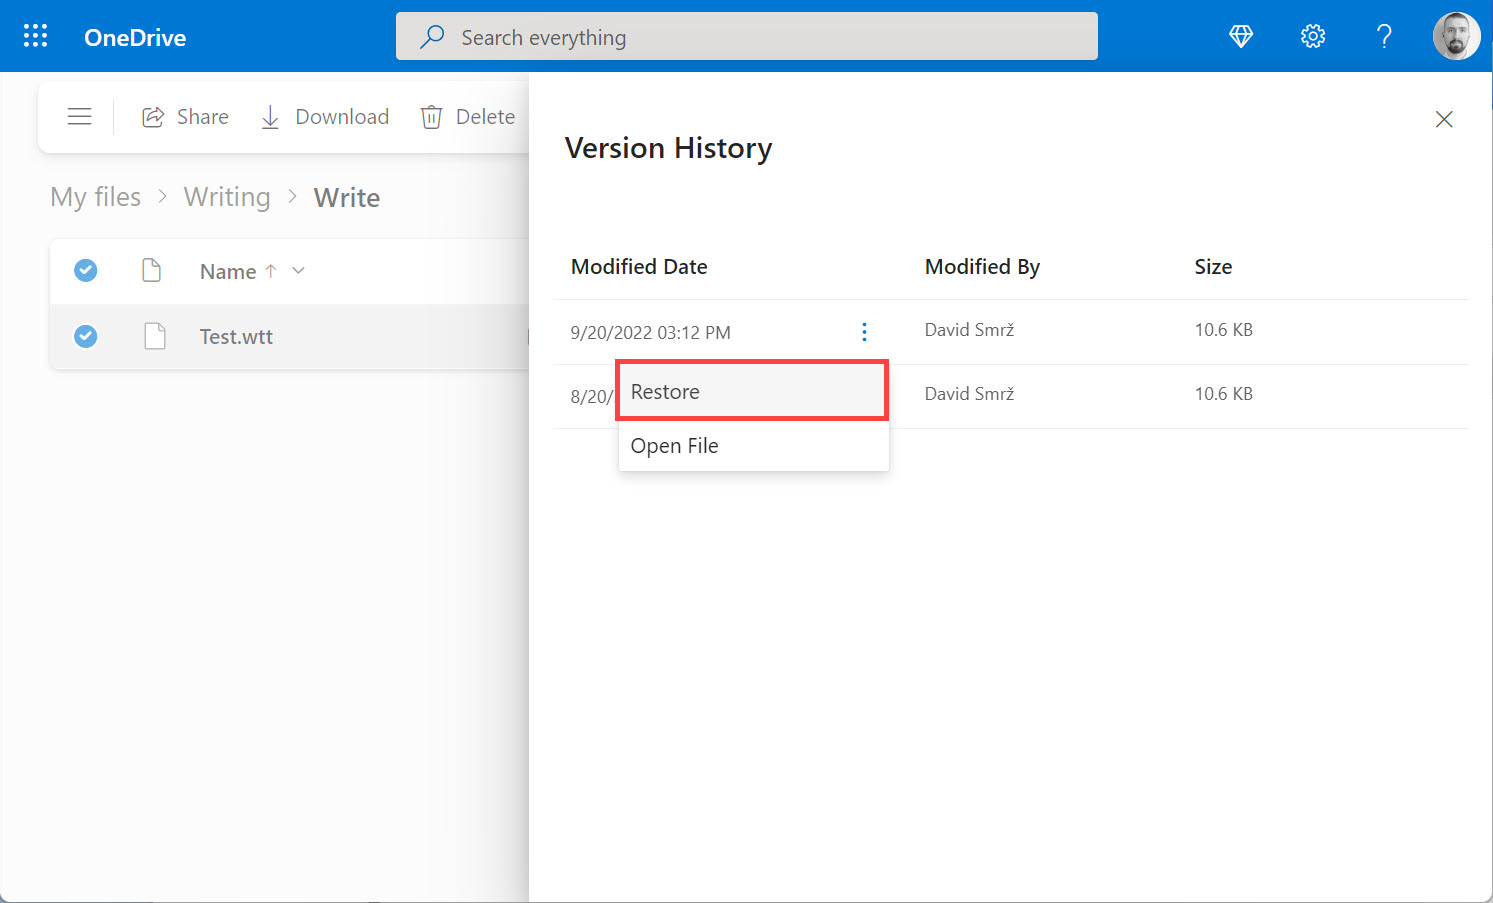
- Select the version you want to restore, click the three vertical dots, and select the Restore option.
In addition to its ability to recover overwritten files to previous versions, OneDrive can also be used to recover cloud backups of permanently deleted files.
Step #3: Check the Windows Backup and Restore Feature
Since Windows Vista, all versions of Microsoft’s operating system have come with a backup component called Backup and Restore. This feature can back up files and folders, create system images, and recover data in the event of data corruption, storage device failure, or malware infection.
To check the Windows Backup and Restore feature:
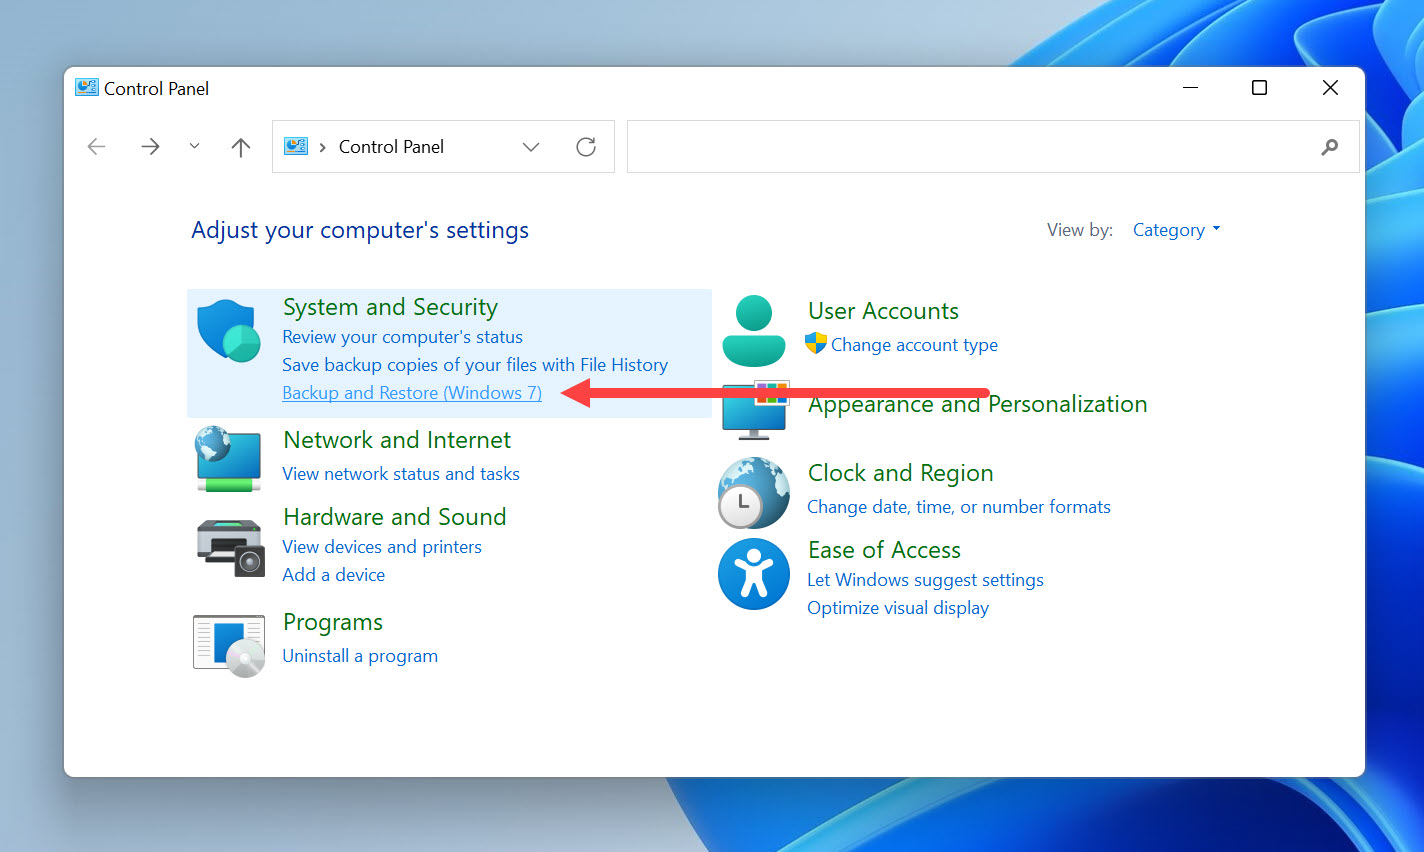
- Open the Start menu.
- Type “control panel” and press Enter to launch the Control Panel app.
- Navigate to System and Maintenance > Backup and Restore.
Note: Backup and Restore won’t work unless it has already been set up on your Windows PC.
Step #4: Restore Permanently Deleted Files With a Recovery Tool
Have you exhausted all native ways to restore files to their previous versions and still no luck? Then it’s time to give data recovery apps a try. With their help, you can restore permanently deleted files, including older backup copies that have been deleted a while ago and are no longer present in the Recycle Bin.
There are many data recovery apps you can use as a Windows user, and we recommend Disk Drill for Windows (read its full review) because it offers:
- 🖌️ Modern user interface designed with regular Windows users in mind.
- 🧠 One-click smart data recovery process.
- 🗃️ State-of-the art-data recovery algorithms with support for hundreds of file formats.
- 🖼️ The ability to preview recoverable files.
- 💿 Extra backup and data protection features.
Here’s how to restore permanently deleted files with Disk Drill for Windows:
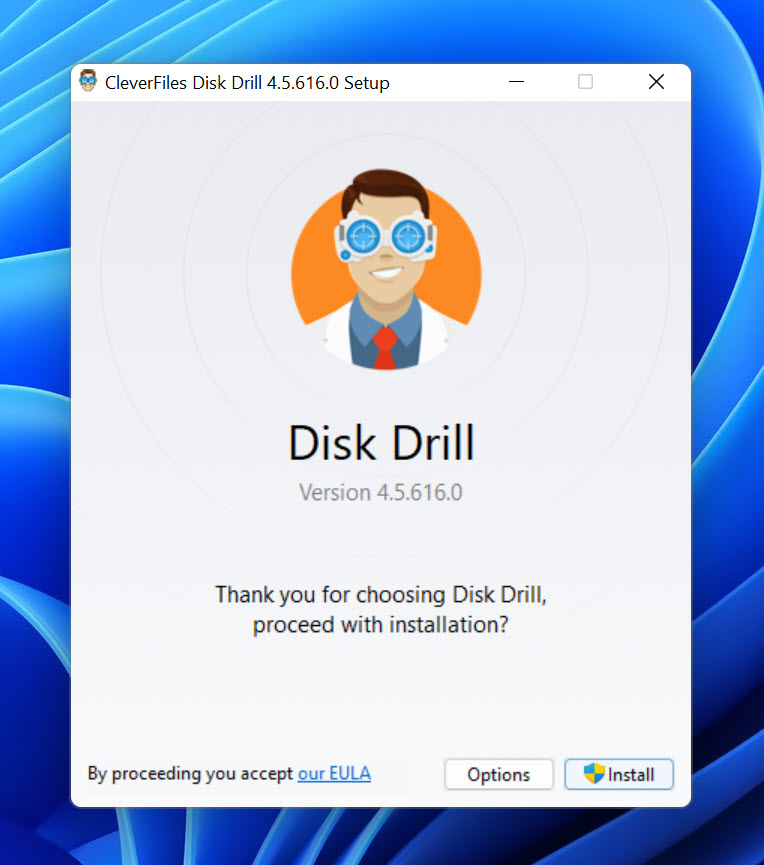
- Download the data recovery software from its official website.
- Open the downloaded installer and follow the instructions.
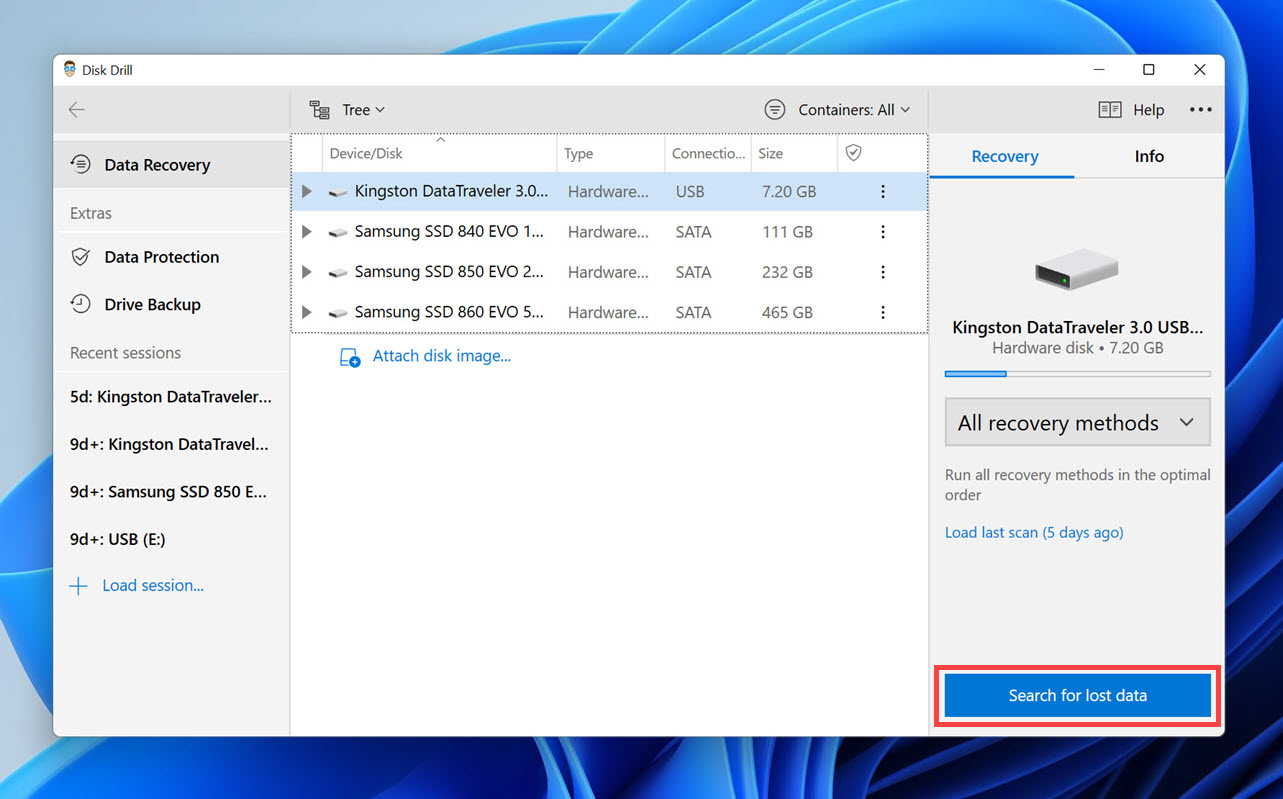
- Launch Disk Drill and select the storage device where the permanently deleted files you want to restore were last located.
- Click the Search for lost data button to initiate a scan.
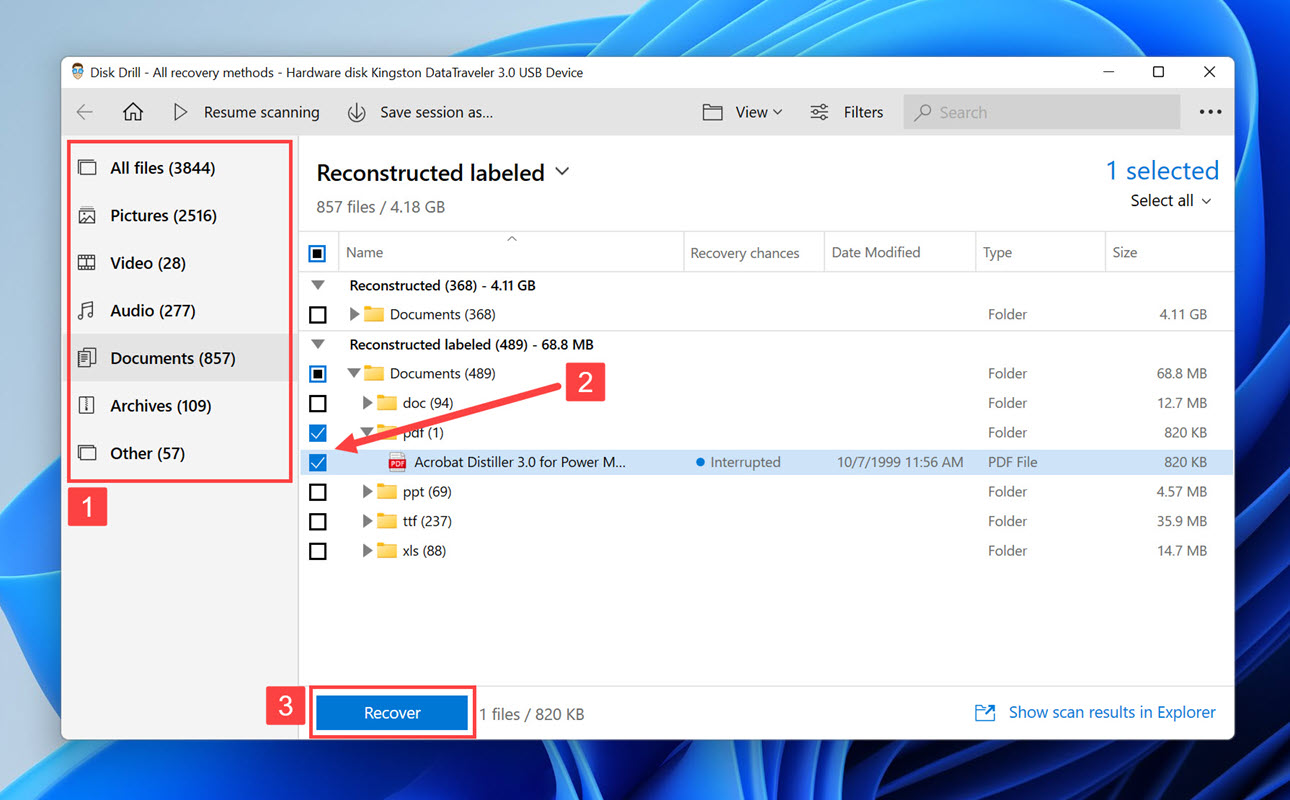
- Wait for the scan to finish and then go through the scan results.
- You can use Disk Drill’s search feature and filters to narrow down the scan results.
- Select the files you want to recover.
- Click the Recover button.
- Specify a suitable recovery destination (you should never recover files to the drive from which you’re recovering them).

- Confirm to complete the recovery process.
Tip: Disk Drill can also help you recover files lost during cut and paste.
FAQ
What does restore previous versions mean?
Backup solutions like File History and OneDrive store multiple versions of files to make it possible for users to restore their previous (older) copies.
Why is restore previous version not available?
If the restore previous version option isn’t available, then it’s likely that the File History backup feature hasn’t been enabled.
How to restore a file back to its original format?
You can restore an accidentally modified or damaged file back to its original format by replacing it with an older copy created by File History or OneDrive.
How to change the default app to open a file?
If you want certain files to open by default in specific apps, then you need to change the default program settings:
- Windows 11 and 10: Start > Settings > Apps > Default apps
How to restore a previous version of Windows 10?
After upgrading to Windows 10, you can go back to the previous version from Settings > Update & security > Recovery.
How to retrieve previous versions of Word or Excel documents?
There are multiple ways to retrieve previous versions of Word and Excel documents, including the AutoRecover feature and third-party recovery tools like Disk Drill.
How to recover deleted or unsaved WordPad documents?
Deleted or unsaved WordPad documents can be recovered using the same data recovery techniques and solutions as all other files, including:
- Data recovery software
- File History
- Recycle Bin
Conclusion
Windows 10 and 11 users can use multiple methods to restore previous versions of files. They can restore files with File History, retrieve them from OneCloud, or use the Backup and Restore feature. Should all native recovery options fail, they can call in reinforcements in the form of data recovery software like Disk Drill.
This article was written by David Morelo, a Staff Writer at Handy Recovery Advisor. It was also verified for technical accuracy by Andrey Vasilyev, our editorial advisor.
Curious about our content creation process? Take a look at our Editor Guidelines.