
As often as a scenario it is, there’s very little we can do to prevent data loss in many circumstances. But have you wondered how to restore files you have deleted by accident? Have you also considered how convenient it will be to recover files from an operating system like Windows Vista – which many describe as outmoded?
Regardless of what the situation is, there’s no need to worry as there’s a chance to recover deleted files on Windows Vista, using methods that have worked for many users faced with a similar issue.
Is it Possible to Recover Deleted Files from Window Vista?
Yes. There are a variety of reasons why anyone will delete files from their PC, but what you probably don’t know is that files that have been deleted are not necessarily gone forever. Realistically, files deleted recently are not erased from your computer’s hard drive, unless they are overwritten by new data.
Keep in mind that you need to act quickly and recover your data before it gets overwritten. Do not use the device in question until you read this article.
Can one restore “permanently deleted folders” on windows vista? #dontask
— Karl Carpenter (@KarlCarpo) May 2, 2013
Recovering Files from Recycle Bin in Windows
When you delete files from your local drive, the files are stored in the Recycle Bin until its emptied. Before we discuss other methods of recovering your deleted files, we will assume that you have already checked the Recycle Bin for traces of your file. In case you haven’t done that, follow these steps to recover data from the Recycle Bin.
- Double-click on the Recycle Bin icon on the desktop.
- Identify the files you intend to recover and select them.
- Right-click on the files and select the Restore option.
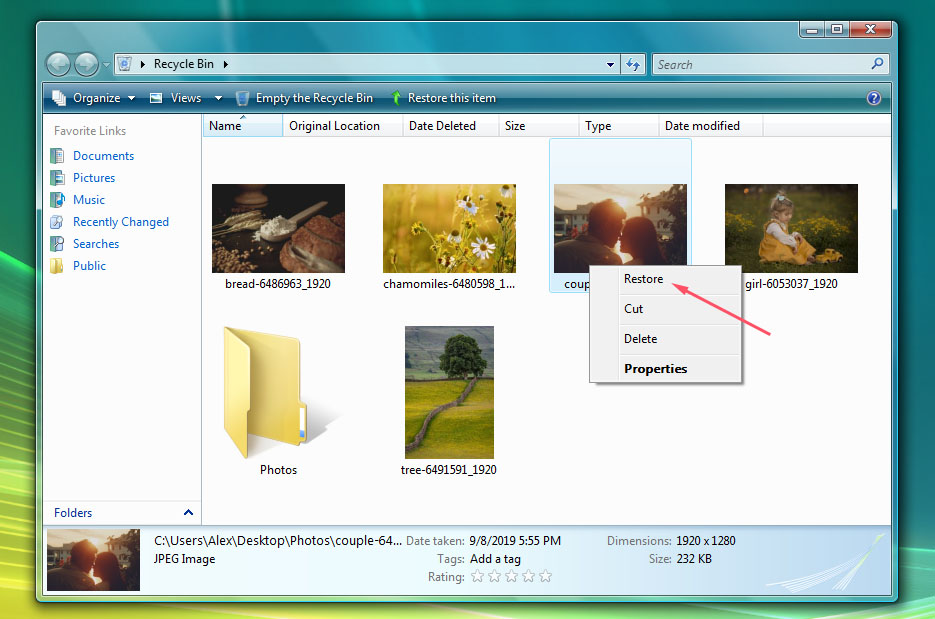
The selected files will be restored to their original locations. However, if you desire to restore them elsewhere on your PC, you can drag the files from the Recycle Bin and drop them in a folder or location you prefer.
Restore Deleted Files on Windows Vista Using Data Recovery Software
In instances where the above methods fail to recover your files, professional data recovery software is highly recommended, especially for retrieving files that have been permanently deleted. Unlike other methods of recovering your data, using data recovery software offers a lot more efficient and customizable options for the recovery of your deleted files.
Taking a cue from previous use and experience, we suggest using Disk Drill Data Recovery to help recover missing Windows Vista files.
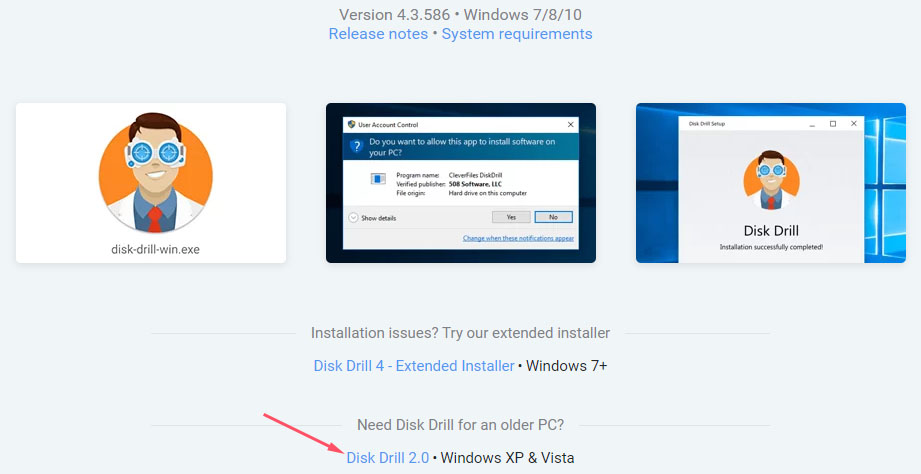
Please note: To use Disk Drill on Windows Vista, you need to download an earlier version of the software, Disk Drill 2, which can be downloaded here. If you intend to use a newer version of Disk Drill, for instance, Disk Drill 4 to recover your lost data, the device must be connected as an external drive to a computer running Windows 7 SP1 version or later.
We also have an article on Windows data recovery that covers all recent versions of the OS, including Windows 10, 11, 8 & Windows 7.
The following steps will guide you through the process of installing and restoring deleted files with Disk Drill.
Step 1: Download and Install Disk Drill
Besides Disk Drill, there aren’t too many data recovery software to help you recover files on Windows Vista. The next step after downloading the Disk Drill application is to install it on your device, but we recommend doing this on an external hard drive.
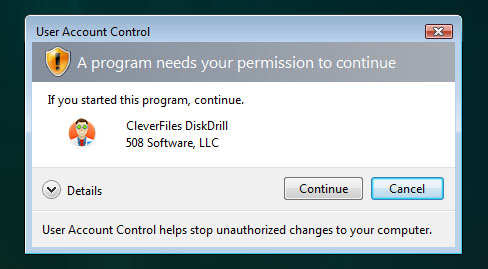
Step 2: Launch Disk Drill
The next step is to launch the Disk Drill app. When prompted to make changes to your device, click Yes.
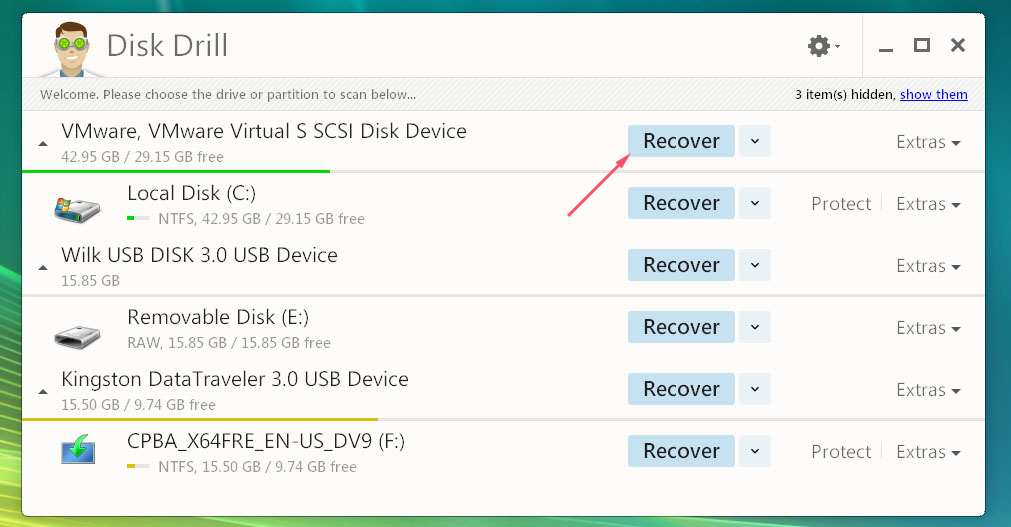
Step 3: Select Drive and Scan for Lost Data
Once the Disk Drill app is launched, a list of available partitions will be displayed. Select the appropriate drive from where you intend to recover the deleted files. For example, if your deleted files were previously in drive D, select it and click the Recover button.
The scan process will begin by searching for your lost files. Depending on your preference, you can choose between the available modes (Quick and Deep) for scanning your files. Nonetheless, we recommend using all recovery methods. The volume of the drive being scanned will determine the time of completion.
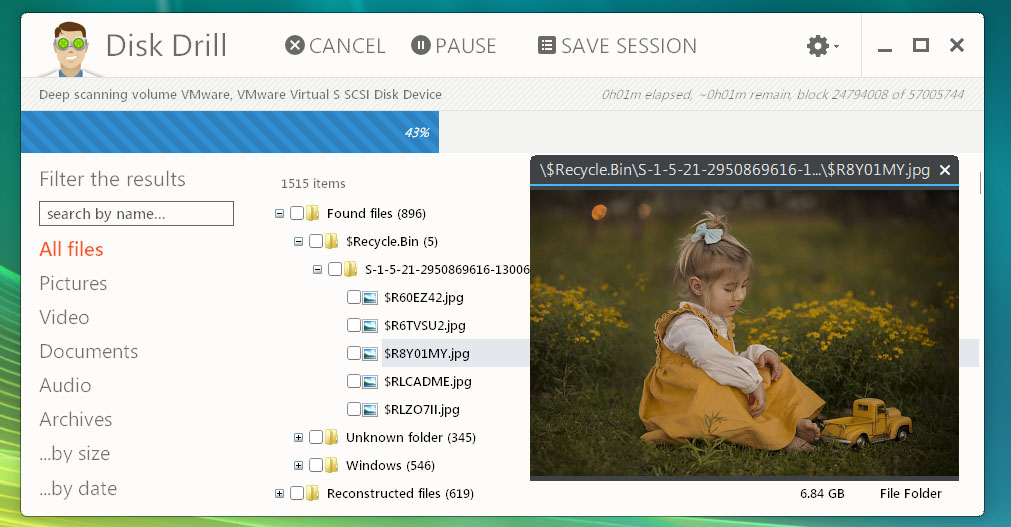
Step 4: Preview Deleted Files
Recovered files are typically organized in various file formats to make it easy to filter results. You can preview recovered files with Disk Drill once the scan is complete. Simply identify and select all the files you intend to keep with the Disk Drill files preview feature.
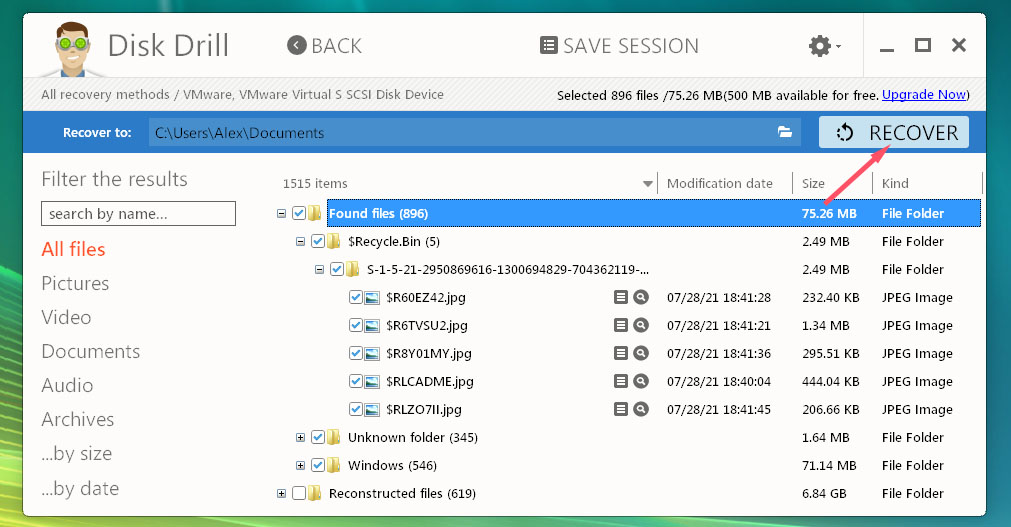
Step 5: Recover Deleted Files
After you select the files you wish to keep, proceed to click on the Recover button. A dialogue box immediately pops up on the screen to allow you to choose your desired recovery location. We recommend selecting a location different from where the files were recovered.
Disk Drill has several amazing features to make the recovery of your data simple. Features such as free S.M.A.R.T. Disk Monitoring, Data Recovery Vault, Byte-to-byte disk and partition backup offer additional ways to help keep your data secure.
FAQ
Where do permanently deleted files go?
Permanently deleted files are removed from the file system tables, meaning that they may be inaccessible but are instead present on the hard drive.
This is why it’s possible to recover deleted files after they have been wiped out of the Recycle Bin. But in instances where you have files installed on an SSD running Windows Vista, you may get feedback saying that there are no deleted files.
Typically with SSD TRIM, once a deleted command is issued, the blocks where the files are stored can be immediately wiped. This is the reason why the chances of recovering data on SSD are low.
Data recovery software such as Disk Drill and EaseUS will be needed to recover such files, but you must halt the use of your device to increase the chances of recovery.
Can you recover permanently deleted files from Recycle Bin?
Yes, you can. Removing files that have been trashed out in the Recycle Bin renders them permanently deleted.
How do I recover deleted photos on Windows Vista?
There are several ways to recover deleted photos on Windows Vista, just as you may recover other files. The most reliable of them is data recovery software.
Conclusion
When dealing with data loss, the best practices can often save you time and money. When considering the influx of information on the internet, identifying the best solutions for recovering data could prove very difficult, so this article is useful.
We have gathered the relevant pieces and have described the best methods for recovering your deleted files in Windows Vista. Also, keep in mind that data recovery software such as Disk Drill can be used to back up your data securely. You should also discontinue the use of your device immediately when you notice that your files have been deleted.
This article was written by Michael Alimo, a Contributing Writer at Handy Recovery Advisor. It was also verified for technical accuracy by Andrey Vasilyev, our editorial advisor.
Curious about our content creation process? Take a look at our Editor Guidelines.