
Losing your documents can be a real hassle. Frequent data loss culprits include a variety of reasons like system crashes or data corruption. If you have lost your WordPad document, stay tuned.
The following article will guide you through various methods that tell you how to recover your deleted/unsaved WordPad document.
Is WordPad Still Worth Using?
🗒️ WordPad is one of the most straightforward and user-friendly word processing programs. This accessible text editing tool provided by Microsoft Windows lets you draft and edit letters, notes, posters, and other text documents. Since Windows ’95, WordPad has been a regular built-in program in all Windows versions, including Windows 11, 10, 8, and 7.
Many continue to use WordPad due to its simplicity and efficiency. As opposed to Microsoft Word, WordPad is a free tool.
Moreover, WordPad also provides more features when compared to Notepad:
- WordPad lets users make formatting changes such as font styles and sizes.
- WordPad is compatible with both .rtf and .txt formats. However, Notepad majorly stores files in the .txt format.
Does WordPad Have an Autosave Function?
Unfortunately, WordPad does not come with an autosave function.
You will have to save manually by going to Files > Save > Type the File Name> Choose Desired File Location > Click Save. You may also save periodically by pressing Ctrl + S as you work.
Your Guide for Unsaved/Deleted WordPad Document Retrieval
The Case | Objective | Solutions |
My WordPad document crashed | I need to retrieve an unsaved WordPad document | Recover with Temp Files |
I forgot to save the WordPad document before closing it. | I need to retrieve an unsaved WordPad document | Recover with Temp Files |
I faced a computer malfunction or power outage | I need to retrieve an unsaved WordPad document | Restore it to a previous version |
I accidentally deleted the WordPad file | I need to recover deleted WordPad document | Recover with Data Recovery Software |
My computer or flash drive was infected with malware, and I lost my WordPad file(s). | I need to recover deleted WordPad document | Recover with Data Recovery Software |
I formatted the disk or flash drive containing the WordPad document. | I need to recover deleted WordPad document | Recover with Data Recovery Software |
How to Recover Deleted or Unsaved WordPad Documents
In the following section, we look at some methods to accomplish an unsaved WordPad document retrieval.
Check Your Recent Documents Toolbar
One of the easiest ways to access recent files is the Recent Documents Toolbar.
Here is how you find the Recent Documents Toolbar:
- Click on Start and Open WordPad.
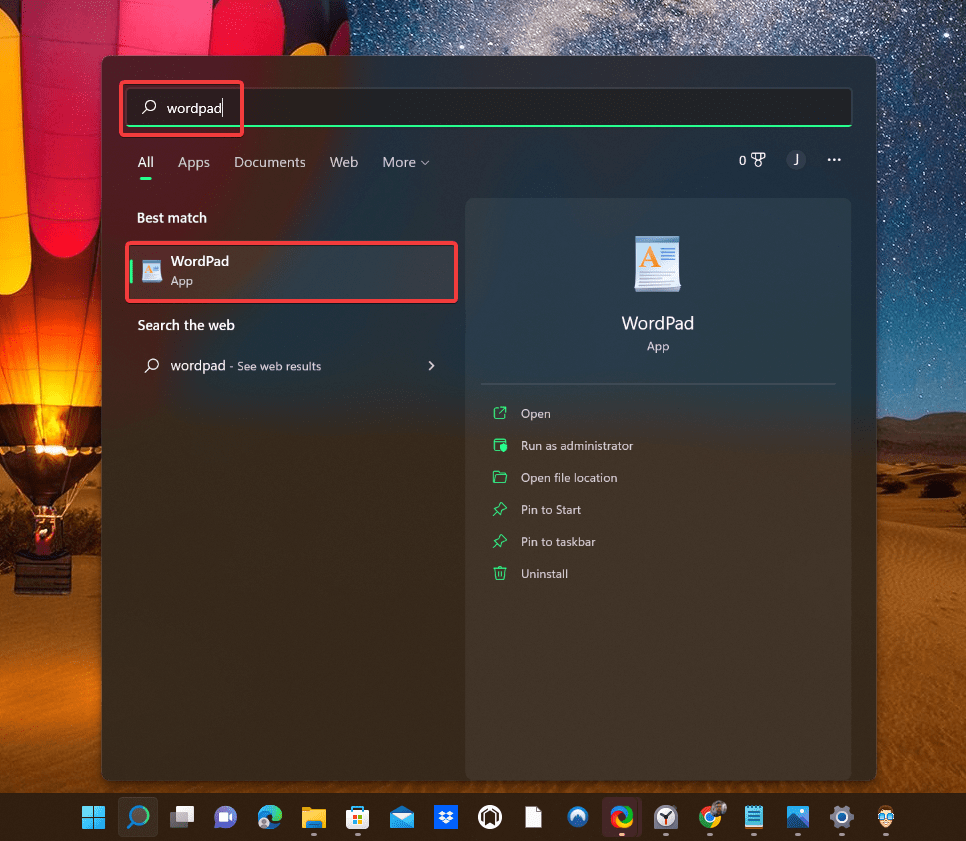
- Go to Files.
- On the right-hand side, you will see a section titled Recent Documents.
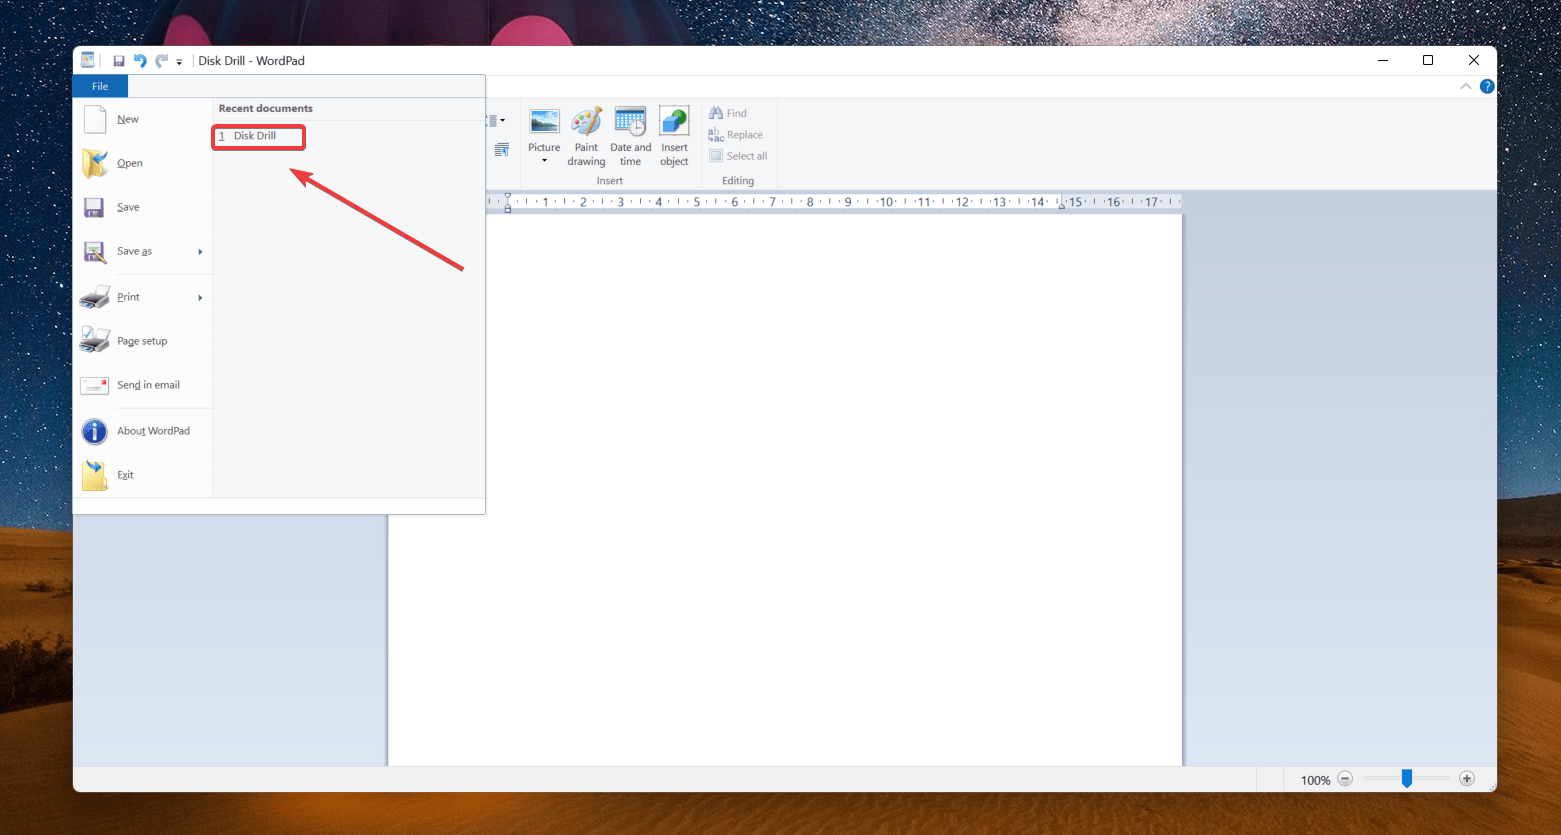
- Click on the document you wish to open.
What if you stored your WordPad document on a flash drive that got corrupted? Disk Drill also offers data recovery solutions for infected USB Drives.
Check Your Quick Access Folder
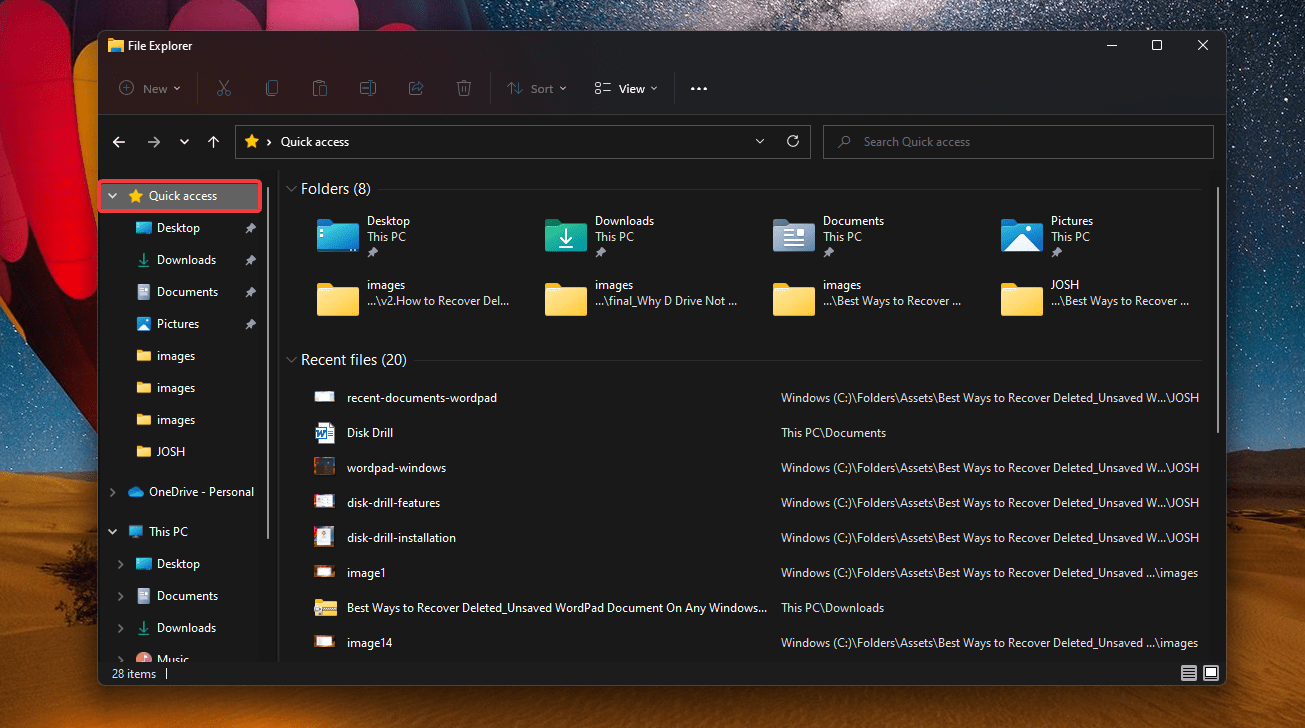
Another way to locate your recently opened documents is by checking the quick access folder, which provides similar functionality to Favorites in previous versions of Windows. By default, opening File Explorer reveals the Quick Access section. You can find your recently opened WordPad documents here.
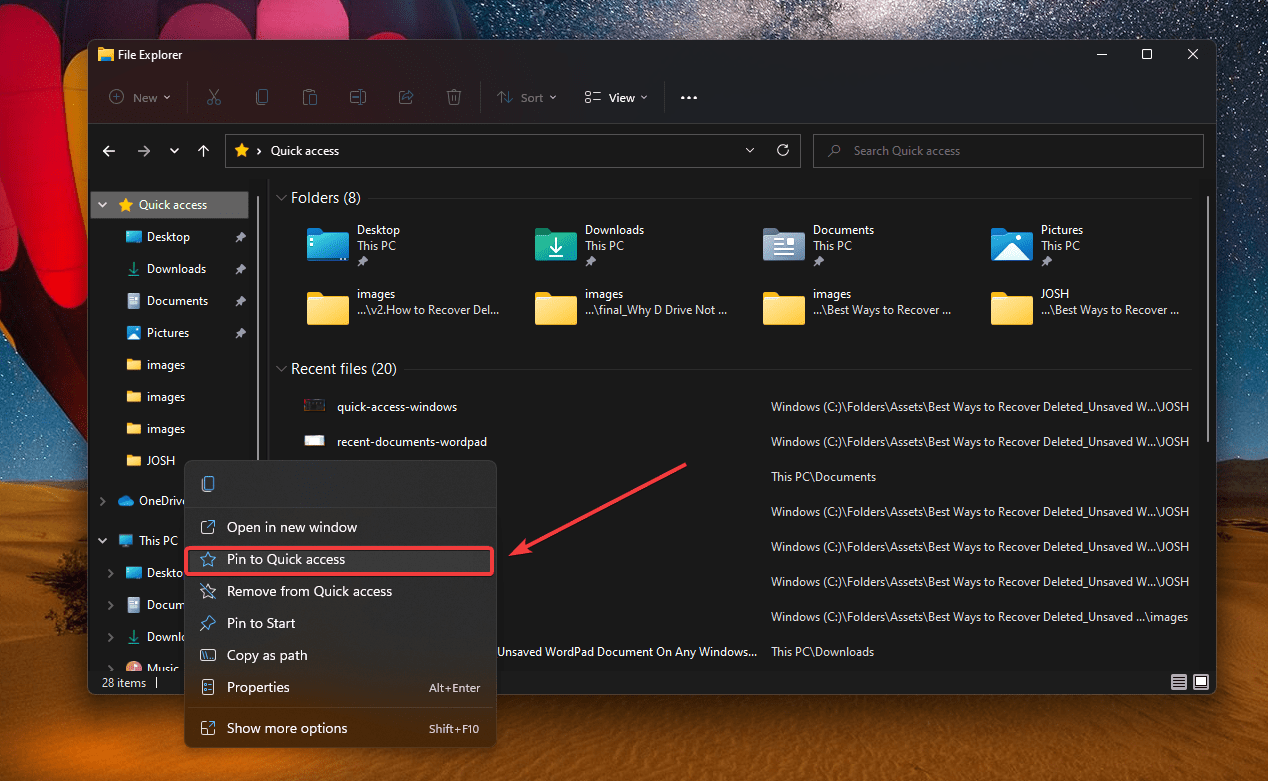
If you wish to add a particular folder on quick access:
- Right-click on the folder you want on Quick access.
- Select Pin to Quick access.
Use Manual Search on your Computer
Windows also has measures to manually search your computer and find your accidentally lost WordPad documents. Your files could be in previously-stored places such as the Desktop.
Follow this simple step to search your computer:
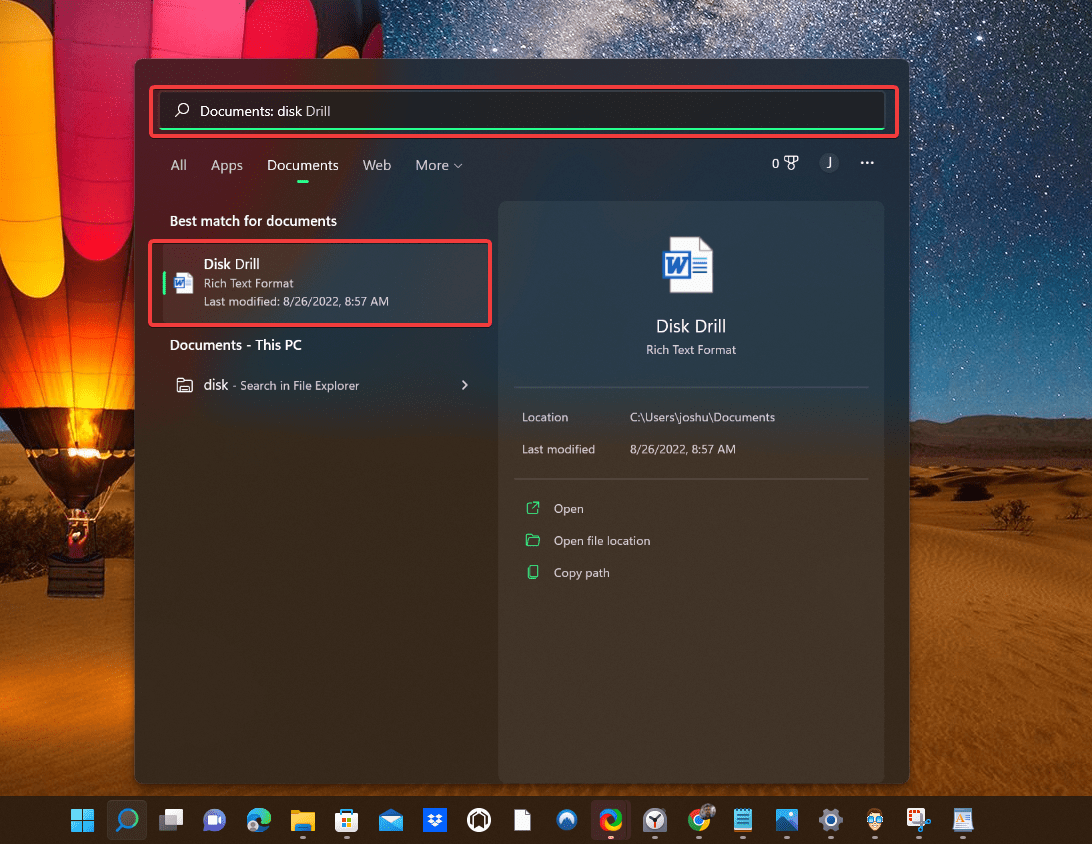
- Type the name of the document into the search box. You can also narrow down the search by selecting the categories provided at the top of the search option.
Another way to do this is:
- Open File Explorer from the Start menu or taskbar.
- On the left hand-side, select the location where you wish to browse for the lost document. You can search the entire computer or specific folders such as Documents.
- On the top-right corner, find the search box and type the name of the lost document. You can also use file extensions such as .doc or .txt to narrow your search.
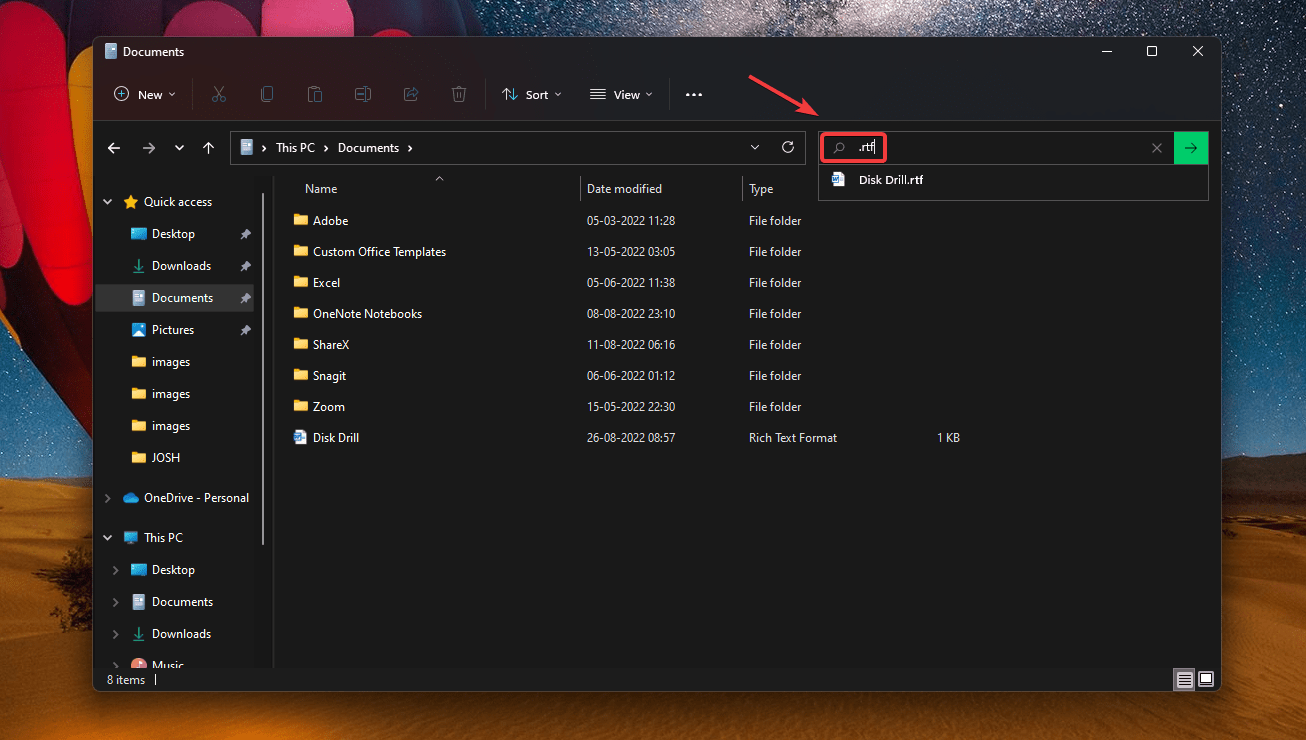
- Locate the desired file from the generated list.
Check Your Recycle Bin
The Recycle Bin provides one of the most straightforward options to recover your deleted WordPad document.
Follow the steps given below to recover your deleted WordPad document:
- Open Recycle Bin.
- From the list of available folders, find the file that you wish to restore.

- Right-click on it and select Restore.
Check Temp Files
Windows use temporary Files to store information while you are working on or editing a permanent file. Therefore, temp files are your allies to accomplish an unsaved WordPad document recovery.
Follow these simple steps to recover your WordPad document through Temp Files:
- Open the Windows C Drive on your computer.
- Go to Users > App Data > Local.
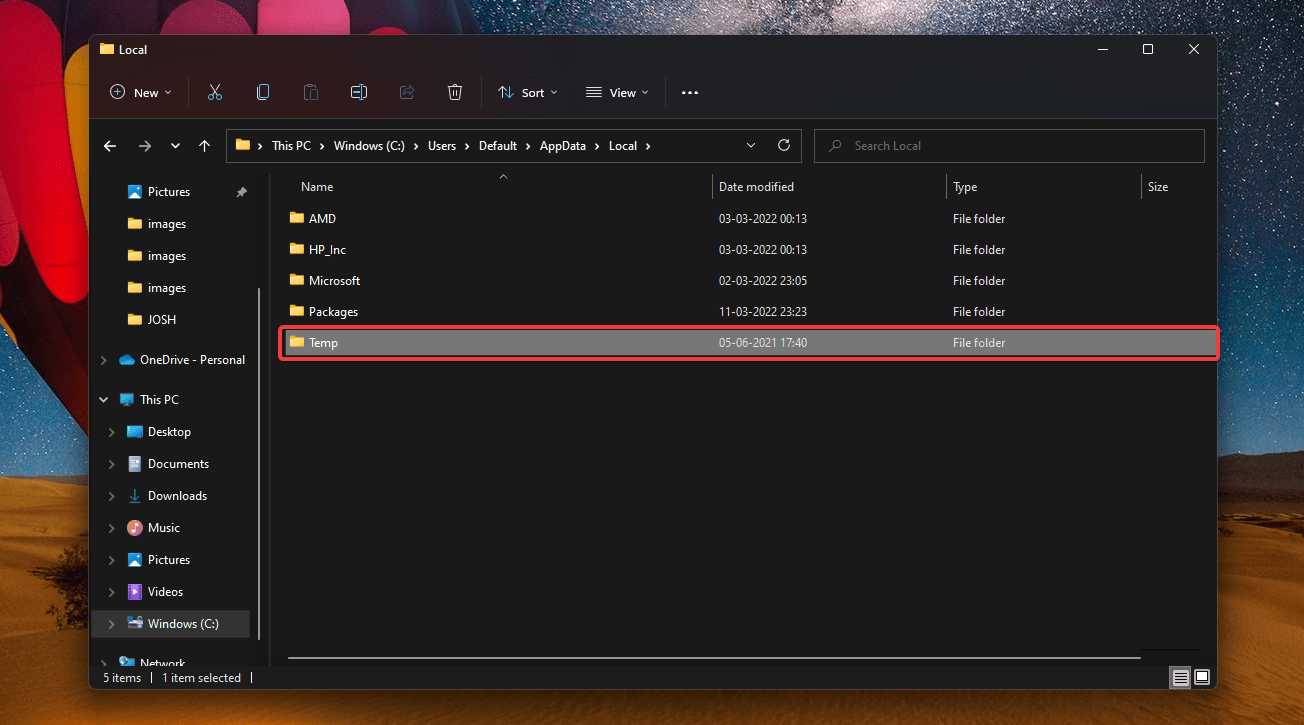
- Now, click on the Temp Folder.
- Locate the WordPad document and copy it to the desired location. You can speed up the process of locating the file by using Date Modified and selecting the latest ones.
After restoring your file, change the extension of the file name from .tmp or .asd to .odt. This is the default extension of WordPad documents.
Alternatively, you can also access the temp files by:
- Press Windows + R.
- In the search box that appears, write
%AppData%and click Ok.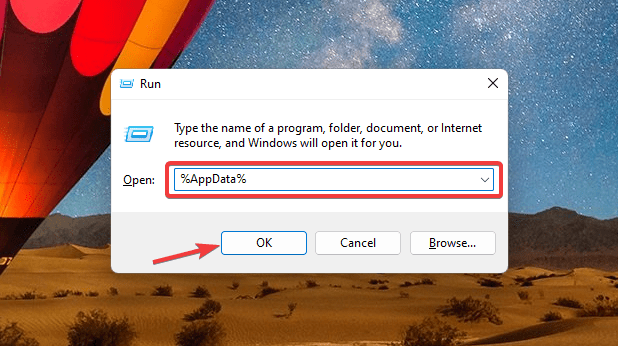
After that, you may follow the similar steps mentioned above.
Try to Restore Previous Version of WordPad Document
You may use this option if you wish to restore a version of the document that existed prior to the one that was saved.
Follow these simple steps to recover your WordPad document:
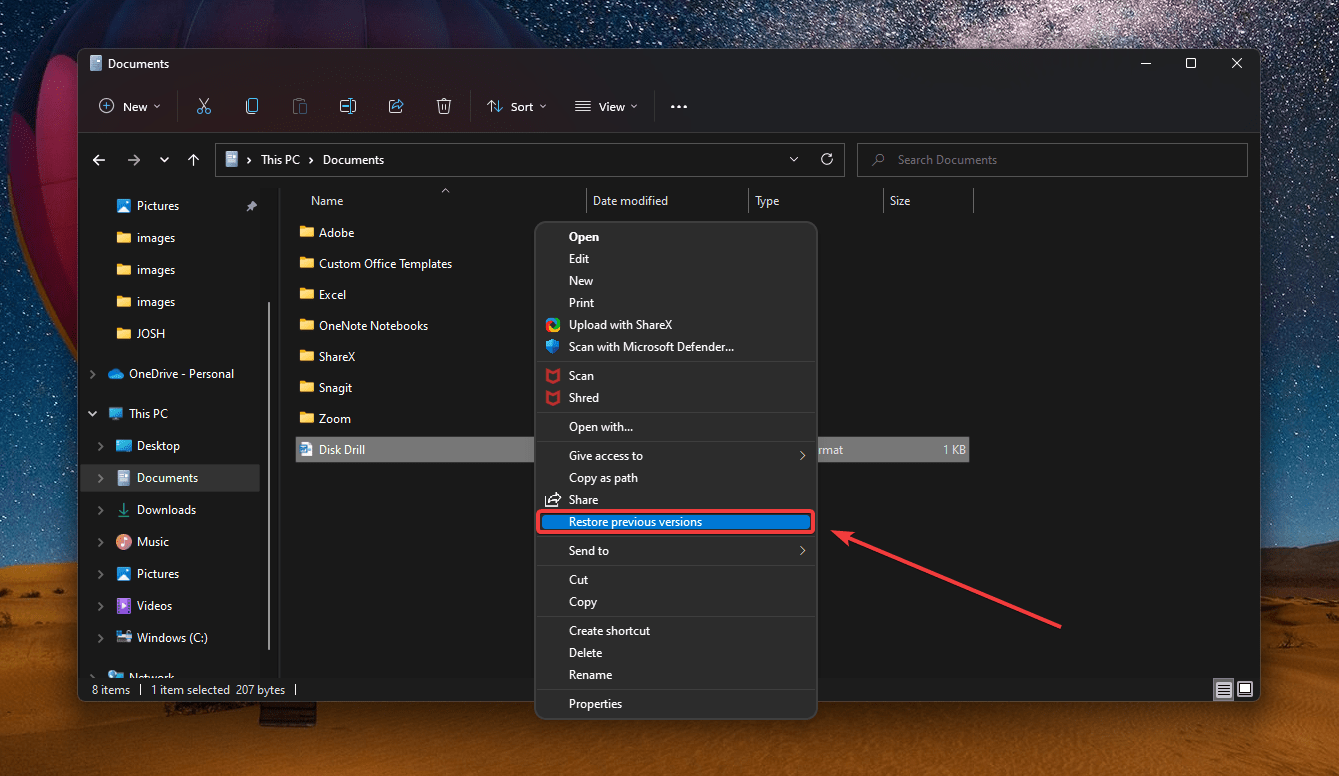
- Right-click the file whose previous versions you wish to recover.
- Select Restore previous versions.
- In the dialogue box that appears, go to the Previous versions tab.
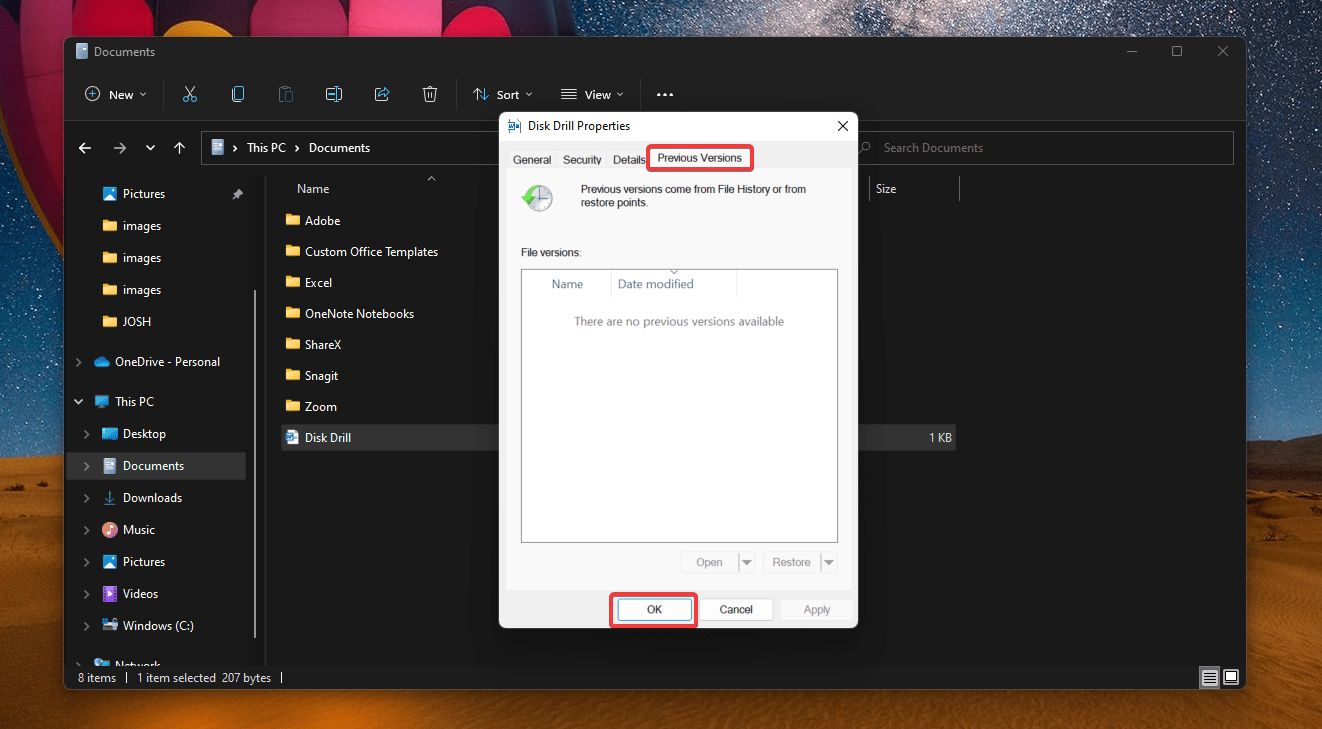
- A list of available files is shown on the screen.
- Select the desired file.
You can also use another method in this regard:
- Open Control Panel.
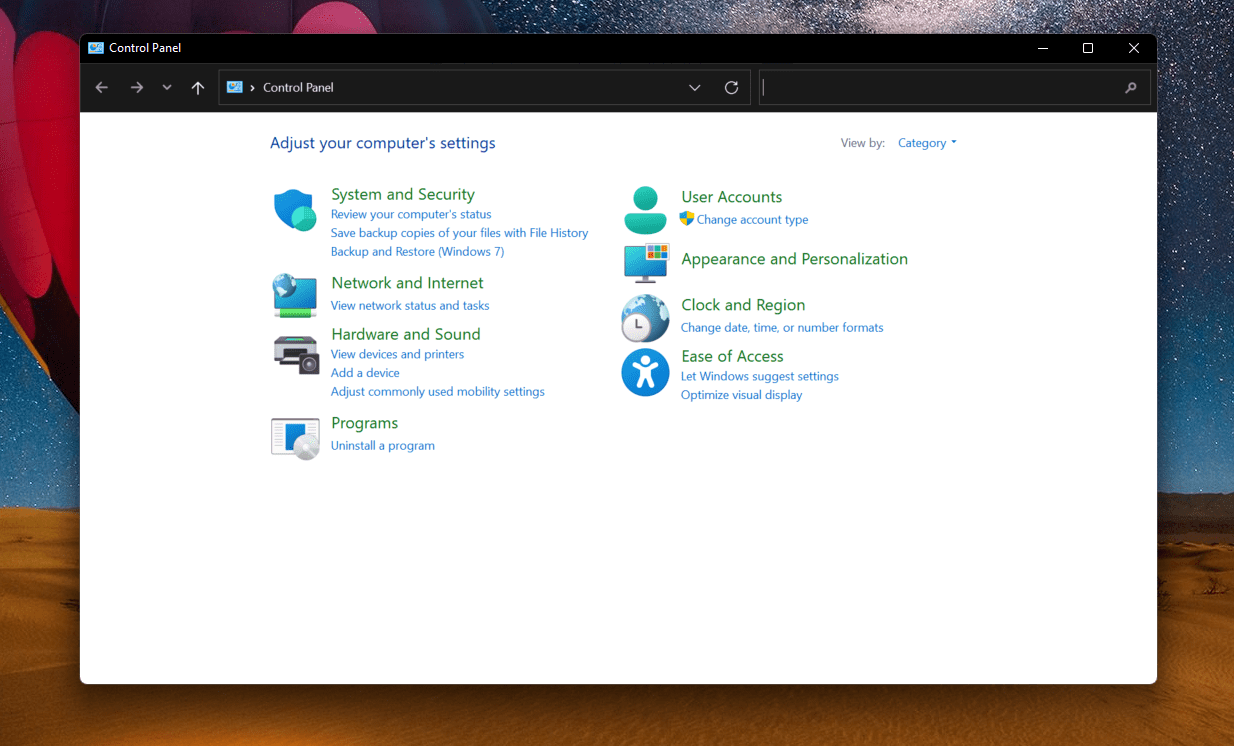
- Search for File History.
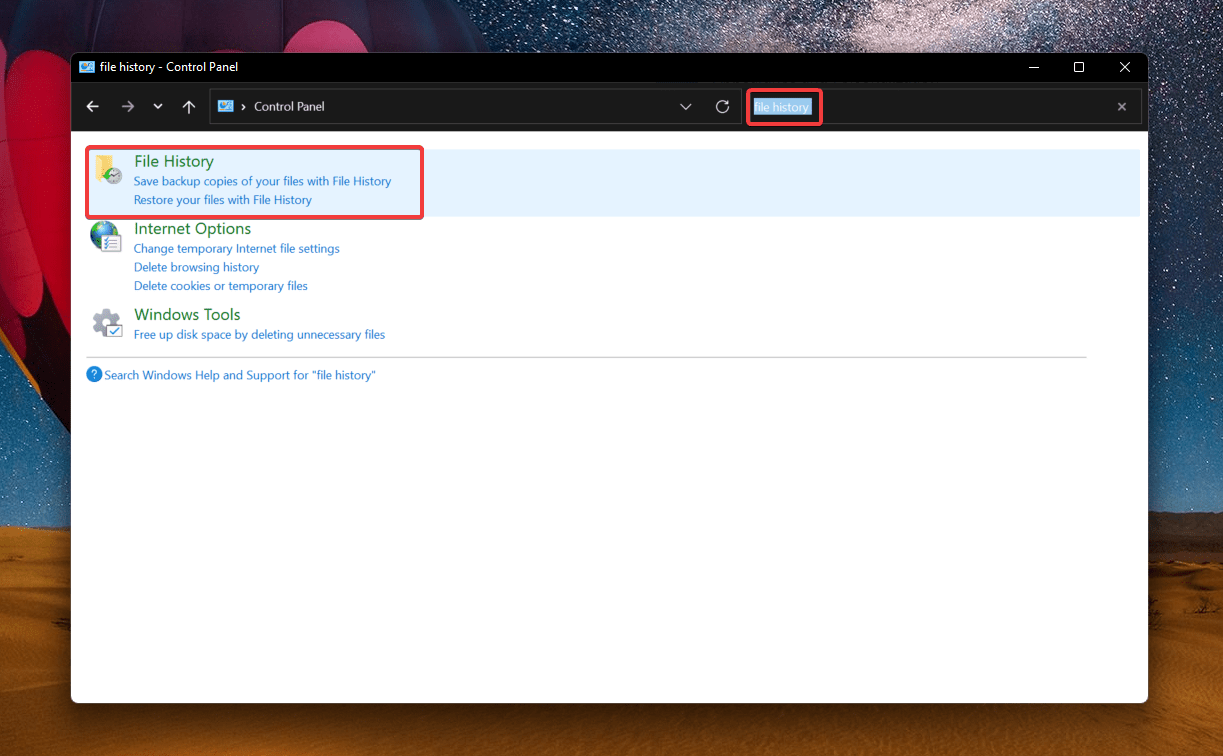
- Click on File History.
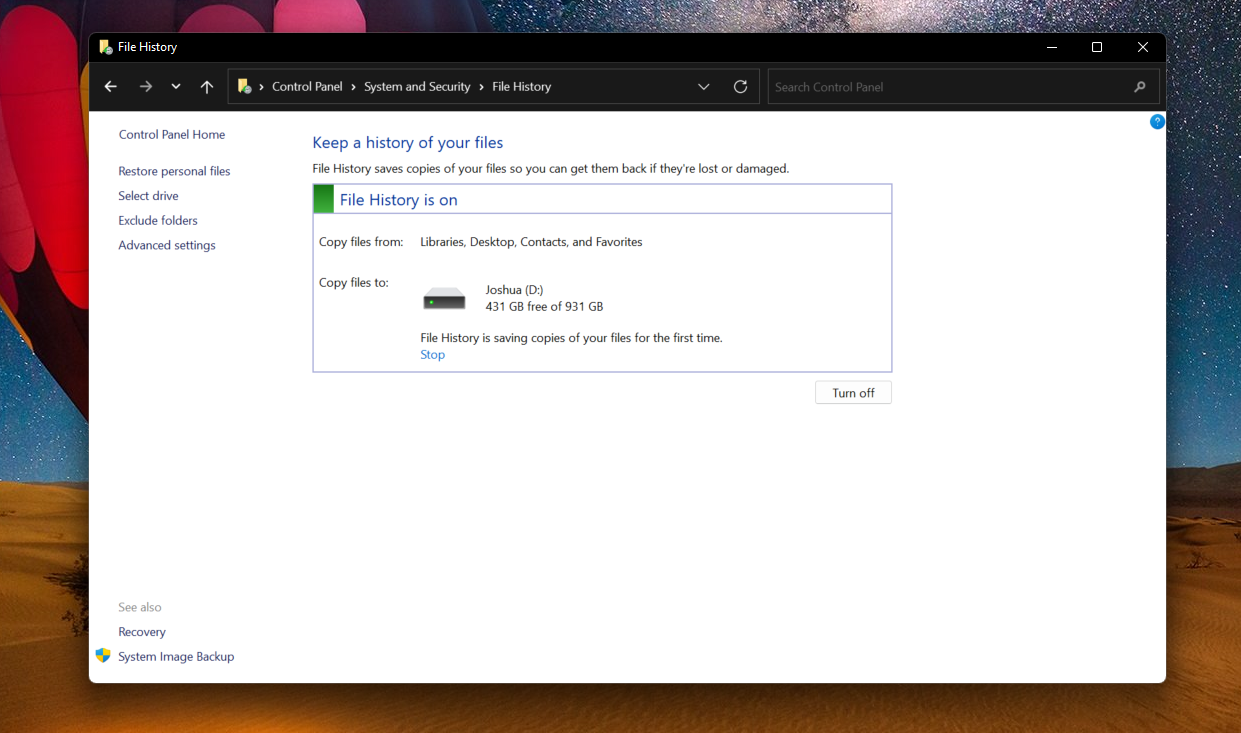
- Select Restore Personal Files.
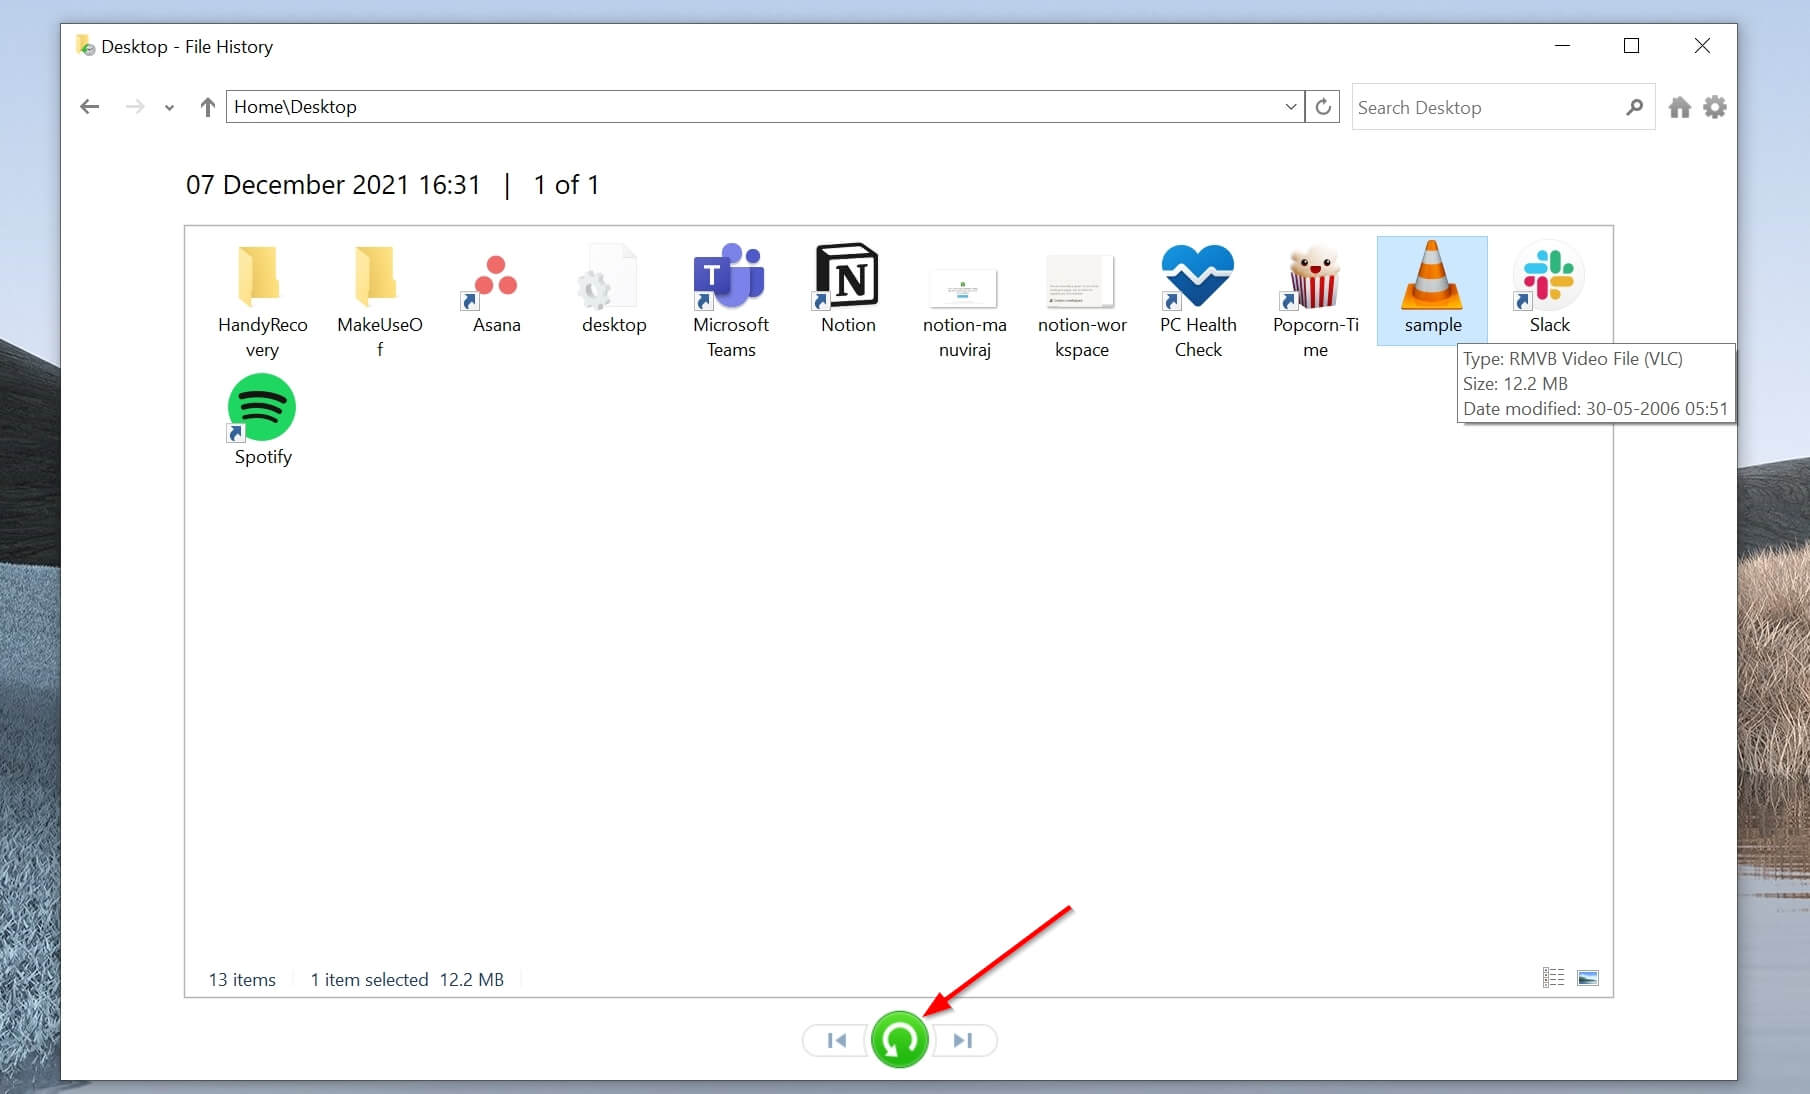
- Now, locate the right backup version using the arrows at the bottom of the window.
- Select the necessary files from the backup.
- Press the green restore button to retrieve your files.
Use Data Recovery Software
If the methods mentioned above do not work, using third-party recovery tools is a viable solution. Data recovery tools can help recover permanently deleted data (provided data overwriting hasn’t already happened). This method can be especially effective in cases of corruption and accidental deletion.
Disk Drill Data Recovery is a reputable data recovery tool because it supports most (if not all) text-based file types. Moreover, Disk Drill is one of the most reliable solutions to help retrieve lost and permanently deleted files.
Follow these instructions to recover your WordPad document using Disk Drill:
- Download Disk Drill. Follow the instructions to install and launch the software.
- Select the drive or partition from which you want to recover your WordPad file.
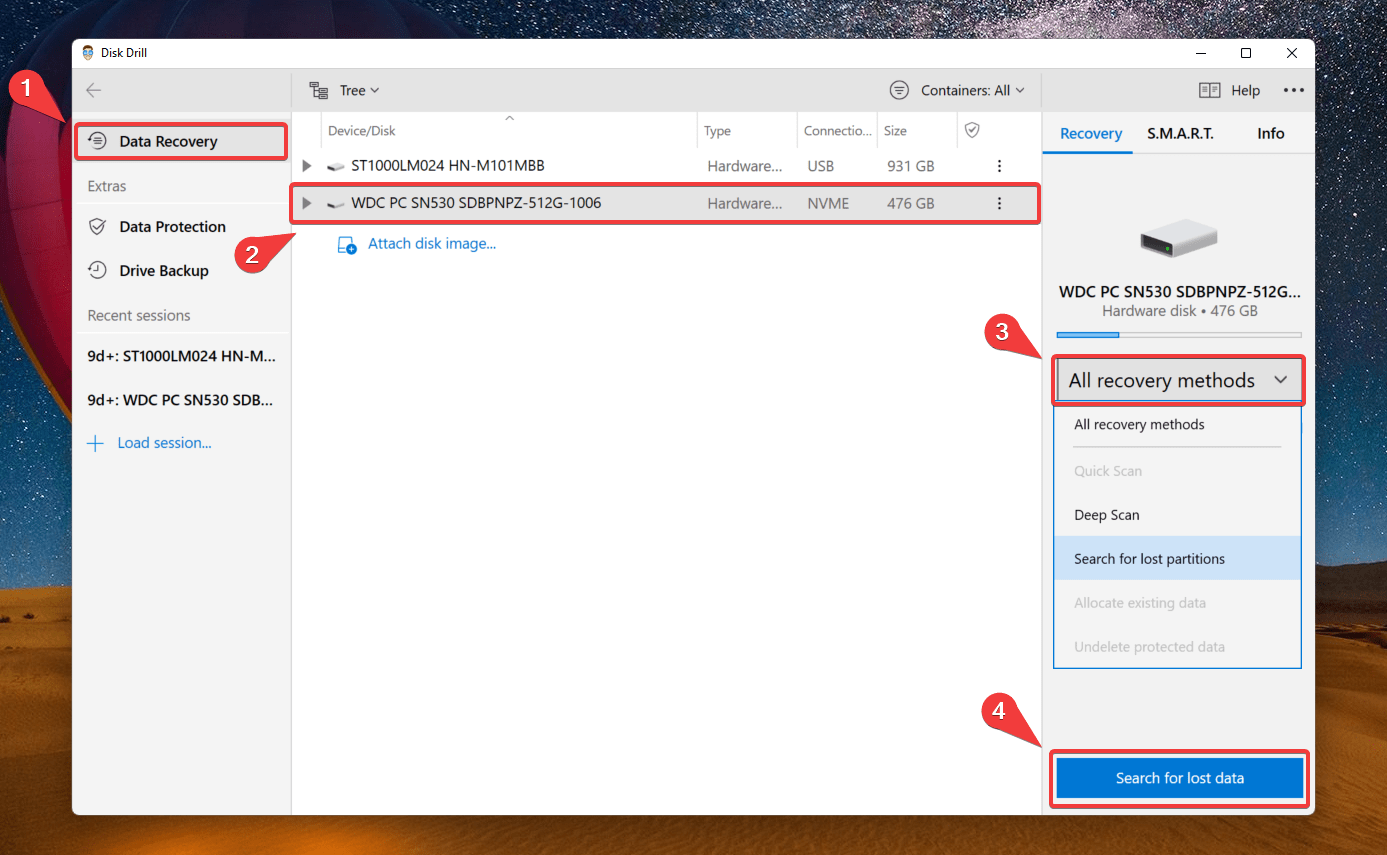
- Choose the All Recovery Methods option. However, the software also lets you choose a specific recovery method — Quick Scan or Deep Scan.
- Click on Search for Lost Data. The software lets users pause, save or resume the scan whenever they want. It also allows users to mount scanning results and save search results.
- Once the scan is complete, click Review Found Files.

- You can use file extensions such as .txt, .doc, or .rtf to filter files. Preview and select the WordPad file you want to retrieve and click Recover.
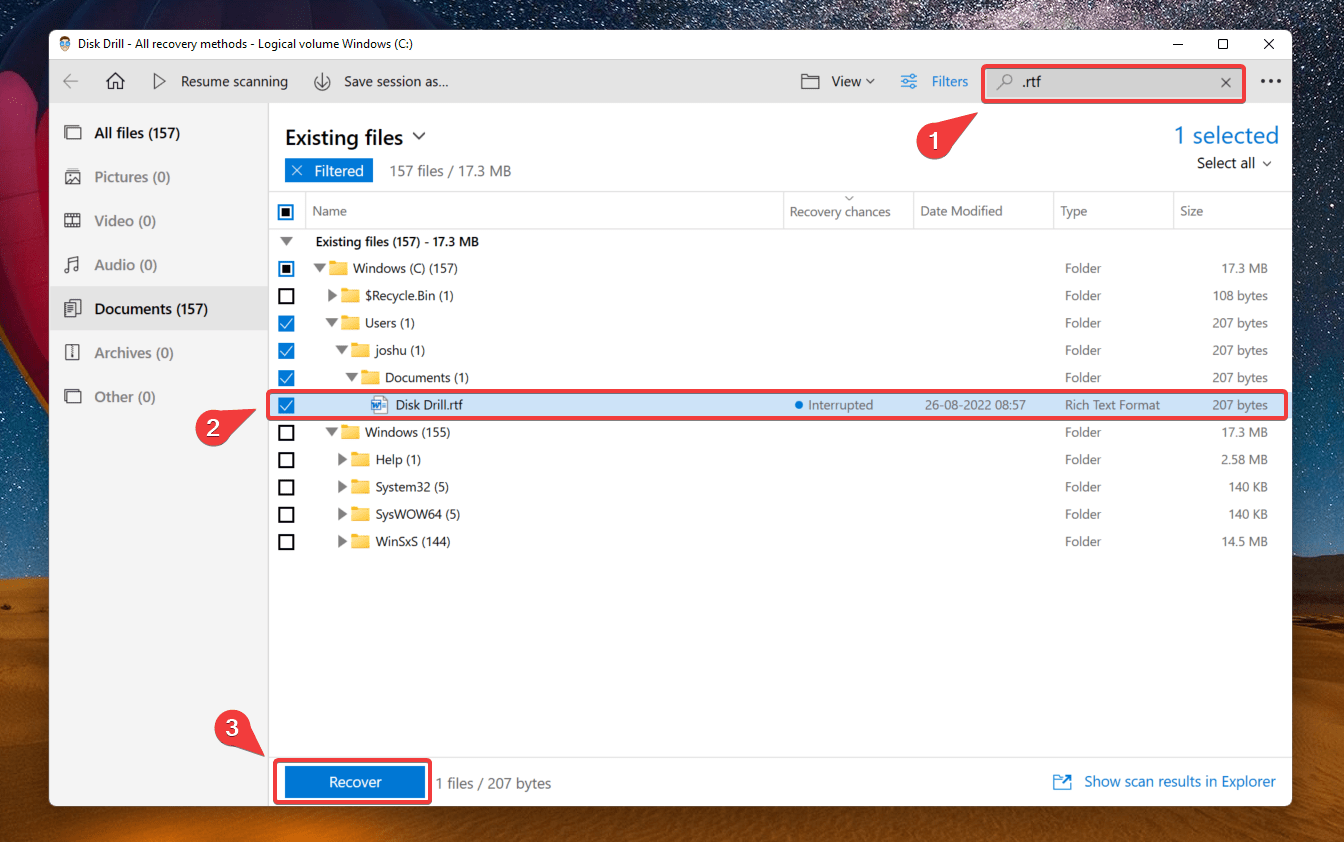
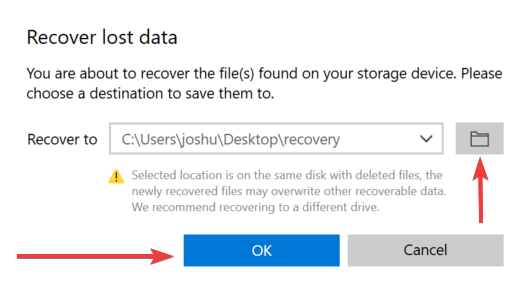
- Select the recovery location and click on Ok.
FAQ
Is there a way to recover unsaved WordPad documents?
Unlike MS Word, WordPad does not come with an autosave feature. However, you may follow the following steps to look for your unsaved WordPad documents:
- Press Windows + R.
- Type
%AppData%& click Ok. - Navigate through the available temp folders to find your WordPad file.
- Sort the results by Date Modified.
- Once you have found the desired file, copy-paste the document to another location.
Do your recovery methods work for all versions of Windows?
All of the methods given above to recover unsaved/deleted WordPad documents work for Windows 7, Windows 10, and Windows 11.
How to find unsaved WordPad documents?
- Press Windows + R.
- Type
%AppData%& click Ok. - Navigate through the available temp folders to find your WordPad file.
- Sort the results by Date Modified.
- Now, you can find your most recent unsaved documents
Is recovery possible if my WordPad document is blank?
You can use the methods mentioned above to recover blank documents. However, it is essential to be mindful and save your work simultaneously.
Where are WordPad documents stored?
Once you give the command to save the document, it takes you to the documents folder by default. However, Windows also lets you choose any other folder or drive in which you want to save the document. To do this:
- Go to Files.
- Click on Save As.
- Type down the File Name and choose the desired File Location.
- Click Save.
How do I fix a corrupted WordPad file?
If your WordPad file has been corrupted, you can use data recovery software like Disk Drill to recover the corrupted or damaged file effectively.
Conclusion
The purpose of this article was to suggest the easiest ways to recover deleted/ unsaved WordPad Documents on Windows. Retrieving lost data is often seen to be a difficult task, but it doesn’t have to be. The methods provided in this article will let you restore data that was either not saved or lost.
However, it is equally important to remember to save your work simultaneously and maintain multiple backups to prevent data loss.
This article was written by Joshua Solomon, a Contributing Writer at Handy Recovery Advisor. It was also verified for technical accuracy by Andrey Vasilyev, our editorial advisor.
Curious about our content creation process? Take a look at our Editor Guidelines.