
No matter how careful you might be, you are bound to face a situation where you accidentally delete files you need. While losing work files might be stressful and frustrating, losing photos is a more emotional loss.
Knowing that photos are physical keepsakes of memories, can you recover deleted photos on windows? This article will not only help you answer that question and lead you through several possible methods of photo recovery.
Is It Possible to Recover Deleted Photos on a Windows 10 PC?
Right off the bat, here’s the answer that you’re looking for: In many situations, you can safely recover deleted photos from Windows 10.
Without delving into the details of what data recovery is, you can avoid losing deleted photos from windows permanently. There are very few cases in which data recovery is entirely hopeless. One example of this is when you can’t even save the file if your device runs out of battery before writing the file.
Several tools make data recovery user-friendly, and these essentially scan your device for lost files. Once they find the files, they help you recover them to new locations or repair them if needed.
What are the Most Common Reasons Behind Photo Loss/Deletion?
Windows 10 photo recovery works in most situations, but not in all. This depends on what caused the deletion of the photos. Let’s examine some of the top causes of photo loss.
Loss of Photos Due to Accidental Deletion
This is perhaps the most common reason why photos are deleted. We have also fallen prey to a moment of carelessness where we delete files we would need later. It’s just so easy to press Delete, and worse, Shift + Delete on the files!
If you just pressed Delete, you can quickly recover your files, as we will review later. But permanently deleted photos are a little tricky.
Corruption of Photos
Our digital lives are very dependent on the internet. Most of us are not careful enough when browsing the web and might inadvertently download malicious files. Although your Windows 10 device has some inbuilt features that can detect viruses and malware, these are not foolproof.
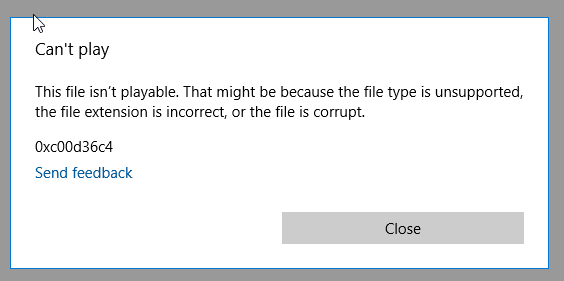
Malicious files can tamper with the format of your photos and render them corrupted. Besides these, your files can be corrupted due to formatting errors, physical damage, and power fluctuations.
Issues with Storage Devices
All storage devices have a limited lifespan. If your drive is nearing the end of its life, you might run into problems with your files. Hard drive crashes are commoner if they have also been physically damaged recently.
Recycle Bin Capacity Limits
The Recycle Bin is an excellent safeguard for your files on Windows 10. If you delete files on Windows, they are sent to the Recycle Bin, where they stay until you empty the Recycle Bin, or they have been in there for at least 30 days. You can recover these files in just a few clicks.

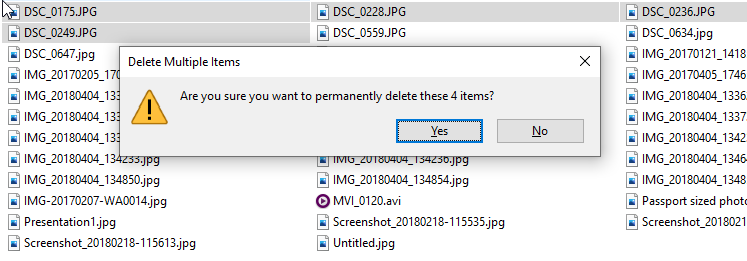
But what most people don’t know is that the Recycle Bin has its storage limits. If you exceed the capacity of the Recycle Bin, they are permanently deleted. When this happens, you are left wondering how to recover your photos!
Formatting Your Devices
While formatting is a point of contention for most people, we agree that it is necessary for some situations. If you are trying to reset your drives or devices, having a clean start is a good idea.

Unfortunately, if you aren’t careful, this will remove all your personal files. Without a backup, when you want to recover photos from Windows 10, it becomes a challenging situation.
No matter what made you lose your photos, there is one thing to remember. Suppose you keep using the device which had the photos. In that case, there is a high risk that they will be overwritten and then impossible to recover.
Pro Tip: Stop using the device you lost photos from immediately to avoid overwriting, and read this article entirely before you proceed with any data recovery.
7 Proven Methods to Recover Deleted Pictures on Windows 10
Now that you know what causes the loss of photos on Windows 10, let’s get our hands into the recovery process. We will walk through our most reliable methods to recover photos on Windows 10.
We recommend you read them all and then select the most appropriate ones for your data loss situation.
Method #1: Recycle Bin
The Recycle Bin, as we mentioned earlier, is a safeguard that stores your quick-deleted files. Here are a few ways to recover files from the Recycle Bin:
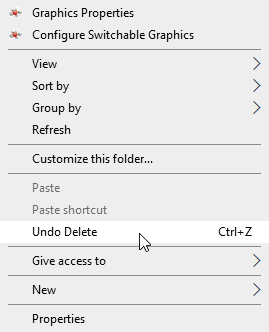
- Press Ctrl + Z: If you notice you deleted files, press Ctrl + Z immediately. This will return your files to the location you deleted them from. However, if you have restarted your computer or moved files around after deleting the photos in question, this will not work.
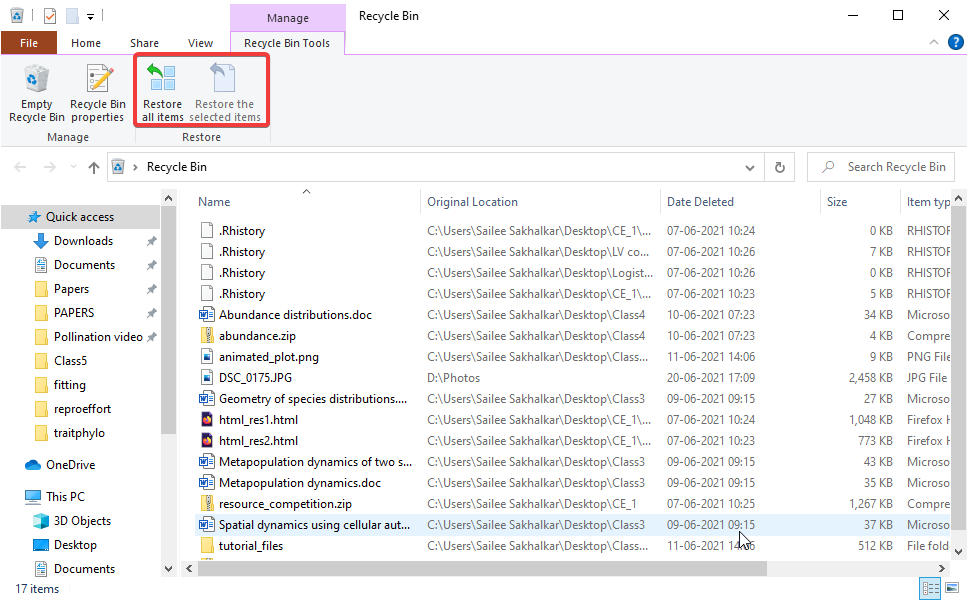
- Recover photos from the Recycle Bin: Go to the Recycle Bin, select your photos, and click on Restore the selected items. This will return the photos to their original location, allowing you to access them once more.
Note: If you don’t see any files in your Recycle Bin, you might have to use specific methods to recover files from your Recycle Bin.
Method #2: Recover Deleted Photos on Windows Using 3rd Party Data Recovery Software
Perhaps the most straightforward and most approachable solution for anyone who wants to recover photos from Windows 10 is using 3rd Party Data Recovery Software. These are tools that are built to help you recover your data in a few quick steps. They work on several devices, such as hard drives, partitions, USBs, and SD cards.
Data recovery software uses powerful algorithms that scan your device for your lost files and then recover them. The cherry on the cake is that they can repair corrupted files so that you can regain access to your photos instantly.
Several data recovery apps are explicitly geared towards recovering photos. Some of the most popular ones are EaseUS, Stellar, Recuva, and our favorite, Disk Drill Photo Recovery. We tried out all of these, and we found that Disk Drill was the easiest to use while being very reliable and had a great price point.
Here’s how you can get started:
-
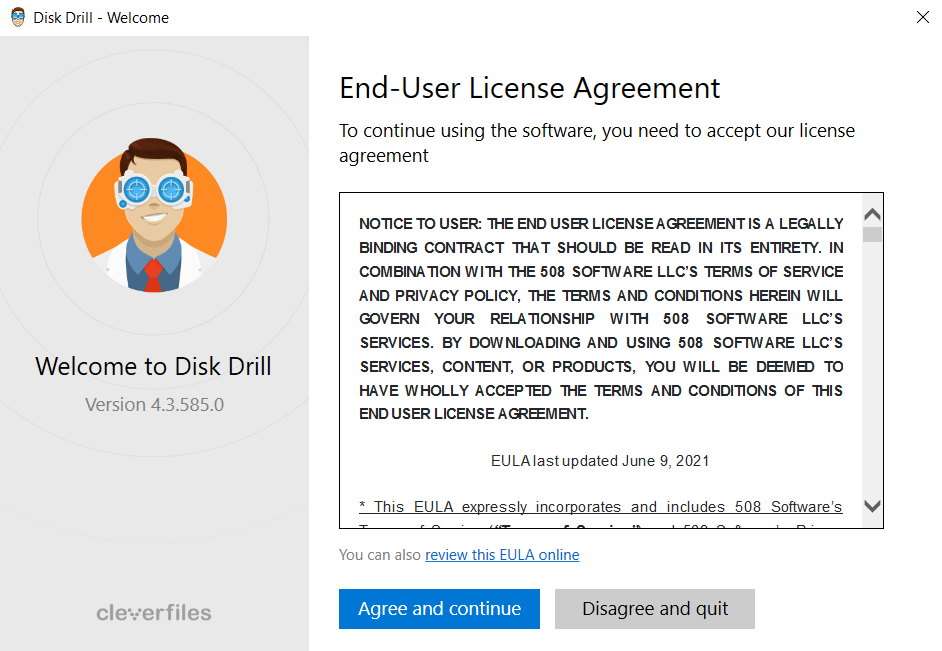
Download and Install Disk Drill:
Here’s the download link. The installation process is easy, only needing you to grant it administrator’s privileges when prompted. With the free version, you can recover photos on Windows 10, as long as they are under 500 MB. This should be enough to get you through a recovery emergency while letting you try the software’s features.
-
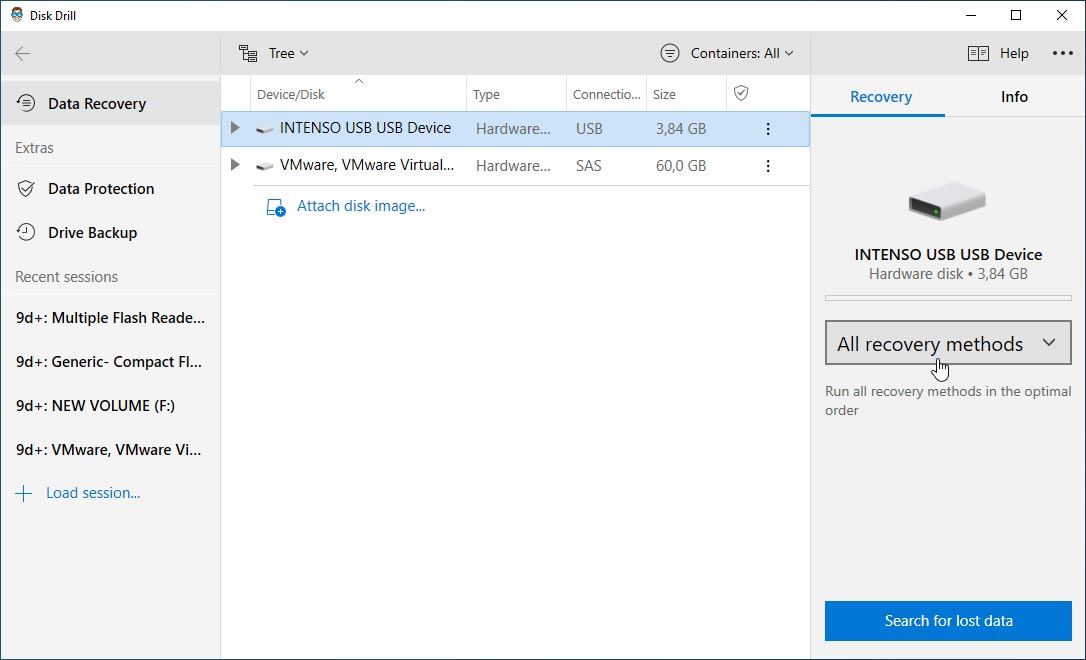
Choose the location to recover photos from and a recovery method:
In the window that opens, select the location where your photos were lost from. Then, from the drop-down menu, choose from a quick scan (fast but superficial) or a deep scan (slower but intensive). By default, Disk Drill employs all recovery methods.
-
Scan for the photos you want to recover:
Click the Search for lost data button to initiate scanning, and Disk Drill will try to locate your deleted photos. All you need to do now is wait until the scan is complete or Disk Drill finds your photos.

-
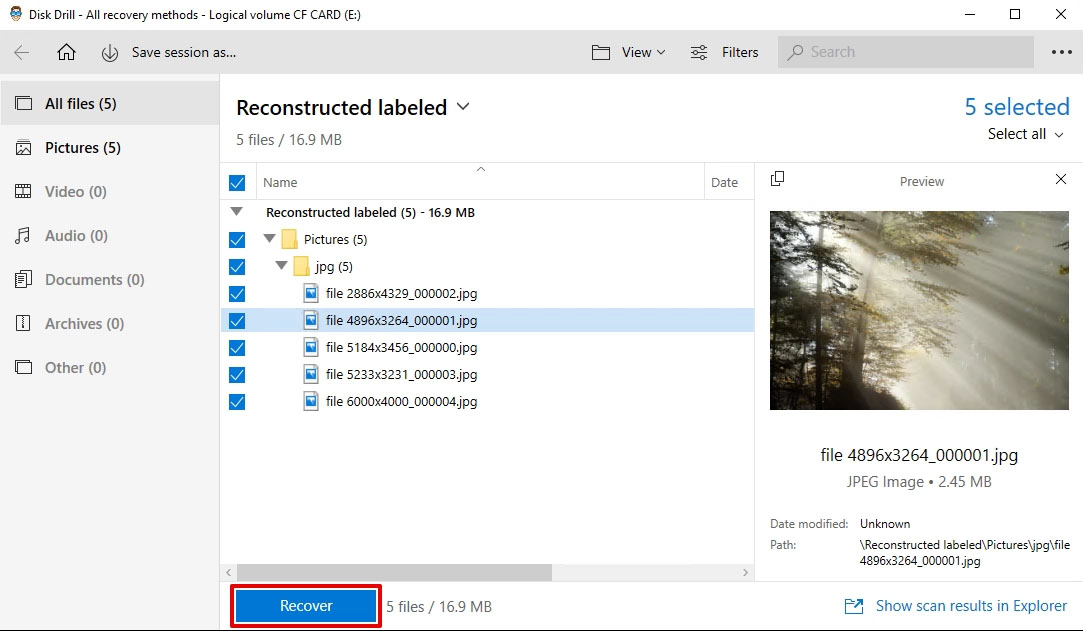
Select the photos you want to recover:
During the scan, Disk Drill will begin to show you the photos it has found. If you see that it has found the photos you want to recover, you can pause the scan to view them. Suppose you are satisfied with the process; you can recover these photos.
On the other hand, if you choose to let the scan complete, you can use filters to narrow it down to the photos you want. Then, select the photos and click on recover.
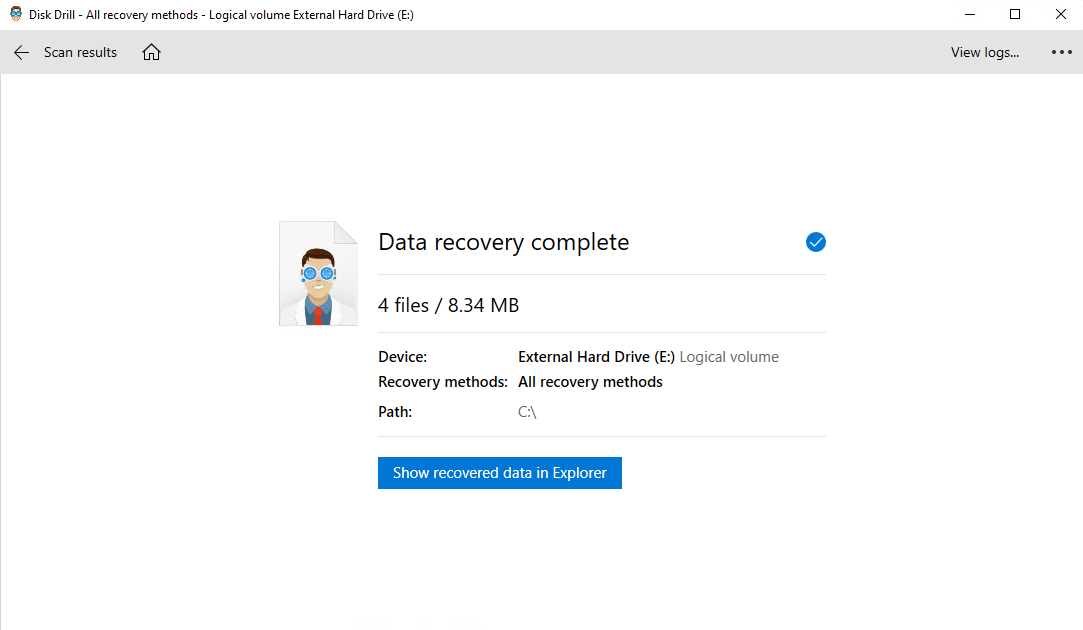
Should you want to recover all the photos Disk Drill has found, click the Recover all button to restore everything the tool has found.
-
Recover the deleted photos to a new location:
Once you click on Recover, you will be prompted to select a location to recover your deleted photos to. While you are free to choose any location, we insist that you choose a different location than the one your photos got deleted from. This will help prevent overwriting or corrupting the photos you wish to recover.
Method #3: Restore Deleted Images Using Windows 10 Photo Recovery Tool
Windows has its recovery tool for those who are fairly comfortable with the command-line interface: Windows File Recovery. It is available for anyone who has Windows 10’s May 2020 Update and all versions that followed.
- Install Windows File Recovery from the Microsoft Store.
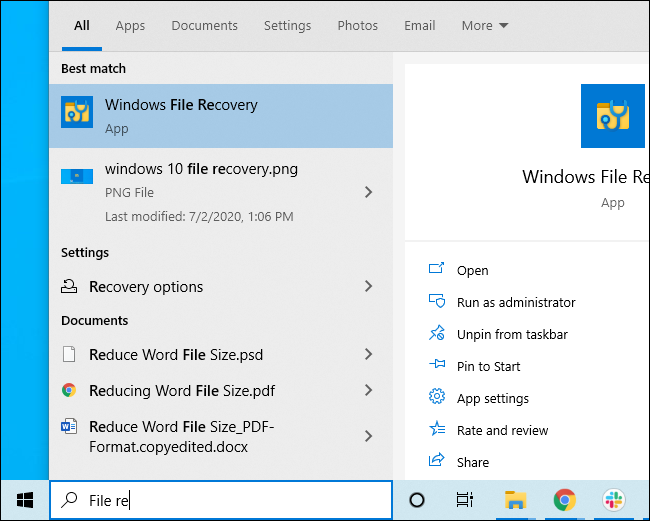
- Open Windows File Recovery from the Start Menu. Type “File Recovery” in the search bar, and then click on the icon for File Recovery that shows up.
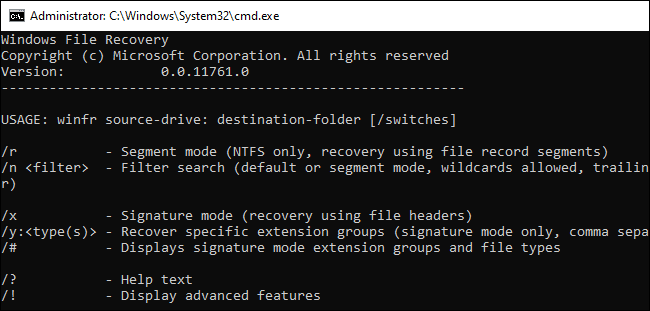
 Now, you should see a command-line prompt. This is what you will use to recover your photos; there is no graphical interface available.
- Recover your photos using command-line prompts.
There are detailed instructions that help you recover your photos using Windows File Recovery but we will stick to the default in this article.
The basic structure of the recovery command is:
Winfr source-drive: destination folder: /path
- “Source-drive” is the name of the drive you need to recover data from.
- “Destination folder” is the location to which your recovered photos will be saved to.
- “Path” is the file path to the folder you want to search for your files in.
For example, to search for all .JPEG files in C: and copy them to D:, you will run:
winfr: C: D: /n *.JPEG
Then, type y and press enter.
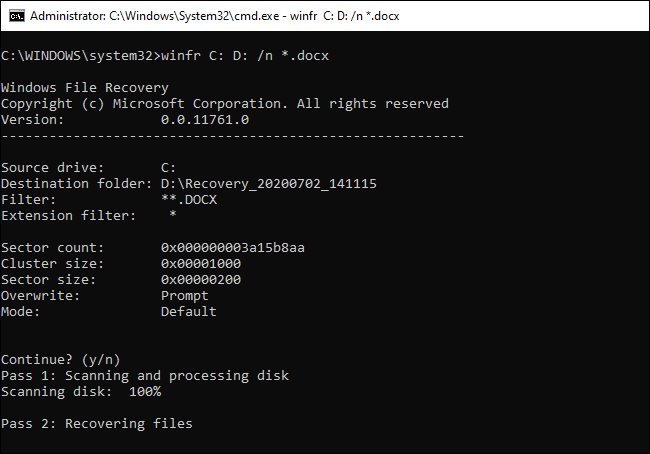
Once this command is complete, your photos will be recovered to the destination folder in a sub-folder called Recovery.

Method #4: Windows File History
File History is an excellent Windows feature that backs up your files at regular intervals. While you cannot use this method if you haven’t set it up, you should go right ahead and initialise File History now.
To start File History:
- Open Control Panel.
- Navigate to System and Security, and then File History.
- Click Turn On.

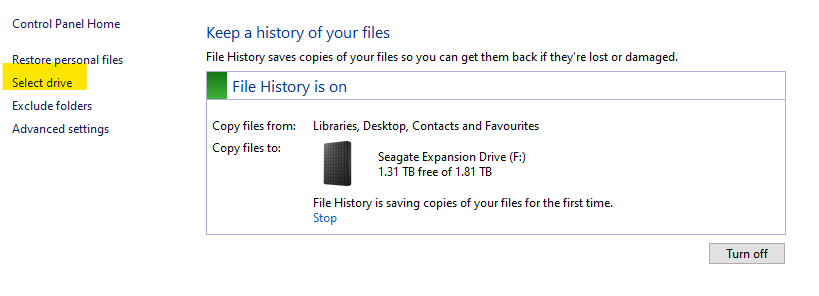
- Choose a drive to store your files in.
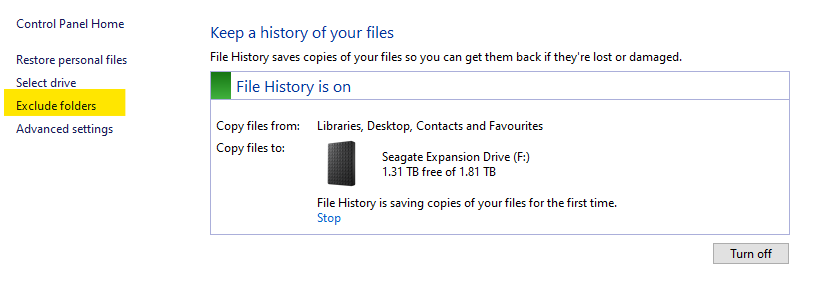
- Select the folders to backup. Remember that File History only backs up libraries, so store personal files in there!
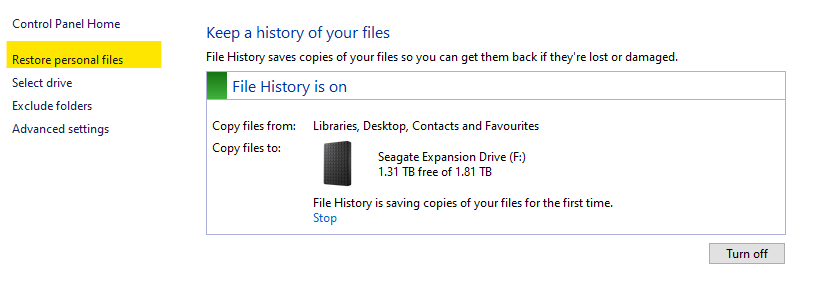
- If you have already set up File History, you can quickly revert to older versions of your files. You can use it to restore your deleted downloads. Here’s how: – Open File History
– Click on Restore Personal Files.
- Browse through the files and folders.
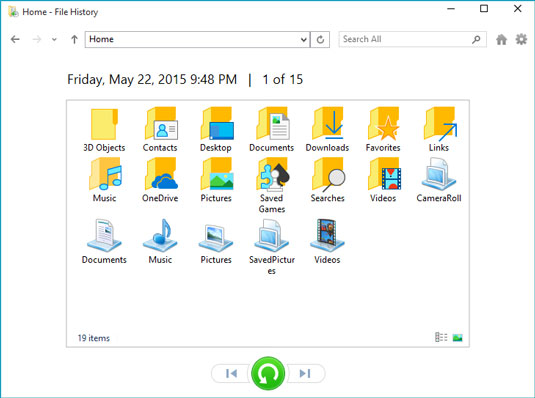
- Restore your selected files.
Method #5: Recover Your Photos Using Previous Versions of the Folder Containing Your Photos
At regular intervals, Windows creates copies of your files and folders that it stores as restore points. If you happen to delete your photos, you can try to recover them using Previous Versions of your photos.
- Navigate to the folder where your photos were deleted from.
- Right-click on the folder, and click on Restore previous versions.
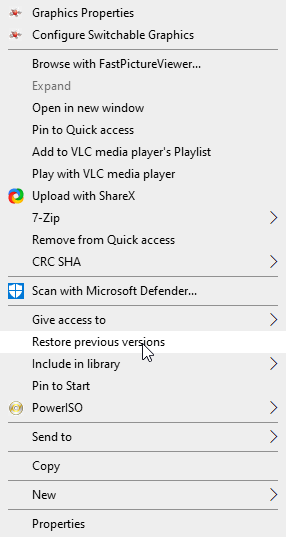
Your photos will be recovered to the location you deleted them from.
Method #6: Use System Registry to Restore the Recycle Bin
If you cannot see the Recycle Bin on your Desktop, you might need to bring it back to attempt some recovery methods. Here’s how to do that using System Registry.
A quick warning: this method will make changes in your System Registry. While reliable, you must follow these instructions perfectly. Do not make changes to any other settings, or you might make your system unstable.
The System Registry is where Windows 10 stores settings for low-level operations. You can try to recover your photos using these settings, following these steps:
- Type “regedit” in the Start Menu and hit Enter.
- Navigate to “HKEY_LOCAL_MACHINESOFTWAREMicrosoftWindowsCurrentVersionexplorerDesktopNameSpace”.
- kbd>Right-click in the right pane, select New and then Key.
- Type {645FF040-5081-101B-9F08-00AA002F954E}, and then press Enter.
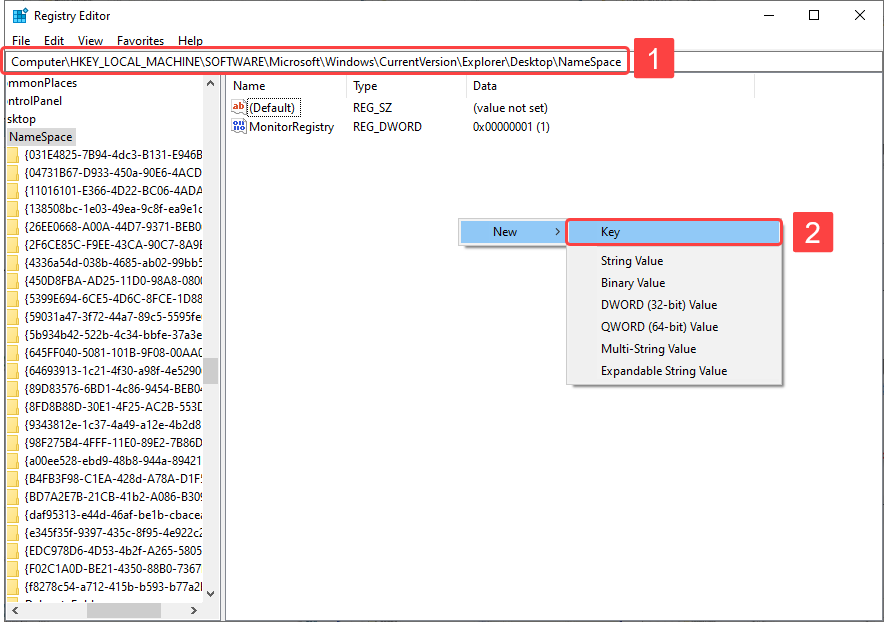
- Close the editor, and then log off and log in.
This should place the Recycle Bin back on your Desktop, allowing you to follow Method 1 in this article.
Method #7: Professional Data Recovery Services
If the above methods don’t work for you, consider approaching a data recovery service. These services provide the expertise required to recover your photos.

Data recovery specialists at these service centers know what methods to use when dealing with physical damage, file corruption, and accidental deletion of files. They might seem pricey, but these experts can repair drives that cannot be repaired at home. Even so, we recommend vetoing potential data recovery services using the following pointers:
- The company must have at least one cleanroom where your drives can be opened safely. This will prevent voiding the warranty on your drive.
- The experts must have experience recovering the kind of drive you have.
- If they cannot recover your drive, they must return your drive to you and not charge you anything.
- The company should provide you with a free consultation that will guide you through the expected time taken, pricing, and the chances of recovering your data.
FAQ
Are permanently deleted photos lost forever?
When you permanently delete photos, you might still be able to recover them. Deleted files are still on your drive; it is just that the “map” to get there is lost. Using the methods detailed above, you may be able to recover your photos.
However, continuous use of the affected drive can risk your photos being overwritten. Such photos can no longer be retrieved.
Where do files go when permanently deleted?
Permanently deleted files remain on your drive. However, your operating system no longer has the path to reach them. Further, the space that they occupy is now marked as free for writing. Using photo recovery methods, you can rebuild this path before the files are overwritten.
How do I recover permanently deleted photos on Windows 10?
You can recover permanently deleted photos with several methods. While Windows has File Restore and Previous Versions that help recover your photos, you must set these up before losing your files. Then, your best solution is to use a data recovery tool, as we have detailed earlier in this article.
How to recover permanently deleted photos on Windows 10 without software?
You can recover permanently deleted photos on Windows 10 using File History and Previous Versions. If you have regular backups scheduled, this is easy to do. However, if you have not set up backups or File History, you will require third-party tools such as Disk Drill and Recuva.
Is it possible to recover deleted photos from my laptop?
You can recover deleted photos from all devices. However, the methods of recovery and the chances of recovery vary based on how your photos were lost. Even if you are using Android or iPhone, you can follow instructions that help you recover your photos in no time.
Is it possible to recover permanently deleted images on Windows 10 using CMD?
Yes, you can recover permanently deleted images using CMD. You must be comfortable using the command line, however. Download Windows File Recovery Tool, and then enter the correct commands in the command prompt. In this article, we cover a simple recovery process and provide tips on where to find more detailed commands.
Conclusion
In most cases, it is possible to recover deleted photos. This article covers the most reliable method to get your files back in Windows 10. When methods such as File History are not available, you can try to recover your photos using recovery tools. Finally, you can avail of data recovery services to get your photos back in a short amount of time.
This article was written by Joshua Solomon, a Contributing Writer at Handy Recovery Advisor. It was also verified for technical accuracy by Andrey Vasilyev, our editorial advisor.
Curious about our content creation process? Take a look at our Editor Guidelines.