
A bulk of our storage these days is taken up by photos. From the SD card slotted into your phone to the external HDD containing all your important memories, JPEG files are found everywhere.
But it is easy to lose these files too. Accidentally deleting a folder or a corrupted SD card can all spell doom for your jpg files. With the right tools, though, you can recover lost JPEG files quite easily. Let’s find out how.
Pro Tip: While it is possible to recover deleted photos from any storage media, keep in mind that the chances of a successful recovery decrease the more you use the storage. Every time you save a new file onto the drive, there is a chance that it will overwrite the information representing your deleted files. So stop using the storage immediately and look into data recovery solutions.
Wanna skip the theory part and jump straight to the recovery section? Click here.
Why Is JPG Recovery Even Possible?
When we say that your deleted files can still be recovered, you must be wondering how. After all, once you delete a photo – accidentally or otherwise – it should be gone, right? Not exactly.
You see, when a computer says it has deleted a JPG file, it has just forgotten it. Basically, it has earmarked the file location as available and will use that space to store new data. But until another file is actually overwritten over it, the previous information can still be retrieved.
Things are a little more tricky in a Solid State Drive, though. SSDs have an optional feature called the TRIM command, which actually goes to each deleted file location and erases it from the disk. This makes recovering data from an SSD more difficult.
For any other type of storage device though, data recovery software is the key. It scans through the whole hard disk, sifting through each bit and byte to find a JPEG signature. The discovered pictures can then be previewed and saved to another disk.
Find out how data recovery software works in more detail in our dedicated guide.
Before We Start
Accidentally deleting photos and files is a common issue. So common in fact that operating systems include some methods of their own for dealing with it. It might be worth your while to give these methods a try before resorting to more powerful means of file recovery.
Method 1: Ctrl+Z
The simplest way of getting a deleted JPG back is to try the undo command. Just like hitting ctrl+z will undo an action in a word document, using the shortcut can undo the deleting of a file or folder. Here is how to use it:
- Open the file explorer.
- Navigate to the folder from which you think your files were deleted.
- Press CTRL+Z on your keyboard.
- Alternatively, you can also right-click in any empty space. In the menu that drops down, click on the ‘Undo Delete’ option.
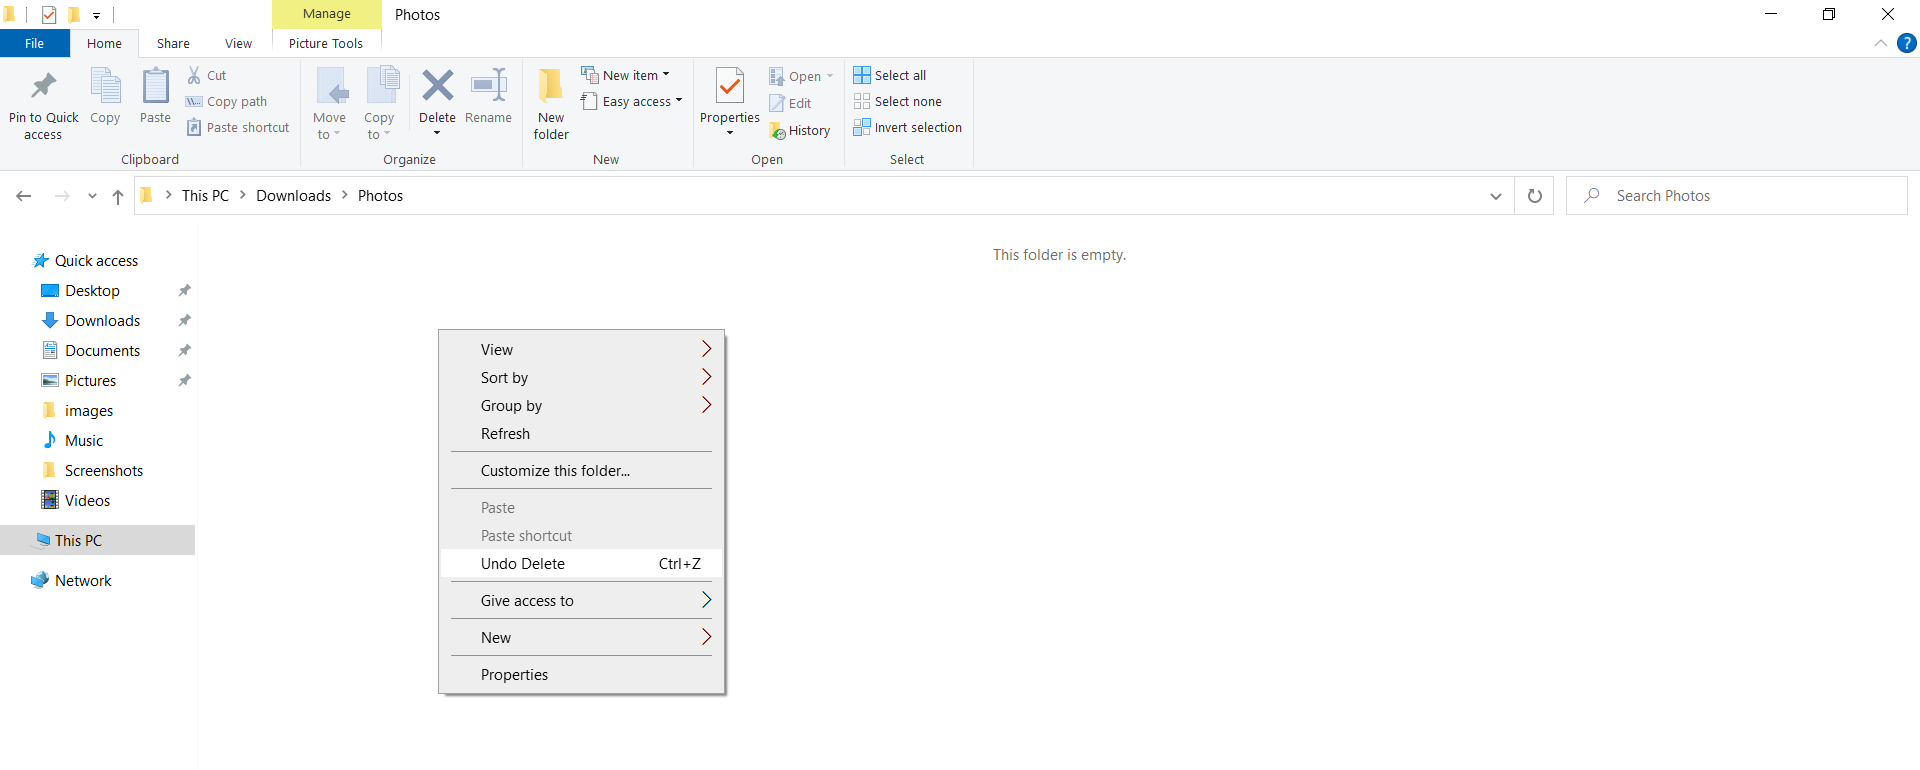
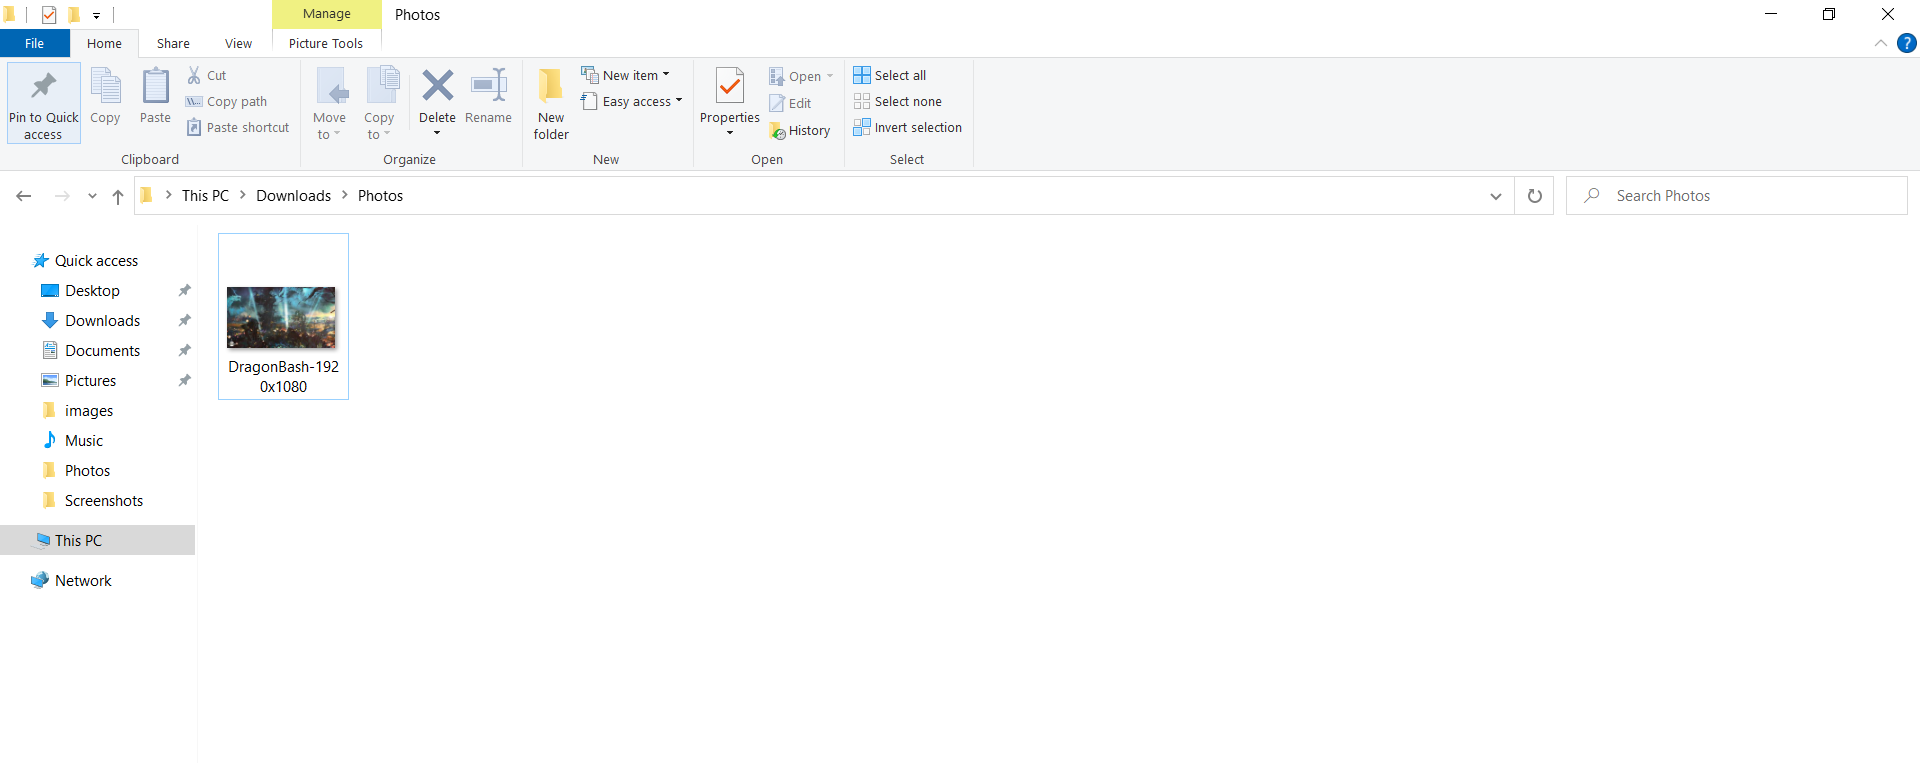
- Your deleted files will be restored.
Do keep in mind that this feature has a time limit. Once you restart your computer, this temporary memory is wiped clean. So move quickly and undo the deletion right after losing a pic.
Method 2: Recycle Bin
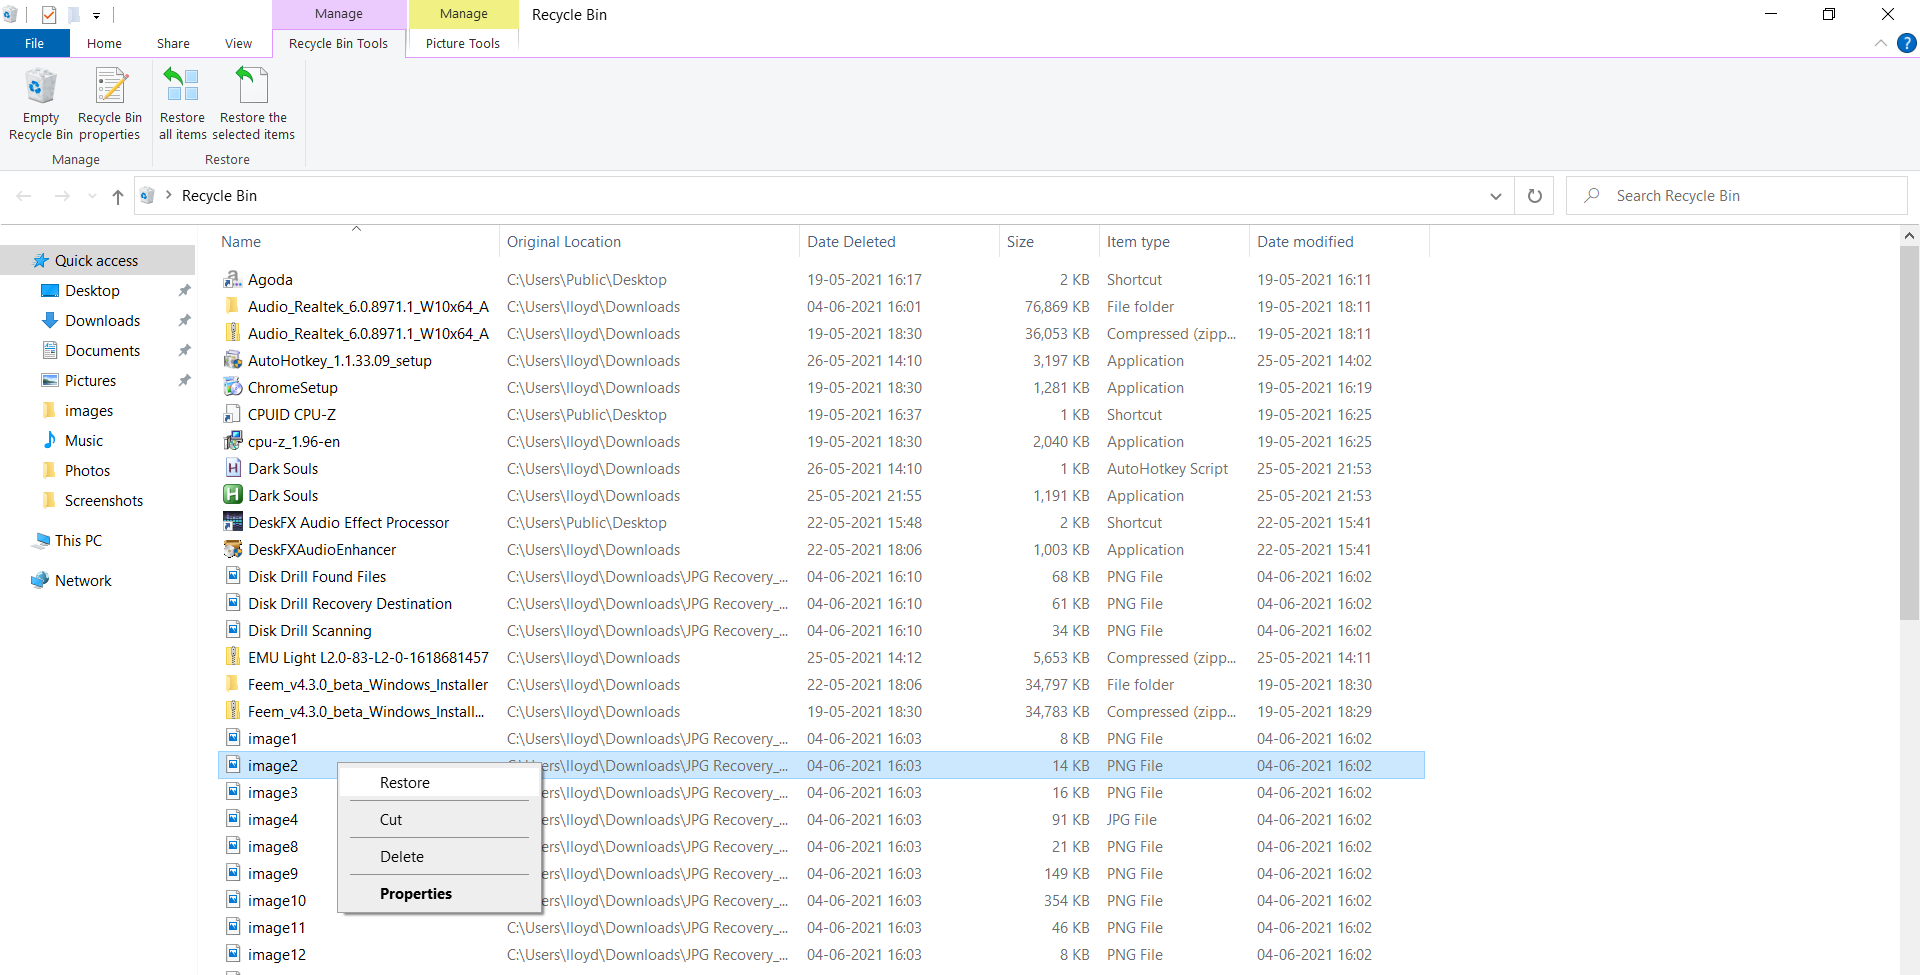
If the undo command doesn’t work, your next stop should be the Recycle Bin. This aptly named utility keeps a copy of your deleted files and folders, ready to be restored. Unless you have emptied the bin after losing the JPG files, you will find them here. So, getting your files back from Recycle Bin is simple:
- Open the Recycle Bin by double-clicking its icon from the desktop.
- You can now see all the files and folders that were deleted since you last emptied the recycle bin. Scroll down to find your JPEG images in the list.
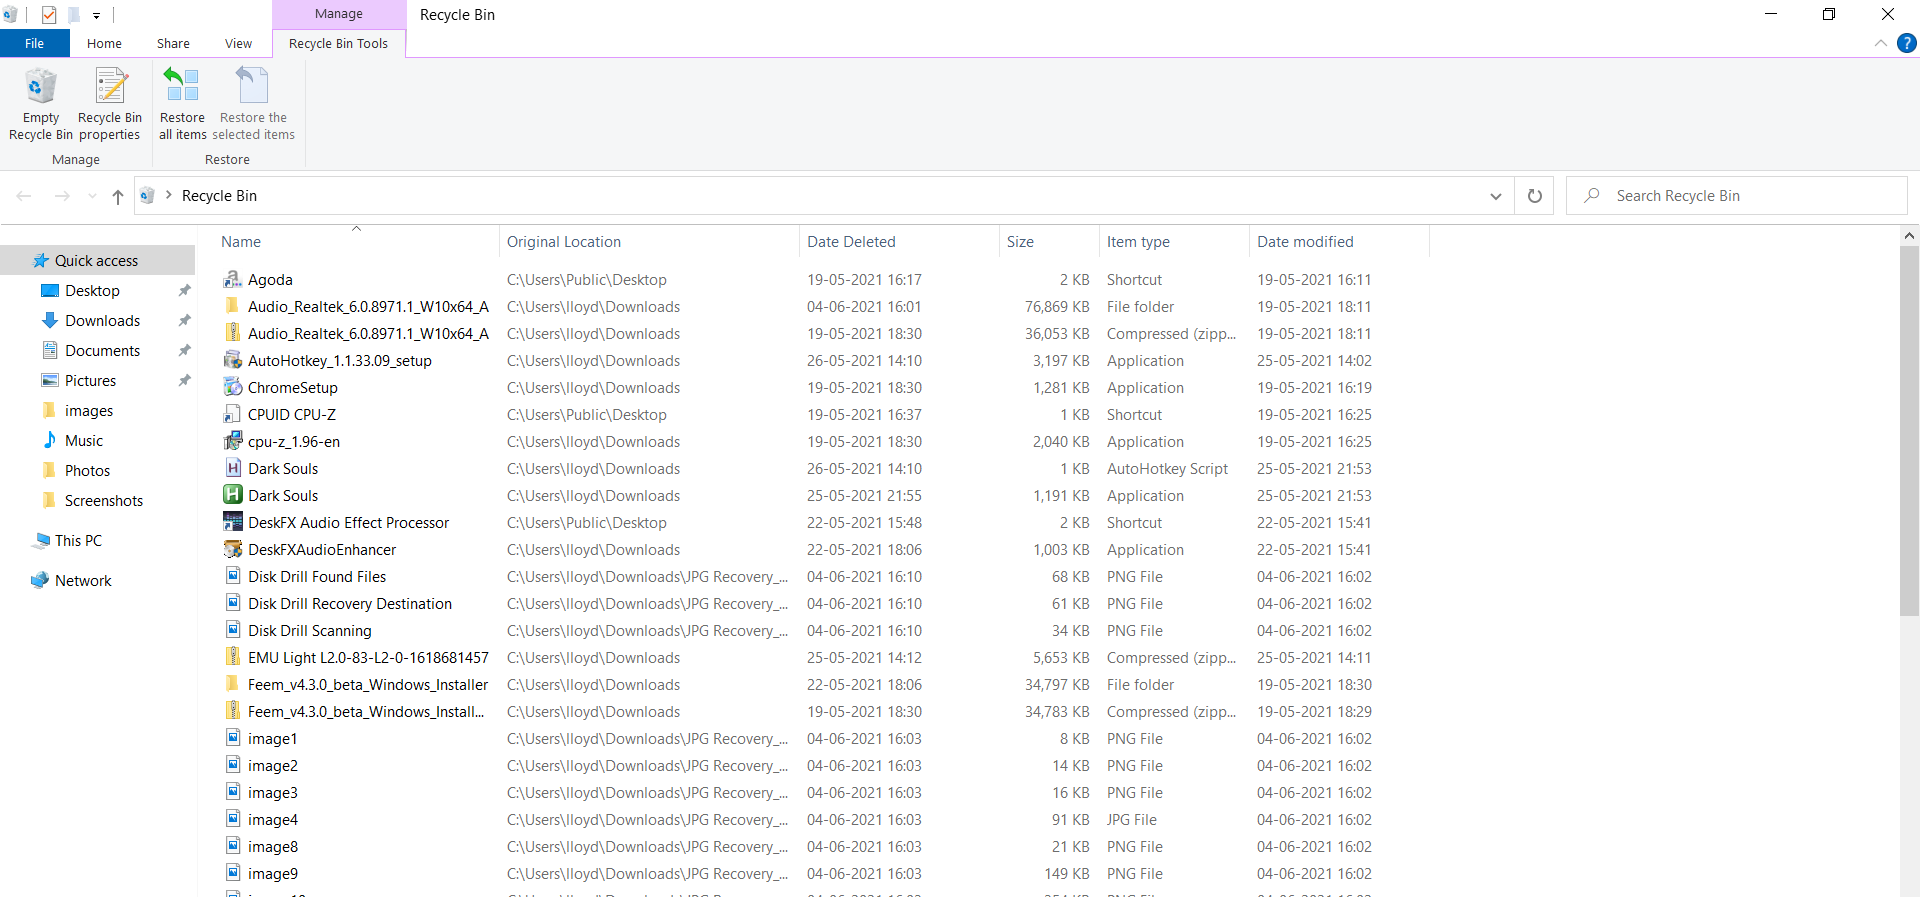
- Right-click on each file that you want to keep and click on Restore.
How to Recover Deleted or Malfunctioning JPEG Files
The best way of recovering lost data is by using a dedicated data recovery tool. Such software is specialized in restoring files lost due to any cause, whether that is accidental deletion or data corruption.
While other methods do exist, they either need to be set up in advance (File History) or are of limited effectiveness (CHKDSK). Let’s dive into the nitty-gritty of each of these methods.
Recovering JPG Files Using JPEG Recovery Software
We say JPEG recovery software, but most of the applications that come in this category can recover all kinds of lost files, not just photos.
For this guide, we will be using Disk Drill Data Recovery. There are versions for both Windows and Mac, so you can follow along on any system.
-
Install Disk Drill:
Start by downloading Disk Drill and installing it. By default, it installs to the C drive, but you can choose a custom install location too. Just don’t install it to the very drive you are trying to recover from.
-
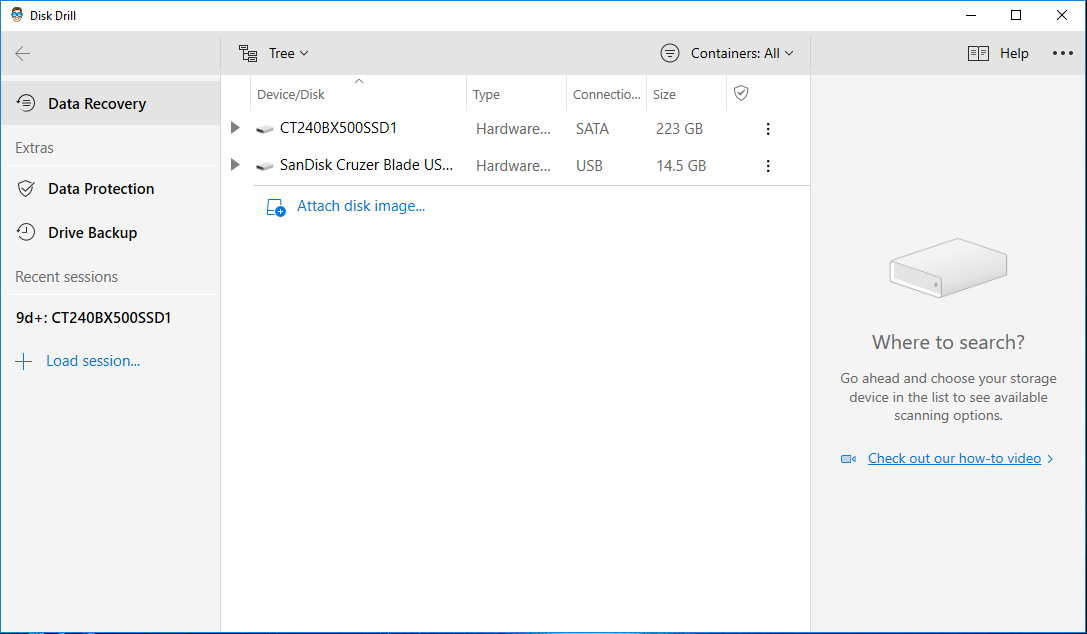
Select a Drive and Scan it:
Once the installation is complete, open Disk Drill. After going through the initial few setup screens, you will be taken to the main window. Here, you can see all the drives linked to your computer, along with their connection type and capacities. Select the disk you want to scan and click on Search for lost data.
-
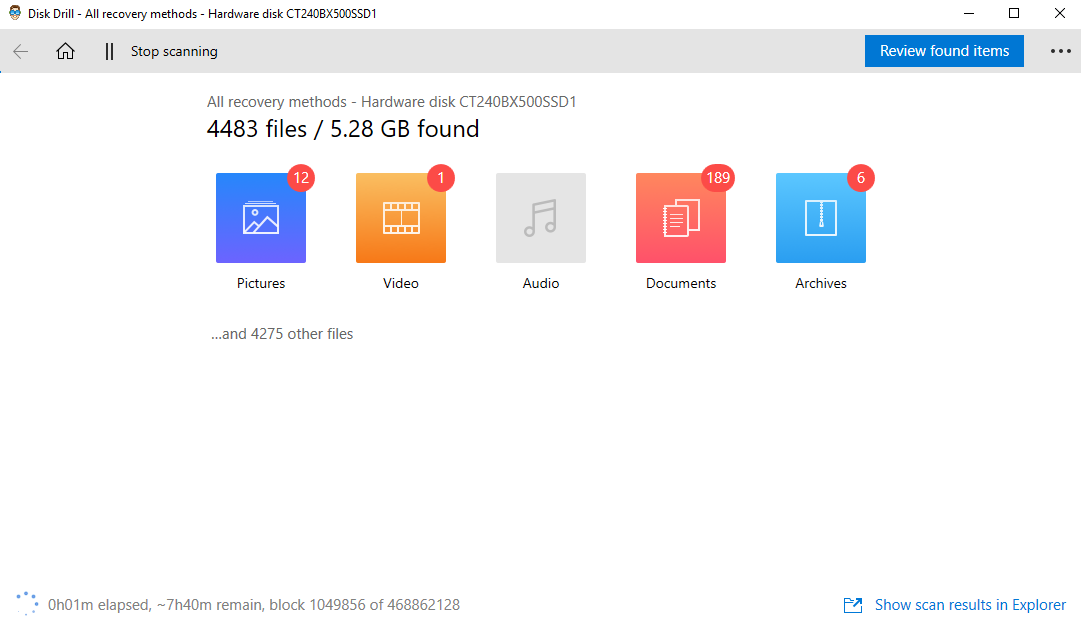
See Scan Results:
As Disk Drill scans the drive, it sorts all discovered files by their file type and shows a visual breakdown. To see the actual files themselves, click on Review found items.

-
Recover Your JPG Files:
The window that opens up is designed to make file discovery easier. You can select the type of file you want to see from the top left and view them by their folder structure on the right. JPEG files show up with their thumbnails, so you can see what has been recovered. Check the files you wish to keep and use the Recover all option.
-
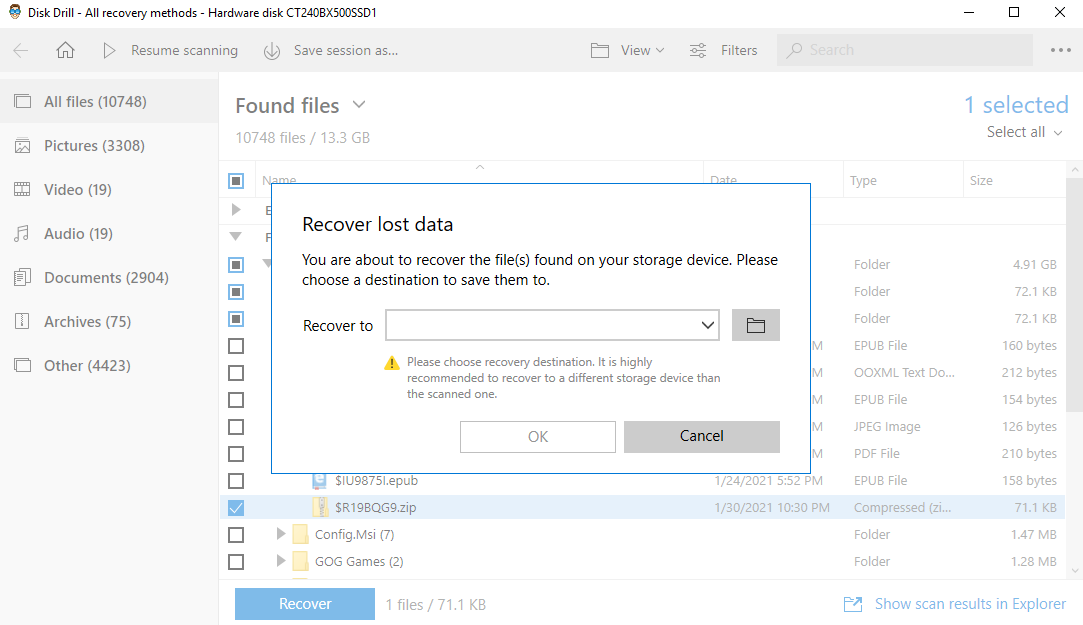
Choose a Save Location:
You will be prompted to specify a destination folder for saving the recovered files. Make sure you don’t choose a location on the very drive you are recovering from, as that can overwrite data yet to be found.
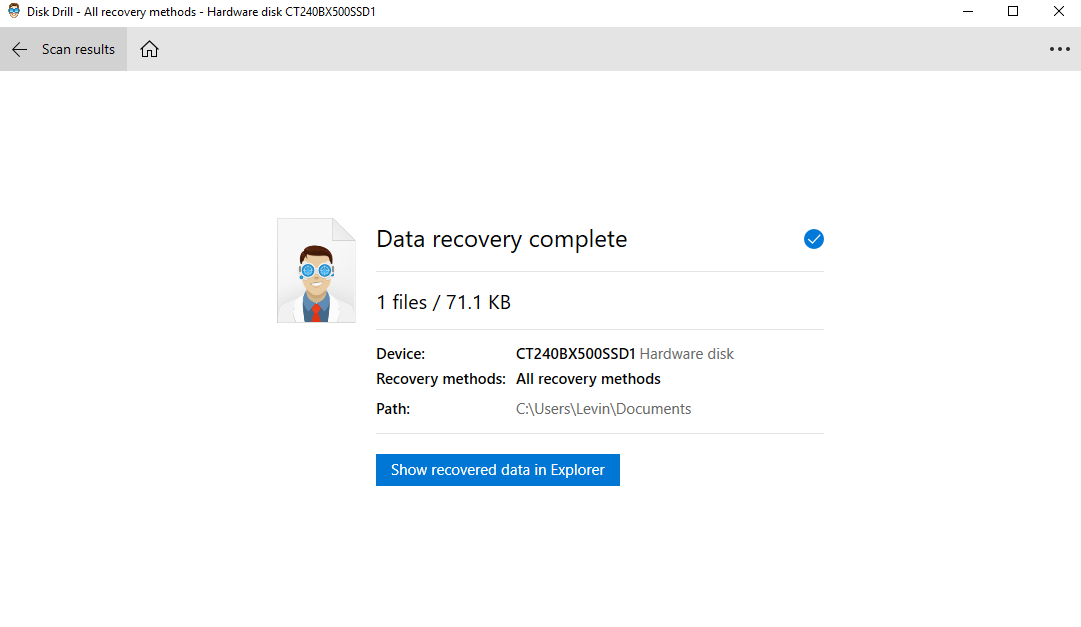
And that’s it. Your JPEG photos are now saved safely.
Interested in Disk Drill? Then read our full review.
Recover Deleted JPG Files Without Software
Maybe you don’t like the idea of installing new software specifically to recover some photos. Perhaps you just want to know what other options are there. Regardless, let us take a look at how you can restore deleted JPG files on your Windows or Mac without a dedicated tool.
First of all, note that this method requires some setup prior to losing your files. If you are reading this after having already deleted some photos, you will have to use data recovery software. This can help you prevent data loss in the future, though.
We are, of course, talking about restoring previous versions of a file from a backup. On Windows, this is called File History, while Mac’s utility is named Time Machine. They both do the same thing: create periodic backups of designated files and folders on a selected external drive and restore them when required.
Setting up File History
- Before you can recover older files, you first need to prep your computer for it. Start by opening your Windows Settings.
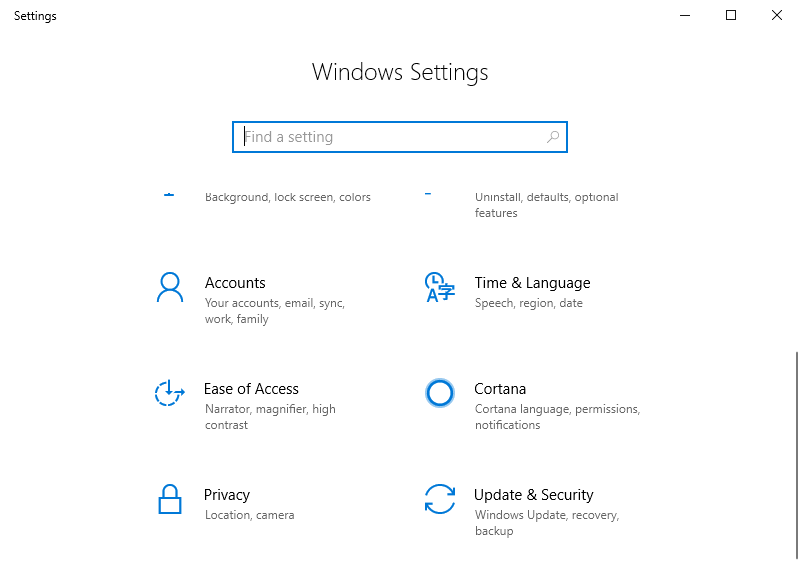
- In the settings, head to Update & Security and click on Backup.
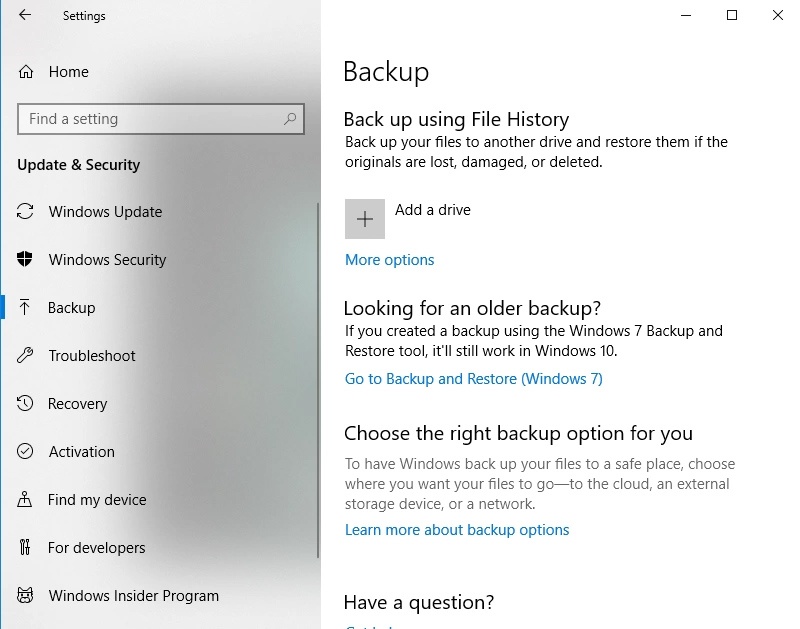
- Obviously, you are going to need an external drive to back up your files. Once you have connected such a drive to your computer, use Add a drive option to select it.

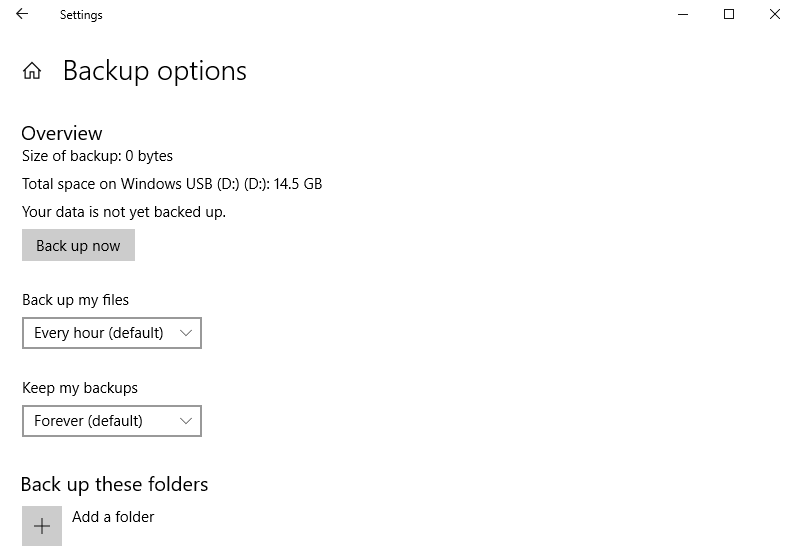
- After the drive is selected, make sure that the Automatically back up my files toggle is enabled. By default, this will backup all major folders like the My Documents or Pictures. For a more detailed look (and customization) click on More options.
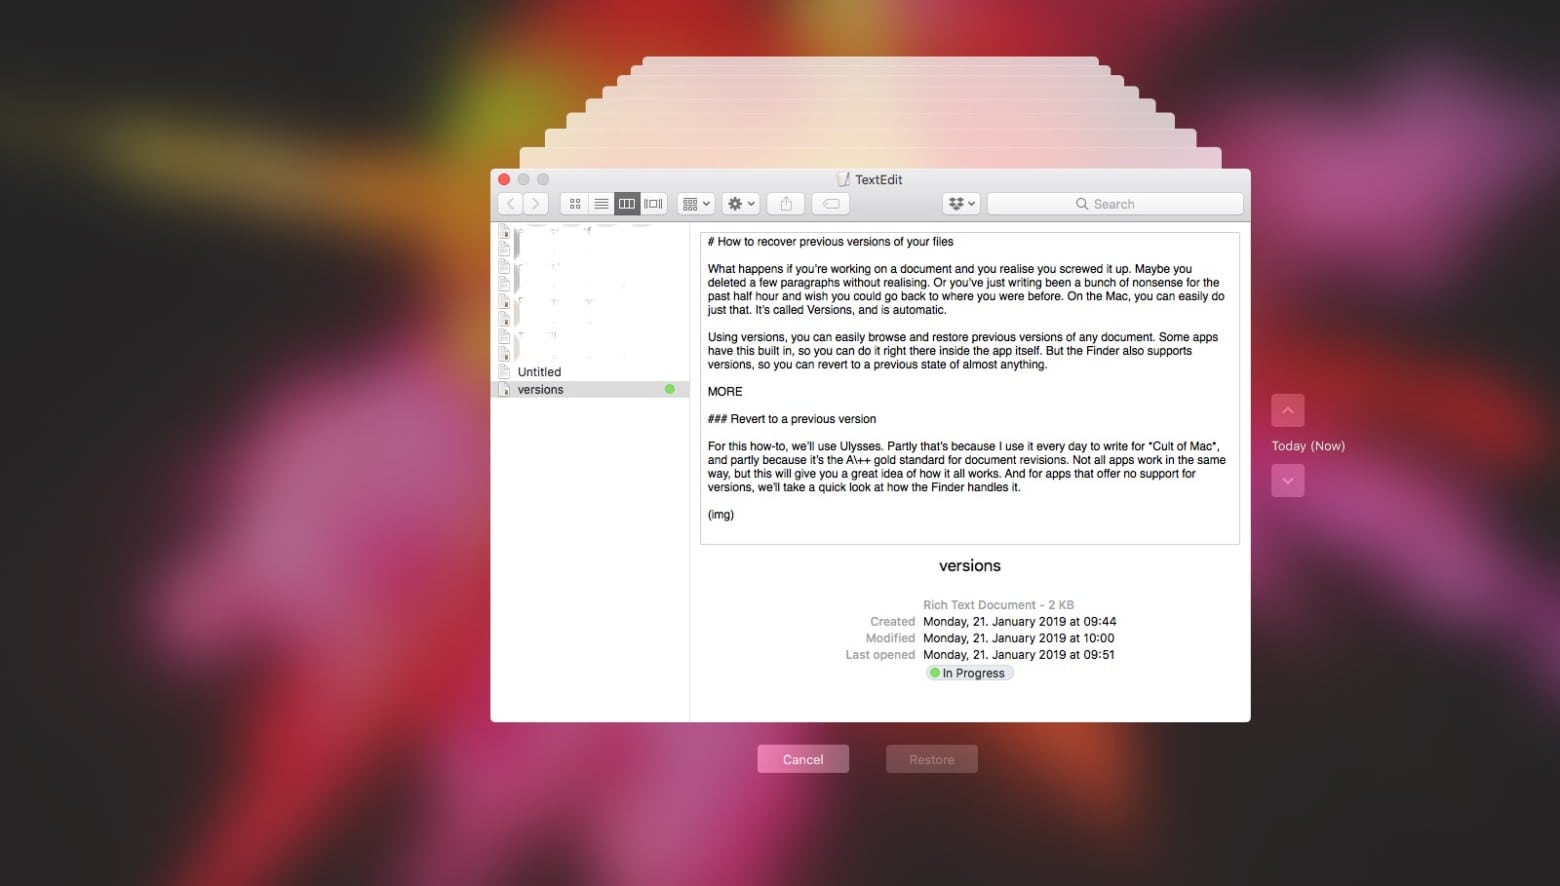
Restoring the Previous Version of a File
- With File History set up on your computer, you can restore any file to its previous version. So if a JPEG file is damaged or not opening, right-click on it.
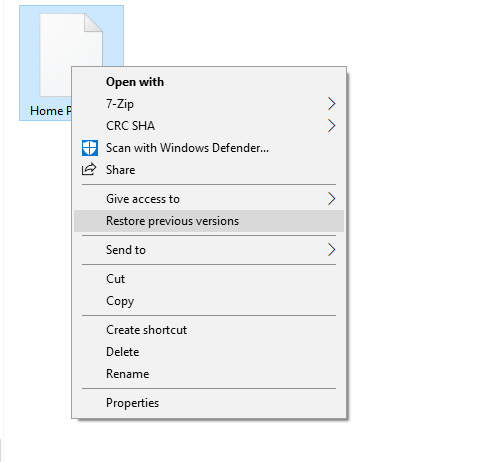
- In the drop-down menu will be the option to Restore previous versions. Note that this needs the external drive you used for File History to be connected to the computer. Select the option once you have plugged in the drive.
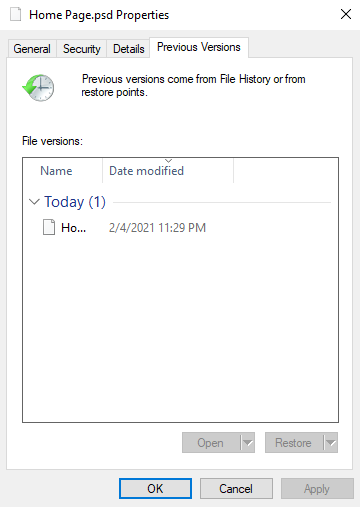
- If everything went correctly, you will be able to see previous versions of the same file that were backup up to the drive. Each comes with a timestamp to identify when the backup was created, so you can easily choose the version you knew to be working.
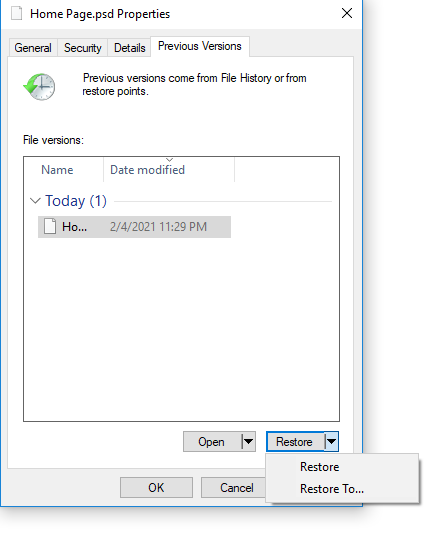
- Clicking the Restore button replaces the current file with the older version. If you want to keep both, click on the arrow next to it and select the Restore To… option instead. This lets you specify a location to save the restored file to.
Setting up Time Machine
- To set up automatic backups on your Mac (aka Time Machine), head to System Preferences and click on the Time Machine icon.
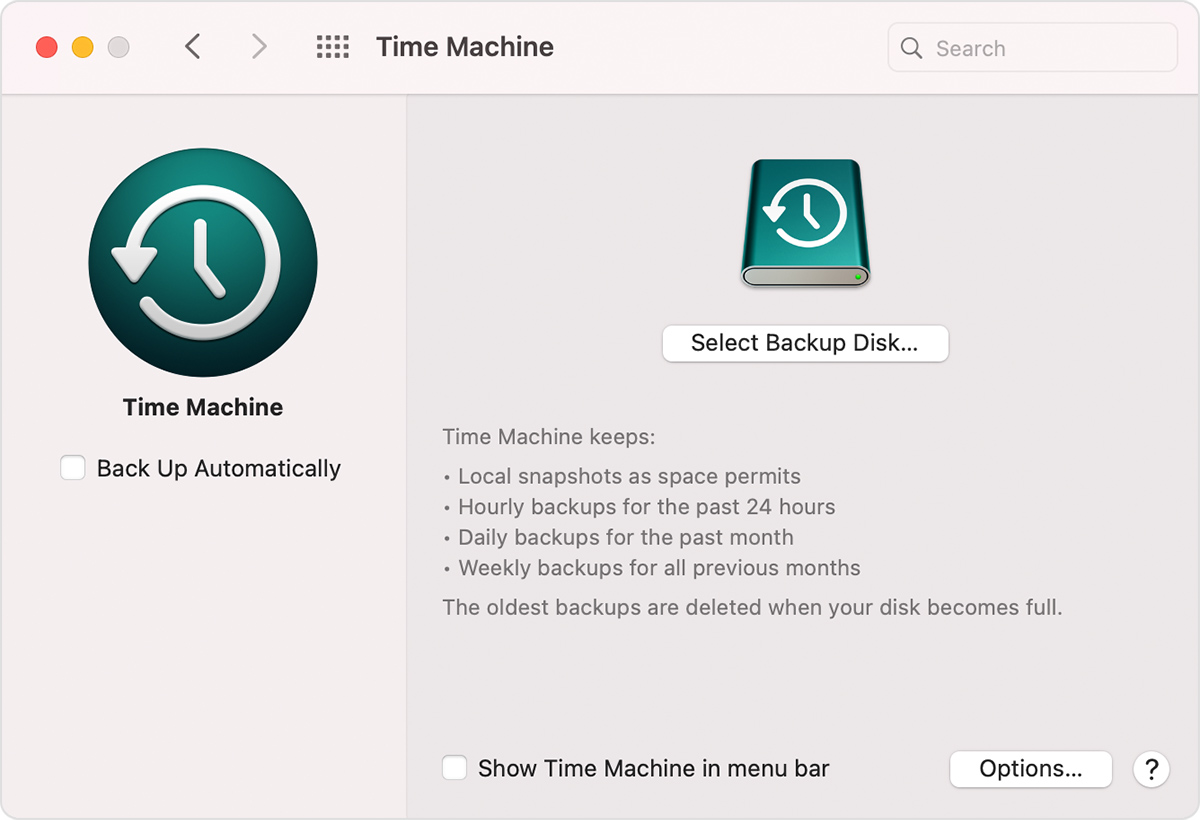
- To proceed further, you need to connect an external drive to the computer. Click on Select Backup Disk to choose a drive as the desired backup location.
- The backup process starts immediately. As the first time requires writing over all the data at once, this will take a while. Once the backup is done, your files are secured to data loss.
Restore Previous Versions with Time Machine (Mac)
- If you had set up Time Machine on your Mac, then you can restore a file to its previous version easily. To begin, enter the file name in the Finder.
- Click on the Time Machine option in the menu bar.
- All the backed-up versions of the file appear in a graphical form. You can scroll back and forth to find a version that you wish to keep. Just click on Restore when you are done.
Recover Damaged JPG/Fix Corrupted JPG Files
Recovering a lost JPEG file is straightforward. Fixing a malfunctioning JPG file is harder. Here are some methods that might help.
When Do You Need to Repair Your JPEG Files?
When data corruption makes your JPEG files disappear altogether, the problem is easier to diagnose. You can just fire up a photo recovery tool to recover such files. But what if your photos are there, but cannot be opened? Or if they open, but display incorrectly?
This is when you need a photo repair tool instead. A JPG file not working properly is often due to a missing file header or corrupted image data. With a repair tool, it is possible to fix such files.
Do note that such applications generally do not offer a free plan. At best, you can use them to view a damaged JPG file – you will need to buy the software to be able to save the fixed photo. This is why it is recommended to first try restoring a past version or repairing the drive itself.
CHKDSK
If the drive (or the partition) containing your JPG files is corrupted, you can repair it by using CHKDSK. The utility can repair corrupted drives and even recover files from affected sectors.
It is limited in its effectiveness though. In practice, you will get better results by using a data recovery tool. It doesn’t hurt to give it a try, though.
To use CHKDSK, follow these steps:
- Run command prompt as an administrator. Search cmd in the Start Menu’s search bar if you have trouble finding it.

- Enter this command: chkdsk C: /F where C is the drive letter of the disk you wish to scan. This will perform a basic repair only.

- To try and recover files too, you need to affix some optional parameters. Like this: chkdsk C: /F /R /X This will cause CHKDSK to scan the drive and recover any corrupted files it finds.

Using Photo Repair Software
If you don’t have backups and CHKDSK doesn’t help, then you need a specialized photo repair tool. There are many such applications in the market, like OneSafe JPEG Repair, Picture Doctor, or Stellar Repair for Photo. You should compare the prices and choose which tool to buy only after due consideration.
For the purposes of this guide, we will be using Stellar Repair for Photo.
- First, download the setup from the official website and install it on your computer.
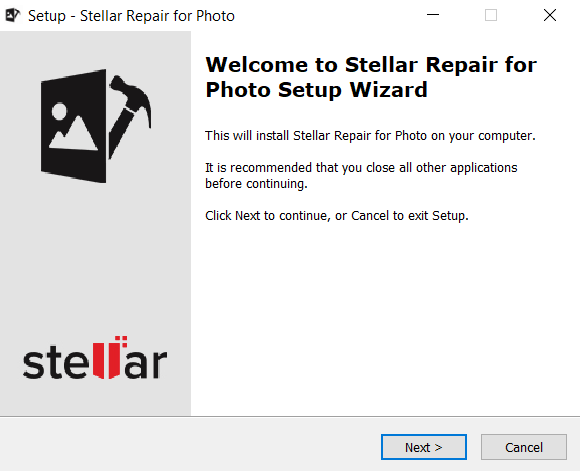
- Run the application once it has been installed. You will be greeted with a screen like this.
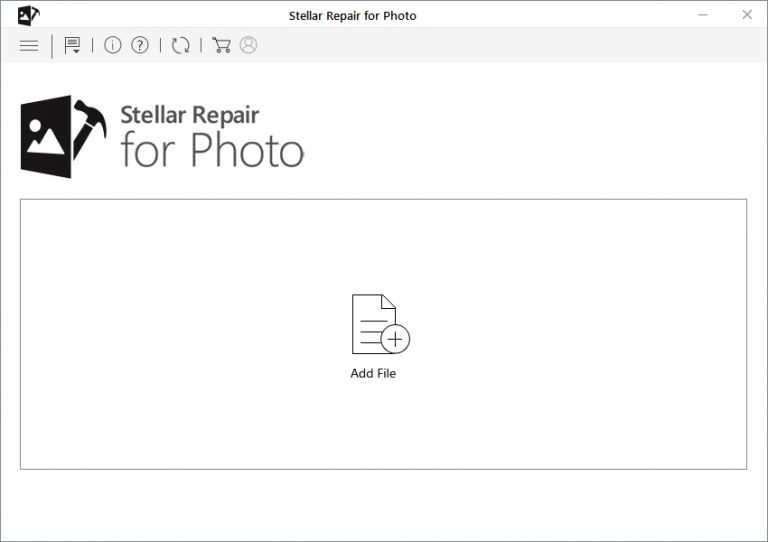
- To repair a photo, you must first add it to the application. Click on the Add File icon to get started.
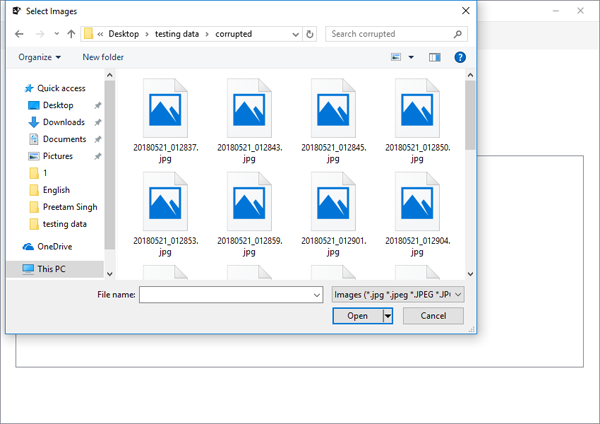
- You can navigate to any directory on your computer to add an image file. It can be a .jpg or a .jpeg – the tool will work with both of them. Keep adding all your corrupted photos.
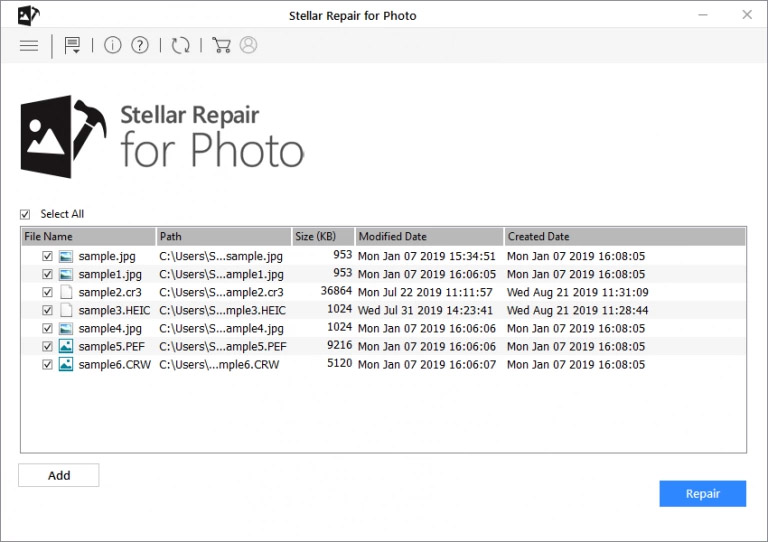
- The added files show up in a selectable list. Check the ones you want to fix and hit the Repair button.
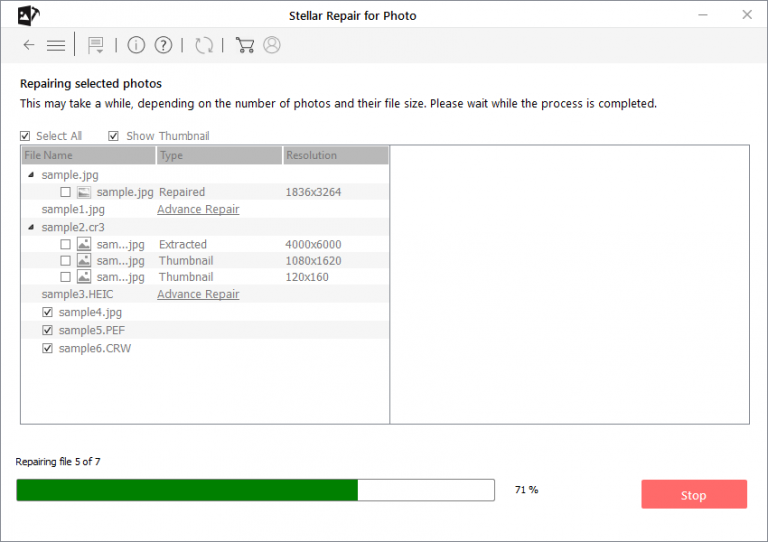
- The repair progresses fairly quickly, depending on the number of files lined up. For severely damaged JPEG files though, you will need to use Advance Repair.
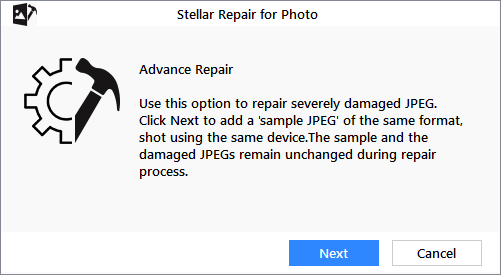
- Files that need Advance Repair display that option alongside their file names. Simply click on it and hit Next.
- For Advance Repair to work, you need to provide a sample JPEG file. This image doesn’t have to be related to the corrupted photo in any way besides being on the same device. Choose such a sample photo and click on Repair.
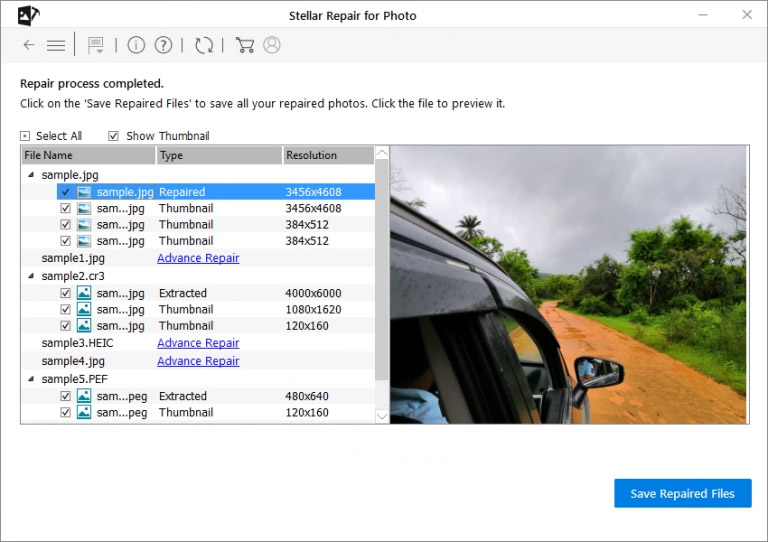
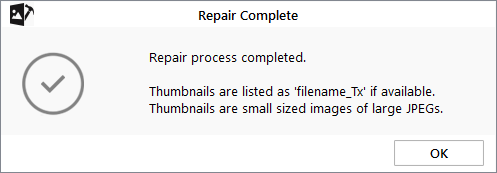
- Once the repair is complete you can finally view a preview of each JPEG by clicking on it. This helps you decide which file to keep.
- To save any of the recovered photos, you must buy the software first. After doing so, you can just check the files that you wish to keep and click on Save Repaired Files. The repaired JPEG pictures will be saved to a designated folder.
FAQ
How do I recover a deleted JPEG?
The best way to recover a deleted JPEG file is to use a data recovery tool. These applications are specialized in restoring photos from any storage media. We will be using Disk Drill to demonstrate the process.
- First, get Disk Drill and install it.
- For recovering files from an SD card or a USB drive, connect them to your computer.
- Now open Disk Drill. On the main screen that shows up, you can see all drives including the hard disk and any portable storage media.
- Click on the drive your JPEGs were deleted from and then click on Search for Lost Data.
- Disk Drill will start scanning the drive for deleted files, including all Pictures. The files will be sorted by category as they are found, making finding the needed files easier.
- At any point during the scanning, you can click on Review found items. The scan will be paused and the results displayed in another window.
- JPEG files will be shown along with their thumbnails, so you can check out the pictures before recovering them. Select the photos that you want to save and click on Recover.
How to find all jpg files on a computer?
When you cannot find a photo on your computer, it doesn’t necessarily mean it has been deleted. It just might be saved by a different name in another folder. How can you get a list of all the jpg files on your computer in such a case? Here are the steps.
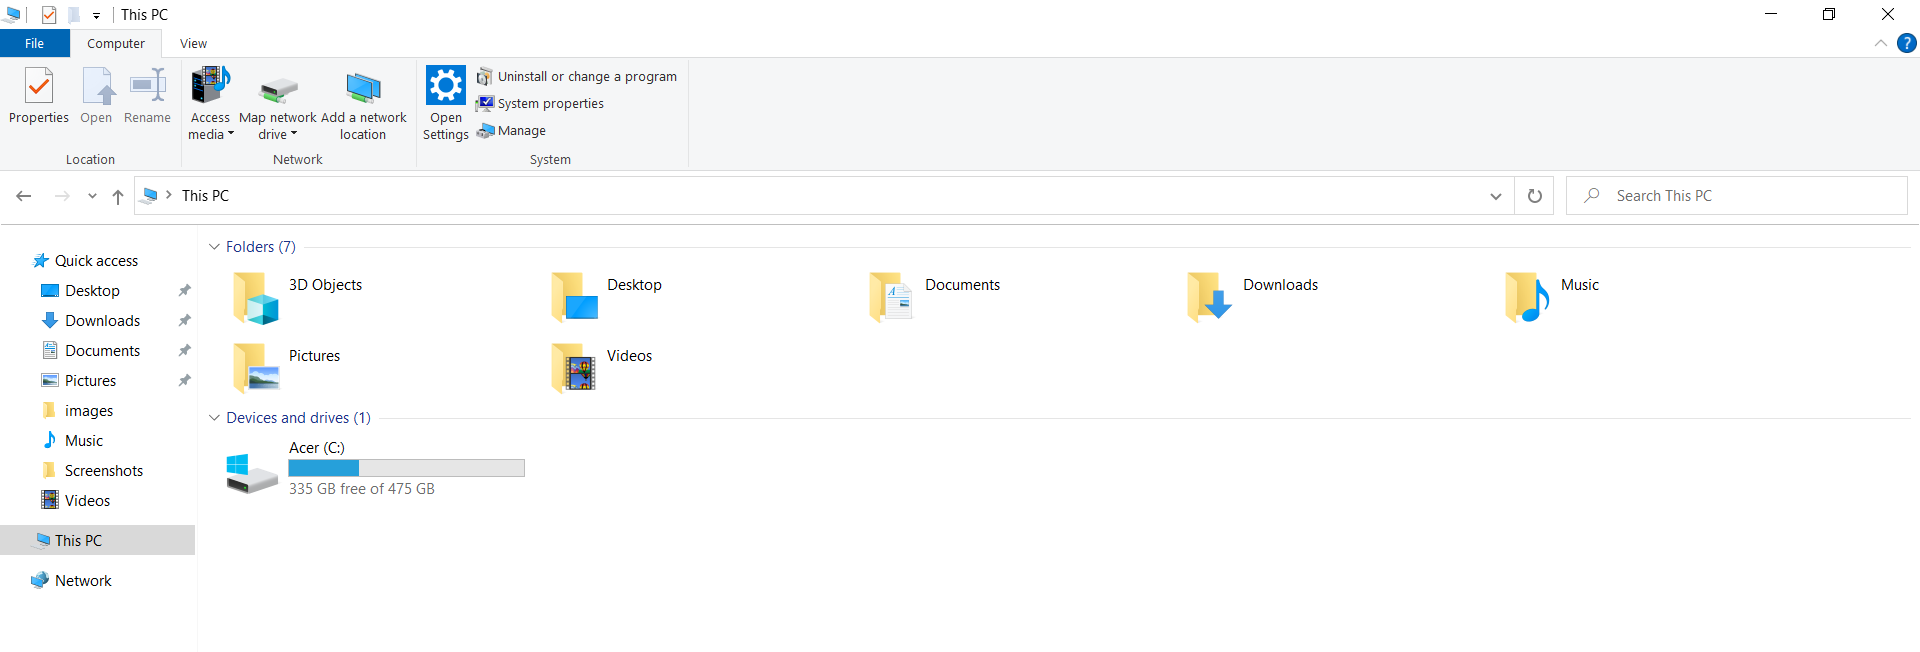
- Open File Explorer, and head to the drive you wish to find the photos in. If you want to search all the drives of your computer, just open My computer.
- There is a search box on the top right. Click on it.
- Now type *.jpg to find all the files with that file extension on your computer.
- The search utility will scan all drives and folders and show you all the photos on the computer.
The asterisk (*) is known as the wildcard character. Basically, putting an asterisk before the extension ensures that it matches every file name.
What is the best JPEG repair software?
The best JPEG repair applications are:
- Stellar Repair for Photo
- OneSafe JPEG Repair
- SysInfoTools Image Repair Tool
- Picture Doctor
- SecureRecovery for Pix
Keep in mind that none of these applications are free to use. All you can do with their free version is view the damaged files.
Is it possible to repair corrupted JPEG files on Android?
Yes. While good Android apps that can repair corrupted JPEG files are harder to come along with, you can always connect the SD card to a PC and use a dedicated photo repair tool. Here are the steps for doing this with Stellar Repair for Photo:
- Take out the SD card from your Android device and insert it into a card reader connected with your computer. It can be an internal card reader built into your laptop or an external USB device.
- Now get Stellar Repair for Photo and install it.
- Opening the tool brings you to a screen where you can add photos that are to be repaired. Click on the Add File button and navigate to the drive representing your SD card.
- After adding all the corrupted JPEG files on the card, select them and use the Repair button.
- The photos will be fixed, allowing you to preview them. To save them, you must buy a license key. If you already have one, just click on the Save Repaired Files option to keep them.
How to view damaged JPEG files?
For viewing damaged or corrupted JPEG files, you need to use a photo repair tool. An application like Picture Doctor or Stellar Repair should do the trick. Here are the steps for doing this with a free copy of Stellar Repair for Photo:
- Download and install the free version of Stellar Repair for Photo.
- Run the application and add the JPEG files that you wish to view.
- Click on the Repair button to start fixing your photos.
- Once the repair is complete, you can click on each picture to preview it.
Conclusion
Losing your JPEG files might be easy, but regaining them even easier. With a powerful data recovery tool and some quick thinking, you can rescue most – if not all – of your lost files intact. Just make sure to stop using the storage device in question, and you will be able to recover your photos without a hiccup.
This article was written by Levin Roy, a Contributing Writer at Handy Recovery Advisor. It was also verified for technical accuracy by Andrey Vasilyev, our editorial advisor.
Curious about our content creation process? Take a look at our Editor Guidelines.