
Photoshop files are some of the most data-dense file formats in existence. After all, a photo is just, well, a photo, but a PSD file holds layers upon layers of formatting on top of the photograph itself.
Losing a PSD file is therefore a much bigger blow than losing a JPEG file – especially if you are a designer with a week’s work locked up in that PSD.
So here are a few ways to recover a deleted (or unsaved) photoshop file, no matter how or why you lost it.
Quick Navigation
Problem |
Solution |
I have recently deleted the PSD file in question. |
Recover from the Recycle Bin Recover using Data Recovery Software |
I have accidentally closed Photoshop without saving |
|
I need to recover Photoshop files after a crash |
Restore from Recent Files Restore from an Autosave Recover from a Temp file |
I have permanently deleted the PSD file in question |
|
I need to restore the previous version of my PSD file |
|
I need to fix my corrupted photoshop file |
Restore the previous version of a PSD file Repair a Corrupted PSD file |
STOP USING THE STORAGE IMMEDIATELY! Keep in mind though that you have to move fast. Every additional read-write process on the storage media runs the risk of writing data over the deleted file. If you are quick about it though, there are very good chances of recovering the file without any corruption or data loss.
Recover from the Recycle Bin
Sometimes, the reason why you lost your file was not a computer crash, but you yourself. Accidentally deleting important files while cleaning up your computer storage is a common occurrence with a simple remedy.
Both Windows and Mac hold on to deleted files for a while, in case you change your mind and need that file again, But how do you access this location?
Windows
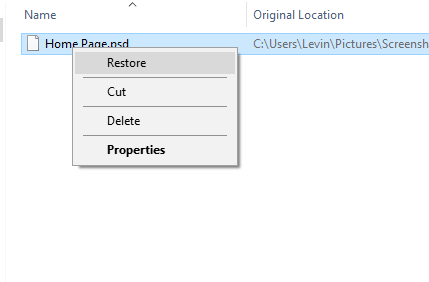
In Windows, deleted files are stored in an easily visible folder, the Recycle Bin. Present on the desktop itself, you can simply double click on the icon to view all recently deleted files.
Navigate to the file you are looking for, right-click on it, and select Restore. Your file will be returned to its original location.
Don’t worry, you can still recover your files even after you’ve emptied your Recycle Bin.
Mac
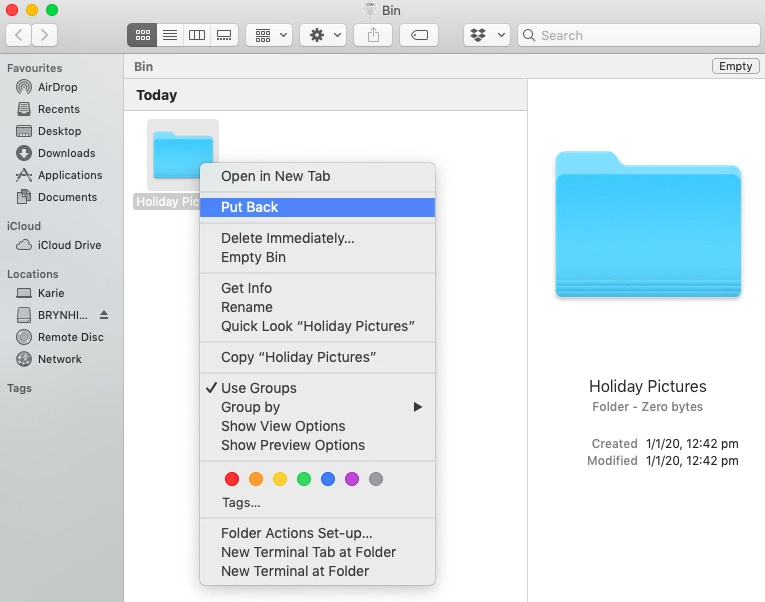
On Mac, the deleted files go to your Trash Can. You can find its icon at the end of your dock.
Right-click on it and select Open. You will get a list of files that were recently deleted from your machine.
If the file was deleted from a USB drive or an external drive, however, you will not find it here. In Mac, every drive has its own trash can.
The problem is, that the other Trash folders are hidden and not directly accessible. To recover a deleted photoshop file from an external storage media on Mac, you should use a good data recovery application.
Emptied the Trash by mistake? Don’t worry, there are methods to recover accidentally emptied Trash on a Mac.
Restore from Recent Files
This is your best bet for getting back the file without too much fuss.
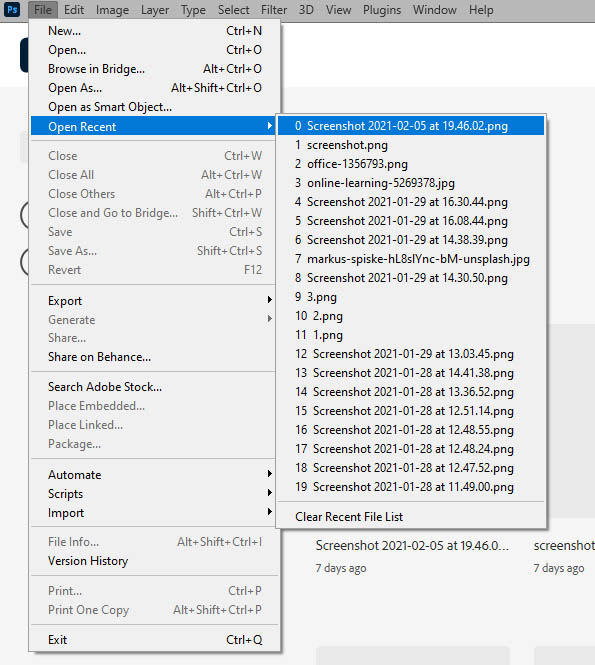
Adobe Photoshop, like most productivity applications, keeps a list of recent files. Even if you forgot to save the file you were working on, chances are that you will find it in this list.
The only drawback with this approach is that it doesn’t work if too much time has passed; it is called recent files for a reason, and if you have worked on other files in the interim, chances are that you will not find your lost photoshop file here.
There is not much for you to do to restore your PSD from recent files. Head to the File > Open Recent, and in the drop-down menu that appears, click on the file name you are seeking.
Restore from AutoSave
By default, Adobe Photoshop saves your work every ten minutes. Depending on when Photoshop last saved your progress, you might end up recovering all or at least the majority of your data.
You don’t need to manually access this save file – photoshop recovers the last autosave whenever you boot up after a sudden system crash.
If photoshop fails to recover the file, there is nothing you can do. Either the crash happened before the software got an opportunity to autosave, or more likely, the feature isn’t enabled at all.
Setting up Autosave
To check whether you have AutoSave set up on your computer, head to Preferences and click on File Handling.
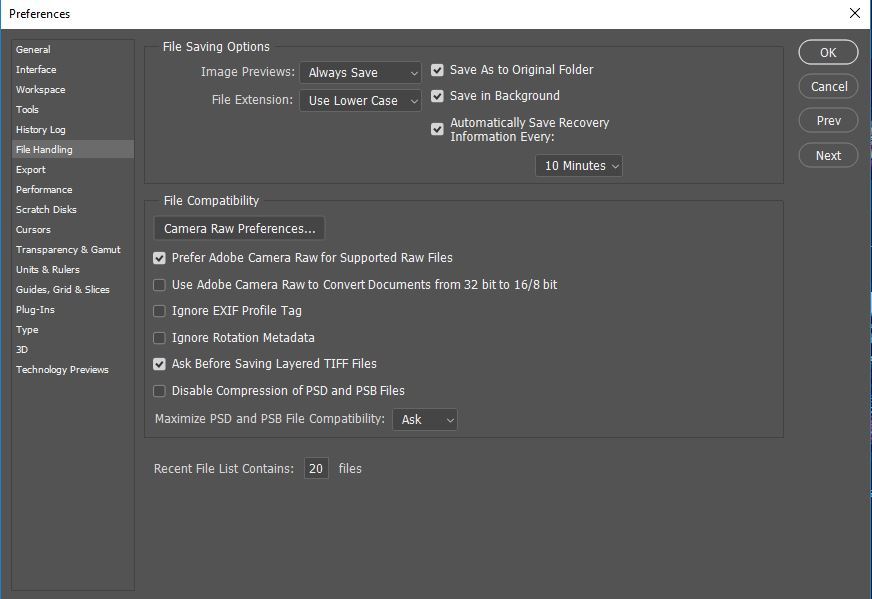
Under File Saving Options at the top is the checkbox for Automatically Save Recovery Information. Make sure that the option is checked, and adjust the timing to how frequently you want Photoshop to update the autosave.
The default is 10 minutes, though we would recommend 1 minute to ensure that you don’t lose much progress. As the application saves over the same file every time, more frequent saves do not take any extra space.
Accessing Your Autosaves
Many people like backing up their autosaves from time to time. This allows you to easily recover an earlier version of your PSD file without having to install a proper backup drive.
The only problem: the autosave is hidden.
Though not too well hidden, fortunately, as we are going to show you.
Windows
For Windows users, the process begins by navigating to your User directory. It is a folder with your username located inside C:\Users.
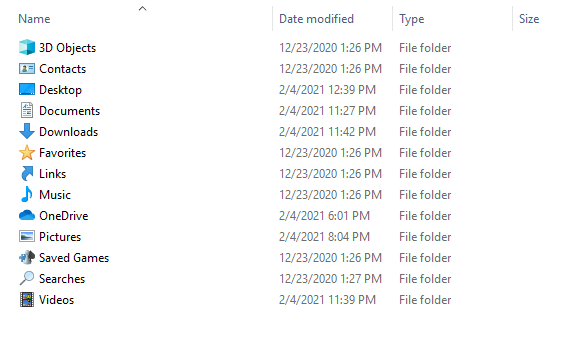
As you can see, the AppData folder is not visible on the list. There are two ways of revealing it:
- You can head to advanced settings and turn on ‘Show Hidden Files and Folders’, which will start showing you all hidden files everywhere. We do not recommend this.
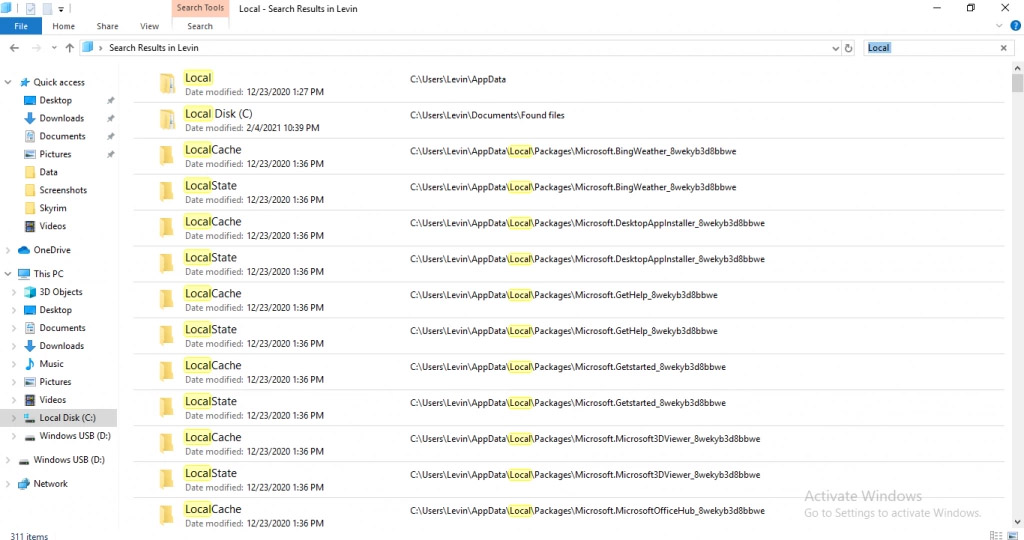
- An easier and less intrusive way is to simply search for the Local folder from your user directory. The search displays hidden files and folders as well, allowing you to access them easily. The Local folder appears at the very top. Just double-click on it and you will have access to all the private data of various applications.
Open the Roaming folder, then Adobe, and then the Adobe Photoshop (%version_name%) folder. Part of the name of the final folder comes from the photoshop version you are using. Since we were using Adobe Photoshop CC, our folder looked something like this.

Inside you will find the AutoRecover folder with a single save inside it. Photoshop overwrites this save every time it autosaves, so it might be worth it to copy it once in a while to retain multiple backups at various states of progress.
Mac
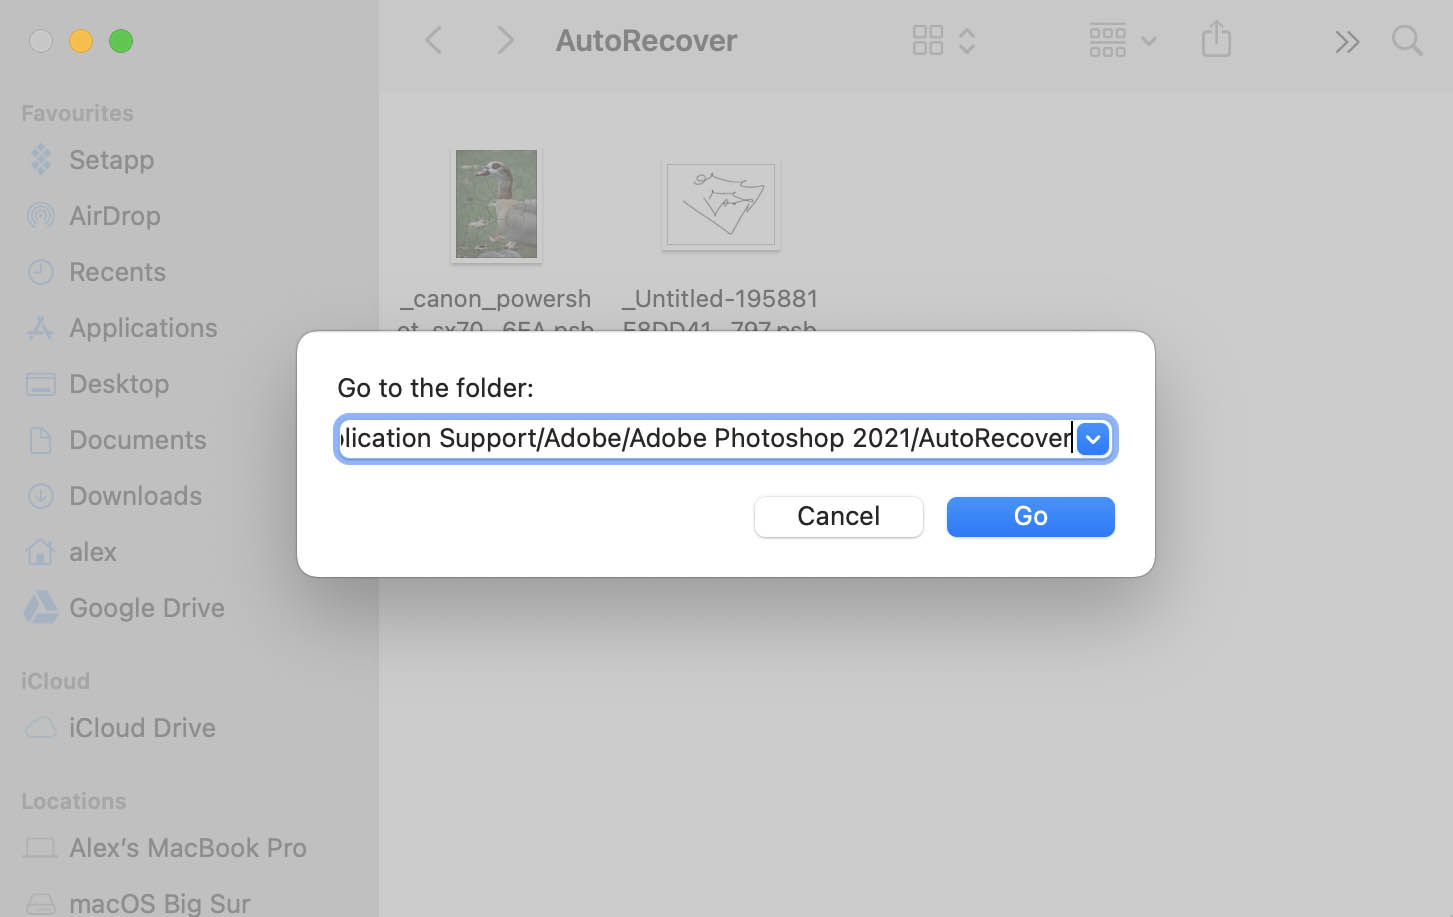
In Mac, hidden folders can be directly accessed by typing in their path. So head to the File menu and enter this path under the Go to Folder field.
~/Library/Application Support/Adobe/Adobe Photoshop %version_name%/AutoRecover
Recovering from a Temp file
When the software crashes too suddenly, there is often no AutoSave to recover from. This might also be the case if the feature was disabled.
This is when you check the Temp folder. In both Windows and Mac, there is a dedicated folder for storing ‘temporary files’.
Basically, these files are the data saved by any application while it is still running. If the application gets to shut down normally, it converts these temp files into permanent saves. But when that doesn’t happen, you can head into this folder and convert the file manually.
Windows
On Windows, the Temp folder is hidden. Finding it uses the same process we used when looking for autosaves.
The path of the Temp folder is C:/Users/UserName/AppData/Local/Temp/, but as it is a hidden folder, we will use a roundabout way for accessing it. You can always enable ‘Show Hidden Files and Folders’ from your settings, but it can lead to you accidentally messing around with critical system files.
Instead, open your User directory and search for the Local folder.
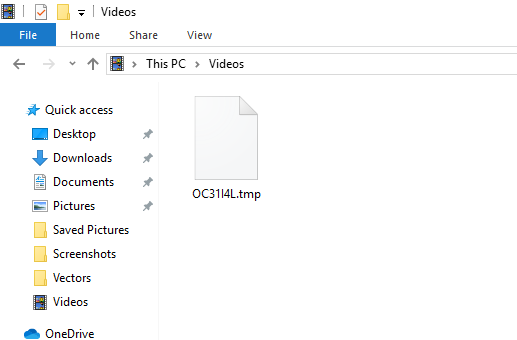
In the Local folder, you will find the Temp directory. Open it to find a list of all temporary files currently on the drive.
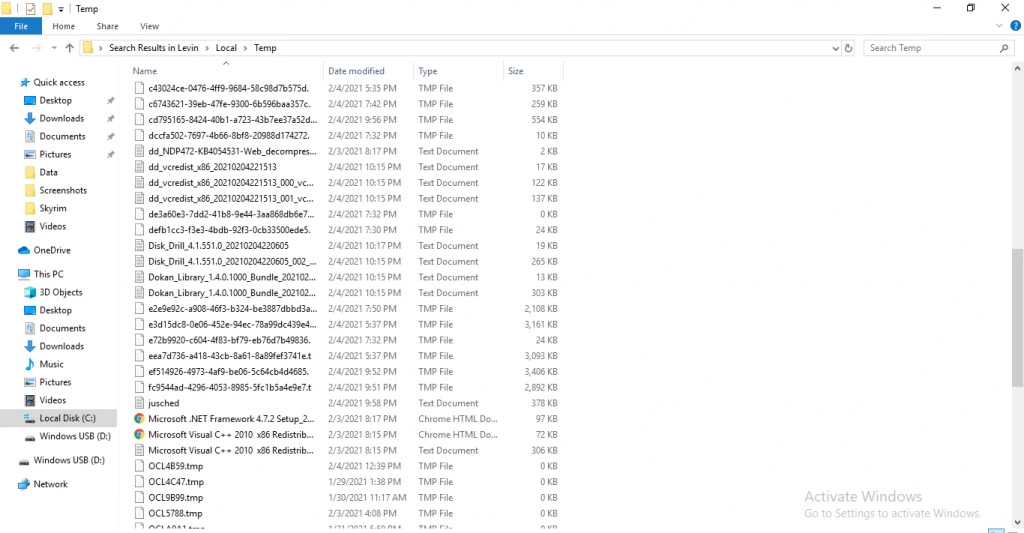
If your computer had crashed suddenly without a proper shutdown, this is where you will find the temp file of your lost PSD.
Mac
In Mac too, there is a directory that stores temporary files. But unlike in Windows, it isn’t safe to access it.
This is because while the Windows temp directory does not hold any important system files without write-protection, Mac does so. If you accidentally delete an important file in the Temp folder, your OS computer might become unbootable.
In Mac, therefore, you are better off using a dedicated data recovery tool.
But how can you convert this temp file to the PSD file format?
Changing Temp to PSD
Temporary files contain all the data present in the original formats. All you need to do is to change their extensions from ‘.tmp’ to ‘.psd’.
In earlier versions of Windows, this was as simple as renaming the file, but the latest releases (Windows 7,8, and 10) hide the file extensions.
Thus to make the change, you first need to make file extensions visible. This can be easily done from File Explorer.
Simply navigate to the folder with your temporary file, and click on the View tab at the top.
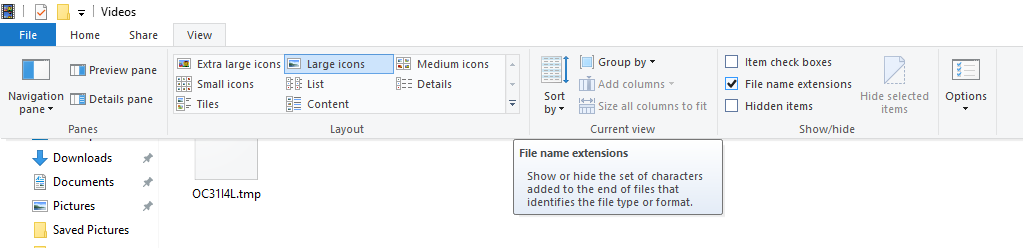
At the very right is a checkbox labeled ‘File name extensions‘. Enable it.
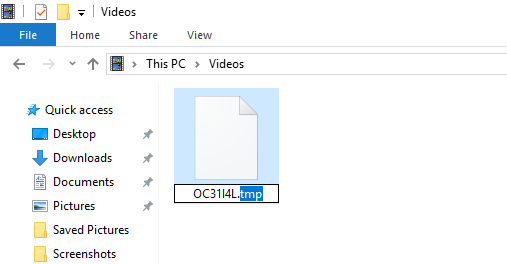
As you can see, the .tmp file extension is visible. You can now rename the file, removing the tmp with a .psd. Your PSD file is now ready to be accessed.
Restoring from Previous Versions
So far, we have gone over methods for recovering a file that was accidentally deleted or lost due to a system crash. What about the situation when you inadvertently overwrite a file?
Depending on how things are set up on your computer, this might be as easy as making a few clicks, or impossible.
On Windows, you need to have File History set up, and on Mac, Time Machine. If you don’t know what that means, you’re probably out of luck. Still, you should enable it so that you can recover older versions of your files in the future.
Windows
Once you have File History set up on your computer, restoring the previous version of a file is a piece of cake. Simply right-click on the file you wish to restore.
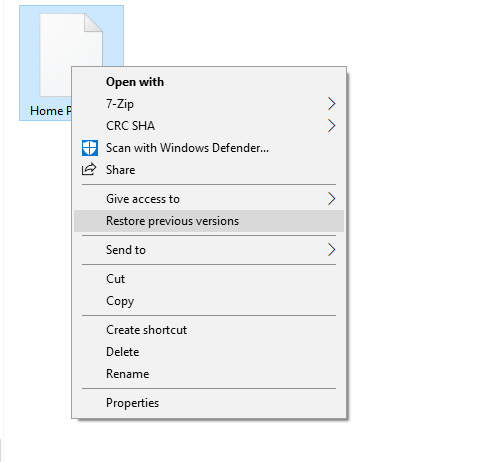
Click on the Restore previous versions option. A new window will open.
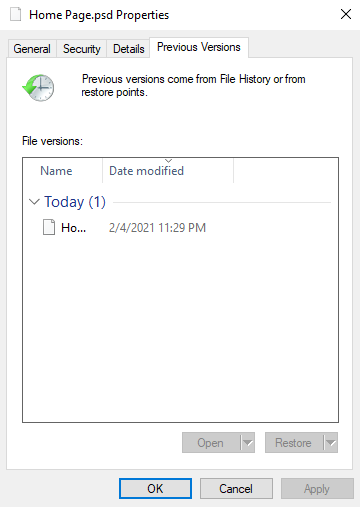
Here, you can see all the old versions of the file backed up in File History with their respective time stamps. Select the version you want.
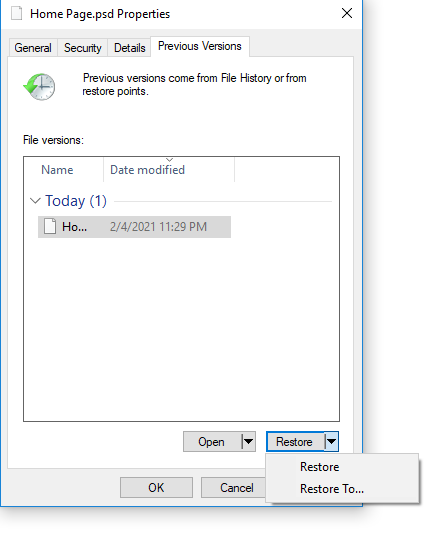
Instead of clicking the Restore button, lower the drop-down menu and pick the Restore To… option, which allows you to choose where the old version is saved to.
Setting up File History
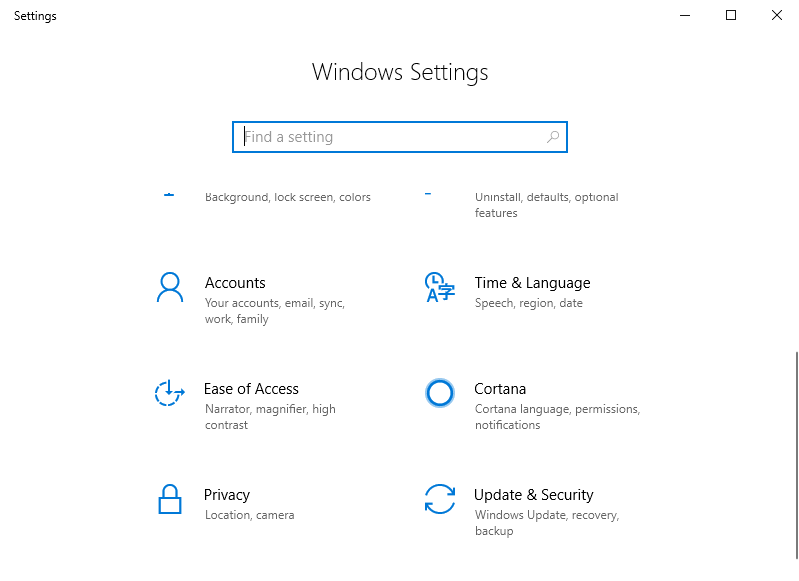
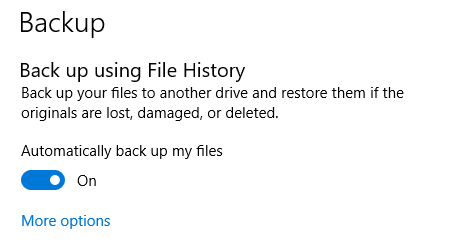
- On Windows, click on the Update & Security icon, and then select Backup.
- Before you can start backing up your files, you need to add an external drive. Click on the Add a drive option to select an external storage option.
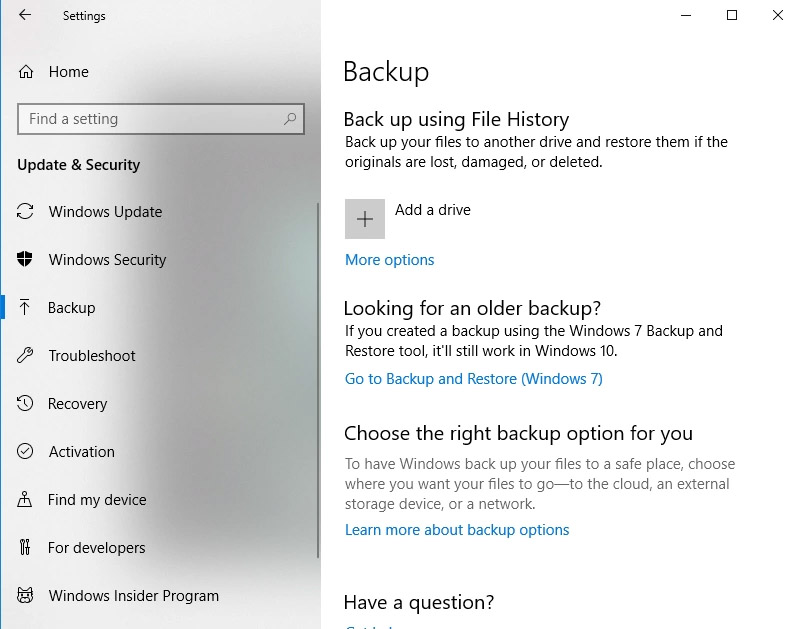
- Now that you have a drive selected, the Automatically back up my files toggle is enabled. To further customize what is backed up and not, head to More options.
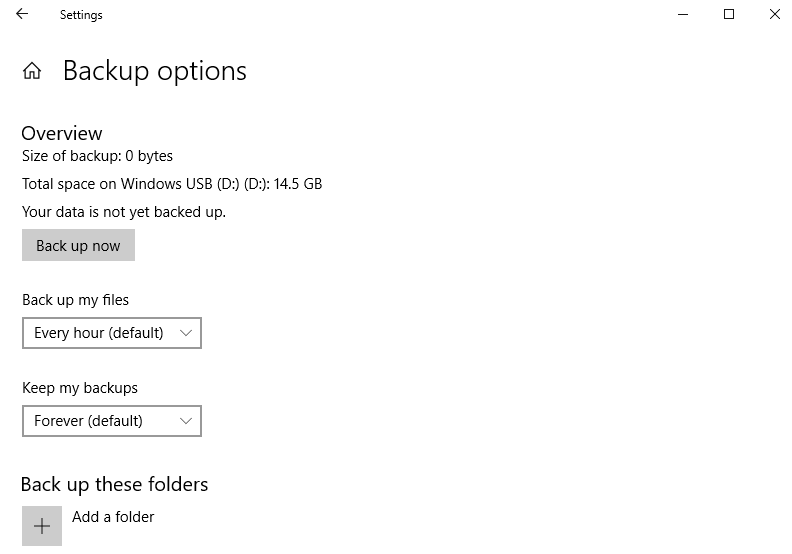
By default, Windows will back up a large number of folders, including the directories where important documents and application data is saved. But this can take up too much space on your backup drive, limiting how much data can be backed up.
Also, you may want to add private folders of your own to File History. In options you can choose exactly which folders are backed up, removing the unnecessary directories and adding the locations holding crucial data. You may also set up the backup frequency here.
Mac
On Mac, the process of restoring files from their previous versions is far more intuitive. Search for the file in Finder and then click on the Time Machine icon from the menu bar.
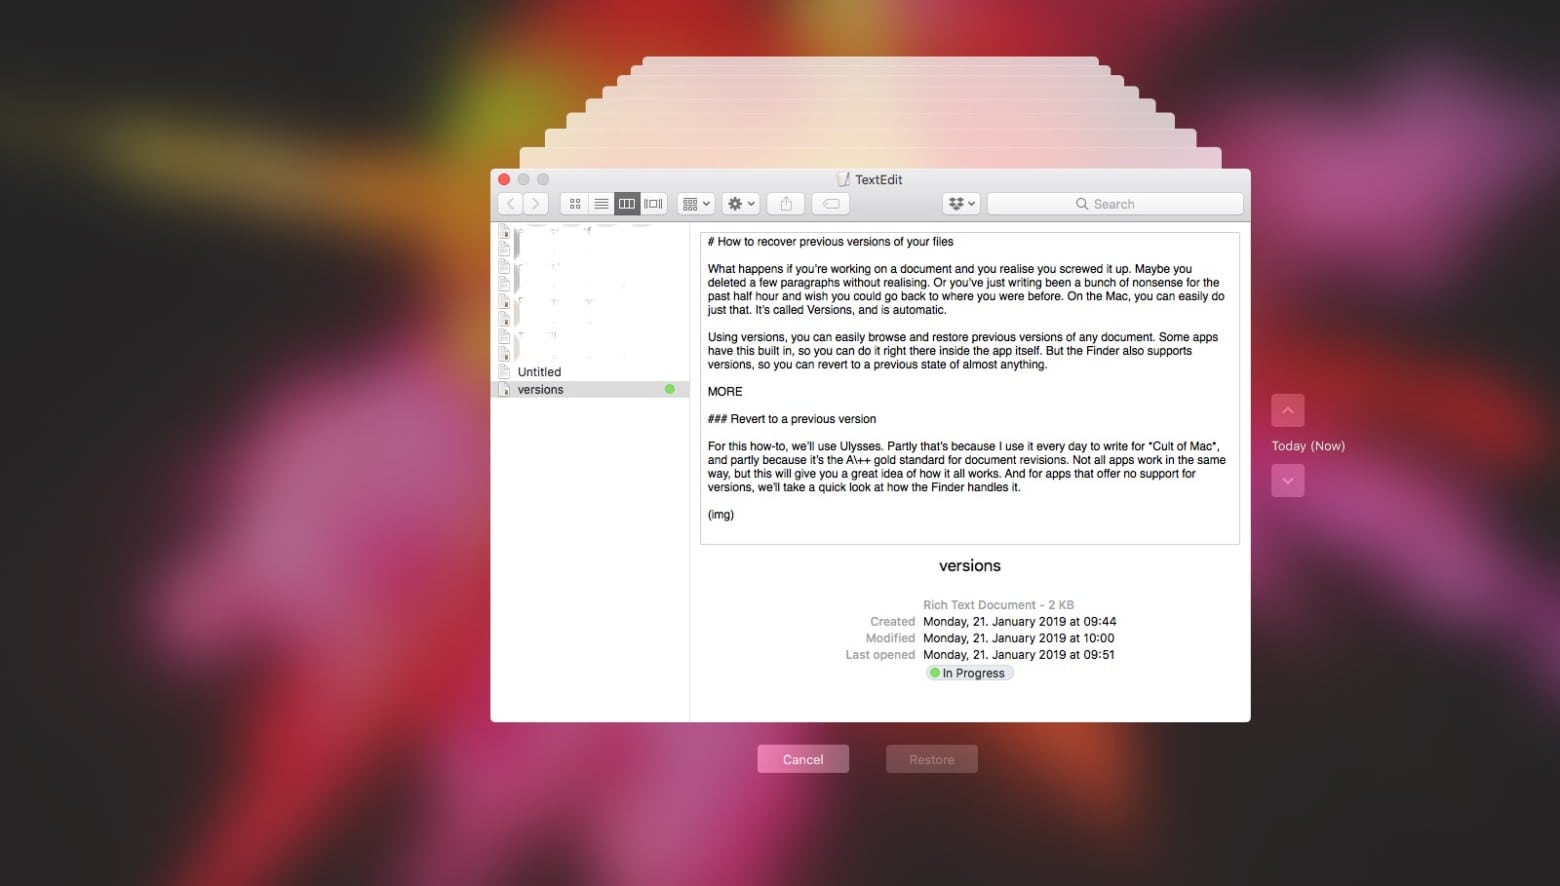
You can see the past ‘images’ of the file and scroll backward till you find a version that matches your needs. Select that version and click on Restore.
Setting up Time Machine
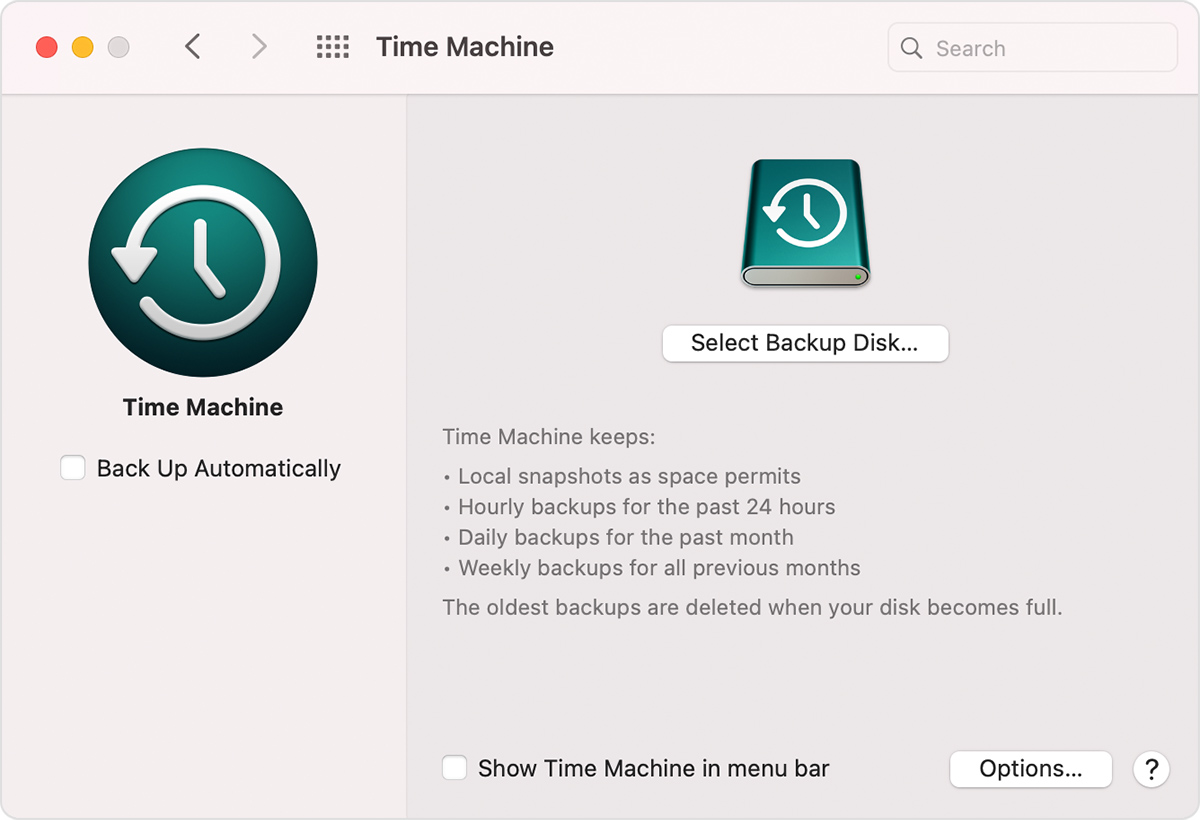
- The Time Machine is Apple’s fanciful way of saying you can backup your files. Setting it up is simple. Attach an external drive to your Mac and head to System Preferences.
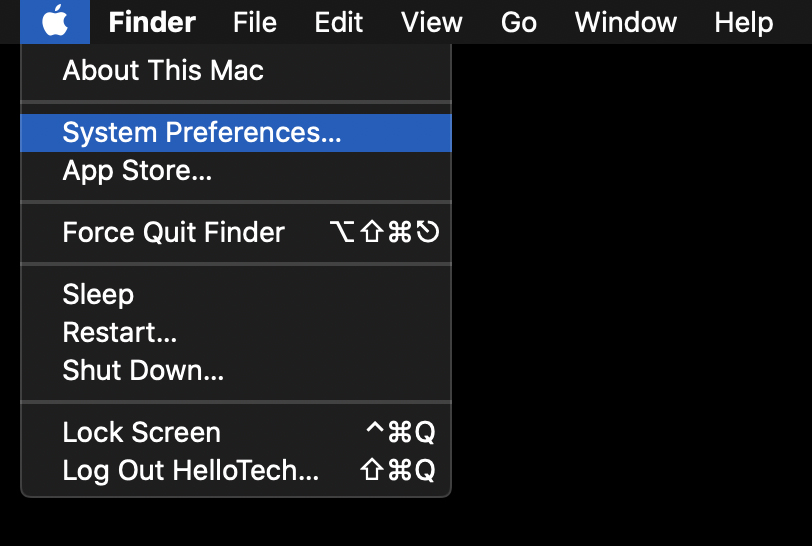
- Click on the Time Machine icon. This is where you can enable Time Machine, and more importantly, select a Backup Disk so it can start backing up your files.
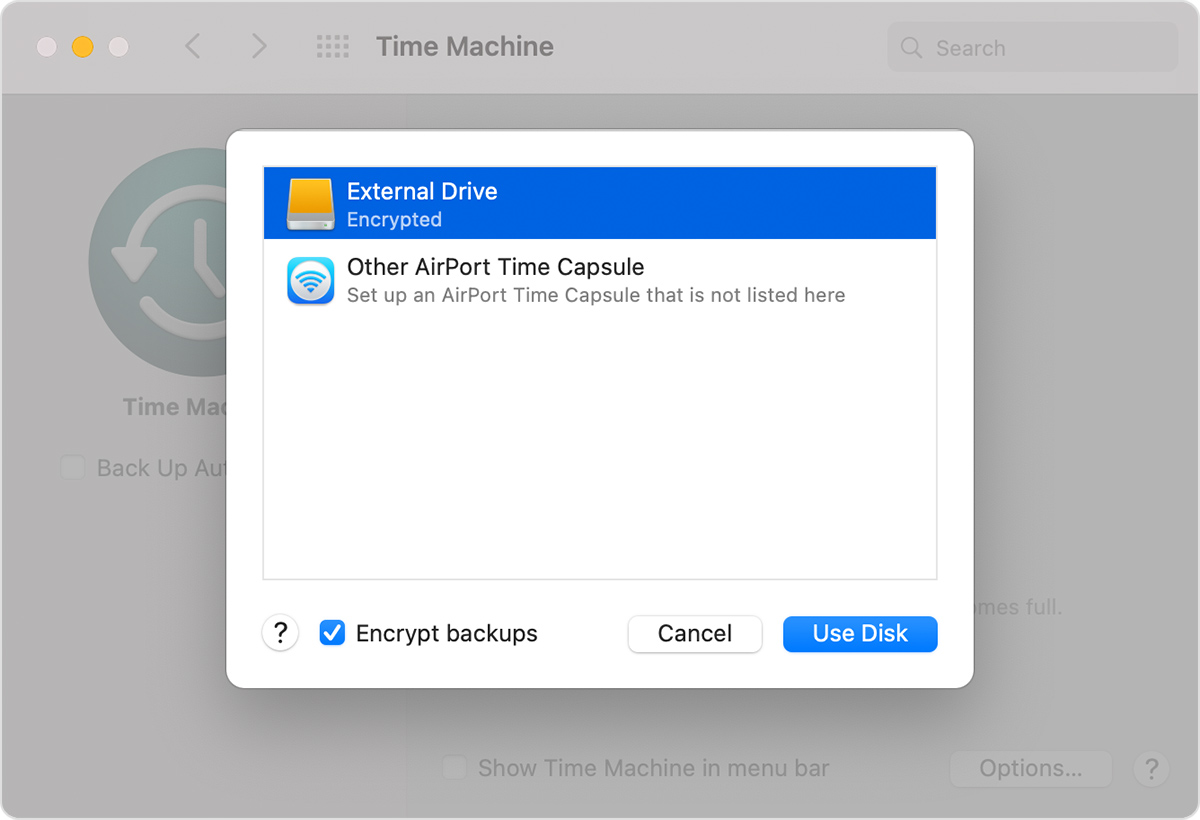
- The list shows all the external drives currently connected to your Mac. You can also Encrypt backups to keep the backup password protected. Click on the Use Disk button once you have made your choice.
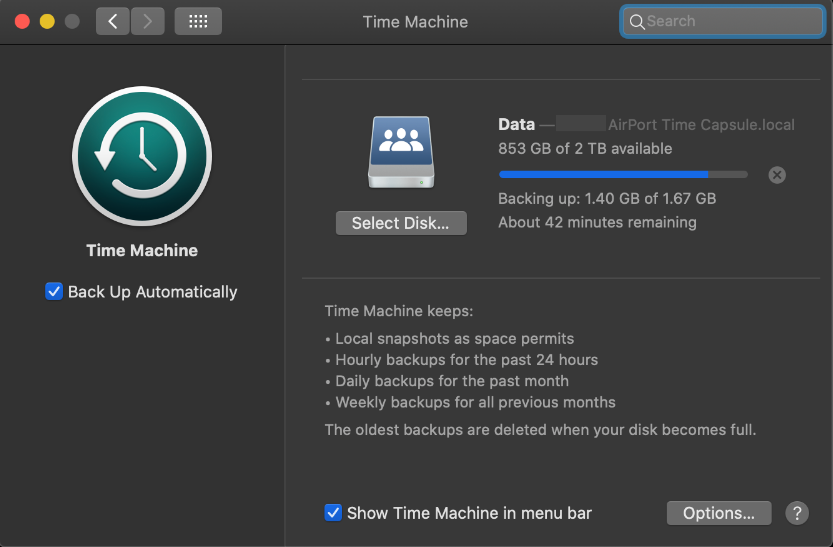
- Time Machine will begin backing up your data immediately. The first backup always takes the most time, so give it a while to complete the process.
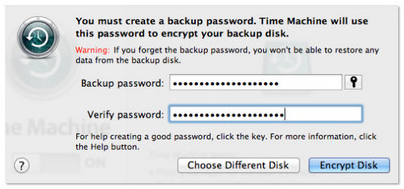
- In case you selected the option to encrypt your backup, you must also choose a password to limit access to it. Make sure you choose a strong password and try not to forget it!
Recover PSD files using Data Recovery Software
When all else fails, data recovery software is your best bet. A good recovery tool will scrounge up files that have been deleted even from the Recycle Bin (and the Trash Can) or lost on an external storage medium.
This is also safer than messing around in hidden Temp or AutoRecover directories yourself, especially on Mac.
These days there are many recovery applications to choose from, but we would recommend using Disk Drill.
It is fast, easy to use, and has a generous free plan that is enough for recovering a bunch of photoshop files without a hitch.
To begin with, grab the small installation file from the official website.
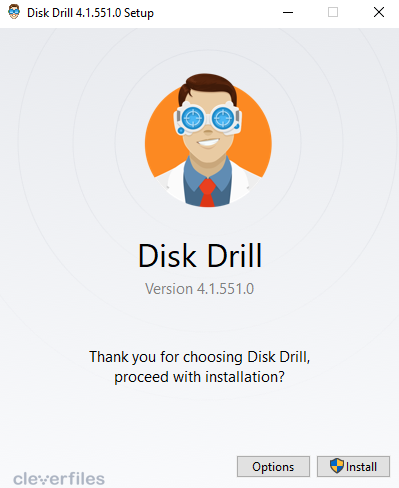
Fire up the setup and click on the Install button, or use Options to customize the install location. The installation will proceed swiftly, with the process completed in a few minutes.

Launch the application to begin recovering your files.
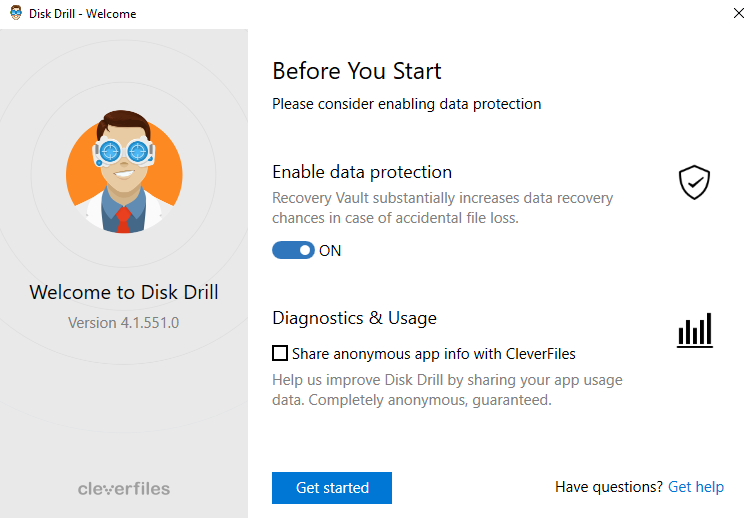
Before you get started, Disk Drill will prompt you to Enable data protection, which creates a Recovery Vault to help you recover files more easily in the future. You can also allow the sharing of anonymous information with the developers to help them design the software better.
After you have selected your choices, hit the Get Started button.
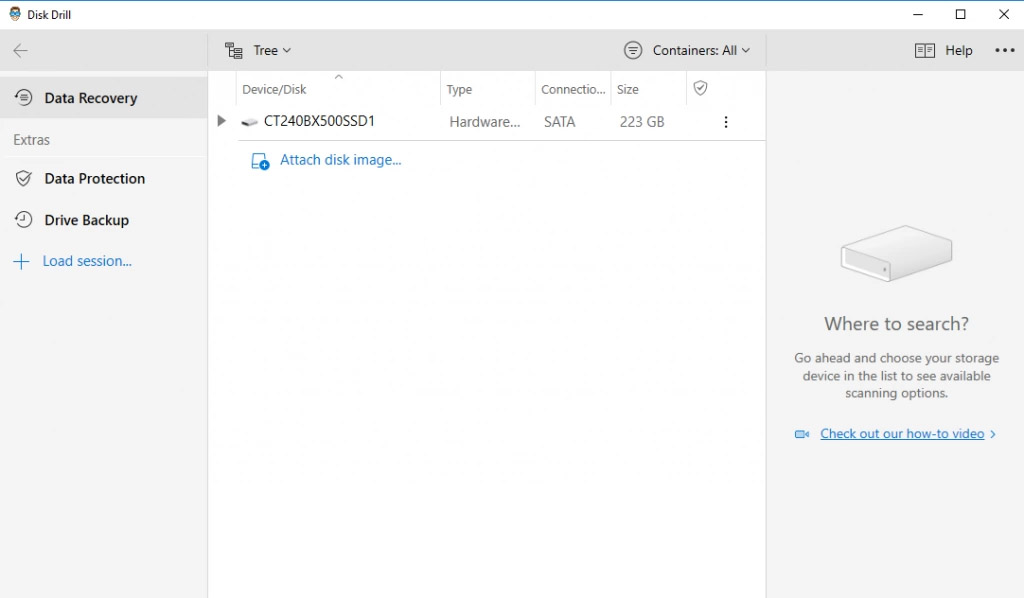
This is the main screen of the application. You can see a list of drives, both internal and external, accompanied by their file system and storage capacity to help you tell them apart.
Select the drive you wish to scan and it will appear on the right side.
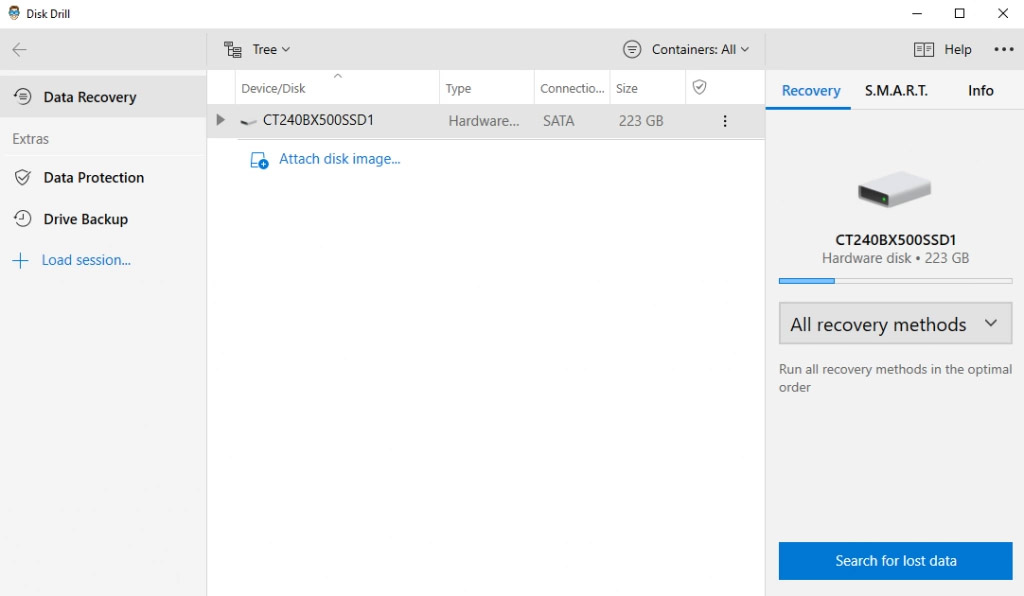
You can select particular recovery methods to reduce your scanning time, though for your first time using the software you can safely ignore this option. Just click on the Search for lost data to start scanning.
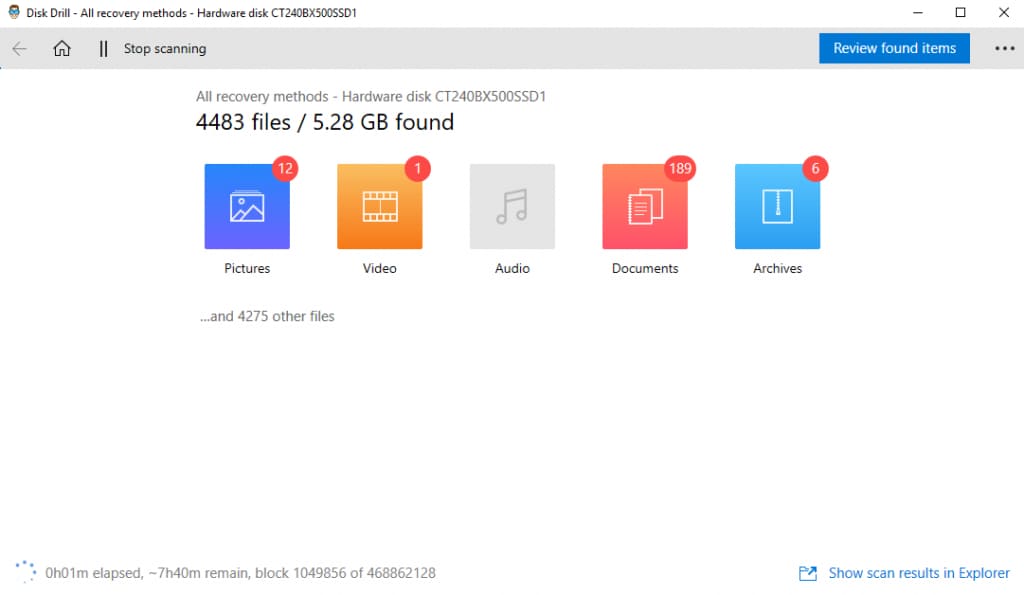
A major difference you would notice from most other recovery tools out there is how organized it is. Even as the drive is being scanned, Disk Drill will sort all recovered files by their respective categories, making it easier to zero in on the file you are looking for.
Better yet, you do not need to wait for the whole scan to complete. You can Review found items to take a look at the files that have already been found.
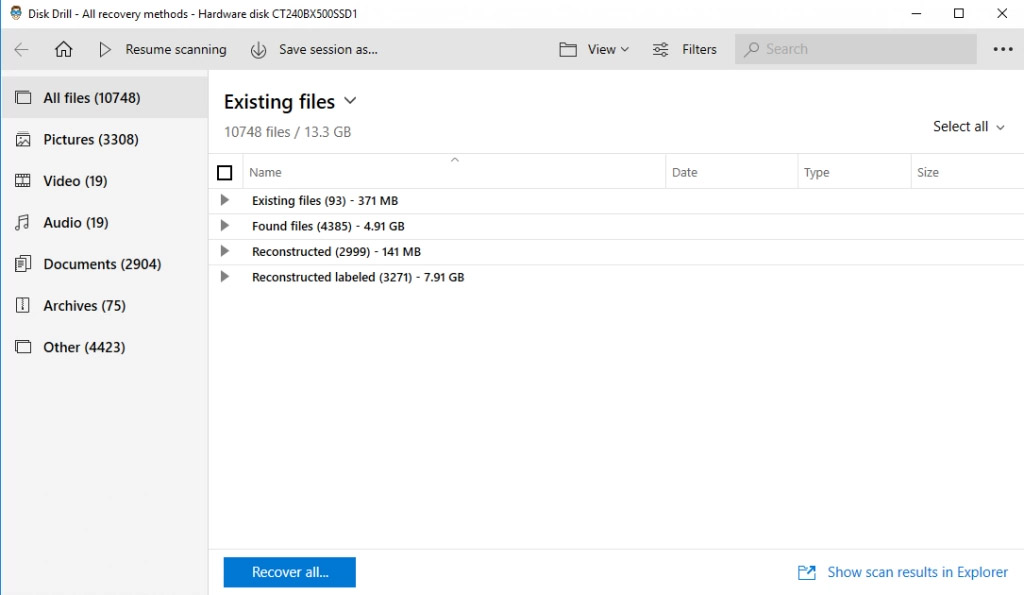
Once again, note how structured the results are – apart from different categories, the files are also separated based on how they were obtained.
You can search for your file by name, or just select a category and search manually (for example by typing *.psd in the search bar).
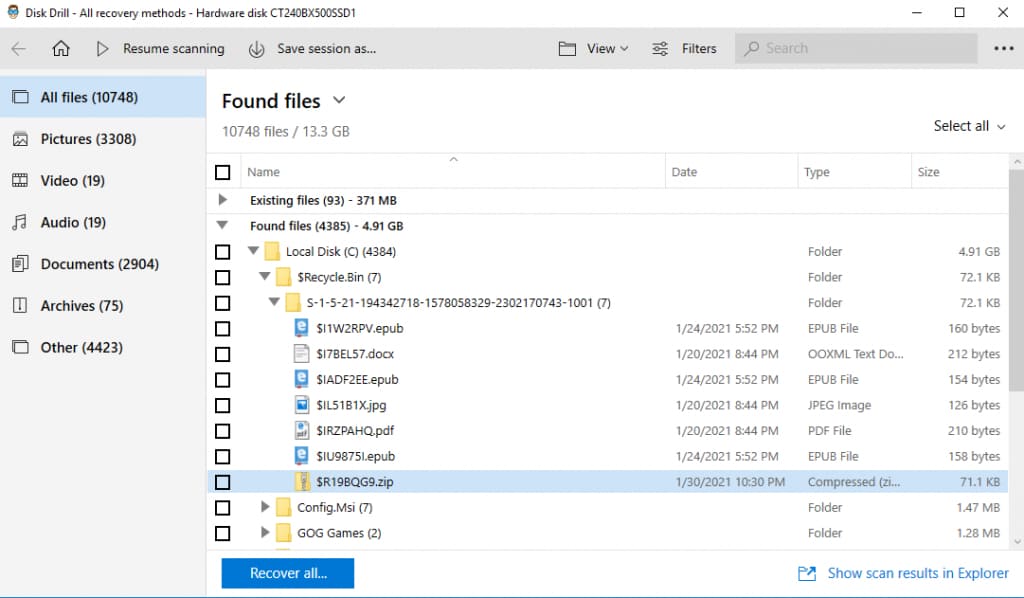
As you might have noticed, the found files are also under their respective sub-folders. If you remember where the files used to be kept, this makes it trivial to find them.
Once you have discovered the file you wish to recover, select it and click on the Recover button.
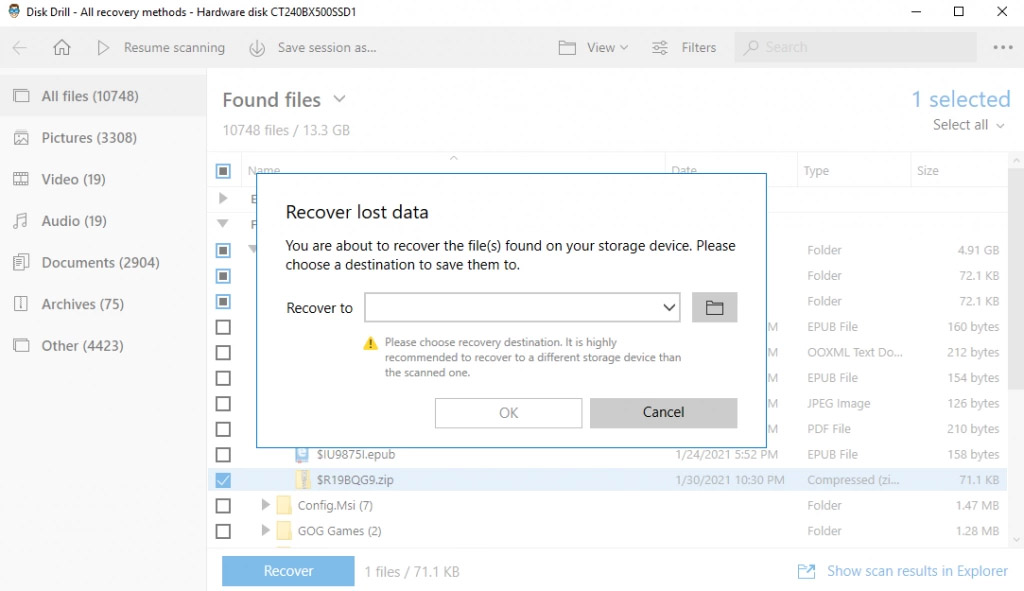
Choose a location to save the recovered file to. As the software advises you, try to pick a destination, not on the drive you just scanned. Saving it to the same drive has a chance of overwriting that or other recovered files.
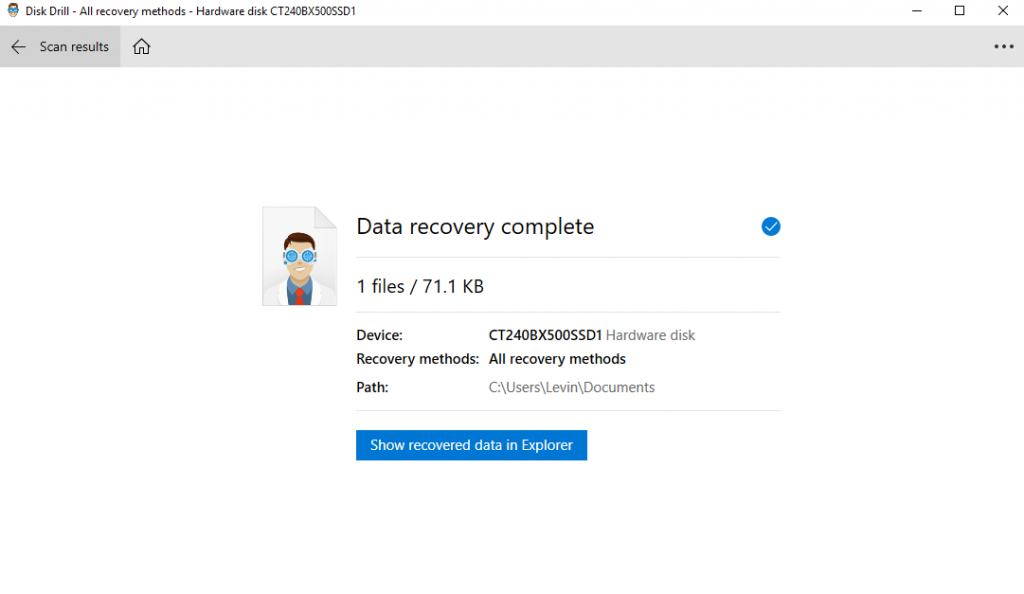
Within seconds, Disk Drill will recover the file and save it to your selected location. You can view the file in Explorer right from the application itself.
Repairing Corrupted PSD files
Sometimes, the photoshop file you have recovered ends up corrupted. It can due to a variety of reasons, from incomplete save information (temp files) to an old file that has been partially overwritten.
What can you do in such a situation?
Your best bet is to restore a previous version of the same file. In case you did not have that set up, your options are limited.
You can try any of the many free PSD file repair services offered online, but they tend to be unreliable. If the file was very important, your only recourse is to buy a professional PSD repair application.
FAQ
Where are Photoshop autosave files stored?
Usually, there is no need to manually access an autosave file. Upon starting up the application, photoshop will automatically open the last autosave if there is a save more recent than it.
Even so, you might want to create backups of the autosave files to retain snapshots of your PSD. Follow the instructions in our AutoSave section to find the files on both Windows and Mac.
Can I recover a Photoshop file that was saved over?
Unless you have enabled System Restore on Windows or the Time Machine on Mac, no. But if you have, it is quite easy to do so.
We cover the process of restoring from a previous version in more detail in its own section.
How do you open a Photoshop temp file?
The temp file will have the name of your photoshop file, but not the correct extension. To be able to open it, you must change the file type to PSD. Here’s how.
Conclusion
As we have seen, with the right tools and information, it is not too difficult to recover a deleted photoshop file. From restoring from the Recycle Bin to reverting to an autosave, there are many ways to get back a file that was accidentally deleted.
Recovering an unsaved file or a file that was overwritten is harder, but you can take steps to ensure that you don’t lose such data in the future.
Of course, using a data recovery tool like Disk Drill cuts down on the effort required on your part considerably, helping your recover PSD files no matter how you lost them.
Remember, no matter which tool you use, there is little that can be done once the deleted file location has been overwritten by new data. So as soon as you lose a photoshop file, stop using the drive and recover your PSD.
This article was written by Levin Roy, a Contributing Writer at Handy Recovery Advisor. It was also verified for technical accuracy by Andrey Vasilyev, our editorial advisor.
Curious about our content creation process? Take a look at our Editor Guidelines.