Buffalo’s storage products are popular among home users and small businesses because they offer great value for money and, what’s most important, excellent reliability. But just like storage devices from other manufacturers, they’re not immune to data loss.
If your files have disappeared from your external hard drive, then keep on reading because we will explain how to recover data from Buffalo external hard drives and other storage devices using easy-to-implement techniques.
Want to skip the theoretical part and jump straight to the recovery guide? Click here.
Can You Recover Files from a Buffalo External Hard Disk?
Generally speaking, it’s possible to recover data from any Buffalo external data storage, but the steps you need to follow are determined by the model of your storage device.
That’s because Buffalo sells both traditional external hard drives (called MiniStation) and Network-attached Storage (NAS) devices that provide data protection by combining multiple individual drives into one RAID array (called DriveStation). For example, the DriveStation Quad supports up to four hard drives, giving you the ability to easily combine them into a RAID 0, RAID 1, RAID 5, or RAID 10 array.
While MiniStation external hard drives can be recovered just like regular internal hard drives using just about any data recovery tool, only more advanced tools can recover data from DriveStation RAID arrays. Alternatively, it’s possible to recover each RAID drive individually, but a tool that supports the correct file system or RAW recovery (disregarding the file system and focusing only on data) is necessary.
Buffalo also sells TeraStation and LinkStation NAS devices aimed at enterprise customers. Both TeraStation and LinkStation products can be recovered using the same techniques as DriveStation devices.
How to Recover Data from Buffalo External Hard Drive
Let’s start by walking you through the process of Buffalo external hard drive data recovery on Windows 10/11 using data recovery software called Disk Drill Data Recovery (you can also follow the steps below on macOS).
Disk Drill is one of the best data recovery apps that you can use to recover lost data from your Buffalo external hard drive because it supports all commonly used file systems (FAT16 / FAT32, exFAT, NTFS / NTFS5, HFS / HFS+, APFS, ReFS, ext2 / ext3 / ext4) and features a straightforward data recovery process that consists of only a few simple steps:
- Download and install Disk Drill on your system drive.
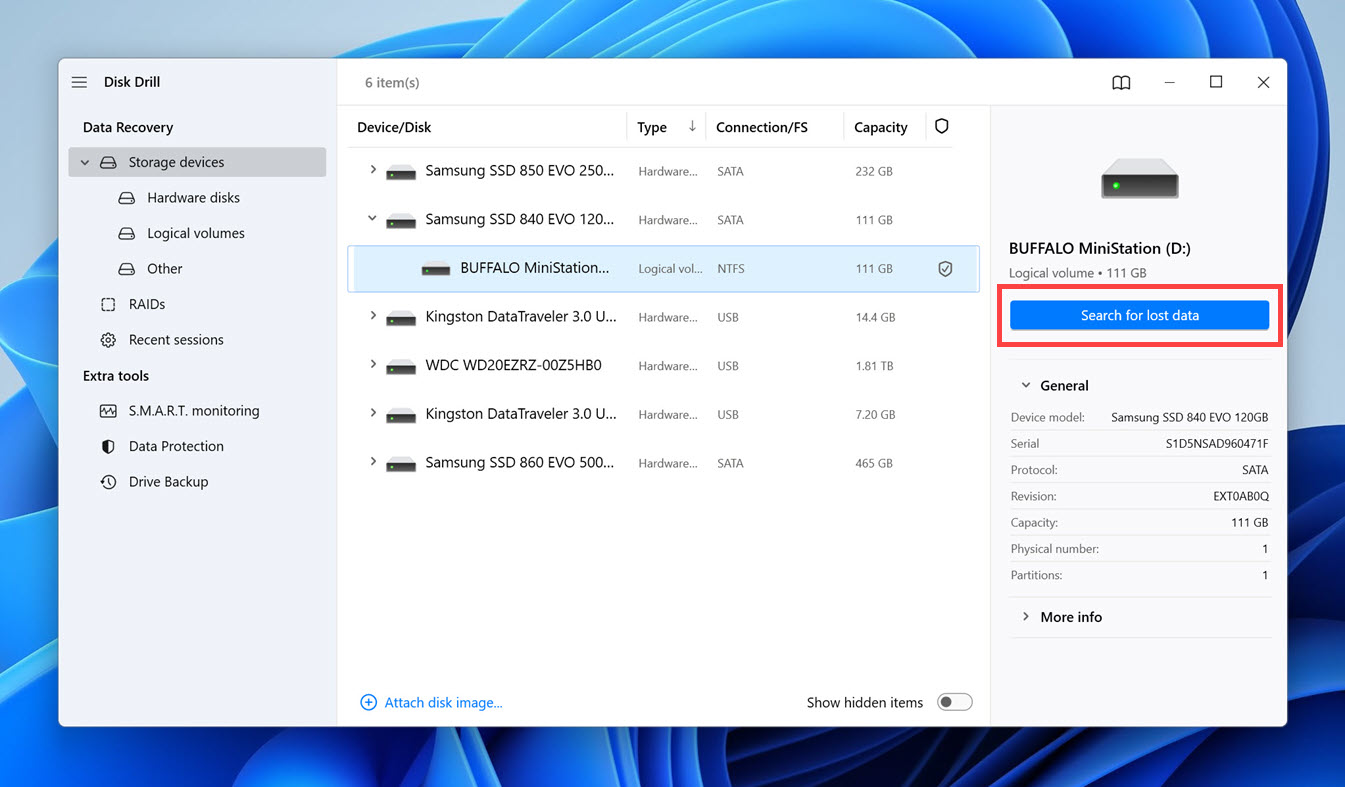
- Connect your Buffalo MiniStation external hard drive to your computer.
- Launch Disk Drill, select the external hard drive, and click Search for lost data.
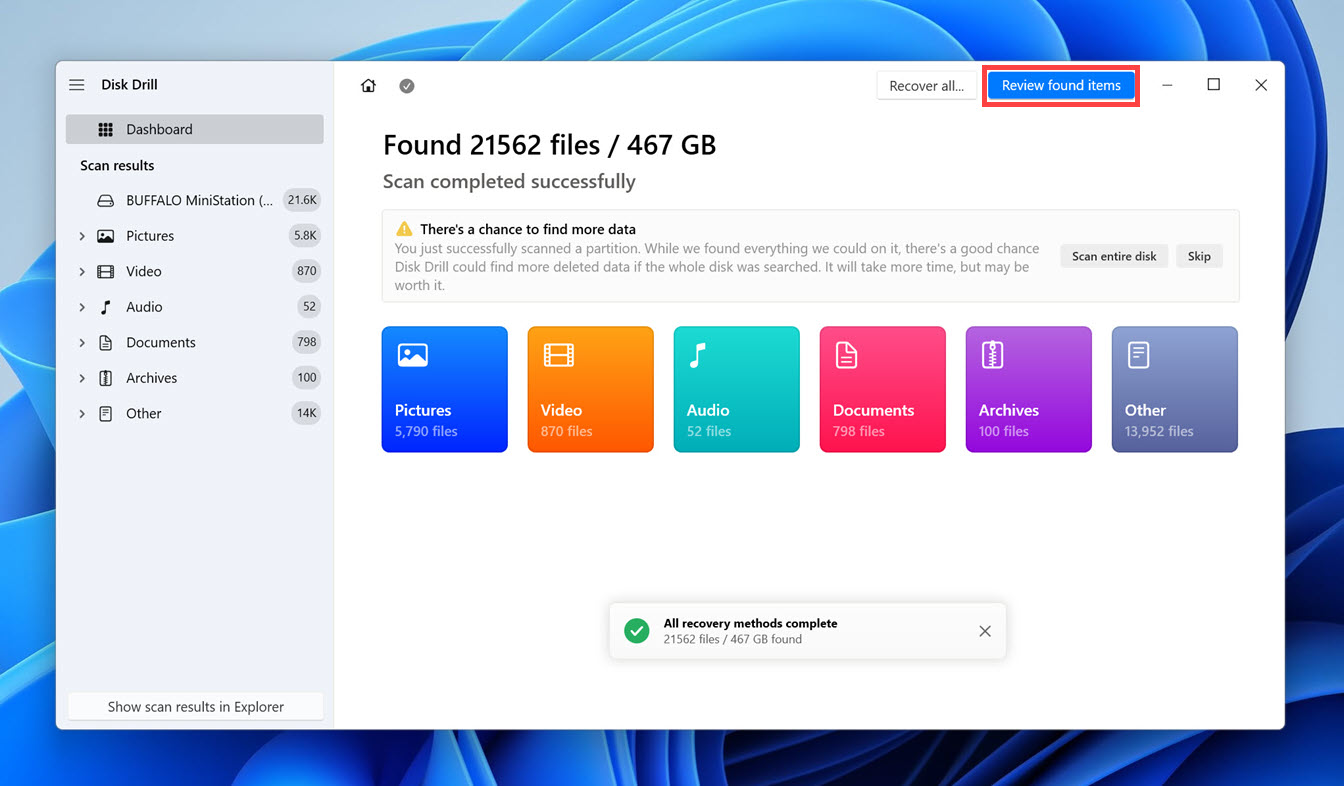
- Wait for Disk Drill to finish scanning and then click Review found items.
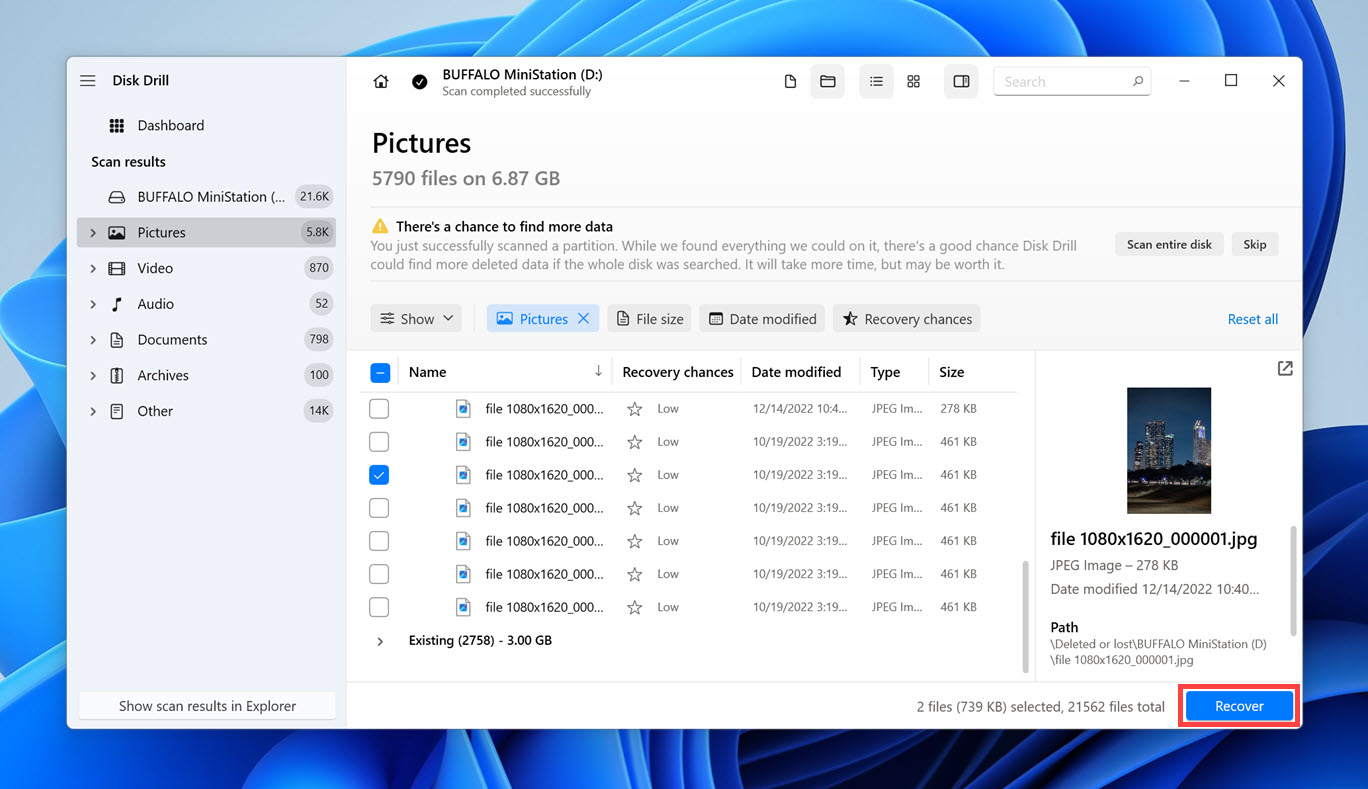
- Select all missing files. Use Disk Drill’s preview feature and filters to narrow down the scan results.
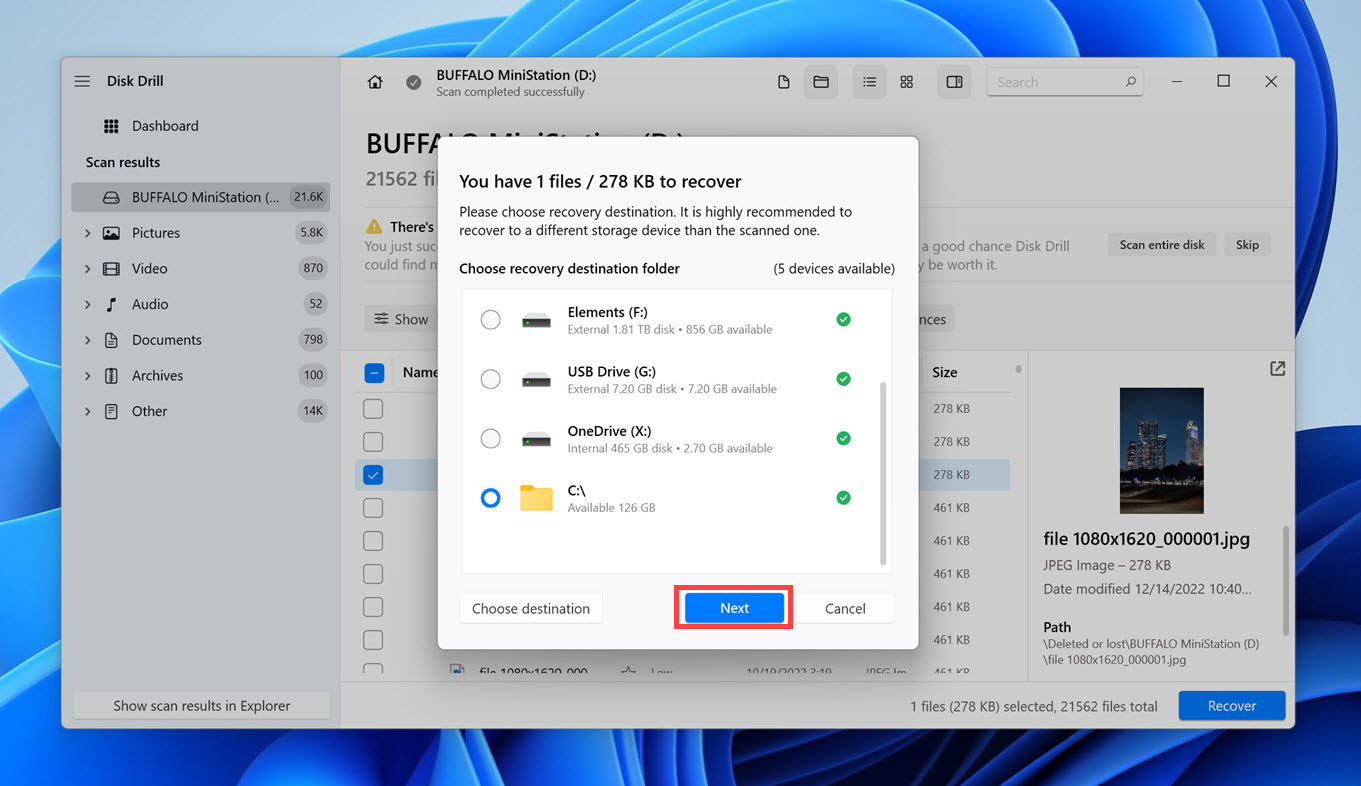
- Click the Recover button to recover files from the Buffalo external data storage.
- Choose your system drive or some other suitable storage device as the recovery destination and click Next.
Using the free version of Disk Drill for Windows, you can recover up to 500 MB of data without formatting from your Buffalo HDD for free. You can read more about Disk Drill in our comprehensive review.
How to Restore Deleted Data from a Buffalo NAS Drive
In this section, we will explain how to recover files from Buffalo data storage DriveStation, TeraStation, and LinkStation NAS drives using two methods: one direct and one indirect.
Again, we will demonstrate each method using Disk Drill because the tool supports not only RAID0, RAID1, RAID5, RAID6, and RAID10 arrays but also RAW recovery, making it perfect for NAS and external hard drive data recovery.
Recover Data Directly from Buffalo NAS
To recover data directly from Buffalo NAS:
- Connect the Buffalo NAS storage to your PC via USB.
- Download, install, and launch Disk Drill.
- Select the NAS and click Search for lost data.
- Add each missing file to the recovery queue.
- Click the Recover button and select a suitable destination.
Retrieve Files From NAS Hard Drives
To retrieve files from NAS hard drives:
- Unmount all Buffalo NAS hard drives and connect them to your PC.
- Download, install, and launch Disk Drill.
- Select your first drive and click Search for lost data.
- Select as many missing files as you can find.
- Click the Recover button and select a suitable destination.
- Repeat steps 1-5 for the remaining drives.
FAQ
How can I recover data from a Buffalo external hard drive?
To recover data from a Buffalo external hard drive:
- Download and install Disk Drill.
- Connect your Buffalo drive and launch Disk Drill.
- Select the drive and scan it.
- Select your missing files.
- Click Recover to finish Buffalo external hard drive data recovery.
How do I open my Buffalo external hard drive?
You should be able to browse the content of your Buffalo external hard drive on any computer that supports the file system used by the external hard drive simply by connecting the hard drive with a USB cable.
How do I access files on a Buffalo NAS?
You can access files on your Buffalo NAS from any device connected to the same network. Alternatively, you can connect to the NAS directly using a USB cable or by removing its individual hard drives and connecting them as if they were external drives.
How to connect a Buffalo external hard drive?
To connect your Buffalo external hard drive to a computer:
- Connect one end of the USB cable that came with your hard drive to the hard drive.
- Connect the other hand to your computer.
- Launch File Explorer, navigate to This PC, and select the external hard drive.
How much does it cost to get a Buffalo external hard drive recovered?
It can cost anywhere from a few hundred dollars to thousands of dollars to hire professional data recovery services to recover data from a Buffalo external data storage device. That’s why it’s a good idea to first use a Buffalo hard disk repair tool CHKDKS.
Conclusion
Buffalo external hard drives and NAS data storage devices are favored by many Windows 10/11 users. Because no storage device is 100% reliable (and because users make mistakes), it’s inevitable for Buffalo external hard drive- and NAS-related data loss to occur and affect a small but still significant percentage of unfortunate people. The good news is, it’s usually possible to recover files from Buffalo data storage devices using the techniques described in this article.
This article was written by David Morelo, a Staff Writer at Handy Recovery Advisor. It was also verified for technical accuracy by Andrey Vasilyev, our editorial advisor.
Curious about our content creation process? Take a look at our Editor Guidelines.