Are you unable to access important data because Windows says that your USB needs to be formatted? Don’t worry! We have a solution, and it’s not formatting. In fact, formatting is the last thing you want to do because it can negatively affect your data recovery chances. Keep reading to find out how to recover data from a pen drive asking for format without the risk of losing files.
Why Does My USB Drive Ask to Be Formatted?
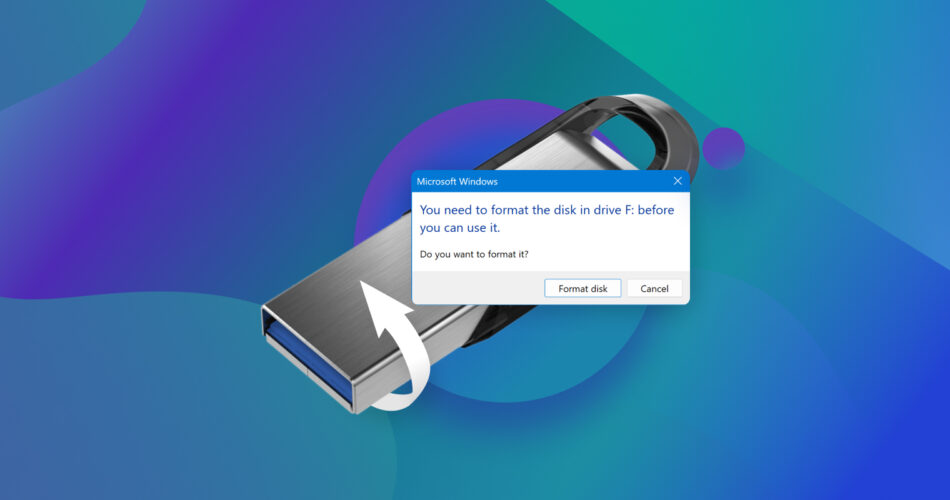
When the Windows operating system displays the error message below, it does so because it can’t properly read/write data from/to the USB flash drive. This problem with your USB asking to format before use can be quite troublesome, particularly if you’ve got important data stored on the drive.

In this section, we’ve initially addressed the main possible reasons for the “format USB drive” message. However, based on our internal analytics, users are primarily interested in learning how to recover their data. To prioritize this information, we’ve moved the recovery methods section higher up on the page. If you are still curious about the technical reasons behind the so-called ‘Windows wants to format USB drive’ situation, you can click here for a detailed explanation.
How to Recover Data from a USB Stick That Needs to Be Formatted
Just because your USB says it needs to be formatted doesn’t mean that it’s impossible to extract data from it. You just need to equip yourself with a capable data recovery tool like Disk Drill for Windows.
Why Disk Drill? Because Disk Drill is one of the best data recovery tools for Windows, and it runs on Windows 7, Windows 8/8.1, Windows 10, and Windows 11. It delivers on all fronts when it comes to recovering data from any storage device, even from a flash drive that needs to be formatted. Here’s its arsenal for today’s task:
- Expertly handles damaged file systems, enabling data retrieval even in the most challenging situations.
- Identifies and extracts files from storage devices that appear unformatted or RAW.
- Offers both file system-level recovery (supporting FAT32, exFAT, NTFS, and EXT4 on Windows) and signature-based recovery, which bypasses the file system entirely (the type and condition of the file system do not play a role in such cases).
- Recognizes around 400 file types (signatures).
- Can access and recover data from file systems not natively supported by Windows.
Here’s how to recover data from a USB drive that’s asking to be formatted using Disk Drill for Windows:
- Download Disk Drill right from CleverFiles’ site. It automatically gives you the newest build (v6) for Windows 10/11. The free version lets you scan your USB stick to see exactly what’s recoverable and even restore up to 500 MB of data at no cost. That cap is plenty if you’re thinking about trying it out for a handful of must-have docs, pics, or clips before deciding if you want to throw down for Pro.
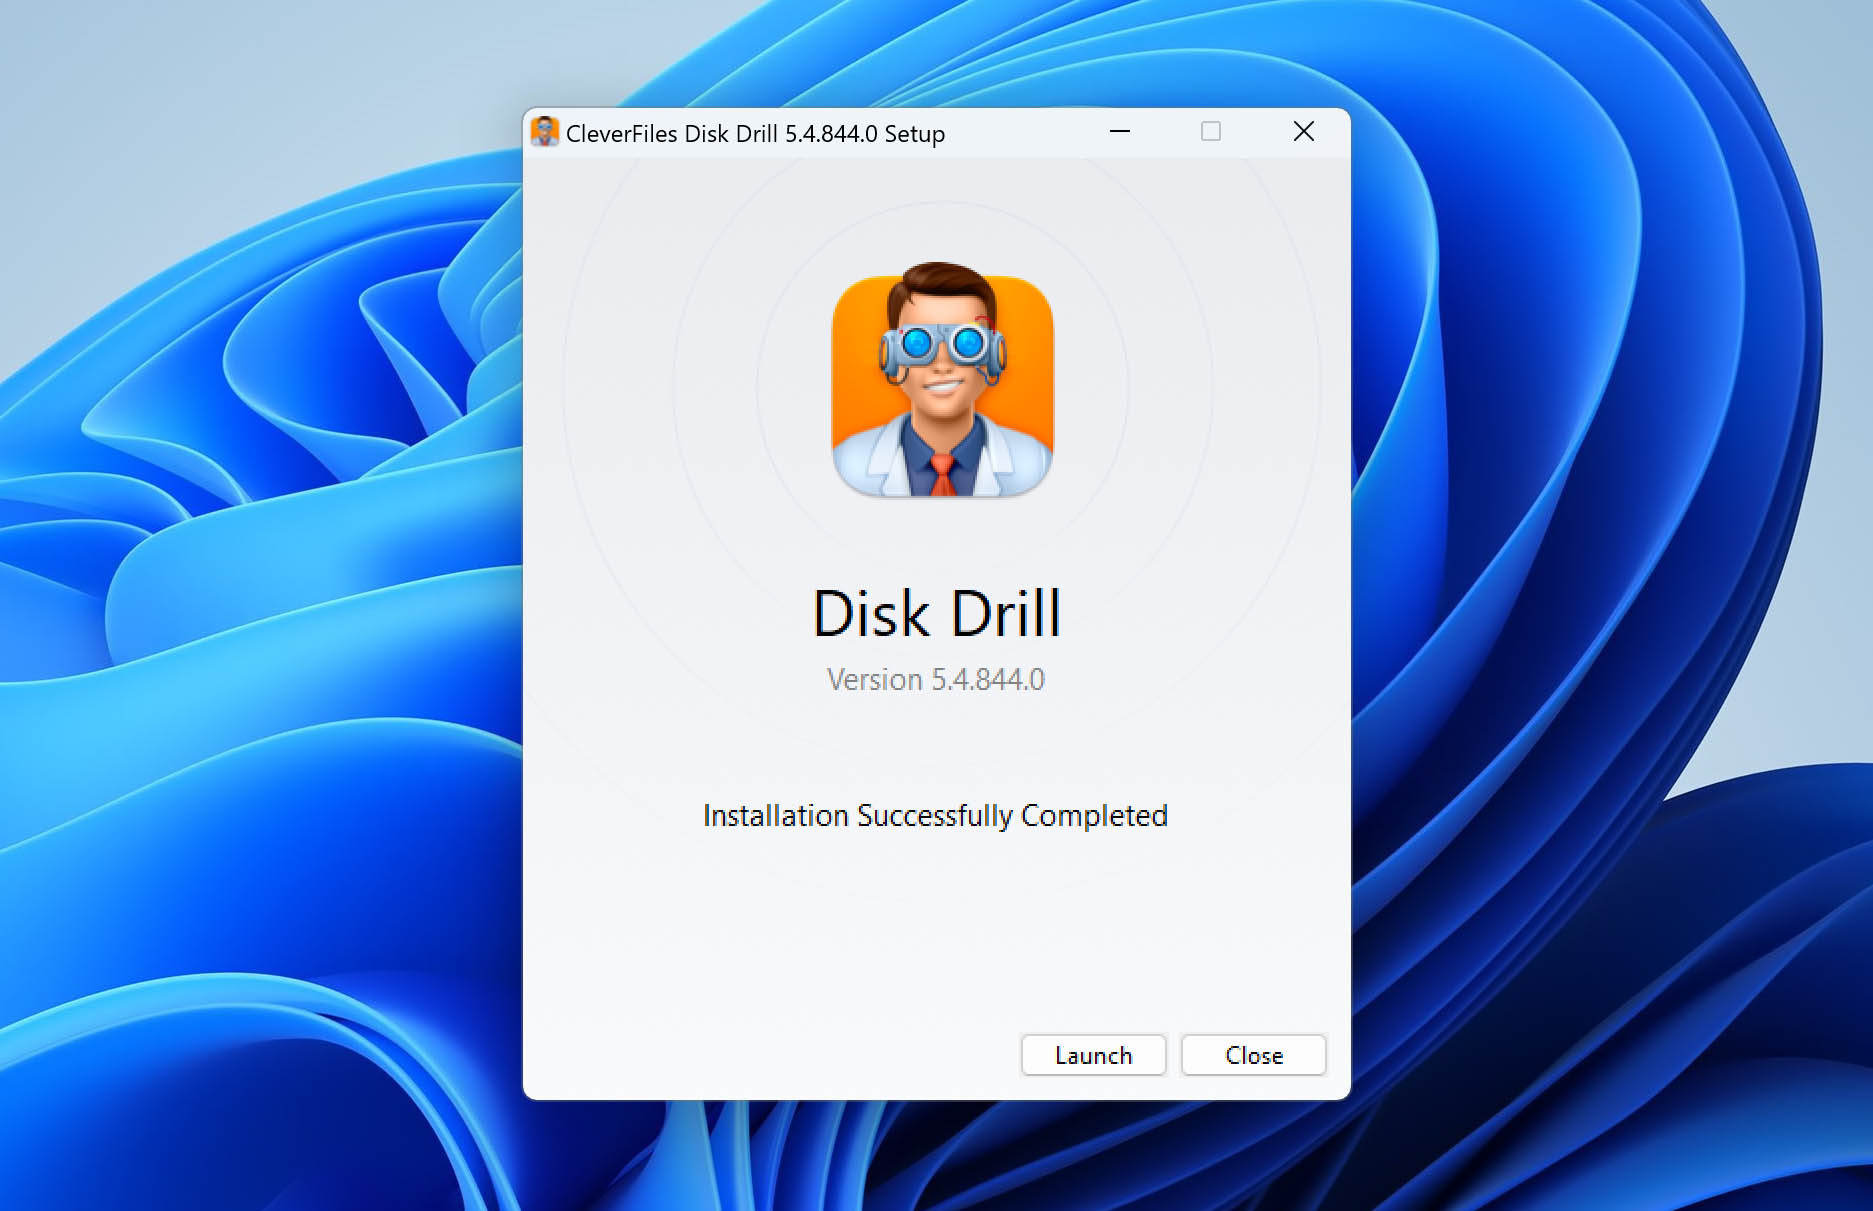
- Once it has been downloaded, open the installer and follow the on-screen instructions to properly install the application. There shouldn’t be anything there that will surprise you.
- Now plug in the problem USB drive. Normally, we’d warn you not to install or save anything to the same drive you’re recovering from. Here it doesn’t matter; the stick won’t accept new files while it’s stuck on that “format” prompt, you won’t be able to write anything to it anyway.
- Launch Disk Drill; your USB stick should appear in the list of storage devices on the main screen. Even if File Explorer hides it, Disk Drill will list the drive by size or label on its main screen.
- (Optional but recommended) Before we proceed, think about this: if your USB stick is so faulty that you’re seeing a “needs to be formatted” error message, there might be some deeper issue at play here. This step is not always necessary, but if you’re feeling cautious, it’s worth that extra time. It’s better to be able to recover from a copy than risk pushing the original over the edge. Go to the “Extra Tools” and select “Byte-to-byte backup.” Choose a location on a separate drive with adequate free space for your full copy of your USB (the image will be about the same size as your device, but it’s always better to have a little extra. After it’s done, go back to the main screen, select “Attach disk image…” from the bottom, and load this image file you just created.
- Next, select the USB drive (or its disk image) from the list of devices, then click the “Search for lost data” button. Disk Drill will then prompt you to choose a scan method. For this situation, go with “Universal Scan”.

- As the scan runs, Disk Drill automatically sorts all recoverable files into categories like Pictures, Video, Audio, Documents, Archives, and Other. You’ve got two ways to go from here. Just click “Recover All” when the scan is done and all files found will be restored. Or tap on a category like “Video,” or the “Review Found Items,” to see what has already been found. This allows you to begin recovering files straight away, while the scan is still going.
- Click “Review Found Items” and Disk Drill will show you everything up until it has found at this point, grouped by Deleted or Lost, Reconstructed, and Existing, so you can get an idea of what is on your storage.
You can filter files by type (like JPG or MP4), date, or use the search bar to quickly find files by name or even a partial name.

- Disk Drill lets you preview most files (basically anything your OS can open normally or with a viewer you’ve installed). Click on any file a preview should pop up on the right side of the window. Can’t see it? Look for a little eye icon next to the filename and give that a click. Or just right-click and choose “Preview” from the menu.
- From there, go ahead and mark what you want back. You can select files one by one or grab entire folders if that’s easier. When you’ve made your picks hit “Recover”.
 Choose a safe spot to save your files, either on your main drive or a different external one. Just make sure it’s not the same USB you’re recovering from.

You can now open File Explorer and navigate to the recovery directory to verify that your files have been successfully recovered.
How to Fix a USB Drive that Says It Needs to Be Formatted
To fix the USB needs to be formatted error caused by some of the problems described below in this article (software fixes won’t help you fix physical damage and manufacturing defects), you can use TestDisk, an open-source recovery tool capable of repairing corrupted file systems and recovering lost partitions.
Follow these steps to fix without formatting a USB drive whose content can’t be accessed:
- Head to the official TestDisk site. That’s where you’ll find the download for TestDisk.
- Grab the Windows version (it’s usually near the top of the list). This will download a zipped folder that contains the program. When it’s done downloading, open it up (we typically left-click it and drag it to the desktop so we know where it is). Inside the folder, scroll through until you find a file called testdisk_win. exe. That’s what you want, open it, you’ll see an old school command-line window pop open.

- The first thing TestDisk does is ask you whether you want to create a log file. Hit Enter to say yes. It’ll keep track of your actions during recovery.

- Next, use the arrow keys to highlight your USB stick – the one showing that annoying “format disk” error. Make sure you’ve got the right drive, then press Enter to move forward.

- TestDisk usually guesses the partition table type correctly. For most USB drives, “Intel” is the right choice, so go ahead and hit Enter to confirm (unless you know yours uses something different).

- Now choose Analyze from the menu to have TestDisk scan for any lost partitions.

- Once the initial analysis is done, select Quick Search. This kicks off a faster scan that often finds what you need right away.

- If the partition you’re trying to bring back actually shows up – great. Highlight it, then choose Write to restore it. That’ll rebuild the partition table and (with any luck) make your data visible again. ❗️
Quick warning: writing a new partition table can overwrite stuff if you’re not careful, so double-check you’ve selected the right thing, and ideally, make a backup before hitting go. Seriously. No turning back after that.

- But, if nothing turns up during the quick scan, don’t give up yet. There’s a Deeper Search option just below. It takes longer, but it often finds stuff the first pass missed. If that finally reveals the partition you need, go ahead and write it like before.
- After you do that, press Q (or the Quit option) a few times to exit TestDisk correctly.
Be patient when using TestDisk to fix a USB drive that says it needs to be formatted because the entire process may take a while from start to finish depending on the size and speed of your drive, especially if you’re fixing it to recover files from a corrupted drive.
So, What Actually Are the Reasons Behind the ‘Flash Drive Needs to Be Formatted Before Use’ Error?
Like we said earlier, there’s no single cause for that format prompt; the list is longer than you’d think, so let’s break it down.
We’ve tried to explain everything below in plain, straightforward language so every person, no matter their tech background, can understand what’s happening and how to deal with it.
Data loss reason |
Description |
Solution |
🤷♂️ Unsupported file system |
Windows natively supports the FAT32, NTFS, and exFAT file systems, and can’t read/write directly to a storage device of a different file system (such as ext3/4 or APFS). |
Some data recovery software, like Disk Drill, recover data from more file systems than Windows does support. Not only this, but there are software programs that can enable you to ‘read’ files from file systems that Windows cannot read on its own, like HFSExplorer or Paragon. |
🙅♂️ No file system |
If your USB stick is asking to be formatted the second you plug it in, there’s a good chance it doesn’t have a working file system at all. Without one – It’s basically a blank slate; this usually means the drive is showing up as RAW or Unallocated, which just means Windows (or your system) can’t make sense of it. No file structure, no partitions, nothing. You can’t use it until it’s been formatted properly. |
The thing is, a RAW drive might still have its data intact. It could just be missing its partition table. That’s fixable. A tool like TestDisk can sometimes rebuild that structure and bring everything back without touching the actual files. You can also use “traditional” data recovery software to dig through a RAW drive and grab whatever can still be saved. |
🗂️ Corrupted file system |
Think of the file system as the way your USB keeps things in order; it’s how your computer knows where your stuff is stored. But that system can break down. Maybe the drive was yanked out mid-transfer. Or there was a power cut. Sometimes it’s malware. Other times, it’s just a random write error. |
If the damage is on the lighter side – what’s called logical corruption, there’s a decent shot corruption can be repaired. |
🧱 Bad blocks |
Every flash drive is made up of tiny storage blocks, and those blocks only last so long. After enough write cycles, some of them just give out. A few bad ones? Totally normal. But once they start piling up, that’s when your USB can go from “working fine” to completely unreadable. |
If you’re on Windows, you might be tempted to run CHKDSK to patch things up. It can help in some cases – but there’s a catch. They often rewrite or erase sections during the fix, which means you could lose whatever was stored there for good. That’s why, if your data still matters, it’s usually smarter to try recovery software first. |
🔨 Physical damage |
Even minor physical damage can leave a USB drive functional, but unstable. |
If the damage can be easily repaired (bending a connector back is a good example of that), then great. If it can’t, and the data matters, skip the DIY fixes. At that point, a professional recovery service is really your only safe option. |
🏭 Manufacturing defects / fakes |
With USB drives made by the millions, the occasional bad unit slips through; maybe it’s poorly soldered or wasn’t assembled quite right or or not genuine at all (counterfeit USBs are out there) |
Minor manufacturing issues (like a misaligned connector) can sometimes be fixed at home. But if you’re dealing with a major defect or you ended up with a fake drive, there’s no DIY fix for that. Your best bet -skip the recovery attempts and ask for a refund. |
FAQ
What does it mean when a USB needs to be formatted?
When a USB device prompts to be formatted, it can indicate various possibilities, including:
- There’s no file system
- The file system is not supported by the operating system
- The drive has become corrupted
- Physical damage has occurred
- The drive is defective
How do I get data off a USB that needs formatting?
To get data off a USB that’s asking to be formatted:
- Avoid formatting the USB drive.
- Download and install data recovery software.
- Scan the USB drive.
- Select all important files.
- Recover the selected files to a safe destination.
Does formatting a USB delete everything?
No, unless you used a full format in Windows (the one without the ‘Perform a quick format’ check mark) or a special tool to perform a secure format, your files will remain in the exact same physical location even after formatting, but the space they occupy will be marked as available.
Can you format a drive without losing data?
It depends. Technically, you cannot format a USB drive without losing access to your data because the purpose of formatting is to establish an empty file system on a partition. However, formatted data remain physically present (and recoverable) on the storage device until they are overwritten by new data. You can also back up or extract your data from a USB drive that asks to be formatted, prior to proceeding with the formatting.
Final Words
In most cases we’ve seen, if you go with one of the better USB recovery tools, you’ll be fine, and you can usually fix this issue without much trouble.
But, there are always exceptions.
If you have additional questions or run into something we haven’t covered in the FAQ above, that’s okay; this is one of those issues where every case can be a little different, there are a lot of moving parts, and not every problem has a one-size-fits-all answer.
That’s why we invite you to start a discussion on the Handy Recovery Advisor Community Forum. It’s an active space with plenty of folks who’ve been through similar situations and are happy to help. Just remember: the more detail you include, the better. Let us know what devices you’re using, what tools you’ve already tried, and feel free to include a screenshot or two – they really help.
And if you’d rather reach out directly, you can also contact us using this form, we’ll do our best to assist.
This article was written by David Morelo, a Staff Writer at Handy Recovery Advisor. It was recently updated by Andrii Yasko. It was also verified for technical accuracy by Andrey Vasilyev, our editorial advisor.
Curious about our content creation process? Take a look at our Editor Guidelines.